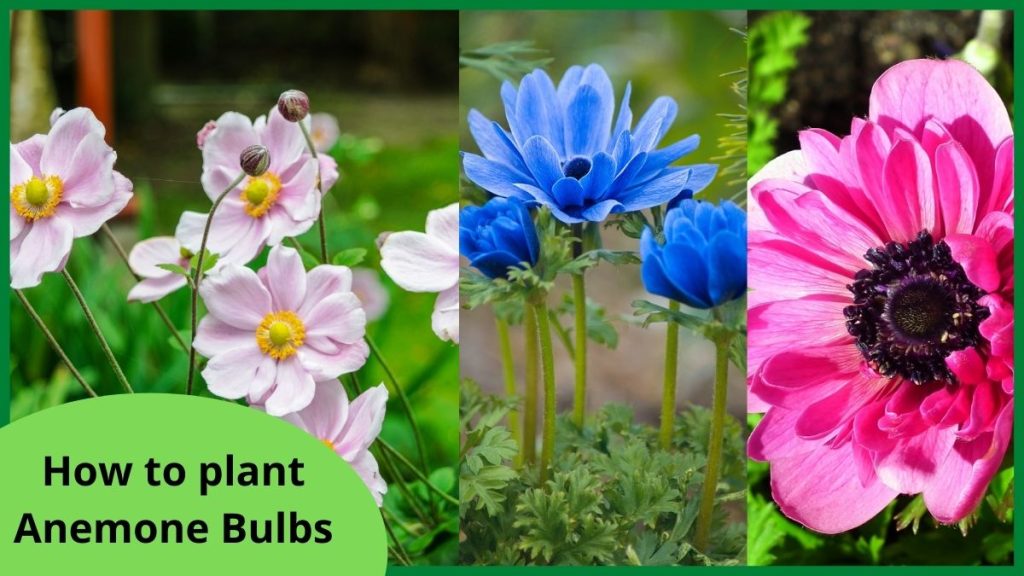
Choosing the Right Anemone Varieties for Your Garden
Anemone bulbs are a popular choice among gardeners due to their delicate, cup-shaped flowers and versatility in garden design. With over 120 species to choose from, selecting the right anemone variety can be a daunting task. When learning how to plant anemone bulbs, it’s essential to consider the specific needs and characteristics of each variety to ensure optimal growth and blooming.

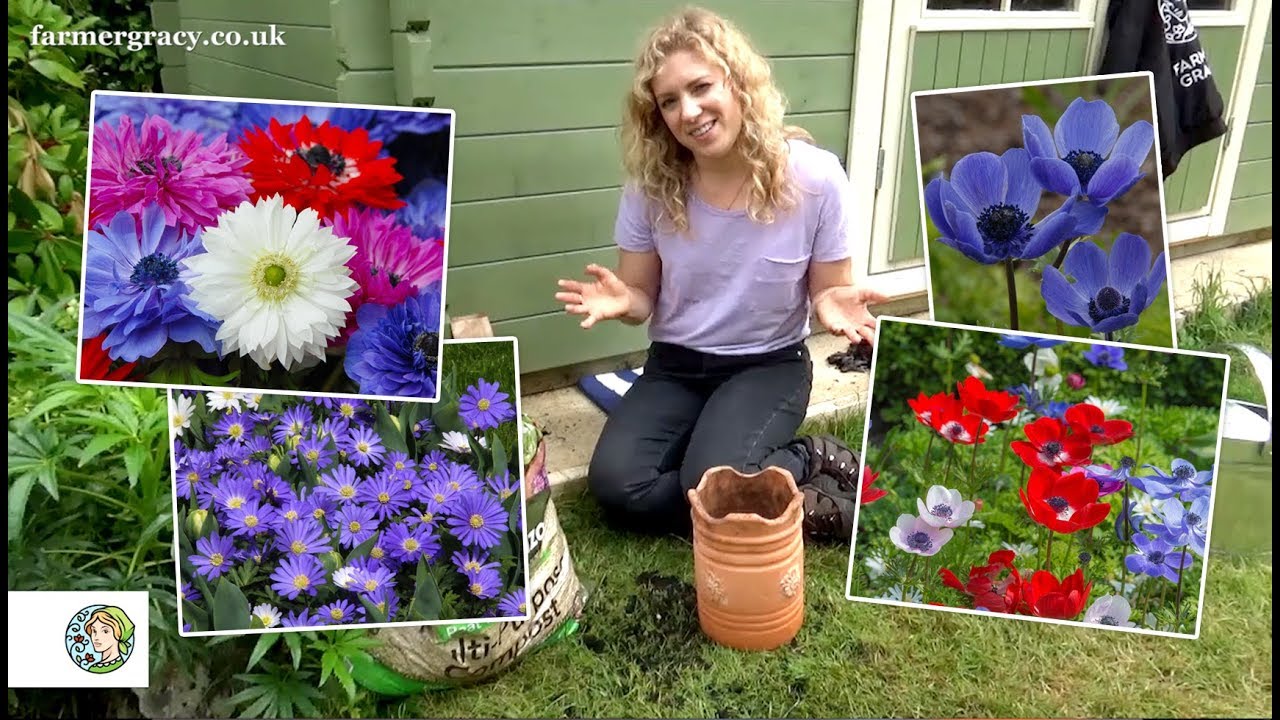
Click Image to Find Garden Products
Single-flowered anemones, such as Anemone coronaria, are a popular choice for their vibrant, poppy-like flowers in shades of pink, red, and white. These varieties are ideal for adding a splash of color to borders and containers. Double-flowered anemones, like Anemone x hybrida, offer a more subtle, romantic appearance with their delicate, layered petals. Japanese anemones, such as Anemone x japonica, are known for their elegant, nodding flowers in shades of pink and white, making them a great choice for adding a touch of sophistication to the garden.
When selecting anemone varieties, consider the climate and soil type of your garden. Anemones prefer well-draining soil and partial shade, making them an excellent choice for woodland gardens or shaded borders. In warmer climates, anemones may require more frequent watering and protection from extreme heat. In cooler climates, anemones may need protection from frost and freezing temperatures.
By choosing the right anemone variety for your garden, you’ll be well on your way to creating a stunning display of color and texture. Whether you’re a seasoned gardener or just learning how to plant anemone bulbs, selecting the right variety is the first step towards a successful and thriving garden.
Preparing the Soil for Optimal Anemone Growth
Before learning how to plant anemone bulbs, it’s essential to prepare the soil for optimal growth. Anemones prefer well-draining, fertile soil that is rich in organic matter. To achieve this, start by testing the pH level of your soil. Anemones prefer a slightly acidic to neutral soil pH, ranging from 6.0 to 7.0. If your soil is too alkaline, add elemental sulfur or peat moss to lower the pH. If your soil is too acidic, add lime to raise the pH.
Next, amend the soil with organic matter such as compost or well-rotted manure. This will help improve the soil’s structure, fertility, and drainage. Mix in a 2-inch layer of organic matter into the top 6-8 inches of soil. This will provide a nutrient-rich environment for your anemone bulbs to grow.
To create a well-draining soil mix, combine the amended soil with perlite, vermiculite, or sand. This will help prevent waterlogged soil and root rot. Aim for a mix that is 60-70% soil, 20-30% organic matter, and 10-20% perlite or sand.
When preparing the soil for anemone bulbs, it’s also essential to remove any debris, rocks, or weeds that may compete with the bulbs for water and nutrients. Till the soil to a depth of 8-10 inches to loosen and aerate it. This will help the bulbs establish a strong root system and promote healthy growth.
By preparing the soil for optimal anemone growth, you’ll be creating a foundation for success when learning how to plant anemone bulbs. With the right soil conditions, your anemones will thrive and provide a stunning display of color and texture in your garden.

When to Plant Anemone Bulbs for a Vibrant Spring Display
When learning how to plant anemone bulbs, timing is everything. Planting at the right time ensures optimal growth and blooming. In general, anemone bulbs are planted in the fall or early spring, depending on the region and climate.
In temperate climates, plant anemone bulbs in the fall, about 6-8 weeks before the first frost. This allows the bulbs to establish themselves in the soil over the winter, and then bloom in the spring. In warmer climates, plant anemone bulbs in late winter to early spring, when the soil can be worked and the threat of frost has passed.
Before planting, check the weather forecast and soil temperature. Anemone bulbs prefer to be planted when the soil temperature is between 40°F and 55°F (4°C and 13°C). Avoid planting when the soil is waterlogged or frozen, as this can cause the bulbs to rot.
In regions with mild winters, anemone bulbs can be planted in the late fall or early winter. In areas with harsh winters, it’s best to plant anemone bulbs in the early spring, when the soil has thawed and the threat of frost has passed.
When planting anemone bulbs, make sure to choose a location with the right amount of sunlight. Anemones prefer partial shade to full sun, depending on the variety. Planting in the right location and at the right time will ensure a vibrant spring display of anemone blooms.
By understanding when to plant anemone bulbs, you’ll be able to create a stunning display of color and texture in your garden. With the right timing and care, your anemones will thrive and provide a beautiful show of blooms in the spring.
Planting Anemone Bulbs: A Step-by-Step Guide
Now that you’ve chosen the right anemone variety and prepared the soil, it’s time to learn how to plant anemone bulbs. Planting anemone bulbs is a relatively straightforward process, but it does require some care and attention to detail. Follow these steps to ensure that your anemone bulbs are planted correctly and will thrive in your garden.
Step 1: Handle the Bulbs with Care
Anemone bulbs are delicate and should be handled with care. When removing the bulbs from their packaging, gently separate them and inspect for any signs of damage or rot. Discard any damaged or rotten bulbs, as they can spread disease to healthy bulbs.
Step 2: Plant the Bulbs at the Correct Depth
Plant anemone bulbs at a depth of 2-3 times the height of the bulb. For example, if the bulb is 2 inches tall, plant it 4-6 inches deep. This will help the bulb establish a strong root system and prevent it from being too exposed to the elements.
Step 3: Space the Bulbs Properly
Space anemone bulbs 3-6 inches apart, depending on the variety. Planting them too close together can lead to overcrowding and reduce air circulation, which can increase the risk of disease.
Step 4: Plant the Bulbs in the Right Location
Plant anemone bulbs in a location that receives the right amount of sunlight. Most anemone varieties prefer partial shade to full sun, so choose a location that receives at least 4-6 hours of direct sunlight per day.
Step 5: Water the Bulbs
After planting, water the bulbs well to settle the soil. Keep the soil consistently moist during the first growing season, but avoid overwatering, which can lead to rot and other problems.
By following these steps, you’ll be able to plant anemone bulbs correctly and give them the best chance to thrive in your garden. Remember to be patient, as anemone bulbs can take several weeks to bloom after planting.

Caring for Anemone Bulbs After Planting
After learning how to plant anemone bulbs, it’s essential to provide proper care to ensure optimal growth and blooming. Post-planting care is crucial for anemone bulbs, as it helps them establish a strong root system and promotes healthy growth.
Watering: Anemone bulbs require consistent moisture, especially during the first growing season. Water them well after planting and keep the soil consistently moist, but not waterlogged. Avoid overwatering, which can lead to rot and other problems.
Fertilizing: Feed anemone bulbs with a balanced, slow-release fertilizer in the spring when new growth appears. This will provide them with the necessary nutrients for healthy growth and blooming. Avoid overfertilizing, as this can damage the bulbs.
Deadheading: Remove spent flowers, or deadhead, to encourage more blooms and prevent seed production. Cut off the flower stem at the base, making sure not to damage the foliage. This will help the bulb conserve energy and promote more blooming.
Support: Some anemone varieties, especially the taller ones, may require support to prevent them from toppling over in the wind. Use stakes or a trellis to provide support and keep the plants upright.
Pest and Disease Control: Keep an eye out for pests and diseases, such as aphids, slugs, and snails. Use organic or chemical controls as needed to prevent infestations and infections.
By following these care tips, you’ll be able to provide your anemone bulbs with the best chance to thrive and bloom beautifully. Remember to be patient, as anemone bulbs can take several weeks to bloom after planting.

Common Mistakes to Avoid When Planting Anemone Bulbs
When learning how to plant anemone bulbs, it’s essential to avoid common mistakes that can lead to poor growth, reduced blooming, or even bulb failure. By being aware of these mistakes, you can take steps to prevent them and ensure a successful anemone bulb planting experience.
Planting Too Deeply: One of the most common mistakes when planting anemone bulbs is planting them too deeply. This can cause the bulbs to rot or become waterlogged, leading to poor growth or bulb failure. Make sure to plant the bulbs at the correct depth, usually 2-3 times the height of the bulb.
Overcrowding: Planting anemone bulbs too close together can lead to overcrowding, which can reduce air circulation and increase the risk of disease. Make sure to space the bulbs at least 3-6 inches apart, depending on the variety.
Neglecting to Provide Adequate Sunlight: Anemone bulbs need adequate sunlight to bloom well. Make sure to plant them in a location that receives at least 4-6 hours of direct sunlight per day.
Not Watering Properly: Anemone bulbs need consistent moisture, especially during the first growing season. Make sure to water them well after planting and keep the soil consistently moist, but not waterlogged.
Not Fertilizing: Anemone bulbs benefit from fertilization, especially during the growing season. Make sure to feed them with a balanced, slow-release fertilizer in the spring when new growth appears.
By avoiding these common mistakes, you can ensure a successful anemone bulb planting experience and enjoy beautiful blooms in your garden.
Troubleshooting Anemone Bulb Planting Issues
When learning how to plant anemone bulbs, it’s essential to be aware of common issues that may arise during the planting process. By troubleshooting these issues, you can take steps to prevent them and ensure a successful anemone bulb planting experience.
Rot: One of the most common issues when planting anemone bulbs is rot. This can be caused by overwatering, poor drainage, or fungal infections. To prevent rot, make sure to plant the bulbs in well-draining soil and avoid overwatering. If you notice any signs of rot, remove the affected bulb and treat the remaining bulbs with a fungicide.
Pests: Anemone bulbs can be susceptible to pests such as aphids, slugs, and snails. To prevent pest infestations, use organic or chemical controls as needed. Keep the area around the bulbs clean and free of debris, and avoid overwatering, which can attract pests.
Poor Growth: Poor growth can be caused by a variety of factors, including inadequate sunlight, poor soil quality, or insufficient watering. To promote healthy growth, make sure to plant the bulbs in a location that receives at least 4-6 hours of direct sunlight per day. Also, ensure that the soil is well-draining and rich in organic matter.
Failure to Bloom: If your anemone bulbs fail to bloom, it may be due to a lack of sunlight, poor soil quality, or insufficient watering. To promote blooming, make sure to plant the bulbs in a location that receives at least 4-6 hours of direct sunlight per day. Also, ensure that the soil is well-draining and rich in organic matter.
By troubleshooting common issues that may arise when planting anemone bulbs, you can take steps to prevent them and ensure a successful anemone bulb planting experience. Remember to be patient and monitor your bulbs regularly for any signs of problems.

Enjoying the Fruits of Your Labor: Anemone Bulb Aftercare
After learning how to plant anemone bulbs and enjoying their beautiful blooms, it’s essential to provide proper aftercare to ensure their continued health and success. By following these tips, you can enjoy the fruits of your labor and keep your anemone bulbs thriving for years to come.
Allowing the Foliage to Die Back: After the blooming period, allow the foliage to die back naturally. This will help the bulb conserve energy and prepare for the next growing season. Avoid cutting back the foliage too early, as this can weaken the bulb and reduce its chances of blooming again.
Storing the Bulbs: Once the foliage has died back, you can store the bulbs in a cool, dry place. Make sure to keep them away from direct sunlight and moisture, which can cause the bulbs to rot. You can store the bulbs in a paper bag or a breathable container, making sure to label them so you can identify the variety.
Replanting the Bulbs: In the fall, replant the bulbs in a new location, making sure to follow the same steps as before. This will give the bulbs a fresh start and help them establish a strong root system. Make sure to plant the bulbs at the correct depth and spacing, and water them well after planting.
By following these aftercare tips, you can enjoy the beautiful blooms of your anemone bulbs for years to come. Remember to be patient and provide the bulbs with the care they need, and you’ll be rewarded with a stunning display of color and beauty in your garden.