Crafting a Beautiful Wooden Planter for Your Garden
The Joy of DIY Woodworking for Garden Decor
Creating a unique and functional wooden flower pot for your garden can be a truly rewarding experience. Not only does it allow you to express your creativity, but it also provides an opportunity to add a personal touch to your outdoor space. With the right tools and techniques, you can craft a beautiful wooden planter that complements your garden’s style and charm. Learning how to make a wooden flower pot can be a fun and rewarding DIY project that adds a touch of elegance to your garden. By following a few simple steps and considering key factors such as wood type, design, and assembly, you can create a stunning wooden planter that showcases your plants and flowers.

Click Image to Find Garden Products
Choosing the Right Type of Wood for Your Planter
Selecting the appropriate type of wood for your wooden flower pot is a crucial step in the DIY process. The right wood can ensure that your planter is durable, resistant to weathering, and aesthetically pleasing. When deciding on a type of wood, consider factors such as the wood’s natural resistance to rot and insect damage, its ability to withstand outdoor conditions, and its visual appeal. For example, woods like cedar, redwood, and cypress are naturally resistant to rot and insect damage, making them ideal choices for outdoor planters. On the other hand, woods like pine and fir may require additional treatment to ensure their longevity. By choosing the right type of wood, you can create a beautiful and functional wooden flower pot that will thrive in your garden. When learning how to make a wooden flower pot, it’s essential to select a wood that meets your needs and preferences.

How to Prepare Your Wood for Crafting
Before you begin assembling your wooden flower pot, it’s essential to prepare your wood for crafting. This step is crucial in ensuring a smooth and even surface for your planter. To prepare your wood, start by cutting it to the required size and shape using a saw or a miter saw. Next, sand the wood to remove any rough edges or splinters, using progressively finer grits of sandpaper. This will help to create a smooth surface for your planter. After sanding, treat the wood with a wood conditioner or a waterproofing agent to protect it from the elements and prevent rotting. This step is particularly important when learning how to make a wooden flower pot, as it will help to extend the life of your planter. Finally, allow the wood to dry completely before assembling your planter. By following these steps, you can ensure that your wood is properly prepared for crafting, resulting in a beautiful and functional wooden flower pot for your garden.
Designing Your Wooden Flower Pot: Shapes, Sizes, and Styles
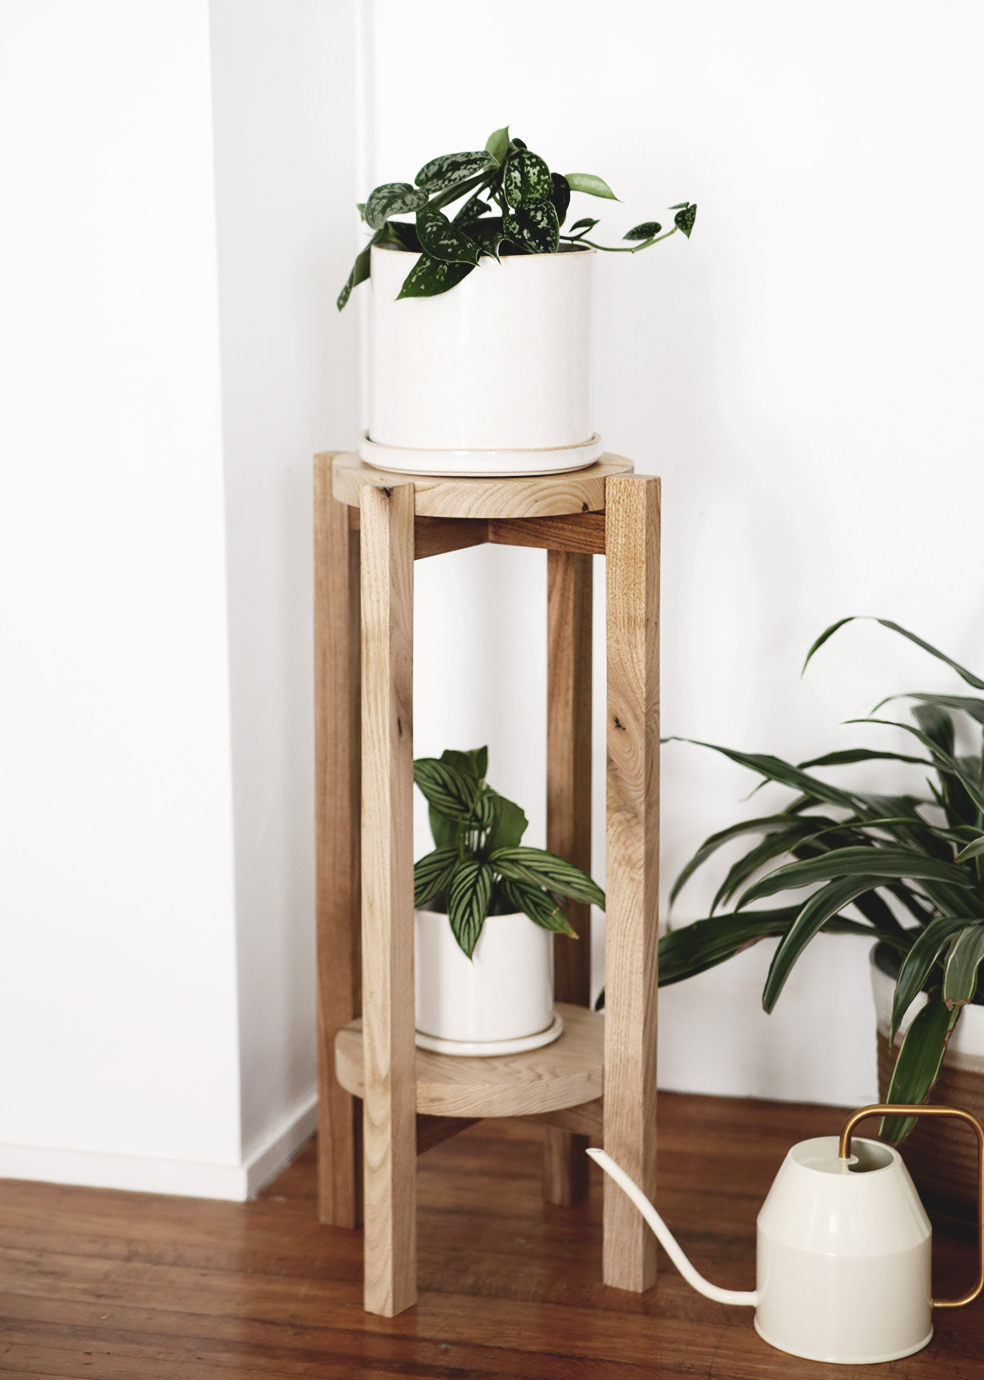
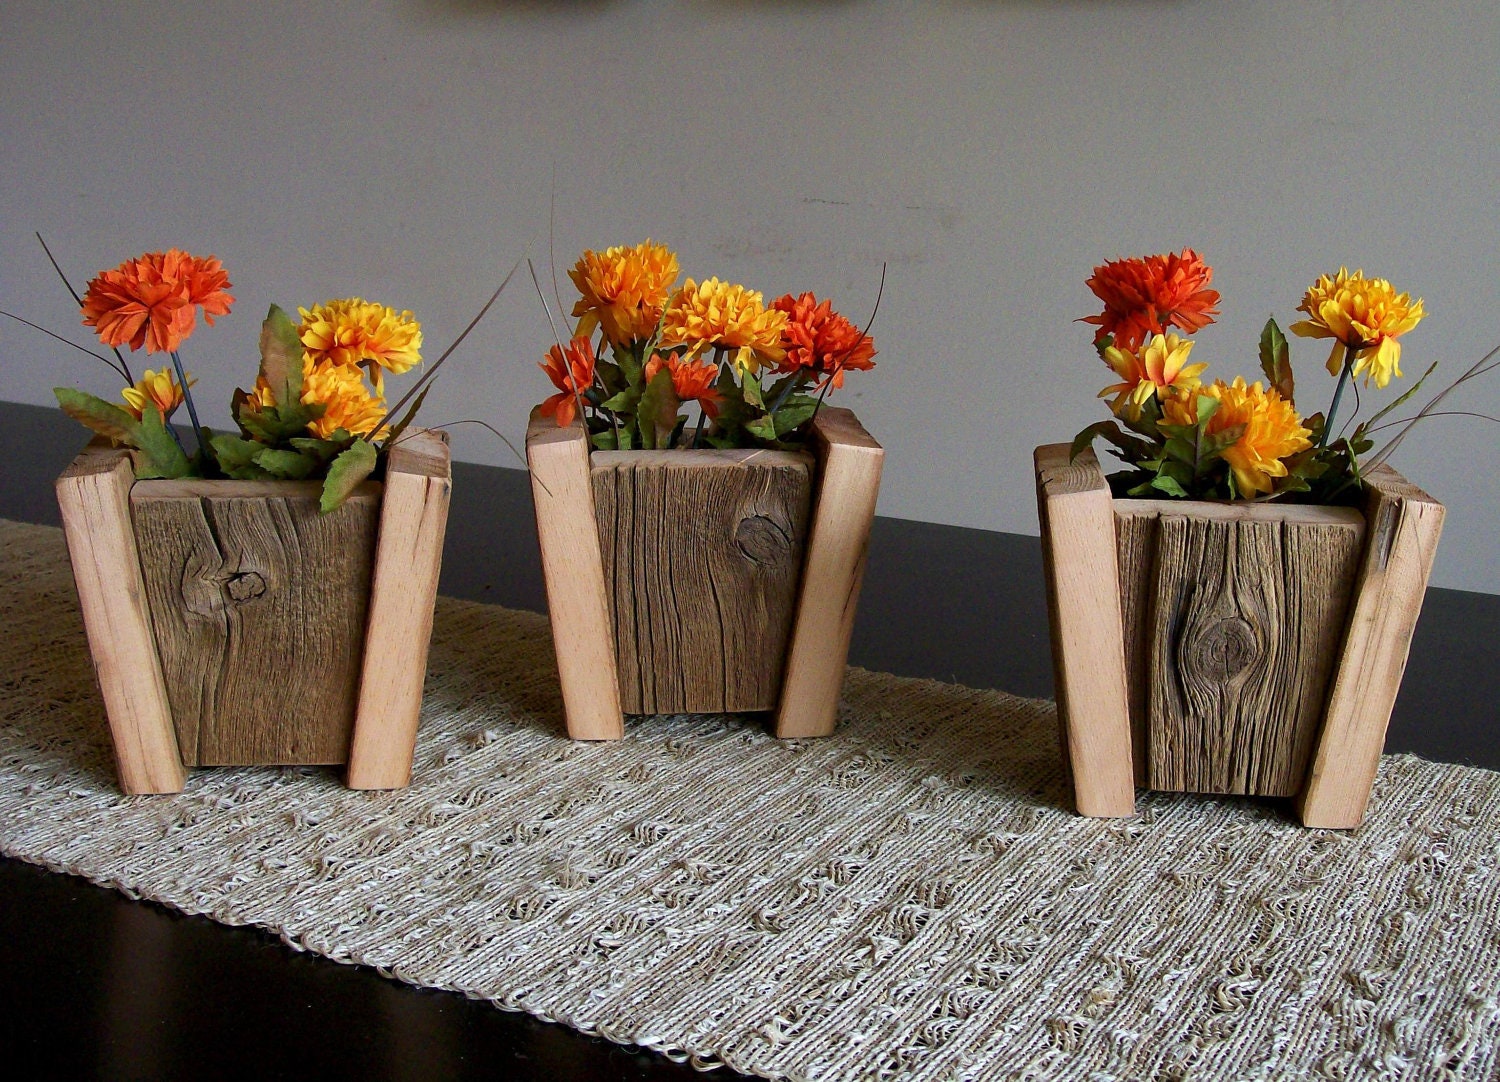
When it comes to designing your wooden flower pot, the possibilities are endless. From modern and sleek to rustic and charming, the right design can elevate your garden decor and make your planter a focal point. When learning how to make a wooden flower pot, consider the style and theme of your garden, as well as your personal taste and preferences. For a modern look, opt for clean lines, simple shapes, and a minimalist design. For a more rustic or traditional look, consider using ornate details, curved lines, and a distressed finish. In terms of size, choose a planter that is proportional to the space and the plants you plan to use. Consider the scale of your garden and the size of the plants you want to feature. You can also experiment with different shapes, such as square, round, or hexagonal, to add visual interest to your planter. By choosing the right design, shape, and size for your wooden flower pot, you can create a unique and functional piece that complements your garden decor and adds a personal touch to your outdoor space.

Assembling Your Wooden Planter: A Step-by-Step Guide
Once you have prepared your wood and designed your planter, it’s time to assemble the pieces. When learning how to make a wooden flower pot, this step can be the most challenging, but with a clear guide, you can achieve professional-looking results. Start by gathering all the necessary tools and materials, including a drill, screws, glue, and a hammer. Begin by assembling the base of the planter, using screws to attach the sides and bottom. Next, attach the sides and back of the planter, using a combination of screws and glue to ensure a strong bond. For the top and any additional features, such as a lid or handles, use a strong adhesive and attach them securely. To add extra stability, consider adding a bottom plate or a layer of waterproofing material. Finally, sand and finish the planter to protect the wood and enhance its appearance. By following these steps and tips, you can create a beautiful and functional wooden flower pot that will last for years to come.
Some additional tips to keep in mind when assembling your wooden planter include using a level to ensure the planter is even, clamping the pieces together to prevent movement, and applying even pressure when attaching the sides and top. By taking your time and following these steps, you can create a stunning wooden flower pot that will add a touch of elegance to your garden or outdoor space. Remember, with patience and practice, you can master the art of how to make a wooden flower pot and create a unique and functional piece that reflects your personal style.
Adding a Personal Touch: Decorating Your Wooden Planter
Once your wooden flower pot is assembled and finished, it’s time to add a personal touch to make it truly unique. When learning how to make a wooden flower pot, this step is where you can let your creativity shine. One of the easiest ways to add a personal touch is through painting or staining. Choose a color that complements your garden decor and adds a pop of color to your outdoor space. You can also add embellishments, such as carvings, engravings, or metal accents, to give your planter a more rustic or modern look. For a more subtle approach, consider adding a decorative trim or molding to the edges or corners of the planter. Another option is to add a personalized message or monogram to the planter, making it a one-of-a-kind piece.
When it comes to decorating your wooden flower pot, the possibilities are endless. You can also experiment with different textures and materials, such as adding a layer of moss or succulents to the top of the planter, or incorporating natural elements like shells or pebbles. By adding a personal touch to your wooden flower pot, you can create a truly unique piece that reflects your personal style and adds a touch of elegance to your garden or outdoor space. Remember, the key to making a beautiful wooden flower pot is to have fun and be creative, so don’t be afraid to experiment and try new things. With a little imagination and creativity, you can create a stunning wooden flower pot that will be the envy of all your friends and neighbors.

Tips for Planting and Maintaining Your Wooden Flower Pot
Once your wooden flower pot is complete, it’s time to add the final touches – the plants. When learning how to make a wooden flower pot, it’s essential to consider the type of plants you want to use and how to care for them. Start by selecting a high-quality potting soil that drains well and is specifically designed for outdoor plants. Choose plants that thrive in outdoor conditions and are suitable for your climate. Consider a mix of plants with different textures and colors to add visual interest to your wooden flower pot.
When planting, make sure to leave enough space between each plant for proper growth and air circulation. Water your plants thoroughly after planting and keep the soil consistently moist, but not waterlogged. Fertilize your plants regularly, using a balanced fertilizer that is specifically designed for outdoor plants. To keep your wooden flower pot looking its best, consider adding a layer of mulch or decorative stones to the top of the soil. This will help retain moisture, suppress weeds, and add a decorative touch.
Regular maintenance is crucial to keep your wooden flower pot looking its best. Check the soil moisture daily, and water as needed. Fertilize your plants regularly, and prune or trim them as necessary to maintain their shape and promote healthy growth. By following these tips, you can create a beautiful and thriving wooden flower pot that will add a touch of elegance to your garden or outdoor space. Remember, with proper care and maintenance, your wooden flower pot can last for years to come, providing a beautiful and functional way to display your favorite plants.

Common Mistakes to Avoid When Making a Wooden Flower Pot
When learning how to make a wooden flower pot, it’s essential to avoid common mistakes that can lead to a failed project. One of the most critical mistakes is inaccurate measurement. Make sure to double-check your measurements before cutting your wood to ensure a precise fit. Another common error is improper assembly, which can lead to a weak or unstable structure. Take your time when assembling your wooden flower pot, and make sure to use the right joining techniques and glues.
Finishing mistakes are also common, such as applying too much or too little finish, or using the wrong type of finish for your wood. Always follow the manufacturer’s instructions when applying a finish, and test it on a small, inconspicuous area first. Additionally, failing to prepare your wood properly can lead to a rough or uneven surface. Make sure to sand your wood thoroughly and treat it with a wood conditioner if necessary.
Other common mistakes include using low-quality materials, such as cheap wood or inferior fasteners, and not considering the weather resistance of your wood. Always choose high-quality materials that are suitable for outdoor use, and consider applying a weather-resistant finish to protect your wooden flower pot from the elements. By avoiding these common mistakes, you can ensure a successful project and create a beautiful and functional wooden flower pot for your garden.
Remember, making a wooden flower pot requires patience, attention to detail, and a willingness to learn. Don’t be discouraged if you encounter setbacks or mistakes along the way. Instead, use them as an opportunity to learn and improve your skills. With practice and experience, you’ll be able to create a stunning wooden flower pot that will add a touch of elegance to your garden or outdoor space. When learning how to make a wooden flower pot, it’s essential to take your time, follow instructions carefully, and avoid common mistakes that can lead to a failed project.
