Unlocking the Secrets to a Thriving Rubber Plant
Rubber plants have become a staple in many homes due to their low-maintenance requirements and ability to purify the air. However, to ensure optimal growth and health, it’s essential to provide your rubber plant with the right conditions. Caring for a rubber plant requires attention to its specific needs, and with the right techniques, you can enjoy the beauty and benefits of this popular houseplant. By understanding the importance of proper care, you can unlock the secrets to a thriving rubber plant that will bring joy and freshness to your home.

Click Image to Find Garden Products
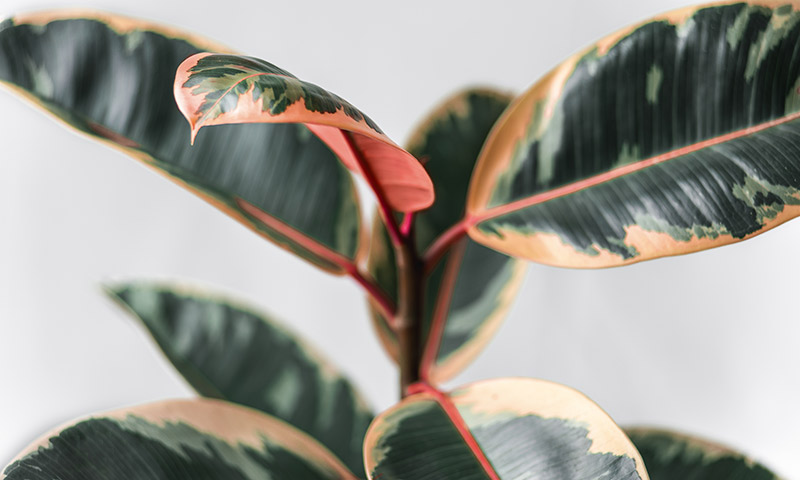
One of the primary reasons rubber plants are so popular is their ability to tolerate a range of lighting conditions. However, to truly thrive, rubber plants require bright, indirect light. Placing your rubber plant near an east- or west-facing window is ideal, as it will provide the necessary light without causing the leaves to become scorched. Avoid placing your rubber plant in direct sunlight, as this can cause the leaves to become discolored and the plant to become stressed.
In addition to proper lighting, rubber plants also require consistent temperatures and humidity levels. Keeping your rubber plant in an area with a consistent temperature between 65-75°F (18-24°C) is ideal, as this will promote healthy growth and prevent stress. Maintaining a humidity level of 50-60% is also essential, as rubber plants prefer a relatively high humidity environment. You can increase the humidity around your plant by placing it on a tray filled with water and pebbles or using a humidifier.
By providing your rubber plant with the right conditions and care, you can enjoy the many benefits it has to offer. From air purification to aesthetic appeal, rubber plants are a great addition to any home. By following the tips and techniques outlined in this article, you’ll be well on your way to becoming a rubber plant expert and enjoying the beauty and freshness of this popular houseplant.

How to Choose the Perfect Spot for Your Rubber Plant
When it comes to caring for a rubber plant, selecting the right location is crucial for its optimal growth and health. Rubber plants prefer bright, indirect light, but can tolerate low light conditions. However, direct sunlight can cause the leaves to become scorched and the plant to become stressed. To determine the best spot for your rubber plant, assess the lighting conditions in your home by observing the amount of direct sunlight each area receives.
East- and west-facing windows are ideal for rubber plants, as they provide gentle, indirect light. Avoid placing your rubber plant in a spot with direct sunlight, especially during peak hours. If you don’t have an east- or west-facing window, a north-facing window can also work, but the plant may not receive enough light to thrive.
In addition to lighting, temperature and humidity levels also play a crucial role in caring for a rubber plant. Rubber plants prefer temperatures between 65-75°F (18-24°C) and humidity levels between 50-60%. Avoid placing your rubber plant near heating or cooling vents, fireplaces, or drafty windows, as this can cause temperature fluctuations and stress the plant.
When choosing a spot for your rubber plant, also consider the air circulation in the area. Rubber plants prefer good air circulation to prevent fungal diseases and pest infestations. Keep your rubber plant at least 6-8 inches away from any walls or other plants to ensure good air circulation.
By carefully selecting the right location for your rubber plant, you can provide it with the optimal conditions for growth and health. Remember to consider lighting, temperature, humidity, and air circulation when choosing the perfect spot for your rubber plant.
The Art of Watering Your Rubber Plant: A Delicate Balance
Watering is a crucial aspect of caring for a rubber plant, as it requires a delicate balance to prevent overwatering and underwatering. Rubber plants prefer moist soil, but can tolerate some drought. However, consistent overwatering can lead to root rot, while underwatering can cause the leaves to become crispy and dry.
To determine the right watering schedule for your rubber plant, check the soil moisture by sticking your finger into the soil up to the first knuckle. If the soil feels dry, it’s time to water. If it’s already moist, wait a few more days before checking again. Water your rubber plant thoroughly, making sure the pot drains well to prevent waterlogged soil.
The frequency of watering depends on the time of year, temperature, and humidity. During the spring and summer months, rubber plants require more frequent watering, as they are actively growing. In the fall and winter months, reduce watering to once a month, as the plant is dormant.
It’s also essential to consider the potting mix and pot size when watering your rubber plant. A well-draining potting mix can help prevent waterlogged soil, while a smaller pot may require more frequent watering. Avoid getting water on the leaves or crown of the plant, as this can cause rot and other problems.
By mastering the art of watering your rubber plant, you can provide it with the right amount of moisture to thrive. Remember to check the soil moisture regularly, adjust your watering schedule according to the season, and avoid overwatering to prevent root rot and other issues.
Fertilizing Your Rubber Plant: A Key to Promoting Healthy Growth
Fertilizing is an essential part of caring for a rubber plant, as it provides the necessary nutrients for healthy growth and development. Rubber plants require a balanced fertilizer that contains equal amounts of nitrogen, phosphorus, and potassium. A balanced fertilizer will promote healthy growth, encourage leaf development, and support root growth.
When selecting a fertilizer for your rubber plant, look for a product that is specifically formulated for indoor plants. Avoid using fertilizers that are high in nitrogen, as this can cause the plant to become leggy and weak. Instead, opt for a balanced fertilizer that contains micronutrients such as iron, magnesium, and calcium.
The frequency of fertilization depends on the time of year and the plant’s growth cycle. During the spring and summer months, fertilize your rubber plant once a month to promote healthy growth. In the fall and winter months, reduce fertilization to once every two months, as the plant is dormant.
It’s also essential to consider the type of fertilizer you use. Organic fertilizers, such as fish emulsion or compost tea, are a great option for rubber plants. These fertilizers release nutrients slowly, providing a steady supply of nutrients to the plant. Chemical fertilizers, on the other hand, can provide a quick burst of nutrients, but can also cause burning if overused.
When fertilizing your rubber plant, always follow the instructions on the label and start with a small amount. You can always increase the amount of fertilizer later if needed. Also, avoid fertilizing your rubber plant when it is under stress or diseased, as this can cause further damage.
Pruning and Grooming: Maintaining Your Rubber Plant’s Shape and Size
Pruning and grooming are essential parts of caring for a rubber plant, as they help maintain the plant’s shape and size. Regular pruning also encourages healthy growth and promotes air circulation, which can help prevent disease. To prune your rubber plant, start by removing any dead or damaged leaves or stems. Use a pair of clean, sharp scissors or pruning shears to make clean cuts, and avoid tearing the leaves or stems.
Next, inspect the plant for any leggy or overgrown stems. Cut these stems back to about half their length, making sure to leave at least two nodes (the joint where a leaf meets the stem) intact. This will help the plant bush out and maintain its shape. You can also remove any weak or spindly growth to encourage a fuller, more robust plant.
When pruning, make sure to disinfect your tools between cuts to prevent the spread of disease. You can also use a gentle pruning technique called “pinching” to encourage branching and promote a fuller plant. To pinch, simply grasp the stem between your thumb and index finger and gently squeeze, removing the top growth.
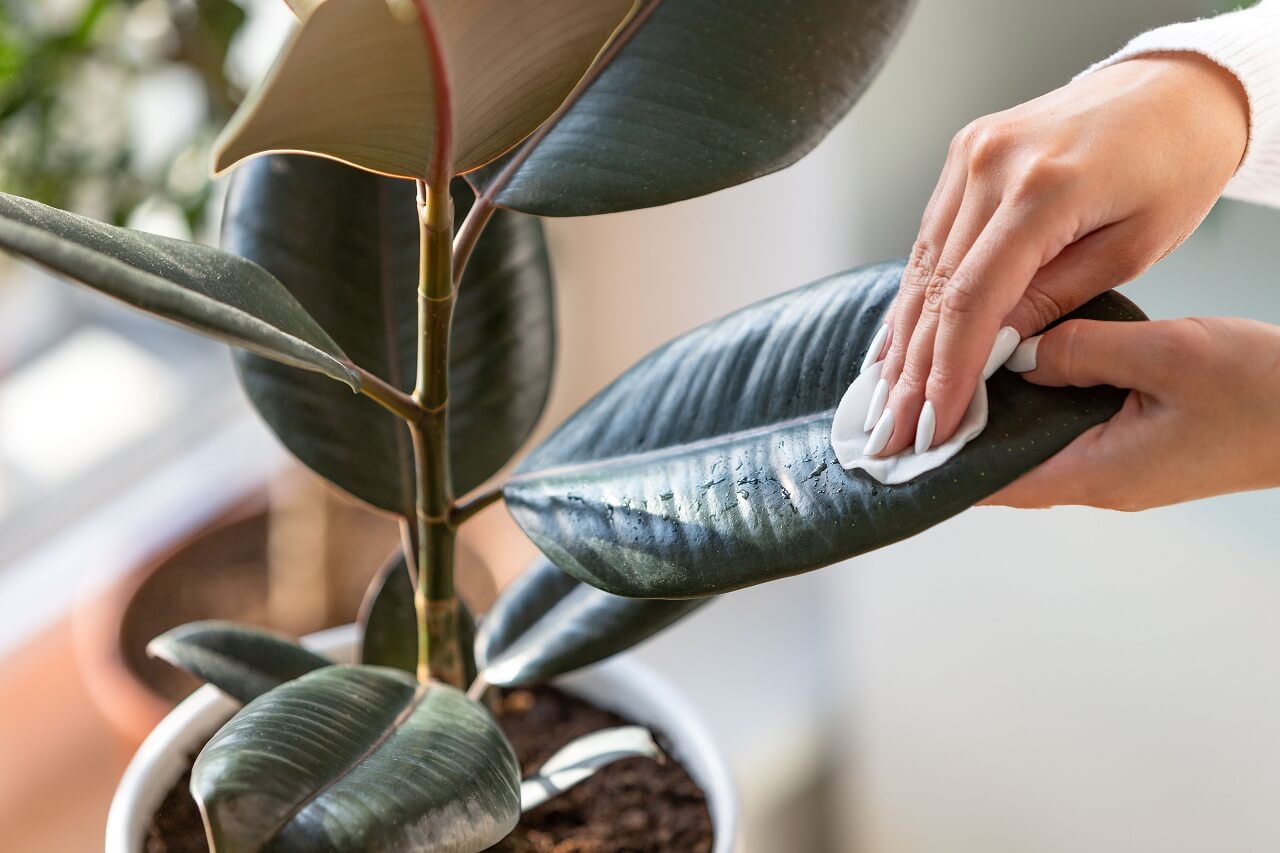
In addition to pruning, regular grooming can also help maintain your rubber plant’s appearance. Use a soft-bristled brush or a damp cloth to gently remove any dust or debris from the leaves. This will help keep the plant looking its best and prevent the buildup of pests or diseases.
By pruning and grooming your rubber plant regularly, you can help maintain its shape and size, promote healthy growth, and encourage a fuller, more robust plant. Remember to prune and groom your plant gently, as rough handling can cause damage and stress.
Pest Control and Common Problems: Identifying and Solving Issues
Despite their hardiness, rubber plants can be susceptible to pests and diseases. Regular monitoring and prompt action can help prevent infestations and infections. Here are some common pests and problems that can affect rubber plants, along with guidance on how to identify and solve them.
Spider mites are a common pest that can infest rubber plants. These tiny, spider-like insects feed on the plant’s sap, causing yellowing or bronzing of the leaves. To control spider mites, use a gentle insecticidal soap or neem oil spray. Repeat the treatment every 7-10 days to ensure that all stages of the mite’s life cycle are targeted.
Mealybugs are another common pest that can infest rubber plants. These small, white, cottony insects feed on the plant’s sap, causing stunted growth and yellowing leaves. To control mealybugs, use a gentle insecticidal soap or neem oil spray. Repeat the treatment every 7-10 days to ensure that all stages of the mealybug’s life cycle are targeted.
Root rot is a common problem that can affect rubber plants, especially if the soil is too wet or waterlogged. To prevent root rot, make sure the soil drains well and avoid overwatering. If you suspect root rot, repot the plant in fresh, well-draining soil and reduce watering.
Other common problems that can affect rubber plants include leaf drop, leaf curl, and leaf scorch. These problems can be caused by a range of factors, including overwatering, underwatering, and exposure to extreme temperatures. To solve these problems, adjust your watering schedule and provide the plant with bright, indirect light.
By being aware of these common pests and problems, you can take prompt action to prevent infestations and infections. Regular monitoring and good care practices can help keep your rubber plant healthy and thriving.
Repotting Your Rubber Plant: When and How to Do It
Repotting is an essential part of caring for a rubber plant, as it provides the plant with fresh soil and a larger pot to accommodate its growing roots. However, repotting can be a bit tricky, and it’s essential to do it correctly to avoid stressing the plant. Here are some signs that indicate it’s time to repot your rubber plant:
One of the most obvious signs that your rubber plant needs to be repotted is when the soil becomes packed and the plant’s roots start to grow out of the pot. You may also notice that the plant is top-heavy and prone to tipping over. Another sign is when the plant’s growth slows down, and it’s not producing new leaves or stems.
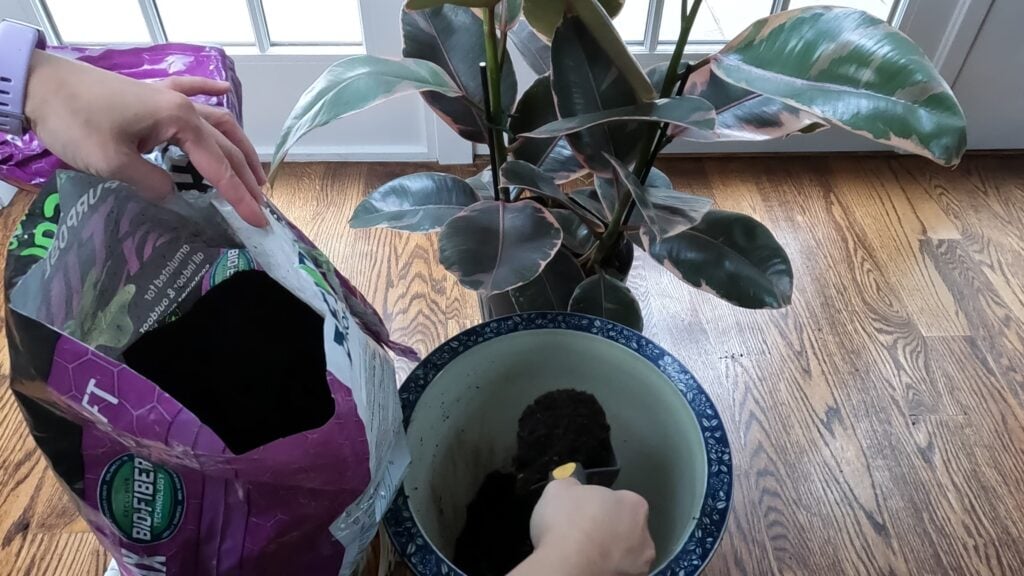
To repot your rubber plant, start by choosing a pot that is only slightly larger than the current one. A pot that is too large can cause the soil to become too wet, leading to root rot. Next, select a well-draining potting mix that is specifically designed for indoor plants. Avoid using regular garden soil, as it can compact and prevent proper drainage.
When repotting, gently remove the plant from its pot and inspect the roots. If the roots are circling or growing out of the pot, use a pair of clean scissors or pruning shears to trim them back. This will help the plant to grow new roots and prevent it from becoming pot-bound.
Once you have prepared the new pot and soil, gently place the plant in the pot and add fresh soil around the roots. Make sure to leave enough space between the soil surface and the top of the pot for watering. Finally, water the plant thoroughly and provide it with bright, indirect light.
By repotting your rubber plant correctly, you can provide it with the fresh soil and larger pot it needs to thrive. Remember to repot your plant every 1-2 years to keep it healthy and happy.
Propagation and Sharing: How to Multiply Your Rubber Plant
Propagation is a great way to share your rubber plant with friends and family, and it’s also a good way to create new plants for yourself. There are two main methods of propagating rubber plants: leaf cuttings and stem cuttings. Both methods are relatively easy and can be done with a few simple tools.
To propagate a rubber plant using leaf cuttings, start by selecting a healthy leaf with a long petiole (the stem that attaches the leaf to the plant). Cut the petiole about 1-2 inches from the base of the leaf, and remove any lower leaves that will be submerged in water. Place the cut end of the petiole in a glass of water, and keep the water level topped up. Roots should start to develop within 1-2 weeks, and you can then transfer the new plant to a pot filled with well-draining soil.
To propagate a rubber plant using stem cuttings, start by selecting a healthy stem with at least two nodes (the joint where a leaf meets the stem). Cut the stem about 1-2 inches below a node, and remove any lower leaves that will be submerged in water. Place the cut end of the stem in a glass of water, and keep the water level topped up. Roots should start to develop within 1-2 weeks, and you can then transfer the new plant to a pot filled with well-draining soil.
Once you have propagated your rubber plant, you can share it with friends and family by potting up the new plants and giving them away. You can also use the new plants to create a beautiful display in your home or office. With a little care and attention, your rubber plant can provide you with years of enjoyment and beauty.
