Choosing the Right Container for Your Tulips
When it comes to growing tulips in pots, selecting the right container is crucial for optimal growth and health. A well-draining pot is essential to prevent waterlogged soil, which can lead to root rot and other problems. Look for containers made from materials like terracotta, ceramic, or wood, which allow for good air circulation and moisture release.

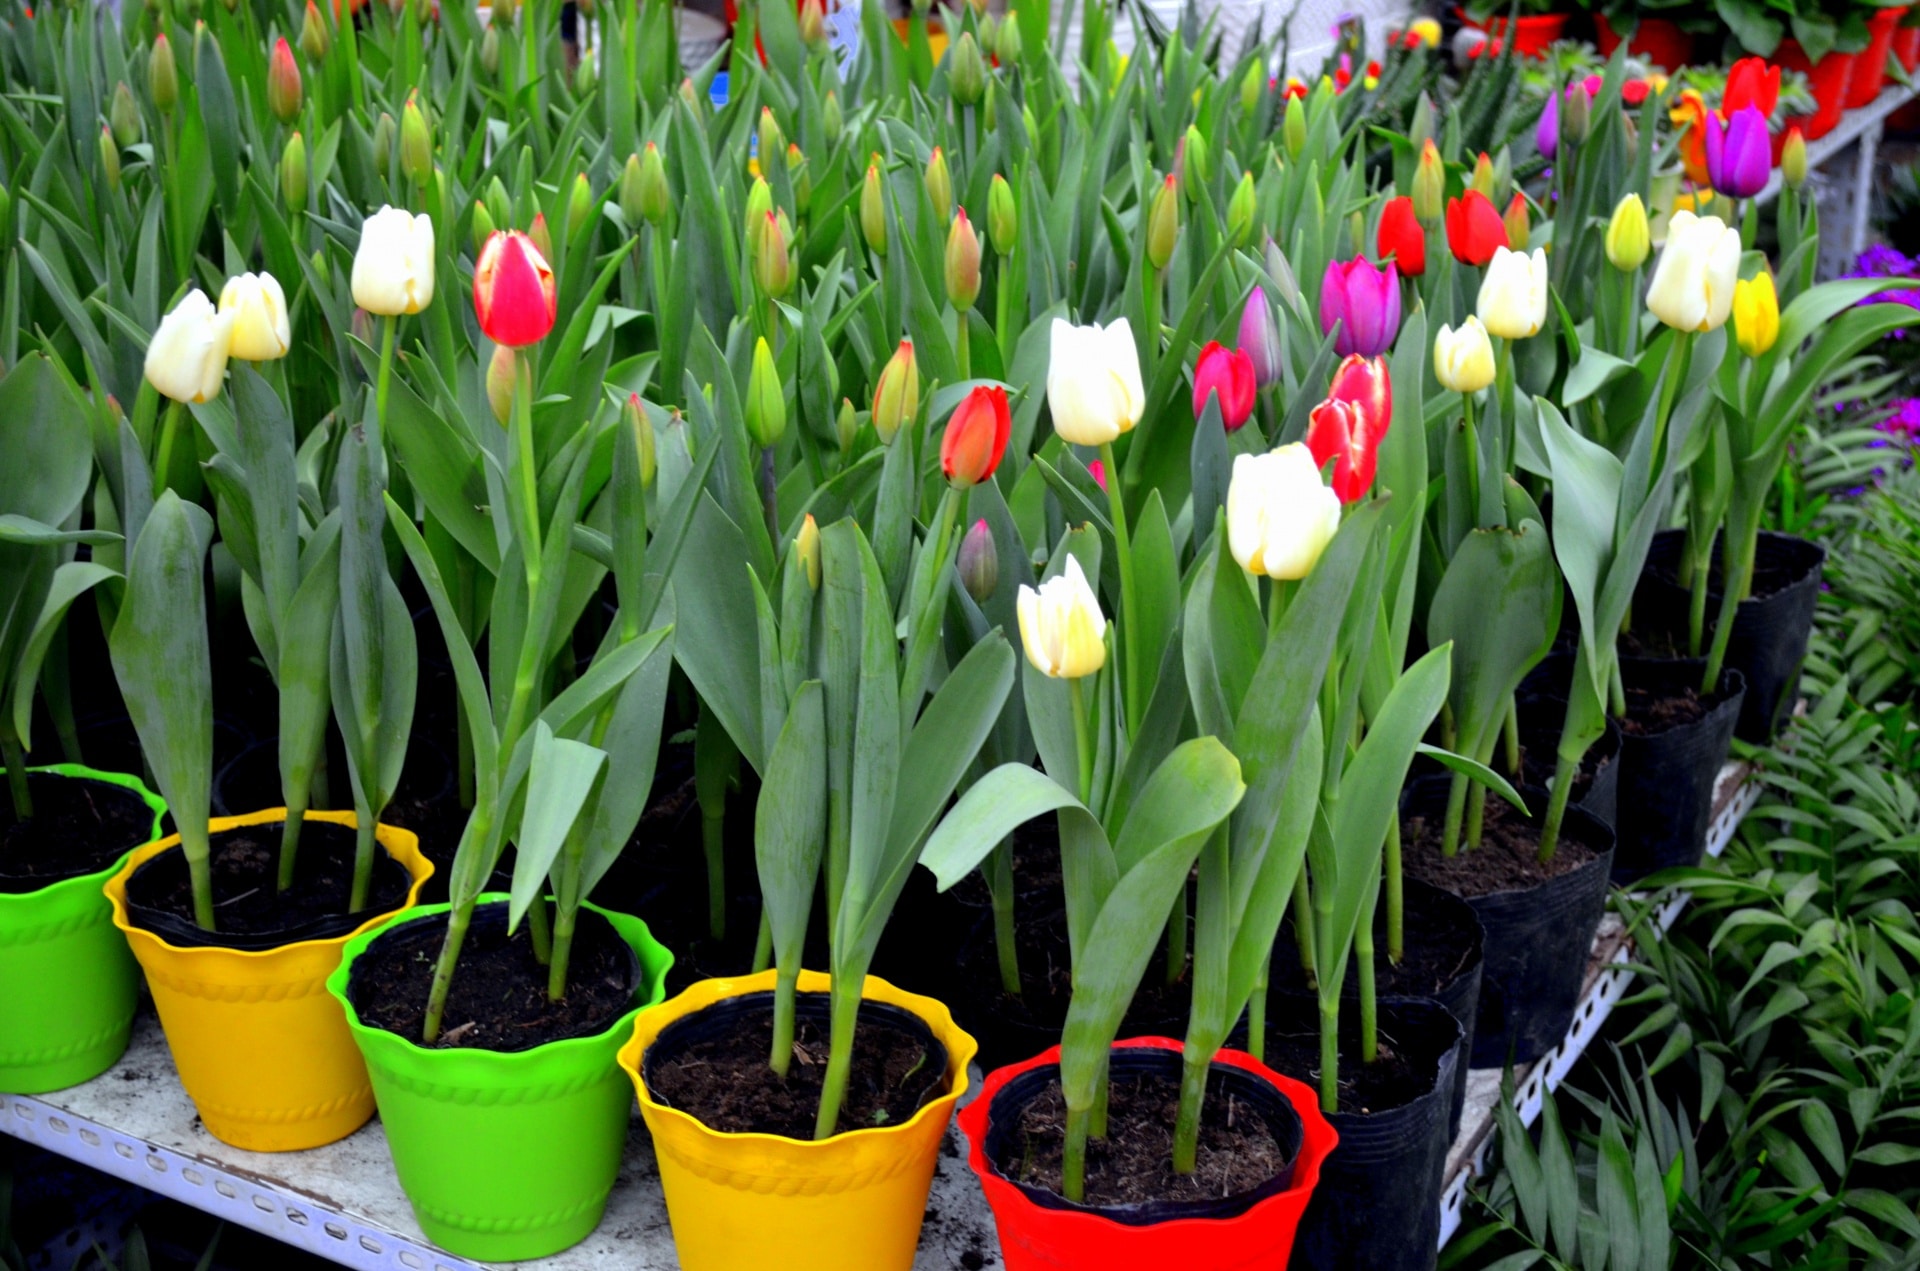
Click Image to Find Garden Products
Consider the size of the container, too. Tulip bulbs need room to grow, so choose a pot that is at least 6-8 inches deep and has a wide enough mouth to accommodate the bulb’s growth. A larger pot will also provide stability and prevent the soil from drying out too quickly.
In addition to material and size, think about the shape of the container. Tulips have a tendency to grow quite tall, so a pot with a narrow neck and a wider base will provide support and prevent the stems from toppling over.
By choosing the right container for your tulips, you’ll be well on your way to creating a vibrant and thriving display. Remember to include the main keyword “how to care for tulips in a pot” in your search for the perfect container, and don’t be afraid to get creative with your selection.
Some popular options for tulip containers include:
- Terracotta pots with built-in saucers for added drainage
- Ceramic planters with intricate designs and patterns
- Wooden planters with a natural, rustic look
Whichever container you choose, make sure it has drainage holes in the bottom to prevent water from accumulating in the soil. With the right container, you’ll be able to provide your tulips with the care they need to thrive.

Planting Tulip Bulbs in Pots: A Step-by-Step Guide
Planting tulip bulbs in pots is a straightforward process that requires some basic preparation and attention to detail. By following these steps, you’ll be able to give your tulips the best possible start in life and enjoy a vibrant display of color in the spring.
Step 1: Prepare the Soil
Before planting your tulip bulbs, make sure the soil in your pot is well-draining and rich in organic matter. You can achieve this by mixing in some compost or well-rotted manure. If your potting soil is heavy clay or sandy, consider adding some perlite or vermiculite to improve its structure.
Step 2: Plant the Bulbs at the Right Depth
Plant your tulip bulbs at a depth of 2-3 times their height. This will help to prevent the bulbs from rotting and ensure that the stems grow straight and tall. Make sure the pointed end of the bulb is facing upwards and the flat base is facing downwards.
Step 3: Space Multiple Bulbs Correctly
If you’re planting multiple tulip bulbs in the same pot, make sure to space them correctly. A general rule of thumb is to plant the bulbs 3-4 inches apart, depending on the variety. This will give the bulbs enough room to grow and prevent them from becoming too crowded.
Step 4: Water and Mulch
After planting your tulip bulbs, water the soil gently but thoroughly. Add a layer of mulch or compost to the surface of the soil to help retain moisture and suppress weeds.
By following these simple steps, you’ll be able to plant your tulip bulbs with confidence and enjoy a beautiful display of color in the spring. Remember to include “how to care for tulips in a pot” in your search for more tips and advice on caring for your potted tulips.
Some additional tips to keep in mind when planting tulip bulbs in pots include:
- Planting the bulbs in the fall, about 6-8 weeks before the first frost
- Using a pot that is at least 6-8 inches deep to accommodate the bulb’s growth
- Adding a layer of gravel or broken pottery to the bottom of the pot to improve drainage
By following these tips and guidelines, you’ll be able to create a stunning display of potted tulips that will brighten up your home and garden.
Watering and Humidity: The Key to Healthy Tulips
Proper watering and humidity are crucial for the health and well-being of potted tulips. Tulips need consistent moisture, especially during the growing season, but overwatering can be detrimental to their health.
To check soil moisture, stick your finger into the soil up to the first knuckle. If the soil feels dry, it’s time to water. Water your tulips thoroughly, making sure the pot drains well to prevent waterlogged soil.
The ideal time to water tulips is in the morning, so the plants have the entire day to absorb the moisture. Avoid getting water on the leaves or flowers, as this can cause fungal diseases to develop.
In addition to proper watering, maintaining optimal humidity levels is also important for potted tulips. Tulips prefer a relatively low humidity environment, around 40-50%. You can increase humidity around your tulips by placing the pot on a tray filled with water and pebbles or using a humidifier.
It’s also important to monitor the temperature of your tulips’ environment. Most tulip varieties prefer daytime temperatures between 65-75°F (18-24°C) and nighttime temperatures around 55-65°F (13-18°C).
By following these watering and humidity guidelines, you’ll be able to provide your potted tulips with the right conditions to thrive. Remember to include “how to care for tulips in a pot” in your search for more tips and advice on caring for your potted tulips.
Some additional tips to keep in mind when it comes to watering and humidity include:
- Avoid getting water on the leaves or flowers to prevent fungal diseases
- Use a well-draining potting mix to prevent waterlogged soil
- Monitor the temperature of your tulips’ environment to ensure optimal growth
By following these tips and guidelines, you’ll be able to create a healthy and thriving environment for your potted tulips.
Fertilizing Potted Tulips for Optimal Growth
Fertilizing potted tulips is an essential part of their care, as it provides them with the necessary nutrients for optimal growth and blooming. Tulips are heavy feeders and require a balanced fertilizer that is high in phosphorus, which promotes root development and blooming.
When choosing a fertilizer for your potted tulips, look for a balanced formula that contains nitrogen, phosphorus, and potassium (NPK). A fertilizer with a ratio of 10-20-10 (nitrogen-phosphorus-potassium) is ideal for tulips.
Apply the fertilizer at the right time, which is typically during the growing season (spring and summer). Avoid fertilizing during the dormant season (fall and winter), as this can cause the bulbs to rot.
The frequency of fertilization depends on the type of fertilizer you use. If you’re using a slow-release fertilizer, you can apply it once a month. If you’re using a water-soluble fertilizer, you can apply it every two weeks.
Some additional tips to keep in mind when fertilizing potted tulips include:
- Avoid overfertilizing, as this can cause more harm than good
- Use a fertilizer that is specifically formulated for bulbs, as these products contain the necessary nutrients for optimal growth
- Follow the instructions on the fertilizer package carefully, as the application rates and frequencies may vary
By fertilizing your potted tulips regularly, you’ll be able to provide them with the necessary nutrients for optimal growth and blooming. Remember to include “how to care for tulips in a pot” in your search for more tips and advice on caring for your potted tulips.
In addition to fertilizing, make sure to provide your potted tulips with the right light and temperature conditions, as well as proper watering and humidity. By following these care tips, you’ll be able to create a healthy and thriving environment for your potted tulips.

Providing the Right Light and Temperature for Tulips
Light and temperature are two crucial factors that can affect the growth and blooming of potted tulips. Tulips generally require bright, indirect light to photosynthesize and grow. However, direct sunlight can be too intense and may cause the flowers to fade or the leaves to become scorched.
To provide the right light conditions for your potted tulips, place them in a spot that receives bright, indirect light for at least 4-6 hours a day. East- or west-facing windows are ideal for tulips, as they provide gentle, indirect light.
In addition to light, temperature is also an important factor to consider when caring for potted tulips. Tulips prefer cooler temperatures, typically between 60-70°F (15-21°C), during the day and around 50-60°F (10-15°C) at night.
Some tulip varieties, such as the ‘Fringed’ and ‘Lily-flowered’ types, require even cooler temperatures to bloom well. These varieties prefer daytime temperatures around 50-60°F (10-15°C) and nighttime temperatures around 40-50°F (4-10°C).
To provide the right temperature conditions for your potted tulips, keep them away from heating vents, radiators, and other sources of heat. You can also use a thermometer to monitor the temperature and adjust it accordingly.
Some additional tips to keep in mind when providing light and temperature for potted tulips include:
- Avoid placing tulips in areas with drafts or extreme temperature fluctuations
- Use a sheer curtain or shade to filter direct sunlight and prevent scorching
- Monitor the temperature and adjust it accordingly to promote healthy growth and blooming
By providing the right light and temperature conditions, you’ll be able to promote healthy growth and blooming in your potted tulips. Remember to include “how to care for tulips in a pot” in your search for more tips and advice on caring for your potted tulips.
In addition to light and temperature, make sure to provide your potted tulips with proper watering, fertilization, and pest control to ensure they thrive.
/494289973-56a34a3b3df78cf7727cb9d2.jpg)
Pest and Disease Control: Common Issues and Solutions
Potted tulips can be susceptible to pests and diseases, which can affect their growth and blooming. Some common pests that can affect potted tulips include aphids, slugs, and snails. These pests can cause damage to the leaves and flowers, and can also spread diseases.
Aphids are small, soft-bodied insects that feed on the sap of the tulip plant. They can cause curled or distorted leaves, and can also spread plant viruses. To control aphids, use insecticidal soap or neem oil, and make sure to spray the undersides of the leaves where the aphids tend to congregate.
Slugs and snails are common pests that can affect potted tulips, especially at night. They can cause holes in the leaves and flowers, and can also spread diseases. To control slugs and snails, use copper tape or crushed eggshells around the pot, and make sure to remove any debris or weeds that can provide shelter for these pests.
Fungal infections are also common in potted tulips, especially in humid or wet conditions. These infections can cause yellowing or browning of the leaves, and can also affect the flowers. To control fungal infections, use a fungicide specifically designed for tulips, and make sure to improve air circulation around the pot.
Some additional tips to keep in mind when controlling pests and diseases in potted tulips include:
- Inspect the plants regularly for signs of pests or diseases
- Use physical barriers, such as fine mesh or fine netting, to prevent pests from reaching the plants
- Keep the potting mix clean and free of debris to prevent the spread of diseases
By following these tips and guidelines, you’ll be able to prevent and control pests and diseases in your potted tulips. Remember to include “how to care for tulips in a pot” in your search for more tips and advice on caring for your potted tulips.
In addition to pest and disease control, make sure to provide your potted tulips with proper watering, fertilization, and light to ensure they thrive.

Deadheading and Post-Bloom Care for Potted Tulips
Deadheading and post-bloom care are crucial steps in maintaining the health and beauty of potted tulips. Deadheading involves removing the spent flowers, while post-bloom care involves trimming the foliage and preparing the bulbs for next year’s bloom.
To deadhead potted tulips, simply snip off the spent flowers at the base of the stem, making sure not to damage the leaves or the bulb. This will help to direct the plant’s energy towards re-growing and storing energy for next year’s bloom.
After deadheading, trim the foliage to about 3-4 inches from the ground. This will help to prevent the plant from putting energy into seed production and instead direct it towards re-growing and storing energy for next year’s bloom.
It’s also important to allow the foliage to die back naturally, as this will help the bulb to store energy for next year’s bloom. Avoid cutting back the foliage too early, as this can weaken the bulb and reduce next year’s bloom.
Some additional tips to keep in mind when deadheading and providing post-bloom care for potted tulips include:
- Make sure to remove any seed pods that form after blooming, as these can drain energy from the bulb
- Keep the potting mix moist but not waterlogged, as this can cause the bulb to rot
- Consider adding a layer of compost or well-rotted manure to the potting mix to provide nutrients for next year’s bloom
By following these tips and guidelines, you’ll be able to provide your potted tulips with the care they need to thrive and bloom beautifully next year. Remember to include “how to care for tulips in a pot” in your search for more tips and advice on caring for your potted tulips.
In addition to deadheading and post-bloom care, make sure to provide your potted tulips with proper watering, fertilization, and light to ensure they thrive.
Tips for Overwintering Potted Tulips
Overwintering potted tulips requires careful planning and attention to detail. To protect the bulbs from extreme temperatures, moisture, and pests, follow these tips:
First, make sure to stop watering your potted tulips about 6-8 weeks before the first frost. This will help to prevent the bulbs from rotting and reduce the risk of disease.
Next, move the pots to a cool, dark location with temperatures between 40-50°F (4-10°C). This will help to slow down the growth of the bulbs and prepare them for the winter months.
During the winter months, keep the pots away from direct sunlight and extreme temperatures. You can also cover the pots with a layer of straw or mulch to protect the bulbs from moisture and pests.
In the spring, when the weather starts to warm up, you can move the pots back to their original location and start watering them again. Make sure to fertilize the bulbs with a balanced fertilizer to promote healthy growth and blooming.
Some additional tips to keep in mind when overwintering potted tulips include:
- Make sure to check the bulbs regularly for signs of rot or disease
- Keep the pots away from rodents and other pests that may try to eat the bulbs
- Consider using a cold frame or greenhouse to protect the bulbs from extreme temperatures and moisture
By following these tips and guidelines, you’ll be able to overwinter your potted tulips successfully and enjoy a beautiful display of blooms in the spring. Remember to include “how to care for tulips in a pot” in your search for more tips and advice on caring for your potted tulips.
In addition to overwintering, make sure to provide your potted tulips with proper watering, fertilization, and light to ensure they thrive.
