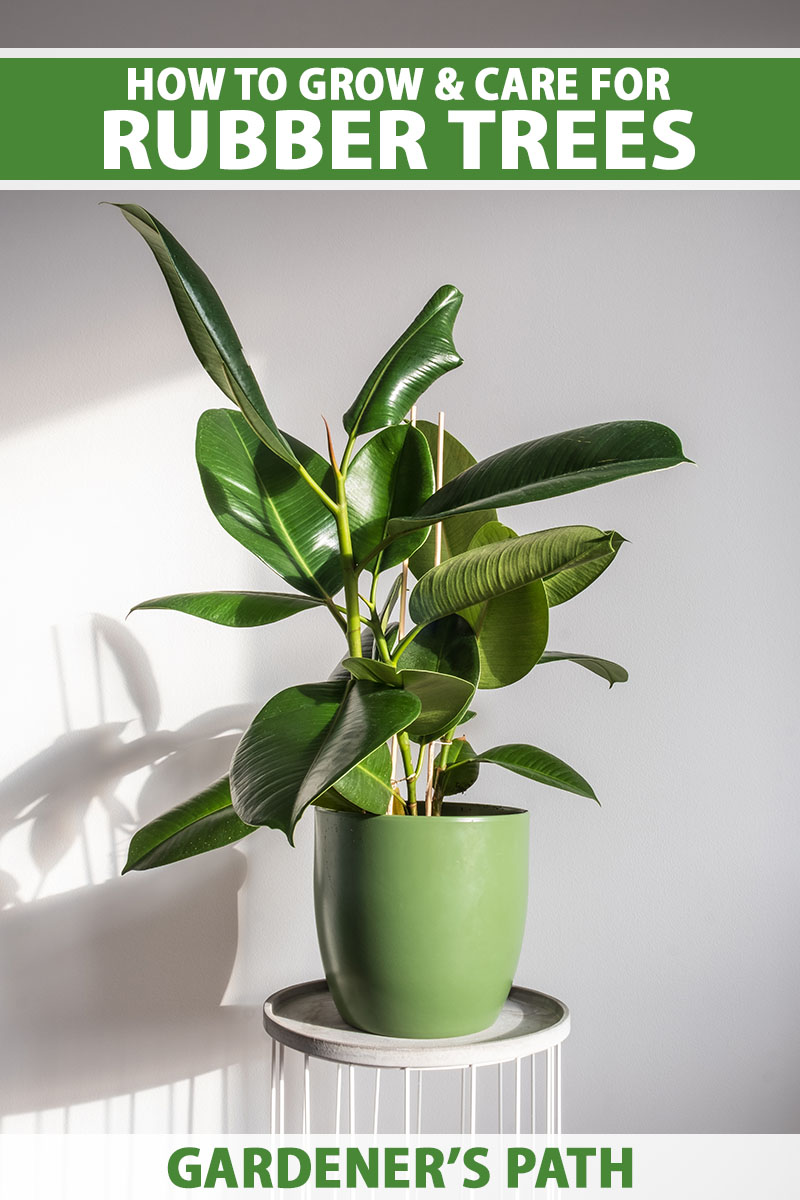
Unlocking the Secrets to a Thriving Rubber Plant
Rubber plants have become a staple in many homes due to their low-maintenance requirements and striking appearance. With their large, dark green leaves and robust stems, it’s no wonder why they’re a popular choice among plant enthusiasts. However, to ensure your rubber plant thrives and maintains its aesthetic appeal, it’s essential to provide it with the right care. Caring for a rubber plant requires attention to its specific needs, including lighting, watering, and fertilization. By understanding these needs, you can create an environment that allows your rubber plant to flourish.

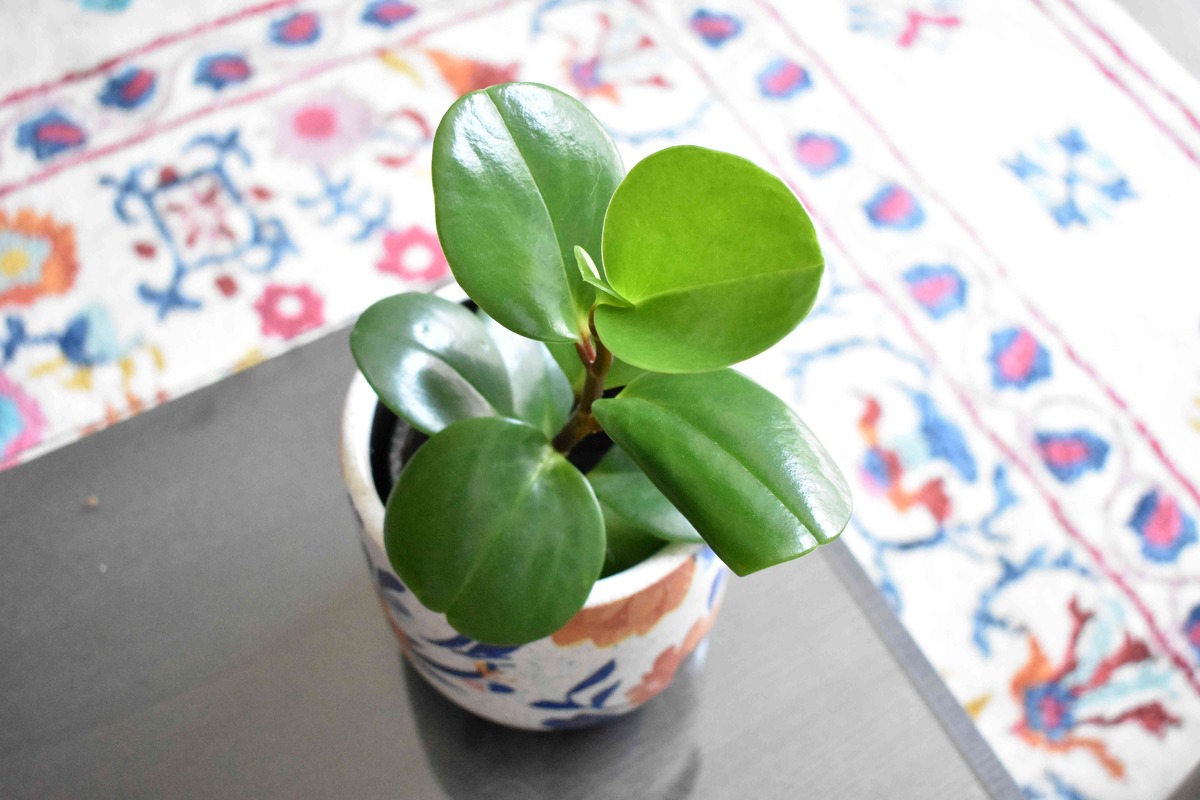
Click Image to Find Garden Products
One of the primary reasons rubber plants are often overlooked is that they can survive in a variety of conditions. However, this doesn’t mean they can thrive in any environment. To bring out the best in your rubber plant, it’s crucial to provide it with the right balance of light, water, and nutrients. This may involve adjusting your care routine seasonally or as your plant grows and matures. By taking the time to understand your rubber plant’s unique needs, you can enjoy its beauty and benefits for years to come.
In addition to their attractive appearance, rubber plants are also known for their air-purifying properties. They’re capable of removing toxins and pollutants from the air, making them a great addition to any home or office. However, to reap these benefits, it’s essential to provide your rubber plant with the right care. This includes regular watering, fertilization, and pruning to maintain its health and promote healthy growth.
By investing time and effort into caring for your rubber plant, you can enjoy its many benefits and create a beautiful, thriving addition to your space. Whether you’re a seasoned plant enthusiast or just starting out, understanding the needs of your rubber plant is key to unlocking its full potential. In the following sections, we’ll delve deeper into the specifics of caring for a rubber plant, including lighting, watering, fertilization, and more.
How to Choose the Perfect Spot for Your Rubber Plant
When it comes to caring for a rubber plant, one of the most critical factors to consider is lighting. Rubber plants prefer bright, indirect light, which makes them an ideal choice for rooms with east- or west-facing windows. However, direct sunlight can be too intense and may cause the leaves to become scorched. To avoid this, it’s essential to provide your rubber plant with filtered or dappled light, which can be achieved by placing a sheer curtain or shade between the plant and the window.
In addition to lighting, the temperature of the room is also crucial for the health and well-being of your rubber plant. Rubber plants prefer temperatures between 65°F to 75°F (18°C to 24°C), which is typical for most homes. However, it’s essential to avoid placing your rubber plant near heating or cooling vents, fireplaces, or drafty windows, as this can cause the temperature to fluctuate and stress the plant.
Humidity is another factor to consider when choosing the perfect spot for your rubber plant. Rubber plants prefer a relatively high humidity, typically above 50%. However, this can be challenging to achieve in most homes, especially during the dry winter months. To combat this, you can place the plant on a tray filled with water and pebbles or use a humidifier nearby.
When selecting a location for your rubber plant, it’s also essential to consider the air circulation in the room. Rubber plants prefer good air circulation, which helps to prevent fungal diseases and pest infestations. To achieve this, make sure to provide your rubber plant with enough space around it and avoid placing it in a crowded or cluttered area.
By considering these factors and choosing the perfect spot for your rubber plant, you can create an environment that allows it to thrive and maintain its aesthetic appeal. Remember, caring for a rubber plant requires attention to its specific needs, and by providing the right conditions, you can enjoy its beauty and benefits for years to come.

Watering Your Rubber Plant: The Dos and Don’ts
Proper watering is essential for caring for a rubber plant. Overwatering is one of the most common mistakes people make when caring for their rubber plants, and it can lead to root rot and other problems. On the other hand, underwatering can cause the leaves to become dry and brittle. To avoid these issues, it’s crucial to understand the right way to water your rubber plant.
The first step is to check the soil moisture by sticking your finger into the soil up to the first knuckle. If the soil feels dry, it’s time to water your plant. However, if the soil feels damp or wet, wait a few more days before watering again. It’s also essential to water your rubber plant thoroughly, making sure the pot drains well to prevent waterlogged soil.
The frequency of watering will depend on the time of year, the temperature, and the humidity of your home. During the spring and summer months, your rubber plant will require more frequent watering, while during the fall and winter months, it will require less. It’s also essential to adjust your watering schedule based on the temperature and humidity of your home.
Another important aspect of watering your rubber plant is the type of water to use. Tap water can contain high levels of chlorine and fluoride, which can be detrimental to your plant’s health. To avoid this, use filtered or distilled water, or let the tap water sit for 24 hours before using it.
By following these guidelines, you can ensure your rubber plant receives the right amount of water, and you can avoid common problems associated with overwatering and underwatering. Remember, caring for a rubber plant requires attention to its specific needs, and proper watering is essential for its health and well-being.

Fertilizing Your Rubber Plant for Optimal Growth
Fertilizing your rubber plant is essential for promoting healthy growth and maintaining its aesthetic appeal. A well-fertilized rubber plant will have lush, green leaves and a robust stem, making it a beautiful addition to any room. However, it’s crucial to use the right type of fertilizer and apply it at the right frequency to avoid overfertilizing.
When it comes to fertilizing your rubber plant, a balanced, water-soluble fertilizer is the best option. Look for a fertilizer that contains equal amounts of nitrogen, phosphorus, and potassium (NPK). This type of fertilizer will provide your rubber plant with the necessary nutrients for healthy growth and development.
It’s also essential to consider the frequency of fertilization. Rubber plants require fertilization during the growing season, which typically occurs in the spring and summer months. During this time, fertilize your rubber plant once a month with a balanced fertilizer. However, during the fall and winter months, reduce the frequency of fertilization to once every two months.
Another important aspect of fertilizing your rubber plant is the concentration of the fertilizer. A diluted fertilizer is best for rubber plants, as it will prevent burning the roots. Start with a weak solution (about half the recommended strength) and gradually increase the concentration as needed.
Some common mistakes to avoid when fertilizing your rubber plant include overfertilizing, which can cause the leaves to become scorched and the roots to become burned. It’s also essential to avoid fertilizing your rubber plant during the dormant season, as this can cause the plant to produce new growth that may not be sustainable.
By following these guidelines, you can ensure your rubber plant receives the necessary nutrients for healthy growth and development. Remember, caring for a rubber plant requires attention to its specific needs, and fertilization is an essential part of that care.
Pruning and Grooming Your Rubber Plant
Pruning and grooming are essential parts of caring for a rubber plant. Regular pruning helps maintain the plant’s shape, promotes healthy growth, and encourages new leaves to grow. Grooming, on the other hand, involves removing dead or damaged leaves and stems, which helps prevent the spread of disease and pests.
To prune your rubber plant, start by removing any dead or damaged leaves or stems. Use a pair of clean, sharp scissors or pruning shears to make clean cuts just above a node (the point where a leaf meets the stem). This will help the plant heal quickly and reduce the risk of infection.
Next, inspect the plant for any leggy or overgrown stems. Cut these stems back to about half their length, making sure to leave at least two nodes on each stem. This will help the plant bush out and produce new growth.
Finally, use a soft-bristled brush or a damp cloth to gently remove any dust or debris from the leaves. This will help keep the plant looking its best and prevent the buildup of pests and diseases.
Some common mistakes to avoid when pruning and grooming your rubber plant include over-pruning, which can cause the plant to become stressed and vulnerable to disease. It’s also essential to avoid pruning or grooming your rubber plant during the dormant season, as this can cause the plant to produce new growth that may not be sustainable.
By following these steps and tips, you can keep your rubber plant looking its best and promote healthy growth. Remember, caring for a rubber plant requires attention to its specific needs, and pruning and grooming are essential parts of that care.
Common Pests and Diseases: How to Identify and Treat Them
Rubber plants are generally hardy and resistant to pests and diseases, but they can still be affected by certain issues. Some common pests that can affect rubber plants include spider mites, mealybugs, and scale. These pests can cause damage to the leaves and stems, and can also spread disease.
Spider mites are tiny, spider-like insects that feed on the sap of the plant. They can cause yellowing or bronzing of the leaves, and can also spin webs on the plant. To treat spider mites, use a gentle insecticidal soap or neem oil, and make sure to spray the undersides of the leaves as well as the tops.
Mealybugs are small, white, cottony insects that feed on the sap of the plant. They can cause stunted growth and yellowing of the leaves. To treat mealybugs, use a gentle insecticidal soap or neem oil, and make sure to spray the undersides of the leaves as well as the tops.
Scale is a type of insect that feeds on the sap of the plant. It can cause stunted growth and yellowing of the leaves. To treat scale, use a gentle insecticidal soap or neem oil, and make sure to spray the undersides of the leaves as well as the tops.
Root rot is a common disease that can affect rubber plants. It is caused by overwatering, which can cause the roots to rot. To treat root rot, remove the plant from the pot and inspect the roots. If the roots are rotting, trim them back to healthy tissue and repot the plant in fresh soil.
Leaf spot is another common disease that can affect rubber plants. It is caused by a fungal infection, and can cause small, circular spots to form on the leaves. To treat leaf spot, remove the affected leaves and treat the plant with a fungicide.
By being aware of these common pests and diseases, you can take steps to prevent them and keep your rubber plant healthy. Remember, caring for a rubber plant requires attention to its specific needs, and being proactive about pest and disease control is an important part of that care.
Repotting Your Rubber Plant: When and How to Do It
Repotting your rubber plant is an essential part of caring for it. As the plant grows, it will eventually outgrow its container and need to be transplanted into a larger pot. But how do you know when it’s time to repot your rubber plant?
One of the most common signs that your rubber plant needs to be repotted is when the soil becomes packed and the roots start to grow out of the container. You may also notice that the plant is top-heavy and prone to tipping over. If you notice any of these signs, it’s time to repot your rubber plant.
When repotting your rubber plant, choose a container that is only slightly larger than the original one. This will help prevent the soil from becoming too wet and reduce the risk of root rot. Use a well-draining potting mix and gently remove the plant from its original container, taking care not to damage the roots.
Once you have removed the plant from its container, inspect the roots and trim any that are circling or growing out of the container. This will help the plant grow more efficiently and prevent it from becoming pot-bound.
After you have trimmed the roots, place the plant in its new container and add fresh potting mix around the roots. Water the plant thoroughly and provide it with bright, indirect light.
Some common mistakes to avoid when repotting your rubber plant include using a container that is too large, which can cause the soil to become too wet and lead to root rot. It’s also essential to avoid damaging the roots during the repotting process, as this can cause the plant to become stressed and vulnerable to disease.
By following these steps and tips, you can successfully repot your rubber plant and provide it with the room it needs to grow and thrive. Remember, caring for a rubber plant requires attention to its specific needs, and repotting is an important part of that care.

Troubleshooting Common Problems with Your Rubber Plant
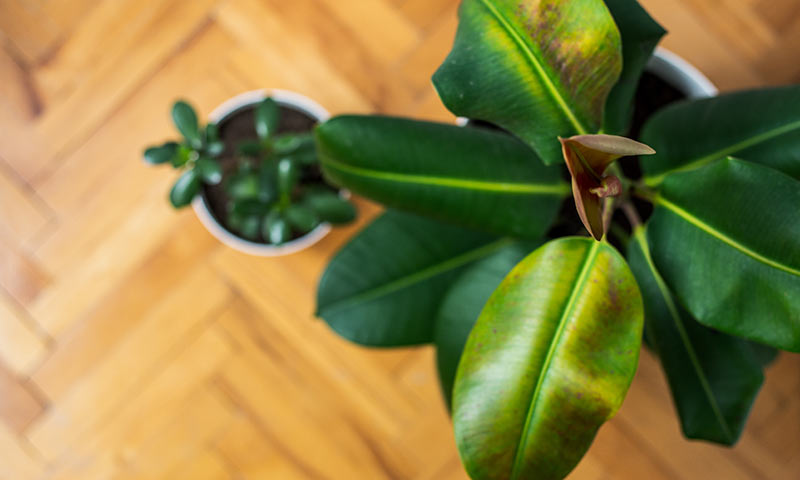
Despite their hardiness, rubber plants can still experience problems that can affect their health and appearance. Some common issues that can arise when caring for a rubber plant include yellowing leaves, droopy stems, and slow growth.
Yellowing leaves can be caused by a variety of factors, including overwatering, underwatering, and exposure to direct sunlight. To address this issue, check the soil moisture and adjust your watering schedule accordingly. Also, make sure to provide your rubber plant with bright, indirect light, and avoid placing it in a spot where it will receive direct sunlight.
Droopy stems can be caused by a lack of water or nutrients. To address this issue, make sure to water your rubber plant regularly and provide it with a balanced fertilizer. Also, prune any dead or damaged stems to promote healthy growth and prevent the spread of disease.
Slow growth can be caused by a variety of factors, including a lack of light, water, or nutrients. To address this issue, make sure to provide your rubber plant with bright, indirect light, and water it regularly. Also, fertilize your rubber plant with a balanced fertilizer to provide it with the nutrients it needs to grow and thrive.
By troubleshooting common problems with your rubber plant, you can identify and address any issues that may be affecting its health and appearance. Remember, caring for a rubber plant requires attention to its specific needs, and being proactive about addressing any problems that may arise is an important part of that care.
Some other common problems that can arise when caring for a rubber plant include pests, diseases, and root bound. To address these issues, make sure to inspect your plant regularly for any signs of pests or diseases, and take action promptly if you notice any problems. Also, make sure to repot your rubber plant regularly to provide it with fresh soil and a larger pot if necessary.
By following these tips and troubleshooting common problems with your rubber plant, you can keep your plant healthy and thriving. Remember, caring for a rubber plant requires attention to its specific needs, and being proactive about addressing any problems that may arise is an important part of that care.