Why Repotting is Essential for Your Orchid’s Health
Repotting an orchid plant is a crucial step in maintaining its overall health and promoting healthy growth. Over time, the potting media can break down, causing the roots to become waterlogged and leading to root rot. By repotting your orchid, you can provide fresh potting media that will help to prevent this issue. Additionally, repotting gives you the opportunity to inspect the roots and remove any dead or damaged roots, which can help to prevent the spread of disease.

Click Image to Find Garden Products
Another important reason to repot your orchid is to provide a larger pot if necessary. As your orchid grows, it may outgrow its current pot, and repotting into a larger pot will give the roots more room to expand. This is especially important for orchids that are prone to becoming pot-bound, such as Phalaenopsis and Dendrobium.
Repotting can also help to prevent pest infestations. By removing the plant from its old pot and inspecting the roots, you can check for any signs of pests, such as mealybugs or spider mites. If you do find any pests, you can treat the plant before repotting it into a new pot.
When learning how to repot an orchid plant, it’s essential to understand the importance of timing. Repotting at the right time can make all the difference in the health and success of your orchid. In the next section, we’ll discuss the best time to repot your orchid.
Choosing the Right Time to Repot Your Orchid
When it comes to repotting an orchid plant, timing is everything. Repotting at the right time can make all the difference in the health and success of your orchid. So, when is the best time to repot your orchid?
The best time to repot an orchid plant is typically during the spring and summer months when the plant is actively growing. This allows the orchid to establish itself in its new pot before the cooler winter months. However, if your orchid is pot-bound or showing signs of nutrient deficiency, it may be necessary to repot it during the fall or winter months.
Another factor to consider when determining the best time to repot your orchid is the plant’s growth cycle. Orchids typically go through a period of active growth followed by a period of dormancy. Repotting during the active growth phase can help to promote healthy growth and prevent root bound conditions.
There are also certain signs that indicate the need for repotting, such as the plant becoming pot-bound, the potting media breaking down, or the plant showing signs of nutrient deficiency. If you notice any of these signs, it’s likely time to repot your orchid.
When learning how to repot an orchid plant, it’s essential to understand the importance of timing. By repotting at the right time, you can help to promote healthy growth and prevent common problems associated with repotting.

Selecting the Perfect Potting Mix for Your Orchid
When it comes to repotting an orchid plant, selecting the right potting mix is crucial for its health and success. A good potting mix should provide the right balance of drainage, aeration, and moisture retention to support the orchid’s roots and promote healthy growth.
A well-draining potting mix is essential to prevent waterlogged soil and root rot. Look for a mix that contains ingredients such as perlite, vermiculite, or sand, which help to improve drainage and aeration. Additionally, a mix with good moisture retention properties will help to keep the soil consistently moist, but not waterlogged.
Some popular potting mix products for orchids include Miracle-Gro Orchid Potting Mix and Black Gold Orchid Mix. These mixes are specifically designed to meet the unique needs of orchids and provide the right balance of drainage, aeration, and moisture retention.
When selecting a potting mix, it’s also important to consider the specific needs of your orchid. For example, some orchids such as Phalaenopsis and Dendrobium prefer a more moist potting mix, while others such as Cattleya and Oncidium prefer a drier mix.
By selecting the right potting mix for your orchid, you can help to promote healthy growth and prevent common problems associated with repotting. In the next section, we’ll discuss the factors to consider when selecting a new pot for your orchid.
Picking the Right Pot for Your Orchid
When it comes to repotting an orchid plant, selecting the right pot is crucial for its health and success. The pot should provide the right balance of size, material, and drainage to support the orchid’s roots and promote healthy growth.
The size of the pot is an important factor to consider. The pot should be large enough to accommodate the orchid’s roots, but not so large that the potting mix becomes too wet. A general rule of thumb is to choose a pot that is only slightly larger than the previous one.
The material of the pot is also important. Clear plastic pots are a popular choice for orchids because they allow for maximum light penetration and are easy to clean. Terra cotta pots are also a good option, as they provide good drainage and aeration. However, they can be prone to drying out, so be sure to water your orchid regularly.
Drainage is another critical factor to consider when selecting a pot for your orchid. Look for pots with built-in drainage holes or saucers to prevent waterlogged soil and root rot. Some pots also come with a built-in water reservoir, which can help to prevent over-watering.
Some popular pot types for orchids include clear plastic pots, terra cotta pots, and wooden pots. When selecting a pot, be sure to consider the specific needs of your orchid and choose a pot that provides the right balance of size, material, and drainage.
By selecting the right pot for your orchid, you can help to promote healthy growth and prevent common problems associated with repotting. In the next section, we’ll provide a step-by-step guide on how to repot an orchid plant.
A Step-by-Step Guide to Repotting Your Orchid
Repotting an orchid plant can seem like a daunting task, but with the right steps, you can ensure a successful repotting process. Here’s a step-by-step guide on how to repot an orchid plant:
Step 1: Prepare the New Pot and Potting Mix
Before starting the repotting process, make sure you have a new pot and potting mix ready. Choose a pot that is only slightly larger than the previous one, and select a potting mix that is specifically designed for orchids.
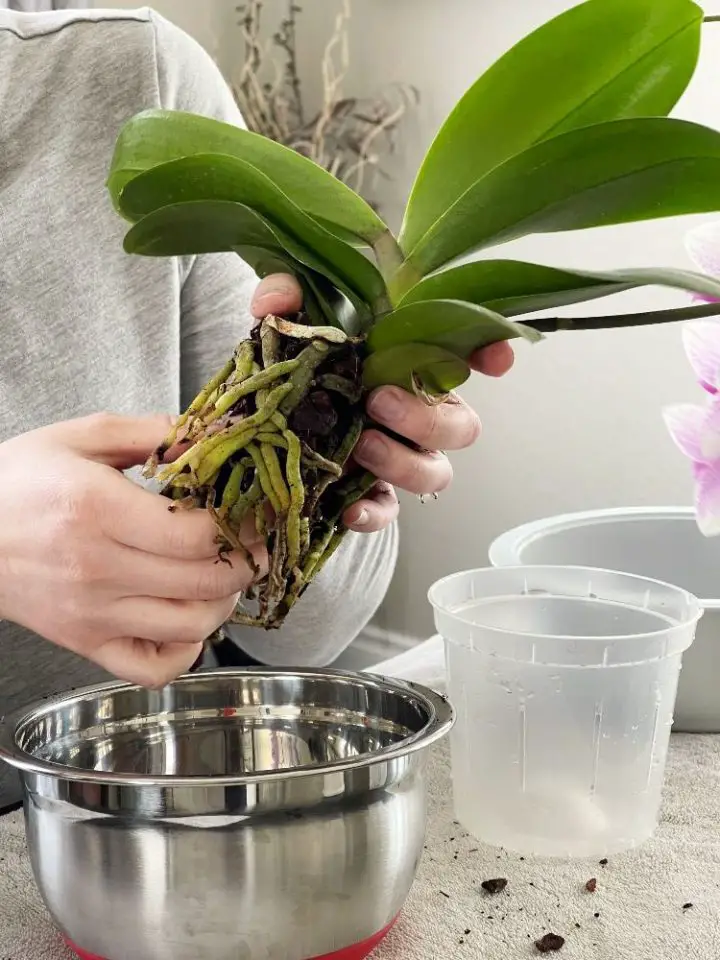
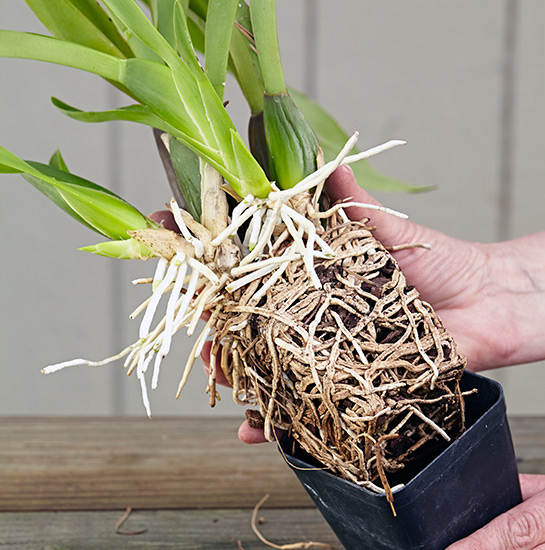
Step 2: Remove the Plant from the Old Pot
Carefully remove the orchid plant from its old pot, taking care not to damage the roots. If the plant is stuck, gently rock the pot back and forth to loosen it.
Step 3: Trim Old Roots
Using a pair of sterile scissors or pruning shears, trim any old or dead roots from the orchid plant. This will help to prevent the spread of disease and encourage new growth.
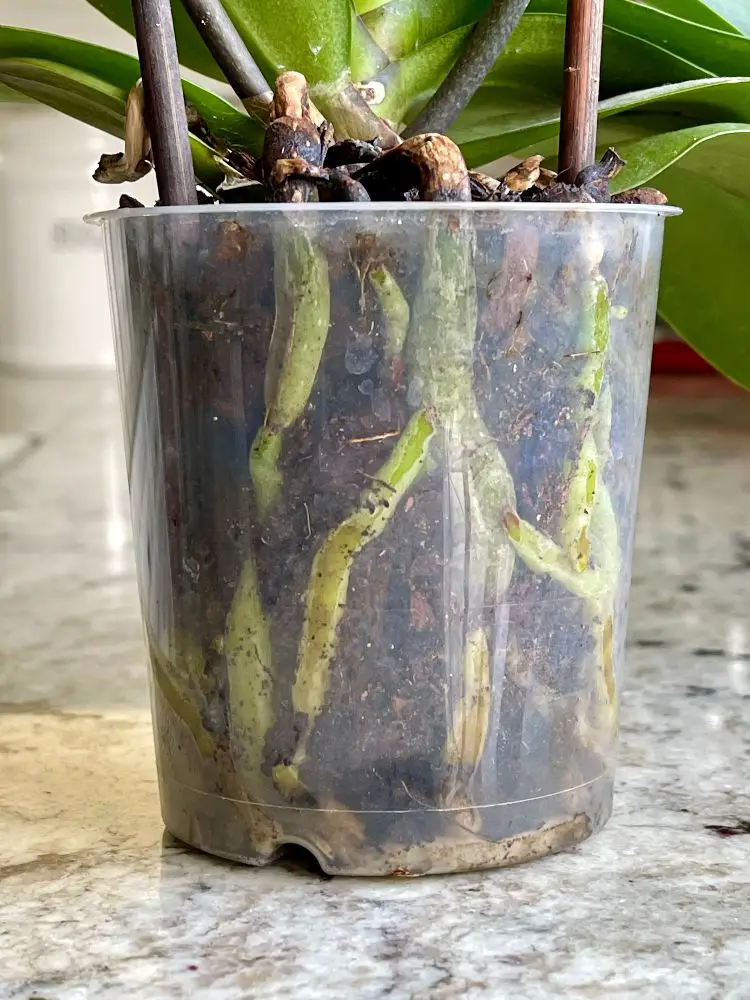
Step 4: Place the Plant in the New Pot
Gently place the orchid plant in the new pot, making sure the roots are spread out evenly. Add fresh potting mix around the roots, making sure not to pack it too tightly.
Step 5: Water the Plant
Water the orchid plant thoroughly after repotting, making sure the potting mix is moist but not waterlogged.
By following these steps, you can ensure a successful repotting process for your orchid plant. Remember to provide the right care and attention after repotting, including watering, fertilizing, and providing sufficient light and humidity.

Aftercare Tips for Your Newly Repotted Orchid
After repotting your orchid, it’s essential to provide the right care and attention to ensure a successful transition. Here are some aftercare tips to help your orchid thrive:
Watering: Water your orchid thoroughly after repotting, making sure the potting mix is moist but not waterlogged. Check the moisture level of the potting mix daily, and water only when necessary.
Fertilizing: Fertilize your orchid with a balanced, water-soluble fertilizer (20-20-20) once a month. You can also use a fertilizer specifically formulated for orchids, which may contain additional nutrients such as iron and magnesium.
Light and Humidity: Provide your orchid with bright, indirect light, and maintain a humid environment with a relative humidity of 40-70%. You can place the orchid pot on a tray filled with water and pebbles to increase the humidity around the plant.
Temperature: Keep your orchid in an area with a consistent temperature between 65-75°F (18-24°C), which is ideal for most orchid species.
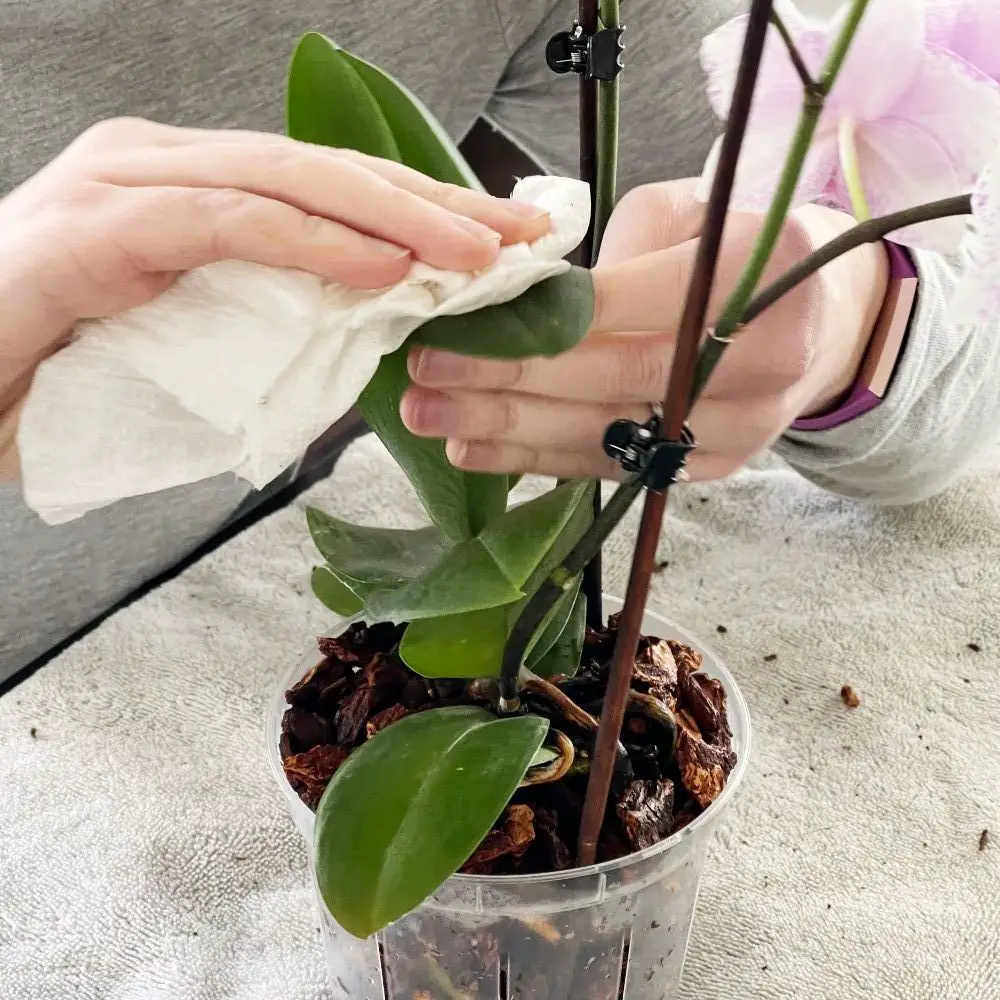
Pruning: Prune your orchid regularly to maintain its shape and promote healthy growth. Remove any dead or dying leaves or flowers, and trim back old flower spikes to encourage new blooms.
By following these aftercare tips, you can help your orchid recover from the repotting process and thrive in its new environment. Remember to monitor your orchid’s condition closely, and adjust its care accordingly.

Troubleshooting Common Repotting Issues
While repotting an orchid plant can be a straightforward process, there are some common issues that may arise during or after repotting. Here are some solutions to common problems:
Root Shock: If your orchid is experiencing root shock, it may drop its leaves or flowers. To prevent root shock, make sure to handle the roots gently during repotting, and provide the plant with bright, indirect light and consistent temperatures.
Over-Watering: Over-watering is a common mistake that can lead to root rot and other problems. To prevent over-watering, make sure to check the moisture level of the potting mix daily, and water only when necessary.
Pests: Pests such as mealybugs, spider mites, and scale can infest your orchid plant during repotting. To prevent pest infestations, inspect the plant carefully before repotting, and treat any infestations promptly.
Under-Watering: Under-watering can cause the leaves to become wrinkled and the plant to become stressed. To prevent under-watering, make sure to water the plant thoroughly after repotting, and check the moisture level of the potting mix daily.
By being aware of these common issues and taking steps to prevent them, you can ensure a successful repotting process and enjoy a thriving orchid plant.
Conclusion: Enjoy Your Thriving Orchid
Repotting an orchid plant is a crucial step in maintaining its health and promoting healthy growth. By following the steps outlined in this article, you can ensure a successful repotting process and enjoy a thriving orchid plant with a healthy and robust root system.
Remember, repotting an orchid plant is not just about providing a new pot and fresh potting media, but also about giving the plant the right care and attention it needs to thrive. By providing the right light, water, and nutrients, you can help your orchid plant grow and bloom to its full potential.
With the right care and attention, your orchid plant can become a beautiful and long-lasting addition to your home or garden. So, take the time to learn how to repot an orchid plant, and enjoy the many benefits that come with growing these beautiful and exotic flowers.