Materials Needed for a DIY Soil Sieve
To make a homemade soil sieve, you will need a few basic materials. These include a wooden frame, a mesh screen, and wire mesh. The wooden frame will provide the structure for your sieve, while the mesh screen will act as the filtering mechanism. The wire mesh will help to reinforce the mesh screen and prevent it from tearing.

Click Image to Find Garden Products
The wooden frame can be made from a variety of materials, including cedar, pine, or fir. Cedar is a popular choice because it is naturally resistant to rot and insects. The frame should be sturdy enough to support the weight of the soil and the mesh screen.
The mesh screen is the most critical component of the soil sieve. It should be made from a durable material, such as nylon or polyester, and have a mesh size that is suitable for your specific gardening needs. A mesh size of 1/4 inch or 1/2 inch is usually sufficient for most gardening applications.
Wire mesh is used to reinforce the mesh screen and prevent it from tearing. It should be made from a durable material, such as galvanized steel or aluminum, and have a mesh size that is slightly smaller than the mesh screen.
Other materials that you may need to make a homemade soil sieve include screws, nails, and a drill. You may also want to consider adding a handle to your sieve to make it easier to use.
How to Build a Simple Soil Sieve
Building a simple soil sieve is a straightforward process that requires some basic materials and tools. To start, you will need to cut the wooden frame to the desired size. This can be done using a saw or a miter saw. Make sure the frame is sturdy enough to support the weight of the soil and the mesh screen.
Next, attach the mesh screen to the frame using screws or nails. Make sure the mesh screen is tightly secured to the frame to prevent it from sagging or tearing. You can also use wire mesh to reinforce the mesh screen and prevent it from tearing.
Once the mesh screen is attached, secure the wire mesh to the frame using screws or nails. This will provide additional support to the mesh screen and prevent it from tearing. Make sure the wire mesh is tightly secured to the frame to prevent it from sagging.
To add a handle to your soil sieve, simply attach a piece of wood or a metal rod to the frame using screws or nails. This will make it easier to use and transport the sieve.
Customization and modification are also possible when building a soil sieve. You can add additional features such as a removable mesh screen or a adjustable handle. You can also use different types of materials such as plastic or metal to build the frame and mesh screen.
When building a soil sieve, it’s also important to consider the size and shape of the sieve. A larger sieve may be more effective for sieving large quantities of soil, but it may also be more difficult to use and transport. A smaller sieve may be more convenient to use, but it may not be as effective for sieving large quantities of soil.
Choosing the Right Mesh Size for Your Soil Sieve
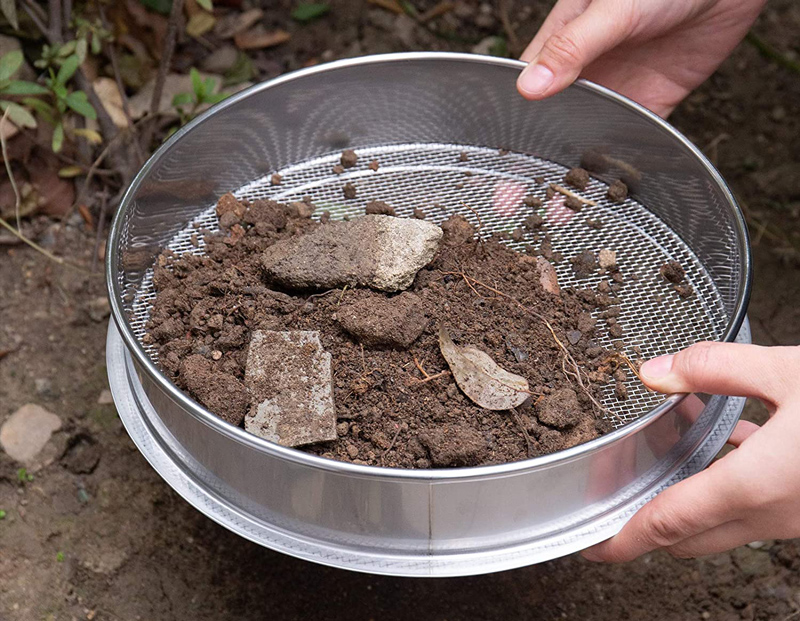
Choosing the right mesh size for your soil sieve is crucial for effective soil sieving. The mesh size will determine the size of the particles that pass through the sieve, and therefore, the quality of the soil. A mesh size that is too small will not allow large particles to pass through, while a mesh size that is too large will allow debris and rocks to pass through.
For most gardening applications, a mesh size of 1/4 inch or 1/2 inch is sufficient. This mesh size will allow small particles such as sand and silt to pass through, while keeping larger particles such as rocks and debris out. However, if you are working with very fine soil or compost, you may want to use a smaller mesh size, such as 1/8 inch or 1/16 inch.
It’s also important to consider the type of soil you are working with when choosing a mesh size. For example, if you are working with clay soil, you may want to use a larger mesh size to allow for better drainage. On the other hand, if you are working with sandy soil, you may want to use a smaller mesh size to prevent the soil from passing through too quickly.
In addition to the mesh size, you should also consider the material of the mesh. A durable mesh material such as nylon or polyester will be able to withstand the rigors of soil sieving, while a less durable material may break or tear easily.
When choosing a mesh size, it’s also important to consider the intended use of the soil sieve. If you are using the sieve for small-scale gardening, a smaller mesh size may be sufficient. However, if you are using the sieve for large-scale gardening or landscaping, a larger mesh size may be necessary.
Ultimately, the right mesh size for your soil sieve will depend on your specific needs and preferences. By considering the type of soil, the intended use, and the material of the mesh, you can choose a mesh size that will provide you with the best results.
Tips for Using Your Homemade Soil Sieve
Using a homemade soil sieve can be a bit tricky, but with some practice and patience, you can get the most out of your DIY soil sieve. Here are some tips to help you use your homemade soil sieve effectively:
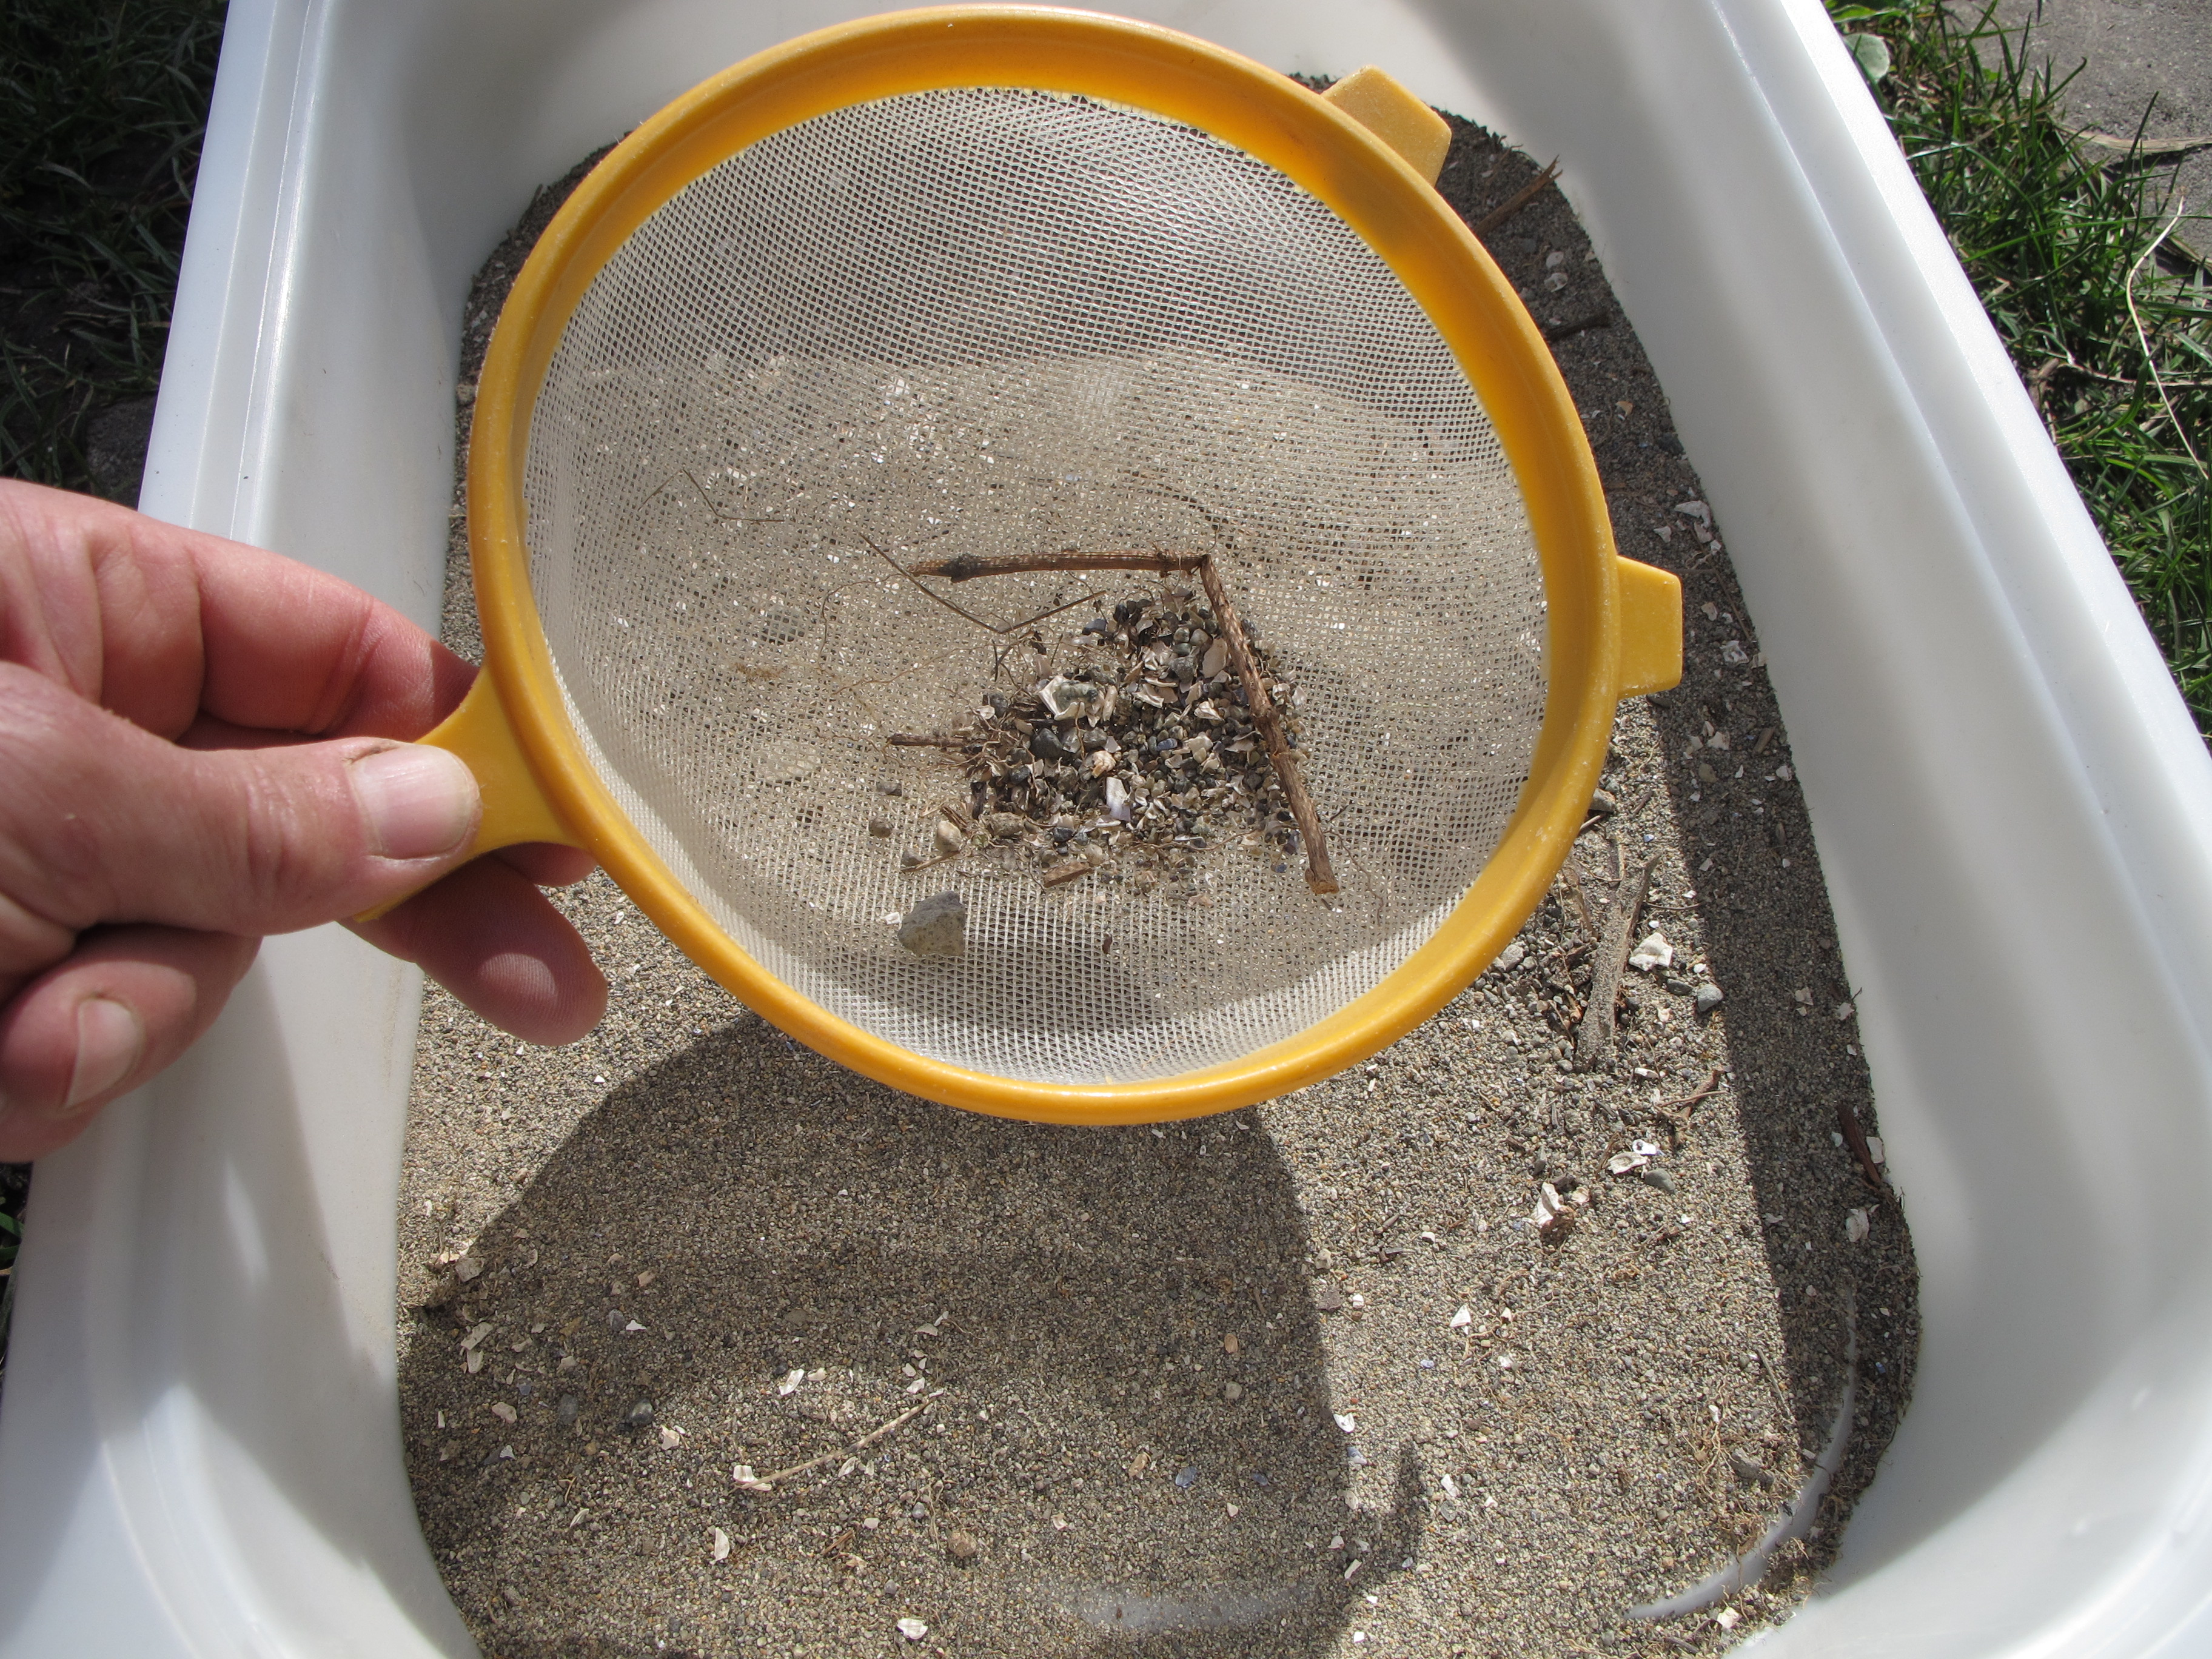
Before you start using your soil sieve, make sure to prepare the soil properly. Remove any large debris such as rocks and twigs, and break up any clods or compacted soil. This will help the soil pass through the sieve more easily and prevent clogging.
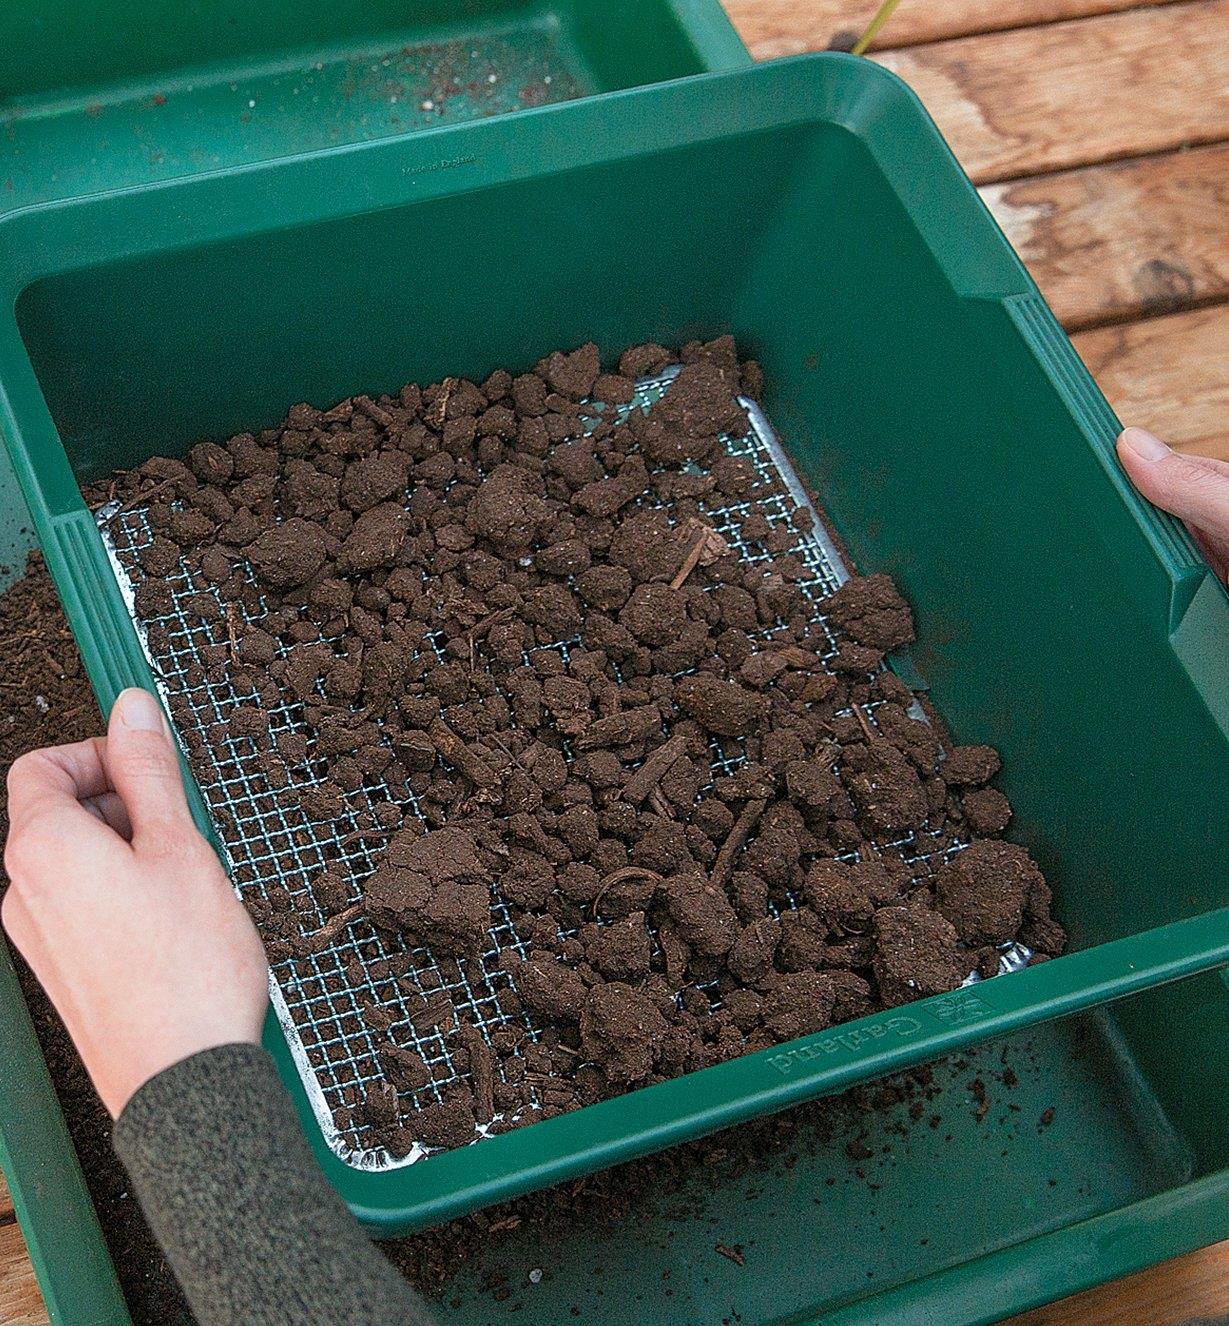
When operating the sieve, start by pouring a small amount of soil onto the mesh screen. Gently shake the sieve back and forth to allow the soil to pass through the mesh. Continue to add more soil to the sieve, shaking it gently after each addition.
It’s also important to maintain your homemade soil sieve regularly. After each use, clean the sieve thoroughly with water to remove any remaining soil particles. This will help prevent clogging and ensure the sieve continues to work effectively.
If you encounter any issues with your soil sieve, such as clogging or poor soil quality, don’t worry There are some simple troubleshooting tips you can try. For example, if the sieve is clogged, try shaking it more vigorously or using a small brush to remove any blockages.
Another common issue with homemade soil sieves is poor soil quality. If you find that your soil is not passing through the sieve effectively, try adjusting the mesh size or using a different type of soil. You can also try adding a small amount of water to the soil to help it pass through the sieve more easily.
By following these tips and troubleshooting common issues, you can get the most out of your homemade soil sieve and enjoy improved soil quality and increased crop yields.

Comparing Homemade Soil Sieves to Store-Bought Options
When it comes to soil sieves, gardeners have two main options: homemade or store-bought. While store-bought soil sieves can be convenient and easy to use, homemade soil sieves offer several advantages. In this section, we’ll compare the two options and discuss the benefits of making your own soil sieve.
One of the main advantages of homemade soil sieves is cost. Making your own soil sieve can be a cost-effective option, especially if you already have the necessary materials on hand. Store-bought soil sieves, on the other hand, can range in price from $20 to $100 or more, depending on the quality and features.
Another advantage of homemade soil sieves is customization. When you make your own soil sieve, you can choose the materials and design that best suit your needs. This can be especially useful if you have specific soil types or gardening requirements. Store-bought soil sieves, on the other hand, may not offer the same level of customization.
In terms of effectiveness, both homemade and store-bought soil sieves can be effective at removing debris and improving soil quality. However, homemade soil sieves may require more effort and maintenance to keep them working effectively. Store-bought soil sieves, on the other hand, are often designed with ease of use and maintenance in mind.
Some popular store-bought soil sieves include the Garden Weasel Soil Sieve and the Fiskars Soil Sifter. These products are designed to be easy to use and effective at removing debris and improving soil quality. However, they may not offer the same level of customization as a homemade soil sieve.
Ultimately, the decision to make a homemade soil sieve or purchase a store-bought option depends on your specific needs and preferences. If you’re looking for a cost-effective and customizable option, a homemade soil sieve may be the way to go. However, if you’re looking for a convenient and easy-to-use option, a store-bought soil sieve may be a better choice.
Common Mistakes to Avoid When Making a Soil Sieve
When making a homemade soil sieve, there are several common mistakes to avoid. These mistakes can lead to a poorly functioning sieve, which can negatively impact the quality of your soil and the success of your garden.
One of the most common mistakes is using the wrong mesh size. If the mesh size is too small, it can clog easily and prevent soil from passing through. On the other hand, if the mesh size is too large, it can allow debris and rocks to pass through, which can damage your plants.
Another common mistake is poor construction. If the sieve is not built sturdily, it can break or collapse under the weight of the soil. This can lead to a mess and make it difficult to use the sieve.
Inadequate maintenance is also a common mistake. If the sieve is not cleaned regularly, it can become clogged and less effective. This can lead to poor soil quality and reduced crop yields.
To avoid these mistakes, it’s essential to follow the instructions carefully and use the right materials. It’s also important to maintain the sieve regularly and clean it after each use.
By avoiding these common mistakes, you can create a well-functioning homemade soil sieve that will help you achieve success in your garden. Remember to always follow the instructions carefully and use the right materials to ensure the best results.
Conclusion: The Benefits of a Well-Made Soil Sieve
Creating a homemade soil sieve can be a rewarding and cost-effective way to improve the quality of your soil and increase crop yields. By following the steps outlined in this article, you can create a well-made soil sieve that will help you achieve success in your garden.
A well-made soil sieve can help to remove debris and rocks from the soil, improve soil structure, and increase the availability of nutrients for your plants. This can lead to healthier plants, increased crop yields, and a more sustainable gardening practice.
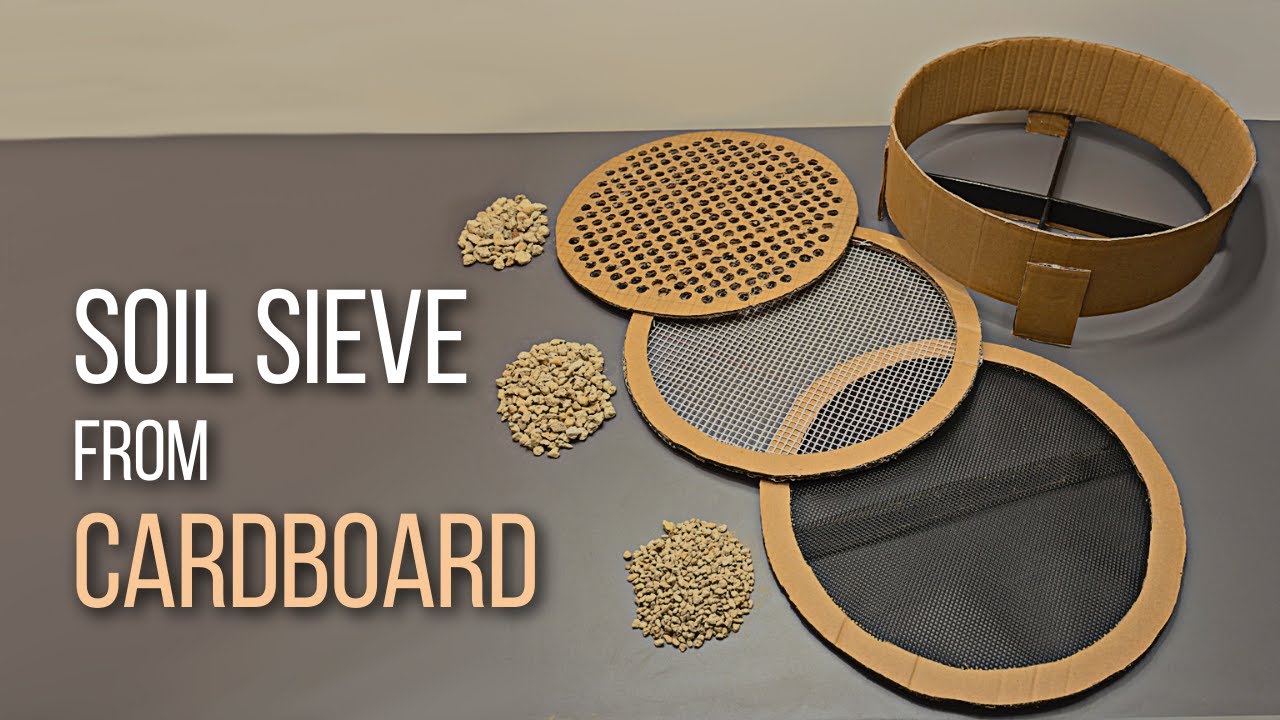
In addition to the benefits for your garden, creating a homemade soil sieve can also be a fun and rewarding DIY project. By using recycled materials and following the steps outlined in this article, you can create a soil sieve that is both functional and environmentally friendly.
Overall, creating a homemade soil sieve is a great way to improve the quality of your soil and increase crop yields. With a little creativity and some basic materials, you can create a well-made soil sieve that will help you achieve success in your garden.
Conclusion: The Benefits of a Well-Made Soil Sieve
Creating a homemade soil sieve is a simple and cost-effective way to improve the quality of your soil and increase crop yields. By following the steps outlined in this article, you can create a well-made soil sieve that will help you achieve success in your garden.
A well-made soil sieve can help to remove debris and rocks from the soil, improve soil structure, and increase the availability of nutrients for your plants. This can lead to healthier plants, increased crop yields, and a more sustainable gardening practice.
In addition to the benefits for your garden, creating a homemade soil sieve can also be a fun and rewarding DIY project. By using recycled materials and following the steps outlined in this article, you can create a soil sieve that is both functional and environmentally friendly.
Overall, creating a homemade soil sieve is a great way to improve the quality of your soil and increase crop yields. With a little creativity and some basic materials, you can create a well-made soil sieve that will help you achieve success in your garden.
By following the tips and guidelines outlined in this article, you can create a homemade soil sieve that will help you to improve the quality of your soil and increase crop yields. Remember to always use the right materials, follow the instructions carefully, and maintain your soil sieve regularly to ensure the best results.
