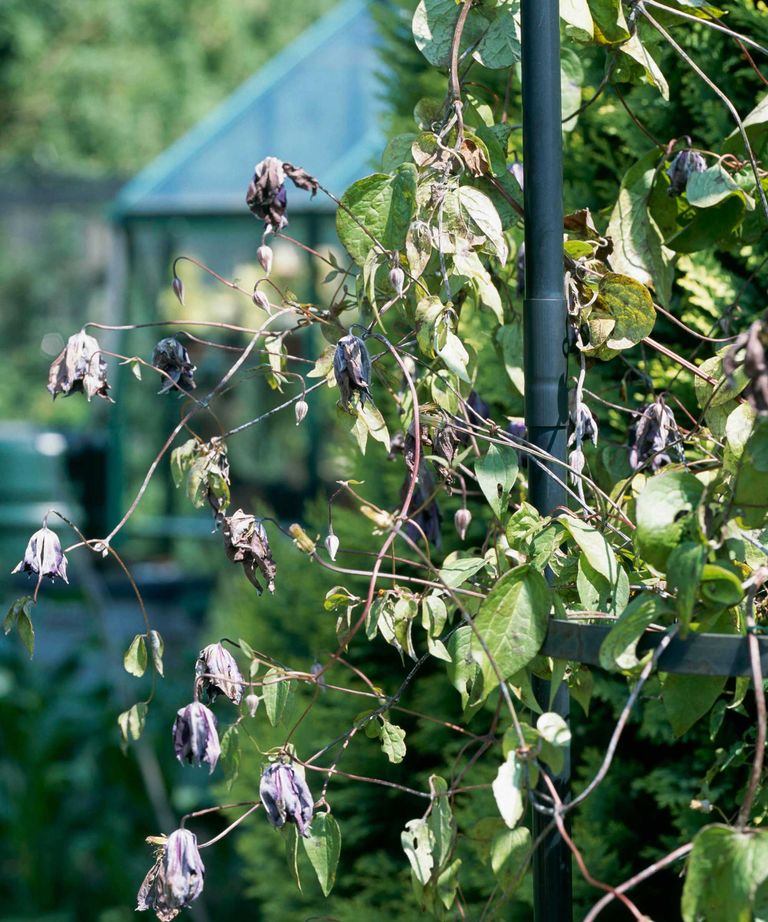
Understanding the Causes of Clematis Wilting
Clematis plants are known for their stunning flowers and versatility in garden design. However, they can be finicky and require specific care to thrive. One common issue that clematis enthusiasts face is wilting, which can be caused by a variety of factors. If you’re wondering why your clematis is wilting, it’s essential to understand the underlying causes to provide the best care for your plant.

Click Image to Find Garden Products
Underwatering is a common reason why clematis plants wilt. Clematis needs consistent moisture, especially during the first growing season. If the soil is too dry for an extended period, the plant may drop its leaves and wilt. On the other hand, overwatering can also cause wilting, as it can lead to root rot and other problems. It’s crucial to find the right balance and adjust your watering schedule according to the weather and soil conditions.
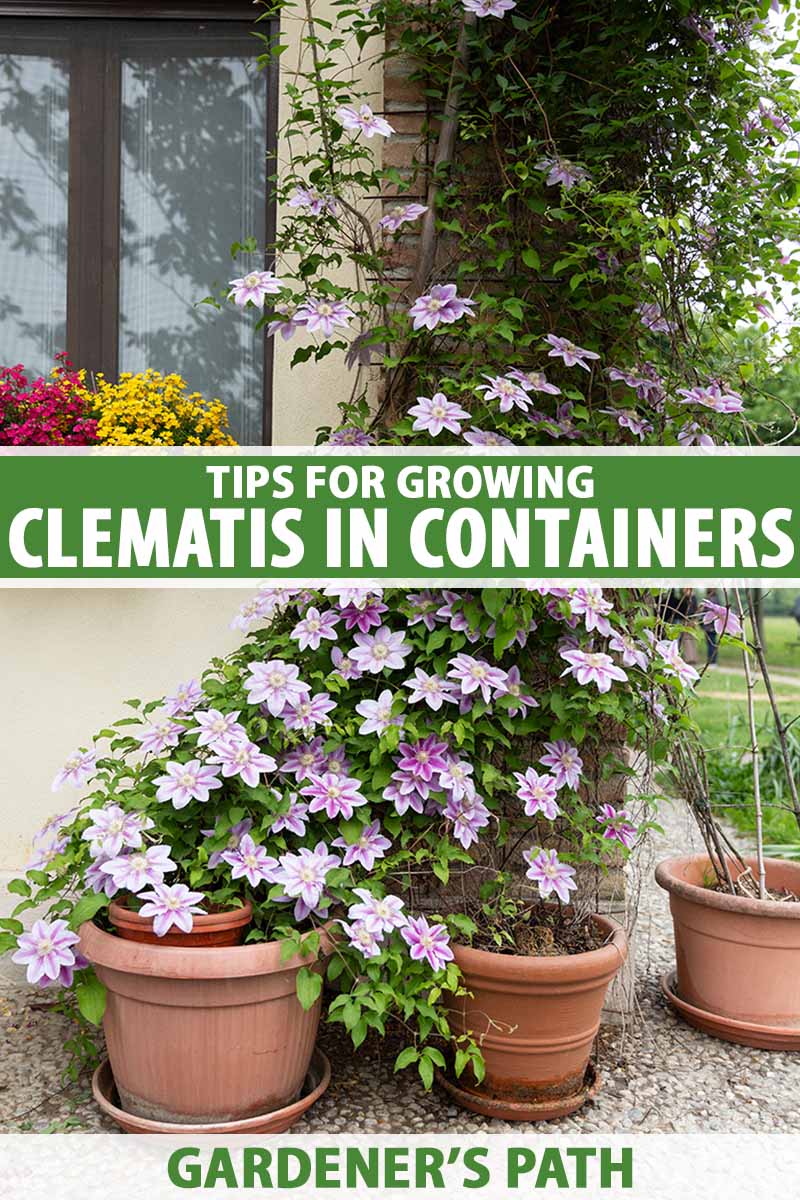
Root bound is another reason why clematis plants may wilt. When the roots outgrow the container, the plant may become pot-bound, causing the leaves to wilt and turn yellow. To prevent this, it’s essential to transplant your clematis into a larger container or directly into the ground, providing enough space for the roots to grow.
Extreme temperatures can also cause clematis wilting. Clematis plants prefer temperatures between 65°F to 75°F (18°C to 24°C) during the day and around 55°F (13°C) at night. Avoid placing your clematis in areas with direct sunlight, especially during the hottest part of the day, as this can cause scorching and wilting.
By understanding these common causes of clematis wilting, you can take the necessary steps to prevent and address the issue. Remember to monitor your plant’s condition regularly and adjust your care routine accordingly. With proper care and attention, your clematis should thrive and provide beautiful blooms for years to come.
How to Diagnose the Root Cause of Your Wilting Clematis
Diagnosing the root cause of your wilting clematis is crucial to providing the right care and treatment. To determine the underlying cause of wilting, follow these steps:
Step 1: Check the Soil Moisture
Start by checking the soil moisture by inserting your finger into the soil up to the first knuckle. If the soil feels dry, it may be a sign of underwatering. On the other hand, if the soil feels waterlogged, it may be a sign of overwatering. Adjust your watering schedule accordingly.
Step 2: Inspect the Roots
Next, inspect the roots of your clematis plant. Gently remove the plant from its container and examine the roots. If the roots are circling or growing out of the container, it may be a sign of root bound. Consider transplanting your clematis into a larger container or directly into the ground.
Step 3: Examine the Leaves
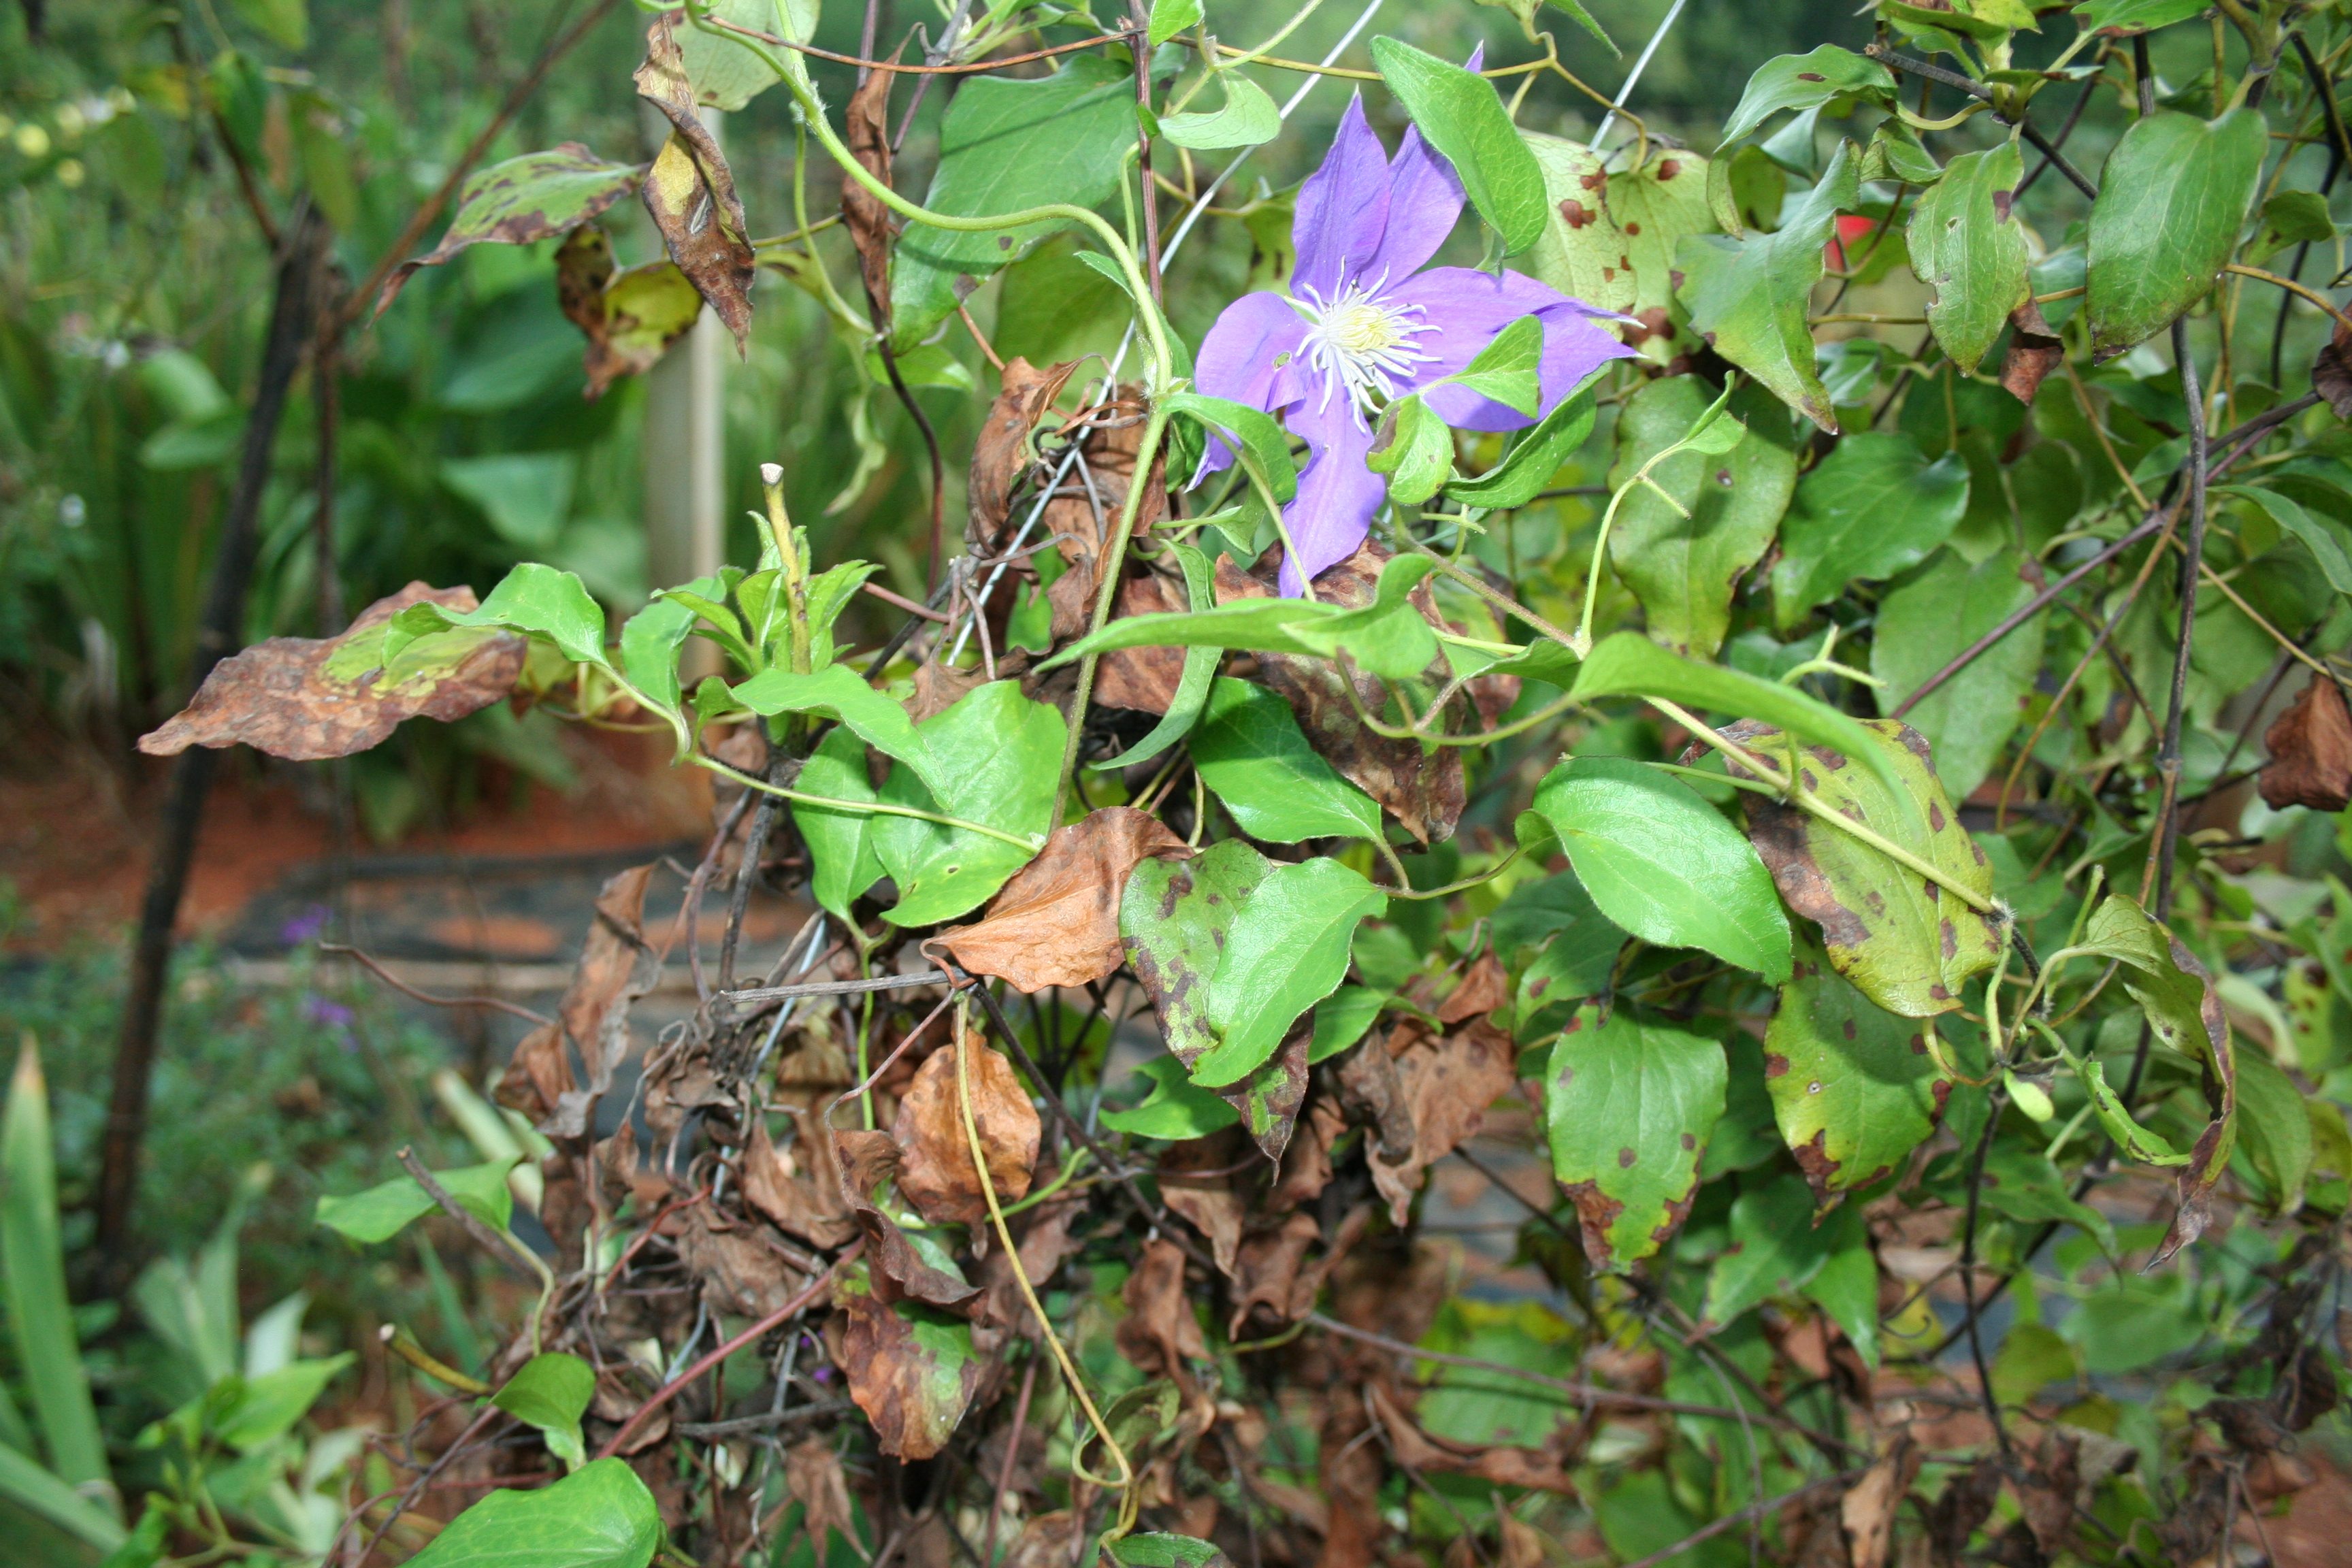
Examine the leaves of your clematis plant for signs of pests or diseases. Check for holes, discoloration, or unusual growth patterns. If you notice any of these signs, it may be a sign of infestation or infection. Research the specific pest or disease and take action to control and prevent it.
Step 4: Observe the Plant’s Overall Health
Observe your clematis plant’s overall health, including its growth pattern, leaf color, and flower production. If your clematis is not producing flowers or has yellowing leaves, it may be a sign of nutrient deficiency. Consider fertilizing your clematis plant with a balanced fertilizer.
By following these steps, you can diagnose the root cause of your wilting clematis and take action to provide the right care and treatment. Remember to monitor your plant’s condition regularly and adjust your care routine accordingly.
The Importance of Proper Watering Techniques for Clematis
Proper watering techniques are essential for maintaining the health and vitality of clematis plants. Watering is a critical aspect of clematis care, and getting it right can make all the difference in preventing wilting and promoting healthy growth.
Frequency of Watering
Clematis plants prefer consistent moisture, especially during the first growing season. Water your clematis plant when the top 1-2 inches of soil feels dry to the touch. Avoid getting water on the leaves or crown of the plant, as this can lead to rot and other problems.
Amount of Watering
The amount of water your clematis plant needs will depend on the soil type, climate, and time of year. As a general rule, water your clematis plant deeply once or twice a week, depending on weather conditions. Avoid overwatering, which can lead to root rot and other problems.
Timing of Watering
The timing of watering is also crucial for clematis plants. Water your clematis plant in the morning, so the plant has the entire day to absorb the water. Avoid watering in the evening, as this can encourage fungal growth and other problems.
Risks of Overwatering and Underwatering
Both overwatering and underwatering can be detrimental to clematis plants. Overwatering can lead to root rot, while underwatering can cause the plant to become stressed and wilt. Monitor your plant’s condition regularly and adjust your watering schedule accordingly.
By following these guidelines for proper watering techniques, you can help prevent wilting and promote healthy growth in your clematis plant. Remember to monitor your plant’s condition regularly and adjust your care routine accordingly.
Nutrient Deficiencies: A Common Cause of Clematis Wilting
Nutrient deficiencies are a common cause of clematis wilting. Clematis plants require a balanced diet of nutrients to maintain healthy growth and development. A lack of essential nutrients can cause a range of problems, including wilting, yellowing leaves, and reduced flower production.
Signs of Nutrient Deficiencies
Identifying nutrient deficiencies in clematis plants can be challenging, but there are some common signs to look out for. Nitrogen deficiency can cause yellowing leaves, while iron deficiency can cause leaves to become pale or discolored. Magnesium deficiency can cause leaves to become curled or distorted.
How to Fertilize Your Clematis Plant
Fertilizing your clematis plant is essential to prevent nutrient deficiencies. Use a balanced fertilizer that contains equal amounts of nitrogen, phosphorus, and potassium. Apply the fertilizer in the spring and summer months when the plant is actively growing. Avoid overfertilizing, as this can cause more harm than good.
Organic Fertilizers
Organic fertilizers are a great alternative to synthetic fertilizers. They release nutrients slowly, providing a steady supply of nutrients to the plant. Some popular organic fertilizers include compost, manure, and fish emulsion.
Soil Testing
Soil testing is an essential step in determining the nutrient levels in your soil. A soil test can help you identify any nutrient deficiencies and provide recommendations for fertilization. You can purchase a soil testing kit or send a sample to a laboratory for analysis.
By understanding the role of nutrient deficiencies in causing clematis wilting, you can take steps to prevent and address the issue. Remember to fertilize your clematis plant regularly and monitor the soil nutrient levels to ensure optimal growth and development.
Pests and Diseases: Common Enemies of Clematis Plants
Clematis plants are susceptible to a range of pests and diseases that can cause wilting, yellowing leaves, and reduced flower production. Identifying and controlling these pests and diseases is essential to maintaining the health and vitality of your clematis plant.
Aphids: A Common Pest of Clematis Plants
Aphids are small, soft-bodied insects that feed on the sap of clematis plants. They can cause curled or distorted leaves, and can also transmit plant viruses. To control aphids, use neem oil or insecticidal soap, and make sure to remove any infested leaves or stems.
Whiteflies: Another Pest of Clematis Plants
Whiteflies are small, winged insects that feed on the sap of clematis plants. They can cause yellowing leaves and reduced flower production. To control whiteflies, use yellow sticky traps or insecticidal soap, and make sure to remove any infested leaves or stems.
Powdery Mildew: A Common Disease of Clematis Plants
Powdery mildew is a fungal disease that causes a white, powdery coating to form on the leaves of clematis plants. It can cause yellowing leaves and reduced flower production. To control powdery mildew, use a fungicide specifically designed for clematis plants, and make sure to remove any infected leaves or stems.
Other Pests and Diseases of Clematis Plants
Other pests and diseases that can affect clematis plants include spider mites, mealybugs, and root rot. To control these pests and diseases, use a combination of cultural, chemical, and biological controls, and make sure to monitor your plant regularly for signs of infestation or infection.
Preventing Pests and Diseases of Clematis Plants
Preventing pests and diseases of clematis plants is easier than controlling them. To prevent pests and diseases, make sure to provide your clematis plant with good air circulation, water it properly, and fertilize it regularly. Also, make sure to inspect your plant regularly for signs of infestation or infection, and take action promptly if you notice any problems.
Pruning and Training: Essential Techniques for Healthy Clematis Growth
Pruning and training are essential techniques for maintaining healthy clematis growth. Pruning helps to promote air circulation, encourage new growth, and remove dead or diseased stems. Training helps to control the plant’s growth habit and promote a strong, vigorous structure.
When to Prune Your Clematis Plant
The best time to prune your clematis plant depends on the type of clematis you are growing. For early-blooming clematis, prune immediately after blooming. For late-blooming clematis, prune in late winter or early spring.
How to Prune Your Clematis Plant
Pruning your clematis plant is a simple process that requires a few basic tools. Use a pair of sharp, clean pruning shears to cut back the stems to the desired length. Make clean cuts just above a leaf node, and remove any dead or diseased stems.
Training Your Clematis Plant
Training your clematis plant helps to control its growth habit and promote a strong, vigorous structure. Use a trellis or other support to train the stems to grow upwards. Remove any weak or spindly stems, and tie the stems to the support using twine or wire.
Benefits of Pruning and Training
Pruning and training your clematis plant has several benefits. It helps to promote healthy growth, encourages blooming, and improves the plant’s overall appearance. Regular pruning and training also helps to prevent disease and pests, and reduces the risk of damage from wind and weather.
Common Mistakes to Avoid
When pruning and training your clematis plant, there are a few common mistakes to avoid. Avoid pruning too much of the plant at once, as this can cause stress and reduce blooming. Also, avoid training the stems too tightly, as this can cause damage to the plant.
Environmental Factors: How Weather and Climate Impact Clematis Health
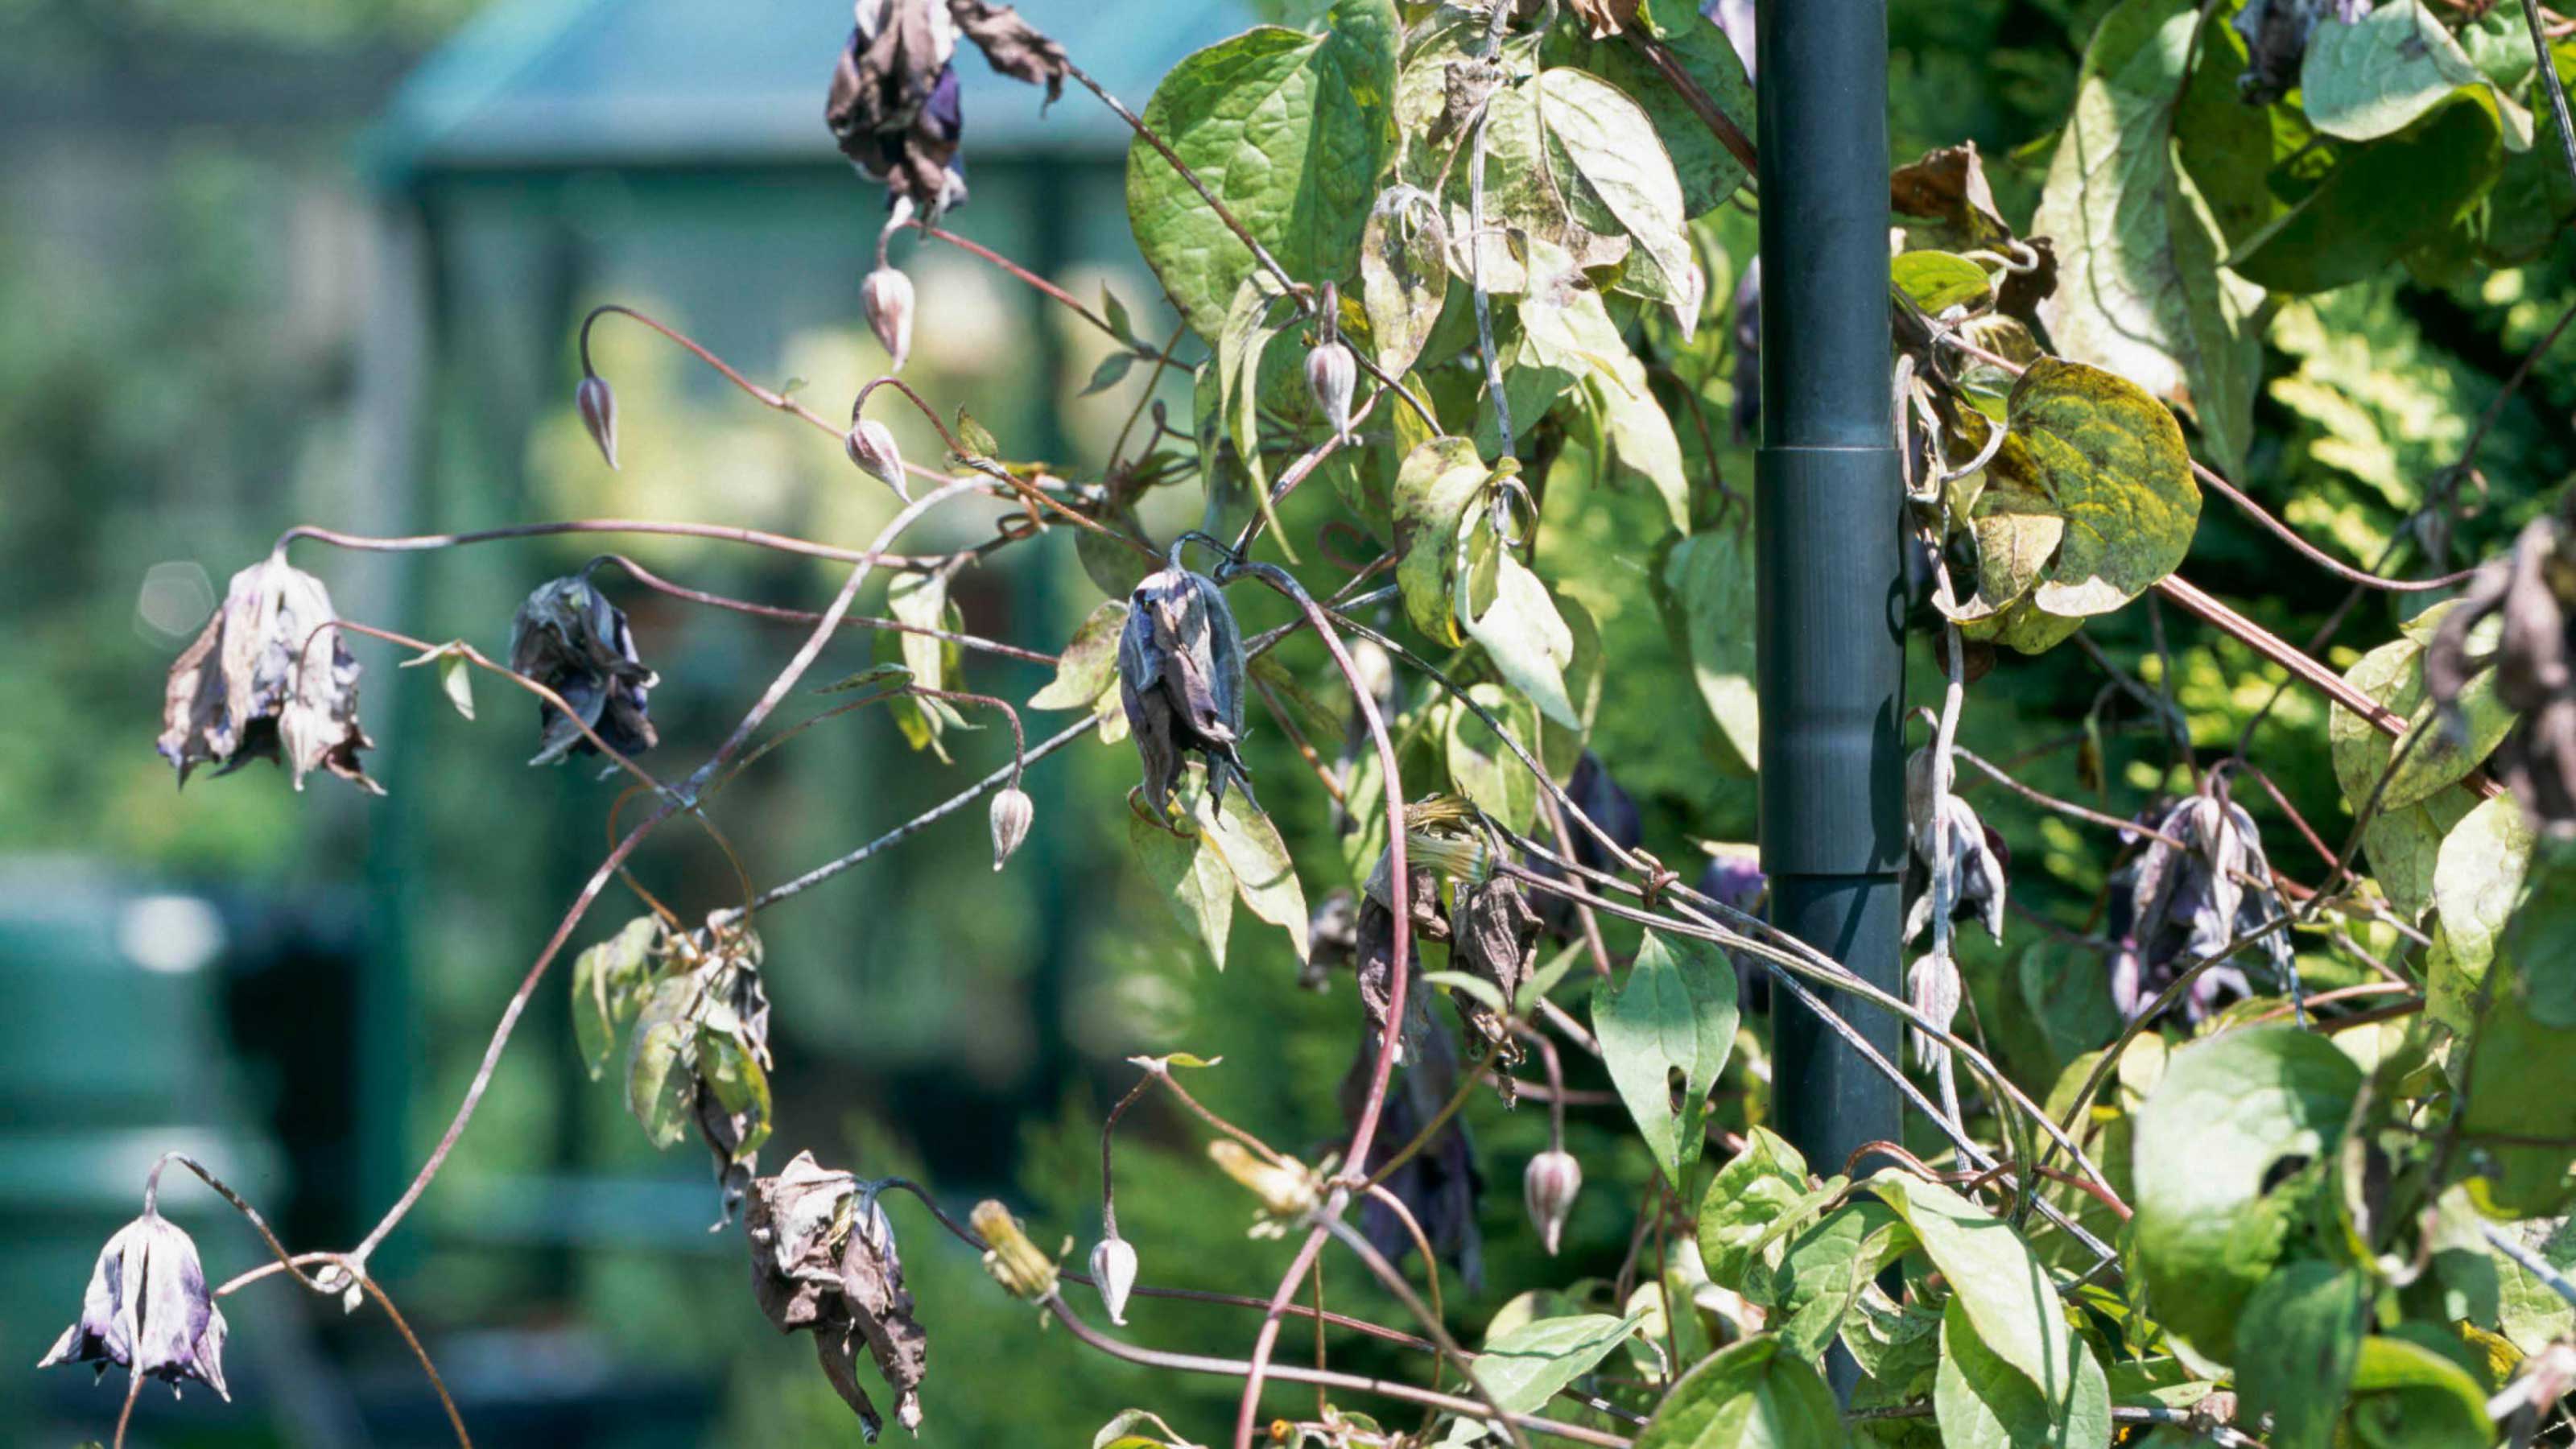
Environmental factors, such as weather and climate, can have a significant impact on clematis health. Extreme temperatures, wind, and frost can all cause damage to the plant, leading to wilting and other problems.
Protecting Your Clematis from Extreme Temperatures
Extreme temperatures can cause damage to clematis plants, especially if they are exposed to sudden changes in temperature. To protect your clematis from extreme temperatures, provide shade during the hottest part of the day, and use mulch to insulate the soil during the winter months.
Protecting Your Clematis from Wind
Wind can cause damage to clematis plants, especially if they are exposed to strong gusts. To protect your clematis from wind, provide support using stakes or a trellis, and use windbreaks such as burlap or snow fencing to block strong winds.
Protecting Your Clematis from Frost
Frost can cause damage to clematis plants, especially if they are exposed to prolonged periods of frost. To protect your clematis from frost, use mulch to insulate the soil, and bring potted plants indoors during the winter months.
Creating a Microclimate to Support Healthy Growth
Creating a microclimate can help to support healthy growth in clematis plants. A microclimate is a small, localized environment that is protected from extreme weather conditions. To create a microclimate, use a combination of shade, windbreaks, and mulch to protect the plant from extreme temperatures, wind, and frost.
Benefits of Creating a Microclimate
Creating a microclimate can have several benefits for clematis plants. It can help to protect the plant from extreme weather conditions, promote healthy growth, and reduce the risk of disease and pests.
Common Mistakes to Avoid
When creating a microclimate, there are a few common mistakes to avoid. Avoid using too much mulch, as this can cause the soil to become too wet and lead to root rot. Also, avoid using windbreaks that are too dense, as this can cause the plant to become too hot and lead to sunscald.
Reviving Your Wilting Clematis: A Step-by-Step Recovery Plan
If your clematis plant is wilting, don’t worry With a little care and attention, you can nurse it back to health. Here’s a step-by-step recovery plan to help you revive your wilting clematis:
Step 1: Adjust Watering and Fertilization
Check the soil moisture and adjust your watering schedule accordingly. Make sure to water your clematis plant deeply once or twice a week, depending on the weather conditions. Also, fertilize your clematis plant with a balanced fertilizer to provide it with the necessary nutrients.
Step 2: Prune and Train the Plant
Prune your clematis plant to promote air circulation, encourage new growth, and remove dead or diseased stems. Use a pair of sharp, clean pruning shears to make clean cuts just above a leaf node. Also, train your clematis plant to grow upwards using a trellis or other support.
Step 3: Monitor for Pests and Diseases
Monitor your clematis plant regularly for signs of pests or diseases. Check for aphids, whiteflies, and powdery mildew, and take action promptly if you notice any problems. Use organic or chemical controls as needed to prevent infestations and infections.
Step 4: Provide Support and Protection
Provide support and protection for your clematis plant to help it recover from wilting. Use stakes or a trellis to support the stems, and provide shade during the hottest part of the day. Also, protect your clematis plant from extreme temperatures, wind, and frost.
Step 5: Be Patient and Persistent
Reviving a wilting clematis plant takes time and patience. Be persistent in your care and attention, and don’t give up if you don’t see immediate results. With proper care and attention, your clematis plant should recover from wilting and thrive.
Conclusion
Reviving a wilting clematis plant requires a combination of proper care, attention, and patience. By following these steps, you can help your clematis plant recover from wilting and thrive. Remember to monitor your plant regularly and adjust your care routine accordingly.
