Why Container Gardening is Perfect for Potato Enthusiasts
Container gardening offers a unique set of benefits for growing potatoes, making it an ideal option for enthusiasts of all levels. One of the primary advantages of container gardening is its space-saving nature, allowing individuals with limited garden space to still enjoy a bountiful harvest. By using containers, gardeners can make the most of their available space, whether it’s a small balcony, patio, or backyard.

Click Image to Find Garden Products
In addition to its space-saving benefits, container gardening also provides improved soil quality and reduced disease risk. Containers allow gardeners to use high-quality potting soil that is specifically designed for optimal drainage and nutrient retention. This, in turn, reduces the risk of disease and pests, creating a healthier environment for the potatoes to grow.
Furthermore, container gardening provides greater control over the growing conditions, allowing gardeners to tailor the environment to the specific needs of their potato crop. This level of control enables gardeners to optimize factors such as sunlight, temperature, and humidity, resulting in a more productive and successful harvest.
For those new to container gardening, growing potatoes in pots is a great place to start. With the right container, soil, and care, gardeners can enjoy a rewarding and delicious harvest. In the next section, we’ll explore the importance of choosing the right container and soil for your potato crop.
Choosing the Right Container and Soil for Your Potato Crop
When it comes to growing potatoes in containers, selecting the right container and soil is crucial for a successful harvest. The ideal container size for growing potatoes is at least 6-8 inches deep and 12-18 inches wide. This will provide enough room for the potato tubers to grow and allow for good air circulation.
The material of the container is also important. Look for containers made from breathable materials such as terracotta, ceramic, or wood. Avoid using containers made from plastic or metal, as they can retain too much heat and moisture. Additionally, make sure the container has drainage holes in the bottom to prevent waterlogged soil.
High-quality potting soil is essential for growing potatoes in containers. Look for a potting soil that is specifically designed for container gardening and contains a mix of peat moss, vermiculite, and perlite. This will provide good drainage, aeration, and water retention. Avoid using garden soil from your outdoor garden, as it can compact and prevent proper drainage in containers.
To prepare the potting soil for potato cultivation, start by filling the container with a 2-3 inch layer of potting soil. Add a 1-2 inch layer of compost or well-rotted manure to provide nutrients for the potatoes. Mix the compost or manure into the potting soil, then add another 2-3 inch layer of potting soil. This will create a well-draining and fertile soil mix for your potatoes to grow.
By choosing the right container and soil, you’ll be well on your way to growing delicious and healthy potatoes in containers. In the next section, we’ll explore how to select and prepare healthy potato seedlings for planting.
How to Select and Prepare Healthy Potato Seedlings
When it comes to growing potatoes in containers, selecting healthy seedlings is crucial for a successful harvest. But what’s the difference between seed potatoes and regular potatoes? Seed potatoes are specifically grown for planting, whereas regular potatoes are grown for eating. Seed potatoes are certified disease-free and are the best choice for container gardening.
To choose healthy seedlings, look for potatoes that are firm and free of bruises or blemishes. Avoid seedlings that are soft, sprouted, or have green skin, as these can be signs of disease or rot. You can purchase seed potatoes from a reputable nursery or online supplier.
Before planting, it’s essential to chit your seed potatoes. Chitting involves allowing the seed potatoes to sprout before planting, which helps to encourage healthy growth. To chit your seed potatoes, place them in a light, cool place (around 40-50°F) with the “eyes” facing upwards. Allow them to sprout for 2-4 weeks, or until the sprouts are around 1-2 inches long.
Once your seed potatoes have chitted, it’s time to plant them in your container. Make sure to handle the seedlings gently to avoid damaging the sprouts. Plant the seedlings 2-4 inches deep, with the sprouts facing upwards. Cover the seedlings with a layer of potting soil and water gently.
By selecting healthy seedlings and chitting them correctly, you’ll be well on your way to growing delicious and healthy potatoes in containers. In the next section, we’ll explore how to plant potatoes in containers, including how to create a trench, add fertilizer, and cover the seedlings.
A Step-by-Step Guide to Planting Potatoes in Containers
Planting potatoes in containers is a straightforward process that requires some planning and attention to detail. To ensure a successful harvest, follow these steps to learn how to plant potatoes in a container:
Step 1: Create a Trench
Fill the container with a 4-6 inch layer of high-quality potting soil. Create a trench in the center of the container, about 6-8 inches deep and 2-3 inches wide. This trench will serve as the bed for the seed potatoes.
Step 2: Add Fertilizer
Add a balanced fertilizer to the trench, following the manufacturer’s instructions for application rates. Mix the fertilizer into the soil to create a nutrient-rich environment for the seed potatoes.
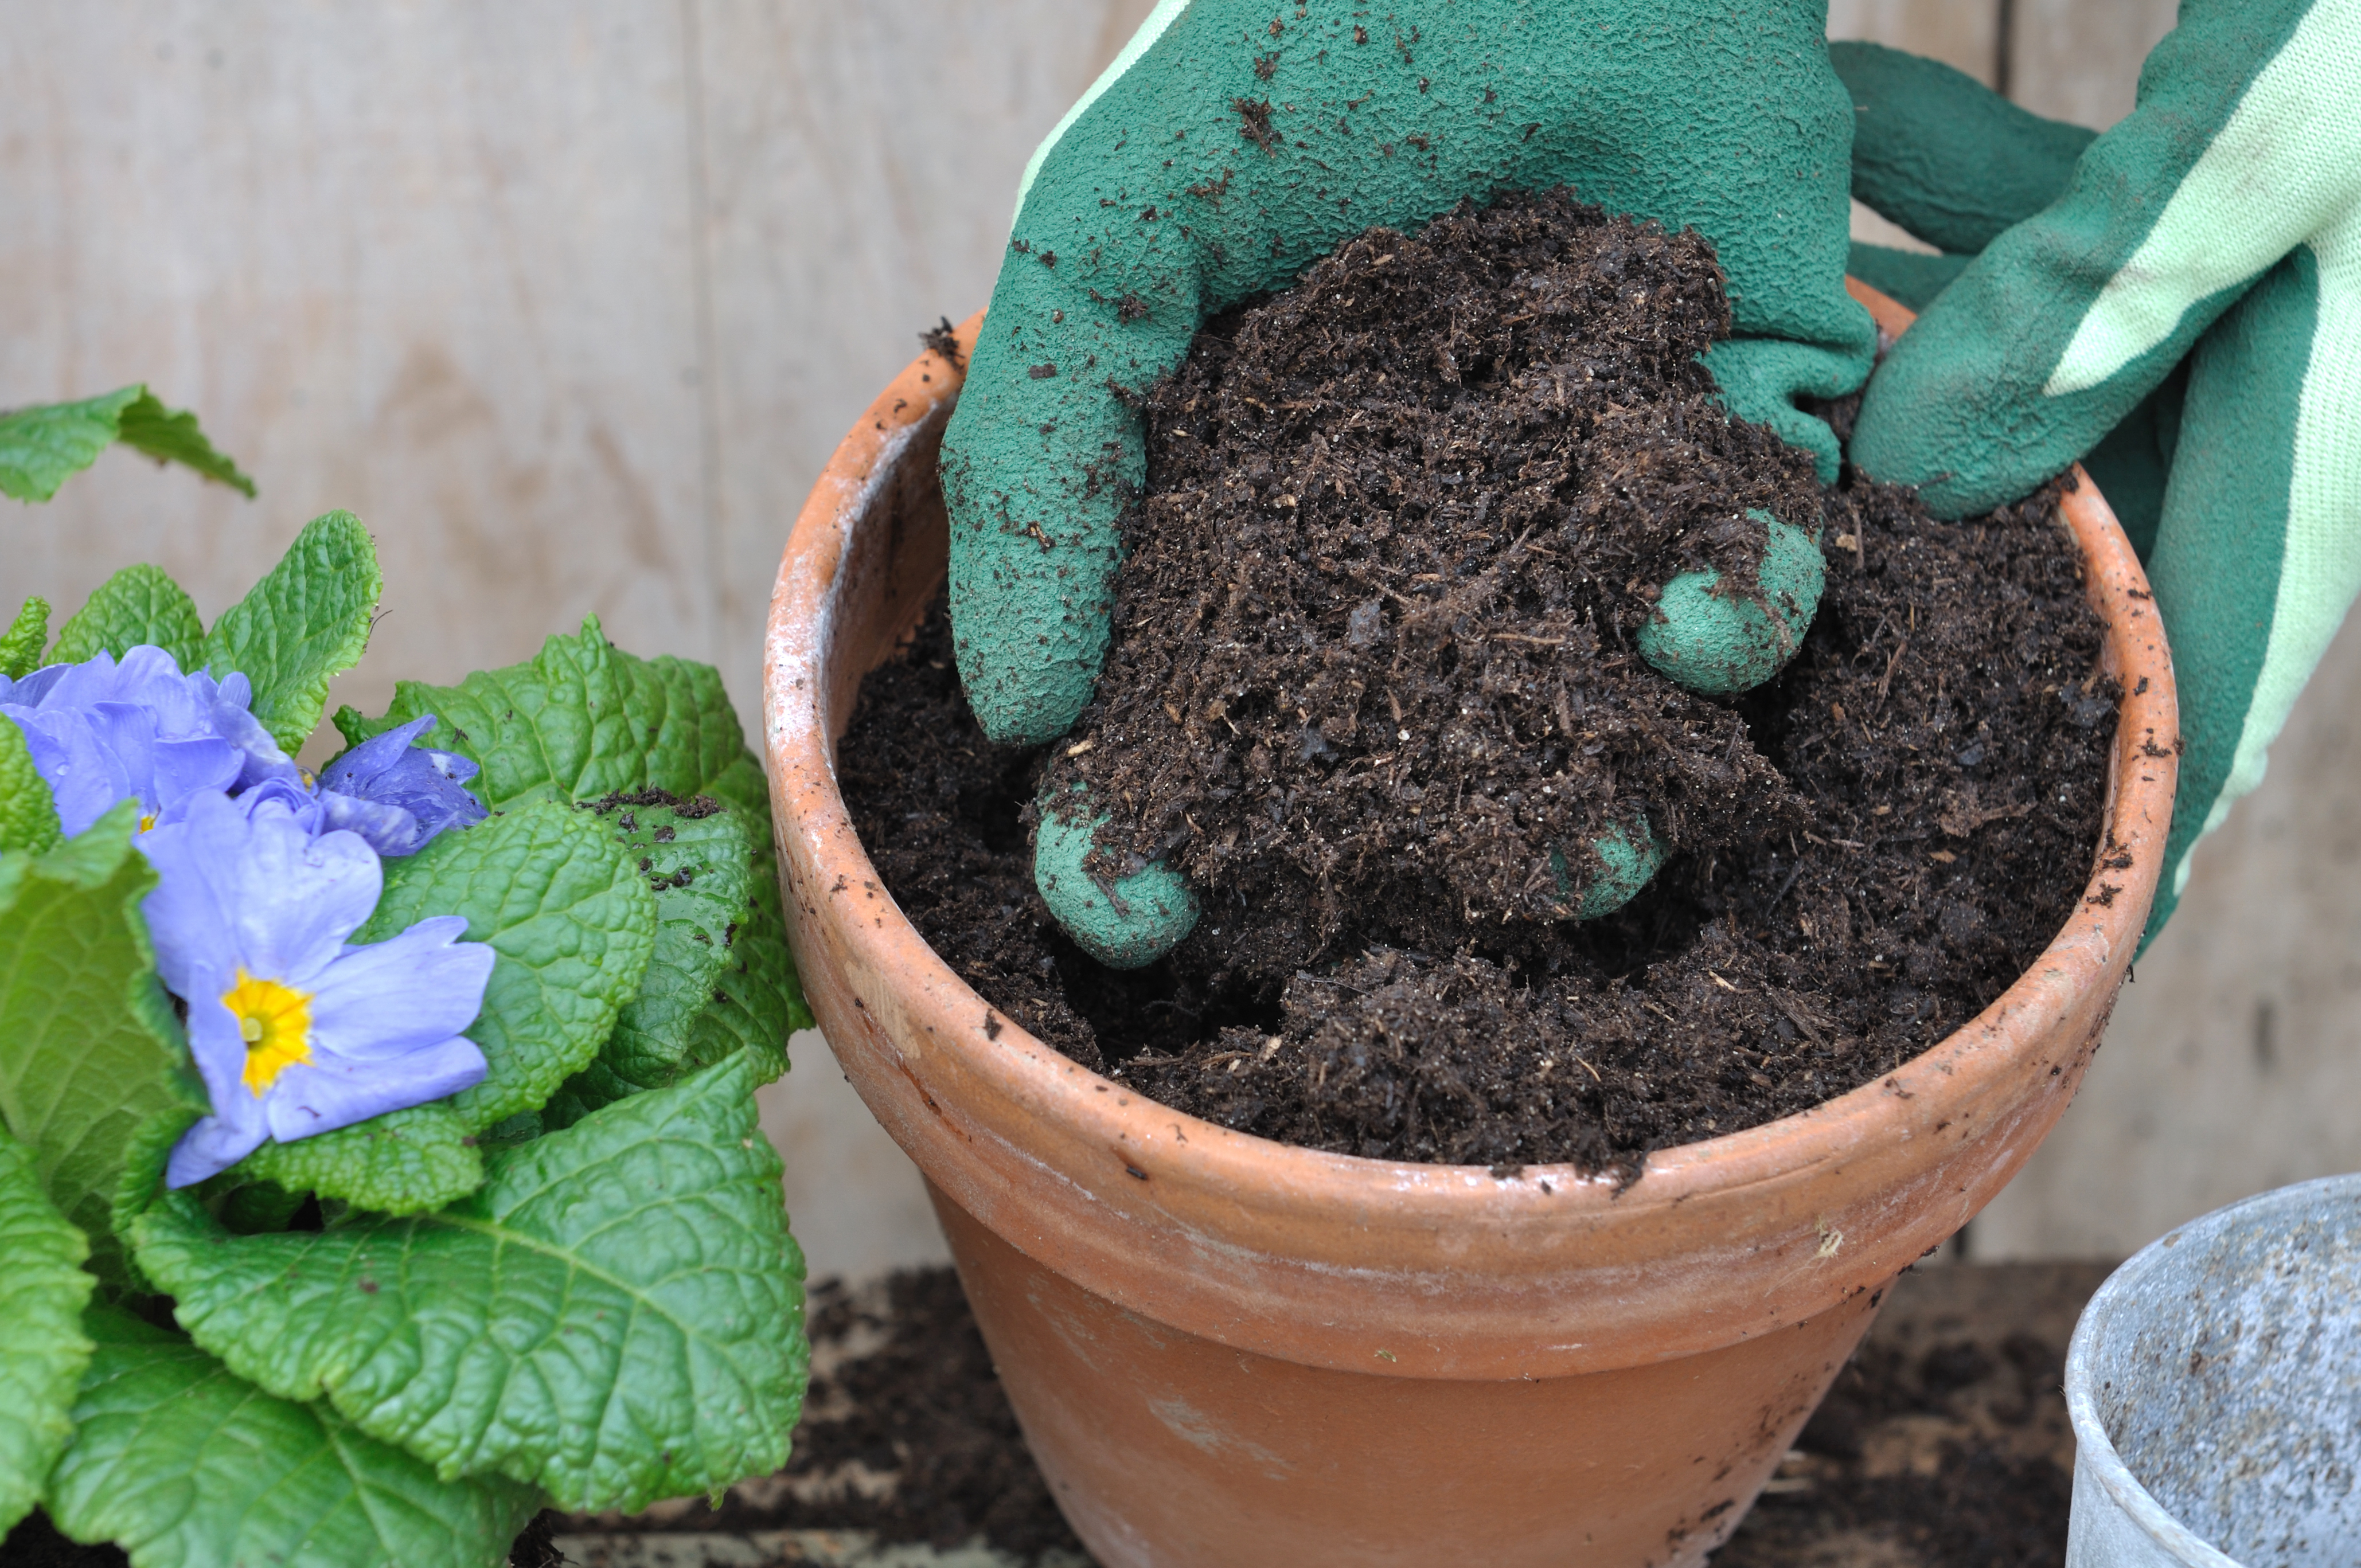
Step 3: Plant the Seed Potatoes
Place 2-3 seed potatoes in the trench, depending on the variety and container size. Make sure the “eyes” of the seed potatoes are facing upwards. Cover the seed potatoes with a 2-3 inch layer of potting soil.
Step 4: Add Additional Soil and Mulch
Fill the container with additional potting soil, leaving about 2-3 inches of space at the top. Add a layer of organic mulch, such as straw or bark chips, to retain moisture and suppress weeds.
Step 5: Water and Provide Support
Water the soil gently but thoroughly after planting. As the plants grow, provide support using a trellis or cage to keep them upright and promote healthy growth.
Step 6: Monitor and Maintain
Keep the soil consistently moist, but not waterlogged. Monitor the plants for signs of pests or diseases, and take action promptly if necessary. As the plants grow, add additional layers of mulch and soil to maintain a depth of 6-8 inches.
By following these steps and providing optimal growing conditions, you’ll be on your way to a successful container potato harvest. Remember to research specific growing requirements for your chosen potato variety, and don’t hesitate to reach out to gardening experts if you have any questions or concerns about how to plant potatoes in a container.
Providing Optimal Growing Conditions for Your Container Potatoes
Container-grown potatoes require specific growing conditions to thrive. Providing optimal sunlight, temperature, and humidity is crucial for a successful harvest. Here’s how to create the perfect environment for your container potatoes:
Sunlight and Temperature
Potatoes need full sun to partial shade, depending on the variety. Place the container in a spot that receives at least 6 hours of direct sunlight per day. Keep in mind that potatoes can tolerate some shade, but excessive shade can lead to weak and spindly growth.
Temperature is also critical for potato growth. Most varieties prefer daytime temperatures between 60°F to 70°F (15°C to 21°C) and nighttime temperatures around 50°F to 60°F (10°C to 15°C). Avoid placing the container in areas with extreme temperature fluctuations.
Humidity and Watering
Potatoes prefer a relatively high humidity, typically above 50%. To maintain optimal humidity, water the container regularly, but avoid overwatering. Check the soil moisture by inserting your finger into the soil up to the first knuckle. If the soil feels dry, it’s time to water.
Supporting the Plants
As the plants grow, provide support using a trellis, cage, or stake. This will help keep the plants upright, promote healthy growth, and prevent them from toppling over in the wind.
Monitoring for Pests and Diseases
Regularly inspect the plants for signs of pests or diseases, such as aphids, whiteflies, or powdery scab. Use organic or integrated pest management (IPM) methods to control any issues that arise. Keep in mind that container-grown potatoes are generally less susceptible to diseases than those grown in the ground.
Additional Tips
To further optimize growing conditions, consider the following tips:
- Use a well-draining potting mix to prevent waterlogged soil.
- Avoid placing the container near heating vents or air conditioning units.
- Keep the container away from strong winds, which can cause the plants to become stressed.
- Use a mulch or straw to retain moisture and suppress weeds.
By providing optimal growing conditions, you’ll be well on your way to a successful container potato harvest. Remember to research specific growing requirements for your chosen potato variety, and don’t hesitate to reach out to gardening experts if you have any questions or concerns about how to plant potatoes in a container.
Common Mistakes to Avoid When Growing Potatoes in Containers
While growing potatoes in containers can be a rewarding experience, there are several common mistakes to avoid to ensure a successful harvest. By being aware of these potential pitfalls, you can take steps to prevent them and enjoy a bountiful crop of delicious potatoes.
Overwatering
One of the most common mistakes when growing potatoes in containers is overwatering. Potatoes need consistent moisture, but too much water can lead to rot and other problems. Check the soil regularly, and only water when the top inch of soil feels dry to the touch.
Underwatering
On the other hand, underwatering can also be detrimental to potato growth. Potatoes need about 1-2 inches of water per week, either from rainfall or irrigation. Make sure to water your container potatoes regularly, especially during hot and dry weather.
Inadequate Fertilization
Potatoes are heavy feeders and need regular fertilization to produce a healthy crop. Use a balanced fertilizer that is high in phosphorus, which promotes root growth and development. Avoid overfertilizing, as this can damage the plants and reduce yields.
Insufficient Sunlight
Potatoes need full sun to partial shade to grow well. If your container potatoes are not receiving enough sunlight, they may become weak and spindly. Move the container to a sunnier location, or consider using grow lights to supplement natural light.
Poor Soil Quality
Using low-quality potting soil can lead to poor potato growth and reduced yields. Choose a high-quality potting soil that is specifically designed for container gardening, and follow the manufacturer’s instructions for preparation and use.
Troubleshooting Common Problems
If you notice any problems with your container potatoes, such as yellowing leaves or soft spots, take action promptly to prevent the issue from spreading. Here are some common problems and their solutions:
- Yellowing leaves: Check for underwatering or overwatering, and adjust your watering schedule accordingly.
- Soft spots: Inspect the container for signs of pests or diseases, and treat accordingly.
- Slow growth: Check the soil quality and fertilization schedule, and make adjustments as needed.
By avoiding these common mistakes and taking steps to prevent problems, you can enjoy a successful harvest of delicious potatoes from your container garden. Remember to research specific growing requirements for your chosen potato variety, and don’t hesitate to reach out to gardening experts if you have any questions or concerns about how to plant potatoes in a container.
![]()
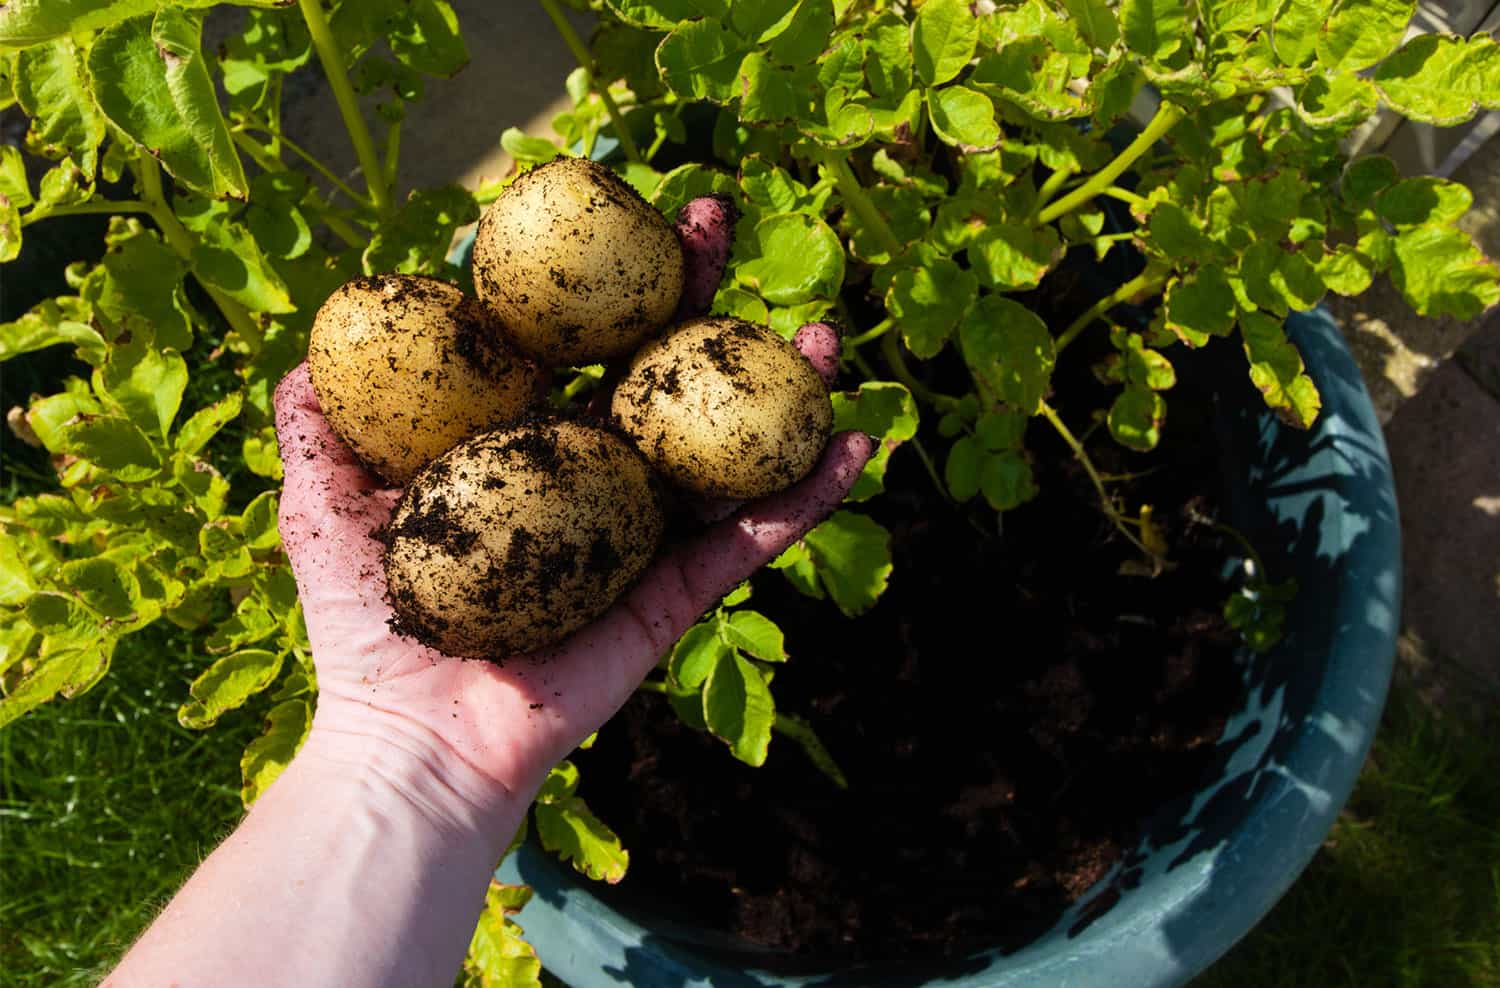
Harvesting Your Container-Grown Potatoes: Timing and Techniques
Harvesting container-grown potatoes is an exciting moment, as you get to enjoy the fruits of your labor. However, timing is crucial to ensure that you harvest your potatoes at the right moment. Here’s how to determine when your container-grown potatoes are ready to harvest:
Checking for Maturity
Container-grown potatoes are typically ready to harvest 70-100 days after planting, depending on the variety. Check for maturity by gently digging around the base of the plants with your fingers or a fork. If you feel a tuber, it’s ready to harvest.
Visual Cues
Look for visual cues such as yellowing leaves, wilting stems, or a decrease in plant growth. These signs indicate that the tubers are mature and ready to harvest.
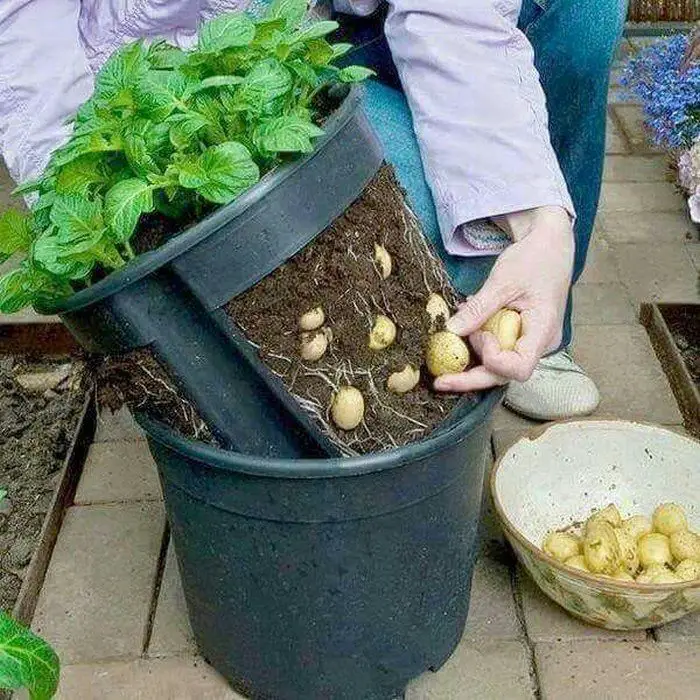
Harvesting Techniques
When harvesting container-grown potatoes, it’s essential to be gentle to avoid damaging the tubers. Here are some techniques to follow:
- Water the soil the day before harvesting to make it easier to dig.
- Use a fork to carefully loosen the soil around the base of the plants.
- Gently lift the tubers out of the soil, taking care not to damage them.
- Handle the tubers carefully to avoid bruising or scratching them.
Storing Your Harvest
After harvesting, store your container-grown potatoes in a cool, dark place with good ventilation. Avoid washing the tubers before storing, as excess moisture can lead to rot. Instead, gently brush off any excess soil and store them in a paper bag or breathable container.
Tips for a Successful Harvest
Here are some additional tips to ensure a successful harvest:
- Harvest your potatoes in the morning, when the soil is typically cooler and more moist.
- Avoid harvesting during extreme weather conditions, such as intense heat or cold.
- Consider harvesting your potatoes in stages, as some varieties may mature at different times.
By following these tips and techniques, you’ll be able to enjoy a bountiful harvest of delicious container-grown potatoes. Remember to research specific harvesting requirements for your chosen potato variety, and don’t hesitate to reach out to gardening experts if you have any questions or concerns about how to plant potatoes in a container.

Tips for Success: Varieties, Companion Planting, and More
With the basics of growing potatoes in containers covered, it’s time to explore some additional tips for success. From choosing the right variety to companion planting and crop rotation, here are some expert tips to help you get the most out of your container potato garden:
Potato Varieties for Containers
Not all potato varieties are created equal when it comes to container gardening. Look for varieties that are specifically bred for container growing, such as ‘Nicola’, ‘Charlottes’, or ‘Pentland Javelin’. These varieties tend to be more compact and produce smaller tubers, making them perfect for containers.
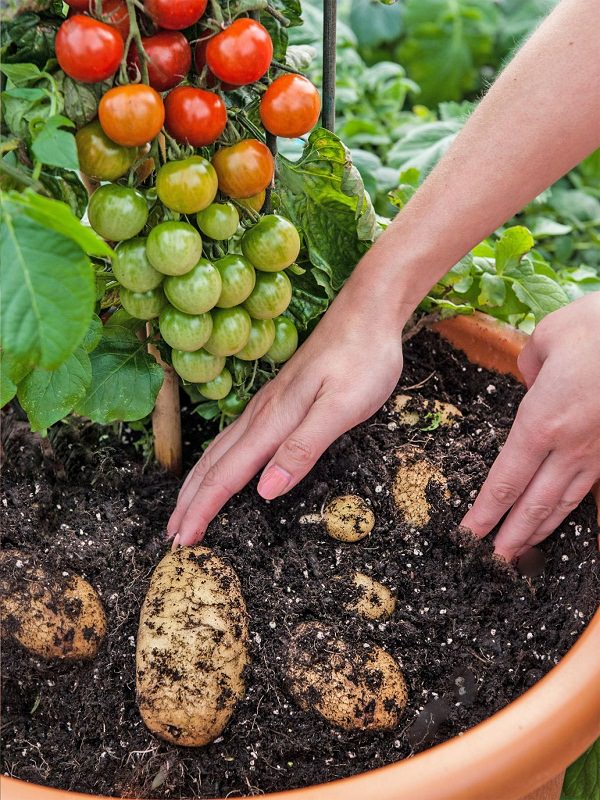
Companion Planting
Companion planting is the practice of growing different plants together to improve growth, flavor, and pest resistance. For potatoes, some good companion plants include:
- Marigolds: These bright, cheerful flowers repel nematodes and other pests that can harm potatoes.
- Chives: Chives are a natural repellent for aphids and other pests, and their onion-like flavor can improve the taste of potatoes.
- Radishes: Radishes can help to repel cucumber beetles and other pests, and their fast growth rate can help to shade out weeds.
Crop Rotation
Crop rotation is an essential part of container gardening, as it helps to prevent soil-borne diseases and maintain soil fertility. For potatoes, it’s best to rotate with a non-solanaceous crop, such as beans or peas, to avoid depleting the soil of nutrients.
Extending the Harvest Season
One of the best things about growing potatoes in containers is that you can extend the harvest season by using a technique called “succession planting”. This involves planting a new batch of seed potatoes every 1-2 weeks, which will give you a continuous harvest of potatoes throughout the growing season.
Saving Seed Potatoes for Future Crops
If you want to save seed potatoes for future crops, it’s essential to choose a variety that is suitable for seed production. Look for varieties that are specifically labeled as “seed potatoes” or “certified seed potatoes”, as these will produce high-quality tubers that can be used for seed.
Additional Tips for Success
Here are some additional tips for success when growing potatoes in containers:
- Use a high-quality potting mix that is specifically designed for container gardening.
- Make sure the container has good drainage holes to prevent waterlogged soil.
- Keep the soil consistently moist, but not waterlogged.
- Provide support for the plants as they grow, using a trellis or cage.
By following these tips and techniques, you’ll be well on your way to growing delicious potatoes in containers. Remember to research specific growing requirements for your chosen potato variety, and don’t hesitate to reach out to gardening experts if you have any questions or concerns about how to plant potatoes in a container.