Unlocking the Secrets to a Thriving Peace Lily
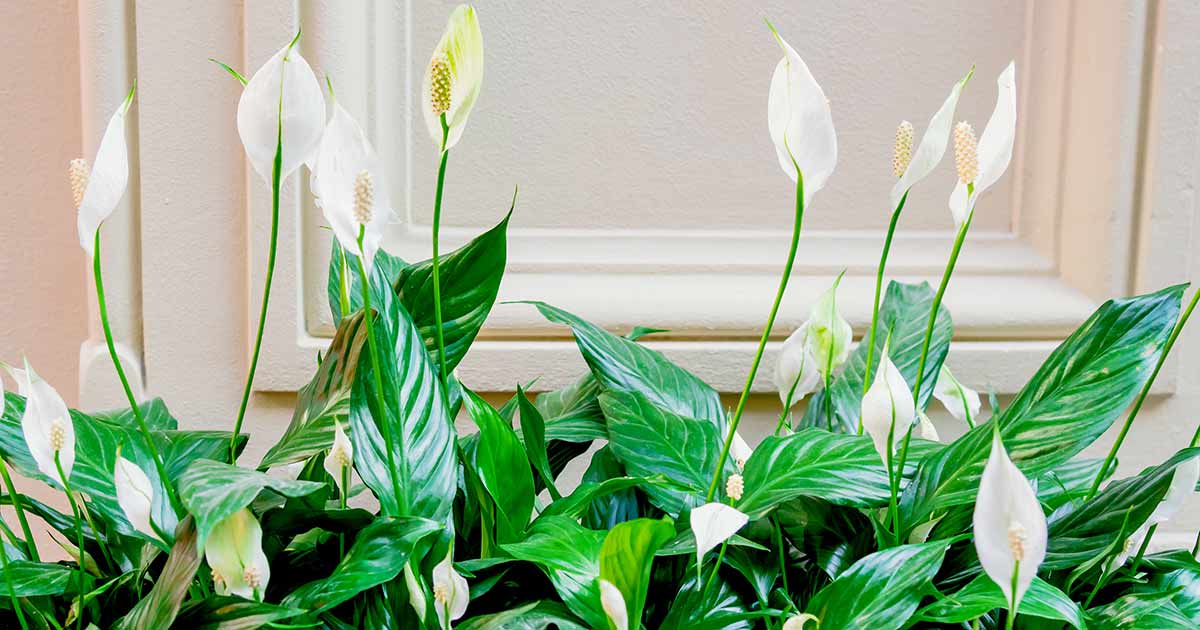
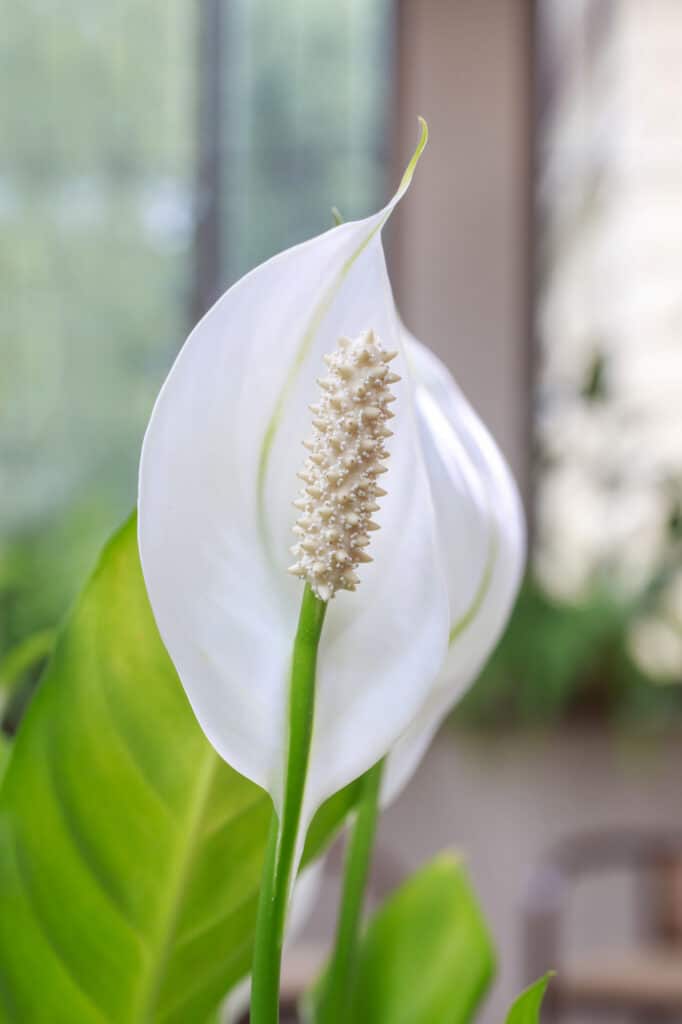
The peace lily, also known as Spathiphyllum wallisii, is a popular and low-maintenance houseplant that has been a favorite among indoor gardeners for decades. With its elegant white blooms and dark green leaves, it’s no wonder why this plant is a staple in many homes and offices. But what makes the peace lily truly special is its ability to purify the air and create a sense of serenity in any room. In fact, studies have shown that indoor plants like the peace lily can help remove up to 87% of airborne toxins, making them a great addition to any indoor space.
So, how do you take care of a peace lily indoors? With the right environment and care, this plant can thrive and provide beauty and benefits for years to come. To start, it’s essential to understand the peace lily’s natural habitat and how to replicate those conditions indoors. Native to the tropical regions of Central and South America, the peace lily prefers bright, indirect light and warm temperatures between 65-80°F (18-27°C). By providing your peace lily with the right environment, you’ll be well on your way to creating a thriving and beautiful plant.
In addition to its air-purifying benefits, the peace lily is also known for its elegant white blooms, which can last for several weeks. To encourage blooming, make sure your peace lily is receiving enough light and water. It’s also essential to fertilize your plant regularly, using a balanced fertilizer that’s specifically designed for indoor plants. By following these simple care tips, you can enjoy the beauty and benefits of your peace lily for years to come.
Whether you’re a seasoned indoor gardener or just starting out, the peace lily is a great choice for anyone looking to add some greenery to their space. With its low-maintenance care and elegant blooms, it’s no wonder why this plant is a favorite among indoor gardeners. So, if you’re looking to create a sense of serenity and beauty in your home or office, consider adding a peace lily to your indoor garden today.
Choosing the Right Environment for Your Peace Lily
When it comes to creating an ideal environment for your peace lily, there are several factors to consider. Lighting, temperature, and humidity all play a crucial role in determining the health and well-being of your plant. To ensure your peace lily thrives, it’s essential to choose a location that provides the right conditions.
Lighting is one of the most critical factors to consider when placing your peace lily. While peace lilies can tolerate low light conditions, they prefer bright, indirect light. Placing your peace lily near an east- or west-facing window is ideal, as it will receive gentle, indirect light. Avoid placing your peace lily in direct sunlight, as it can cause the leaves to become scorched and the plant to become stressed.
Temperature is another essential factor to consider when creating an ideal environment for your peace lily. Peace lilies prefer temperatures between 65-80°F (18-27°C), which is typical for most indoor spaces. Avoid placing your peace lily near heating or cooling vents, fireplaces, or drafty windows, as it can cause the temperature to fluctuate.
Humidity is also an important factor to consider when caring for your peace lily. Peace lilies prefer a humid environment, typically between 40-60% relative humidity. To maintain the right humidity levels, you can place the peace lily on a tray filled with water and pebbles or use a humidifier nearby.
In addition to lighting, temperature, and humidity, it’s also essential to consider the air circulation around your peace lily. Peace lilies prefer good air circulation, which helps to prevent fungal diseases and pest infestations. Make sure to provide enough space around your peace lily to allow for good air circulation.
By considering these factors and creating an ideal environment for your peace lily, you’ll be well on your way to growing a healthy and thriving plant. Remember, how you take care of a peace lily indoors is crucial to its success, so make sure to provide the right conditions to ensure your plant flourishes.
Watering Your Peace Lily: The Dos and Don’ts
Watering is one of the most critical aspects of peace lily care. Overwatering is the most common cause of death in peace lilies, so it’s essential to get it right. But how do you take care of a peace lily indoors when it comes to watering? The key is to find the right balance between keeping the soil moist and avoiding waterlogged soil.
The frequency of watering depends on the humidity and temperature of the environment. In general, peace lilies prefer to dry out slightly between waterings. Check the soil moisture by sticking your finger into the soil up to the first knuckle. If the soil feels dry, it’s time to water. If it’s still moist, wait another day or two before checking again.
When watering your peace lily, make sure to use room-temperature water. Avoid using cold or hot water, as this can shock the roots. Water thoroughly, making sure the pot drains well to prevent waterlogged soil. A good rule of thumb is to water your peace lily until you see water coming out of the drainage holes.
It’s also essential to avoid getting water on the leaves or crown of the plant, as this can cause rot and other problems. Instead, water at the soil level, making sure to keep the leaves dry. This will help prevent fungal diseases and pest infestations.
Underwatering can also be a problem for peace lilies. If the soil is too dry for too long, the leaves may turn yellow or droop. If you notice this happening, increase the frequency of watering, but make sure not to overwater.
By following these simple watering tips, you can help your peace lily thrive indoors. Remember, the key is to find the right balance between keeping the soil moist and avoiding waterlogged soil. With a little practice, you’ll be able to determine the perfect watering schedule for your peace lily.
Fertilizing Your Peace Lily for Optimal Growth
Fertilizing is an essential part of peace lily care, as it provides the necessary nutrients for healthy growth and blooming. But how do you take care of a peace lily indoors when it comes to fertilizing? The key is to use the right type of fertilizer and apply it at the right time.
Peace lilies prefer a balanced fertilizer that is high in phosphorus, which promotes blooming and root growth. A fertilizer with a ratio of 20-20-20 (nitrogen-phosphorus-potassium) is ideal. You can also use a fertilizer that is specifically formulated for indoor plants, as these tend to be lower in nitrogen and higher in phosphorus.
When to fertilize your peace lily depends on the time of year and the plant’s growth cycle. During the spring and summer months, when the plant is actively growing, fertilize every 2-3 weeks. During the fall and winter months, when the plant is dormant, fertilize every 4-6 weeks.
It’s also important to dilute the fertilizer to half the recommended strength to avoid burning the roots. You can also use a fertilizer that is specifically designed for indoor plants, as these tend to be lower in nitrogen and higher in phosphorus.
In addition to using a balanced fertilizer, you can also use other types of fertilizers to promote healthy growth and blooming. For example, you can use a fertilizer that is high in potassium to promote blooming, or a fertilizer that is high in nitrogen to promote leaf growth.
By fertilizing your peace lily regularly, you can promote healthy growth and blooming, and keep your plant looking its best. Remember to always follow the instructions on the fertilizer package, and start with a small amount to avoid burning the roots.
Pruning and Grooming Your Peace Lily
Pruning and grooming are essential parts of peace lily care, as they help maintain the plant’s shape and promote healthy growth. But how do you take care of a peace lily indoors when it comes to pruning and grooming? The key is to remove dead or dying leaves and flowers, and to trim back overgrown stems.
Start by removing any dead or dying leaves or flowers from the plant. This will help prevent the spread of disease and encourage healthy growth. Use a pair of clean scissors or pruning shears to cut off the affected leaves or flowers at the base of the stem.
Next, trim back any overgrown stems to maintain the plant’s shape and promote healthy growth. Cut back the stems to about 6-8 inches from the base of the plant, and remove any weak or spindly growth. This will help encourage the plant to produce new growth and blooms.
It’s also important to dust the leaves of your peace lily regularly to prevent the buildup of dust and dirt. Use a soft-bristled brush or a damp cloth to gently wipe down the leaves, and remove any debris or dust that may have accumulated.
In addition to pruning and grooming, you can also use other techniques to promote healthy growth and blooming. For example, you can use a plant stake to support the stems of the plant, or use a trellis to train the stems to grow upwards.
By pruning and grooming your peace lily regularly, you can help maintain its shape and promote healthy growth. Remember to always use clean scissors or pruning shears, and to make cuts at a 45-degree angle to prevent water from collecting on the cut ends.
Regular pruning and grooming can also help prevent common problems such as yellowing leaves, droopy stems, and lack of blooming. By removing dead or dying leaves and flowers, and trimming back overgrown stems, you can help promote healthy growth and blooming, and keep your peace lily looking its best.
Pest Control and Common Problems
Despite their hardy nature, peace lilies can be susceptible to pests and diseases. Regular monitoring and prompt action can help prevent infestations and infections. But how do you take care of a peace lily indoors when it comes to pest control and common problems?
One of the most common pests that can affect peace lilies is spider mites. These tiny, spider-like insects can cause yellowing leaves and fine webbing on the plant. To control spider mites, use a gentle insecticidal soap or neem oil, and make sure to isolate the plant to prevent the mites from spreading.
Mealybugs are another common pest that can affect peace lilies. These small, white insects can cause stunted growth and yellowing leaves. To control mealybugs, use a gentle insecticidal soap or neem oil, and make sure to remove any infested leaves or stems.
Root rot is a common problem that can affect peace lilies, especially if the plant is overwatered. To prevent root rot, make sure to water your peace lily carefully, and avoid getting water on the leaves or crown of the plant. If you suspect root rot, repot the plant in fresh, well-draining soil, and trim back any affected roots.
Other common problems that can affect peace lilies include leaf spot, crown rot, and scale. To prevent these problems, make sure to provide your peace lily with good air circulation, and avoid getting water on the leaves or crown of the plant. Regularly inspect your plant for signs of pests or diseases, and take prompt action if you notice any problems.
By being aware of the common pests and problems that can affect peace lilies, you can take steps to prevent them and keep your plant healthy and thriving. Remember to always use gentle, non-toxic pesticides, and to isolate your plant to prevent the spread of pests and diseases.
Regular monitoring and prompt action can help prevent infestations and infections, and keep your peace lily looking its best. By following these tips, you can enjoy the beauty and benefits of your peace lily for years to come.
Repotting Your Peace Lily: When and How
Repotting is an essential part of peace lily care, as it provides the plant with fresh soil and a larger pot to grow into. But how do you take care of a peace lily indoors when it comes to repotting? The key is to know when to repot and how to choose the right potting mix.
Peace lilies typically need to be repotted every 2-3 years, as the plant outgrows its container. Spring and summer are the best times to repot, as the plant is actively growing. Choose a pot that is only slightly larger than the original one, as peace lilies prefer to be slightly root-bound.
When selecting a potting mix, look for one that is well-draining and rich in organic matter. A mix specifically designed for tropical plants or peace lilies is ideal. Avoid using regular potting soil, as it can retain too much water and cause root rot.
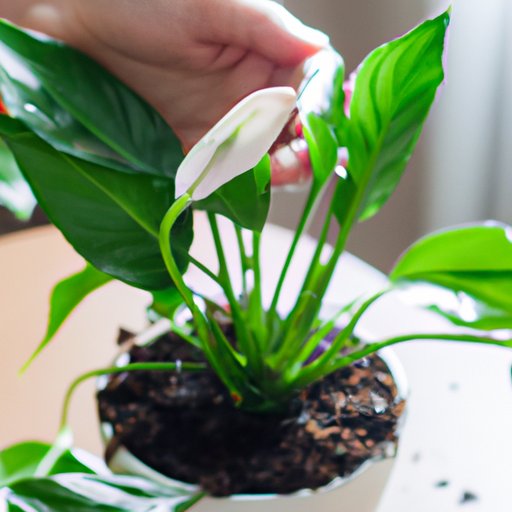
To repot your peace lily, start by gently removing the plant from its container. Inspect the roots and trim back any dead or damaged roots. Place the plant in its new pot and add fresh potting mix, gently firming it around the roots. Water the plant thoroughly after repotting and keep the soil consistently moist.
Minimizing stress on the plant during the repotting process is crucial. To do this, avoid repotting during the winter months when the plant is dormant. Also, make sure to handle the roots gently and avoid exposing them to air for too long.
By repotting your peace lily at the right time and using the right potting mix, you can provide your plant with the best chance to thrive. Remember to monitor your plant’s condition after repotting and adjust its care accordingly.
Repotting is a great opportunity to inspect your peace lily’s roots and address any potential issues. By doing so, you can prevent problems such as root rot and ensure your plant continues to grow and bloom.
Troubleshooting Common Issues with Your Peace Lily
Despite their hardy nature, peace lilies can still experience common issues that can affect their health and appearance. But how do you take care of a peace lily indoors when it comes to troubleshooting these issues? The key is to identify the problem and take prompt action to address it.
One of the most common issues with peace lilies is yellowing leaves. This can be caused by a variety of factors, including overwatering, underwatering, and exposure to direct sunlight. To address yellowing leaves, adjust your watering schedule and make sure the plant is receiving bright, indirect light.
Droopy stems are another common issue with peace lilies. This can be caused by a lack of water, too much water, or exposure to extreme temperatures. To address droopy stems, adjust your watering schedule and make sure the plant is receiving the right amount of light and temperature.
Lack of blooming is also a common issue with peace lilies. This can be caused by a lack of light, too much water, or a lack of fertilization. To address lack of blooming, adjust your lighting schedule and make sure the plant is receiving the right amount of water and fertilization.
Other common issues with peace lilies include brown tips, leaf drop, and root rot. To address these issues, adjust your watering schedule, make sure the plant is receiving the right amount of light and temperature, and avoid overfertilizing.
By identifying and addressing common issues with your peace lily, you can keep your plant healthy and thriving. Remember to monitor your plant’s condition regularly and take prompt action to address any problems that may arise.
Troubleshooting common issues with your peace lily is an essential part of providing the best care for your plant. By being aware of the common issues that can affect peace lilies, you can take steps to prevent them and keep your plant looking its best.


