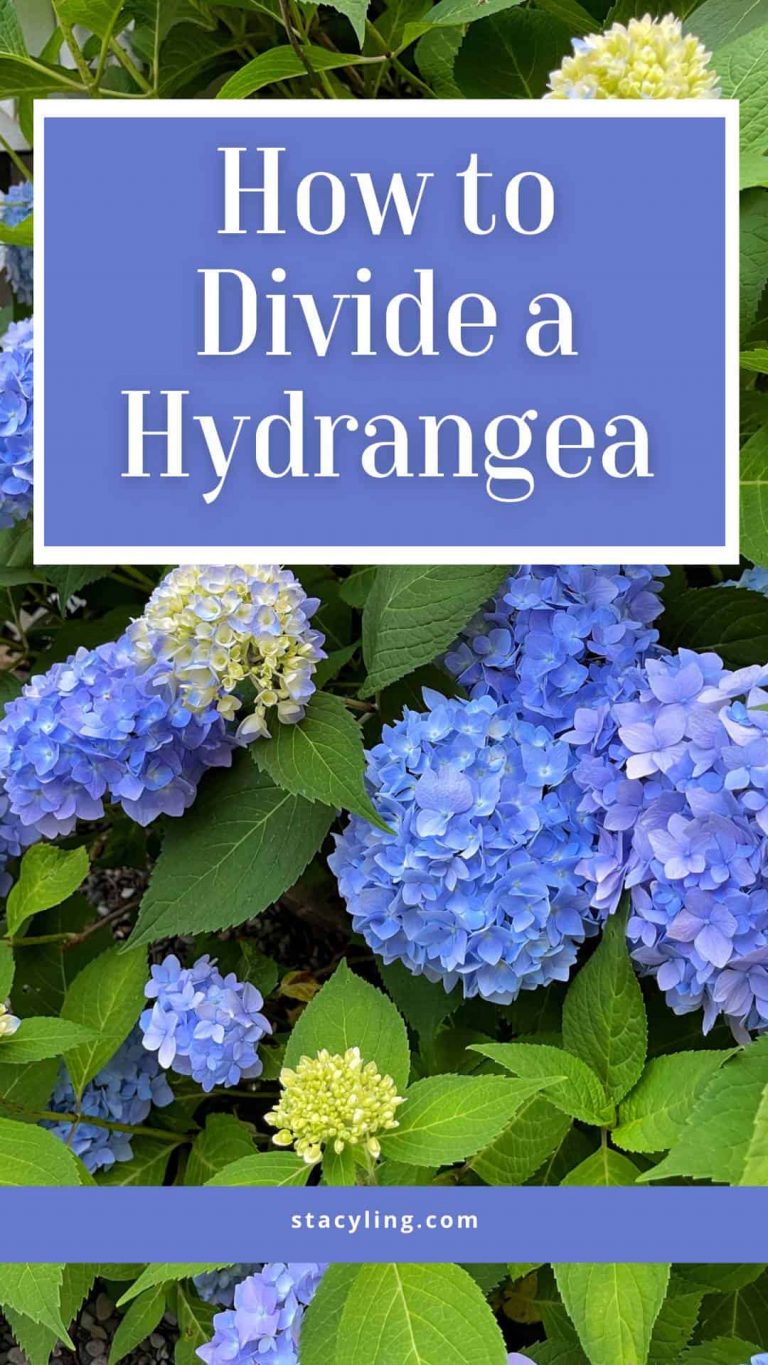
Understanding Hydrangea Division: Is it Possible?
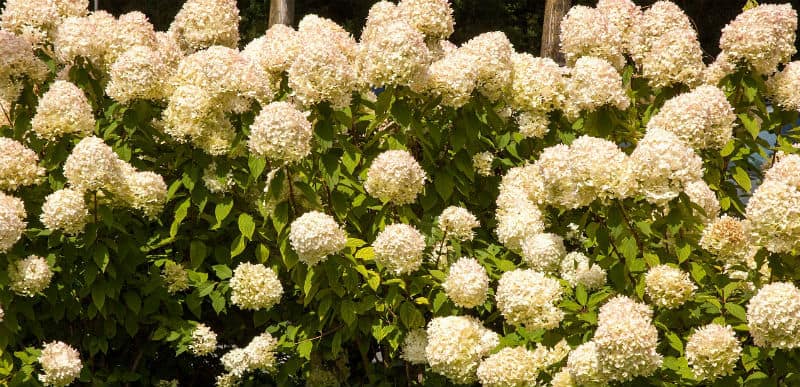
Hydrangeas are a popular choice for gardeners due to their stunning flowers and relatively low-maintenance requirements. However, as these plants grow and mature, they may become too large or unruly, prompting the question: can you divide a hydrangea? The answer is yes, but it requires careful consideration and planning. Dividing hydrangeas can be a bit tricky, but with the right techniques, it can be a successful way to propagate new plants and maintain the health and appearance of your existing hydrangeas.

Click Image to Find Garden Products
There are several types of hydrangeas that can be divided, including bigleaf, panicle, and smooth hydrangeas. Bigleaf hydrangeas, which produce large, showy flowers, are the most common type of hydrangea and can be divided in the spring or fall. Panicle hydrangeas, which produce long, cone-shaped flowers, can be divided in the spring, while smooth hydrangeas, which produce small, delicate flowers, can be divided in the fall.
Dividing hydrangeas offers several benefits, including the ability to control the size and shape of the plant, promote healthy growth, and increase the number of blooms. Additionally, dividing hydrangeas can help to prevent the plant from becoming too leggy or sparse, which can occur if the plant is not regularly pruned or maintained.
Before attempting to divide a hydrangea, it’s essential to understand the process and the potential risks involved. Dividing hydrangeas can be a bit tricky, and if not done correctly, can cause damage to the plant or result in poor growth. However, with the right techniques and precautions, dividing hydrangeas can be a successful way to propagate new plants and maintain the health and appearance of your existing hydrangeas.
In the next section, we’ll discuss the importance of timing when it comes to dividing hydrangeas, including the best time of year to divide and how to prepare the plant for division.
Choosing the Right Time to Divide Your Hydrangea
When it comes to dividing hydrangeas, timing is everything. Dividing hydrangeas at the right time can make all the difference in the success of the propagation process. So, when is the best time to divide a hydrangea? The answer depends on the type of hydrangea you have and the climate you live in.
In general, the best time to divide hydrangeas is during the dormant season, which typically occurs in late winter or early spring. During this time, the plant is not actively growing, and the risk of transplant shock is minimized. Additionally, dividing hydrangeas during the dormant season allows the new divisions to establish themselves before the heat of summer.
For bigleaf hydrangeas, which are the most common type of hydrangea, the best time to divide is in late winter or early spring, typically around February or March. For panicle hydrangeas, which produce long, cone-shaped flowers, the best time to divide is in early spring, typically around March or April. For smooth hydrangeas, which produce small, delicate flowers, the best time to divide is in late winter or early spring, typically around February or March.
It’s also important to consider the weather when dividing hydrangeas. Avoid dividing hydrangeas during extreme weather conditions, such as during a heatwave or when the soil is waterlogged. Instead, choose a day when the weather is mild and the soil is moist but not waterlogged.
Before dividing your hydrangea, make sure to prepare the plant for division. This includes pruning the plant to encourage new growth, watering the plant thoroughly, and fertilizing the plant to promote healthy growth. By preparing your hydrangea for division, you can ensure a successful propagation process and healthy new plants.
In the next section, we’ll discuss how to prepare your hydrangea for division, including tips on pruning, watering, and fertilizing.

Preparing Your Hydrangea for Division
Before dividing your hydrangea, it’s essential to prepare the plant for the process. This includes pruning, watering, and fertilizing the plant to ensure it’s healthy and strong enough to withstand the division process. By preparing your hydrangea properly, you can minimize the risk of shock and ensure a successful propagation.
Pruning is an essential step in preparing your hydrangea for division. Prune the plant in late winter or early spring, removing any dead or damaged branches. This will help to promote new growth and encourage the plant to produce more stems, making it easier to divide. When pruning, make sure to use clean and sharp tools to prevent spreading disease.
Watering is also crucial when preparing your hydrangea for division. Make sure the soil is consistently moist but not waterlogged. Hydrangeas prefer well-draining soil, so avoid overwatering, which can lead to root rot and other problems. Water the plant thoroughly a day or two before dividing to ensure the soil is moist but not soggy.
Fertilizing is another important step in preparing your hydrangea for division. Feed the plant with a balanced fertilizer in early spring, following the manufacturer’s instructions. This will provide the plant with the necessary nutrients to promote healthy growth and development.
Before dividing your hydrangea, inspect the plant for any signs of disease or pests. Check for any signs of fungal infections, such as powdery mildew or leaf spot, and treat the plant accordingly. Also, inspect the plant for any signs of pests, such as aphids or whiteflies, and treat the plant with insecticidal soap or neem oil if necessary.
By preparing your hydrangea properly, you can ensure a successful division process and healthy new plants. In the next section, we’ll walk you through the division process, including how to dig and divide the roots, and how to replant the new divisions.

The Division Process: A Step-by-Step Guide
Now that you’ve prepared your hydrangea for division, it’s time to start the division process. This step-by-step guide will walk you through the process of dividing your hydrangea, including how to dig and divide the roots, and how to replant the new divisions.
Step 1: Dig the Plant – Carefully dig around the hydrangea plant, making sure to get as much of the root system as possible. Use a garden fork to gently loosen the soil around the roots, working your way around the plant.
Step 2: Divide the Roots – Once you’ve dug up the plant, use a sharp, sterile knife or pruning saw to divide the roots. Make clean cuts, and avoid tearing or ripping the roots. You can divide the roots into sections, making sure each section has at least one “eye” or growing point.
Step 3: Replant the New Divisions – Plant the new divisions in a location with well-draining soil and full sun to partial shade. Water the plants thoroughly, and make sure the soil is consistently moist but not waterlogged.
Step 4: Handle the Roots with Care – When handling the roots, make sure to keep them moist and avoid exposing them to air for too long. You can wrap the roots in a damp cloth or paper towel to keep them moist.
Step 5: Water the New Plants – Water the new plants thoroughly after replanting, and make sure the soil is consistently moist but not waterlogged. Keep the soil moist but not soggy, as this can lead to root rot and other problems.
By following these steps, you can successfully divide your hydrangea and propagate new plants. Remember to be patient, as the division process can be a bit tricky. With the right techniques and care, you can enjoy beautiful, thriving hydrangeas for years to come.
In the next section, we’ll discuss how to care for your newly divided hydrangeas, including how to water, fertilize, and prune them.
Caring for Your Newly Divided Hydrangeas
After dividing your hydrangea, it’s essential to provide the right care to ensure the new plants thrive. Proper care will help the plants establish themselves quickly and reduce the risk of stress or disease.
Watering is crucial for newly divided hydrangeas. Water the plants thoroughly after replanting, and make sure the soil is consistently moist but not waterlogged. Check the soil daily, and water only when the top inch of soil feels dry to the touch. Avoid overwatering, which can lead to root rot and other problems.
Fertilizing is also important for newly divided hydrangeas. Feed the plants with a balanced fertilizer in the spring, following the manufacturer’s instructions. This will provide the plants with the necessary nutrients to promote healthy growth and development.
Pruning is another essential aspect of caring for newly divided hydrangeas. Prune the plants in late winter or early spring, removing any dead or damaged branches. This will help to promote new growth and encourage the plants to produce more flowers.
Monitoring the plants for signs of stress or disease is also crucial. Check the plants regularly for any signs of pests, disease, or nutrient deficiencies. Take action promptly if you notice any problems, and treat the plants with insecticidal soap or fungicides as needed.
By providing the right care, you can help your newly divided hydrangeas establish themselves quickly and thrive in their new location. Remember to be patient, as the plants may take some time to adjust to their new surroundings.
In the next section, we’ll discuss common problems that can arise when dividing hydrangeas, including root bound, transplant shock, and disease. We’ll provide tips on how to troubleshoot these problems and how to prevent them from happening in the first place.
Troubleshooting Common Problems with Hydrangea Division
While dividing hydrangeas can be a successful way to propagate new plants, there are some common problems that can arise. In this section, we’ll discuss some of the most common problems that can occur when dividing hydrangeas, including root bound, transplant shock, and disease.
Root bound is a common problem that can occur when dividing hydrangeas. This occurs when the roots of the plant become constricted and unable to grow further. To prevent root bound, make sure to divide the roots carefully and avoid damaging them. You can also use a root stimulator to help promote healthy root growth.
Transplant shock is another common problem that can occur when dividing hydrangeas. This occurs when the plant is stressed due to the division process and may cause the leaves to turn yellow or drop off. To prevent transplant shock, make sure to handle the roots carefully and avoid exposing them to air for too long. You can also use a transplant shock preventer to help reduce stress on the plant.
Disease is also a common problem that can occur when dividing hydrangeas. This can include fungal diseases such as powdery mildew or leaf spot, as well as bacterial diseases such as bacterial leaf spot. To prevent disease, make sure to inspect the plant carefully before dividing and remove any infected areas. You can also use a fungicide or bactericide to help prevent disease.
By being aware of these common problems and taking steps to prevent them, you can increase the chances of success when dividing your hydrangea. Remember to be patient and gentle when handling the roots, and make sure to provide the right care and conditions for the new plants to thrive.
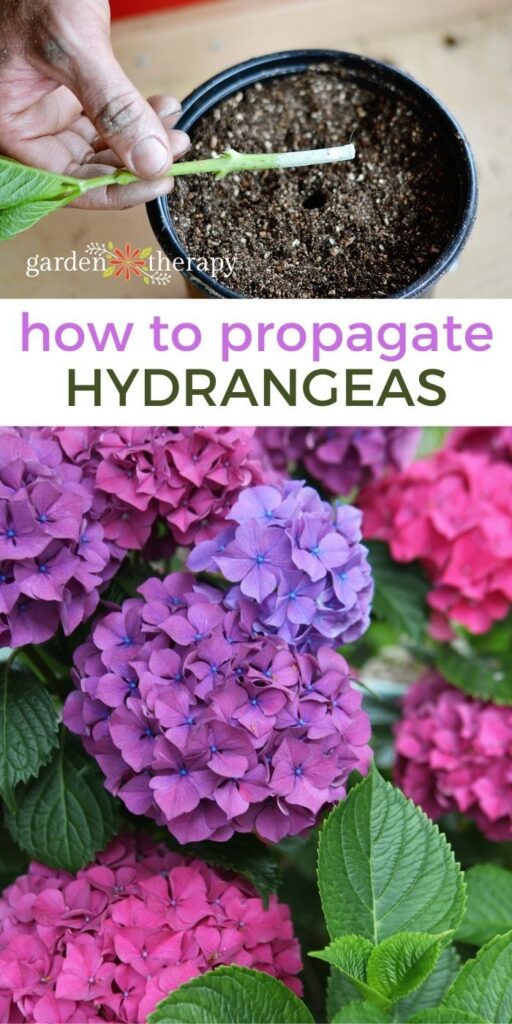
In the next section, we’ll discuss alternative methods for propagating hydrangeas, including stem cuttings, layering, and seed propagation.
Alternative Methods for Propagating Hydrangeas
While dividing hydrangeas is a popular method for propagating new plants, there are other methods that can be used. In this section, we’ll discuss alternative methods for propagating hydrangeas, including stem cuttings, layering, and seed propagation.
Stem cuttings are a popular method for propagating hydrangeas. This involves taking cuttings from the current season’s growth and rooting them in a pot or tray. To take stem cuttings, cut a section of stem from the current season’s growth, remove lower leaves, and dip the cut end in rooting hormone. Plant the cutting in a pot or tray filled with a well-draining rooting medium, and keep the soil consistently moist but not waterlogged.
Layering is another method for propagating hydrangeas. This involves bending a stem down to the ground and securing it with a rock or U-shaped wire. Cover the buried portion of the stem with soil, and keep the soil consistently moist but not waterlogged. Roots should develop within a few weeks, and the new plant can be cut from the parent plant.
Seed propagation is a less common method for propagating hydrangeas, but it can be effective. To propagate hydrangeas from seed, sow the seeds in a pot or tray filled with a well-draining seed starting medium. Keep the soil consistently moist but not waterlogged, and provide adequate light and temperature. Transplant the seedlings into individual pots or into a garden bed once they have two sets of leaves.
Each of these alternative methods has its own benefits and drawbacks. Stem cuttings are a quick and easy way to propagate hydrangeas, but they may not produce plants that are true to the parent plant. Layering is a more time-consuming method, but it can produce plants that are true to the parent plant. Seed propagation is a less common method, but it can produce a wide range of different hydrangea varieties.
By considering these alternative methods, you can choose the best method for your needs and successfully propagate new hydrangea plants.
In the next section, we’ll summarize the key takeaways from the article and provide final tips and reminders for successful propagation.
Conclusion: Successfully Dividing Your Hydrangea
Dividing hydrangeas can be a bit tricky, but with the right techniques and care, it can be a successful way to propagate new plants. By following the steps outlined in this article, you can increase your chances of success and enjoy beautiful, thriving hydrangeas for years to come.
Remember to choose the right time to divide your hydrangea, prepare the plant for division, and handle the roots with care. Also, be sure to provide the right care for your newly divided hydrangeas, including watering, fertilizing, and pruning.
Don’t be discouraged if you encounter any problems along the way. Troubleshooting common problems with hydrangea division, such as root bound, transplant shock, and disease, can help you overcome any obstacles and achieve success.
Finally, consider alternative methods for propagating hydrangeas, such as stem cuttings, layering, and seed propagation. These methods can provide a fresh perspective and new opportunities for propagation.
By following these tips and guidelines, you can successfully divide your hydrangea and enjoy the many benefits of this beautiful and versatile plant. Happy propagating!
