Choosing the Right Calla Lily Varieties for Your Space
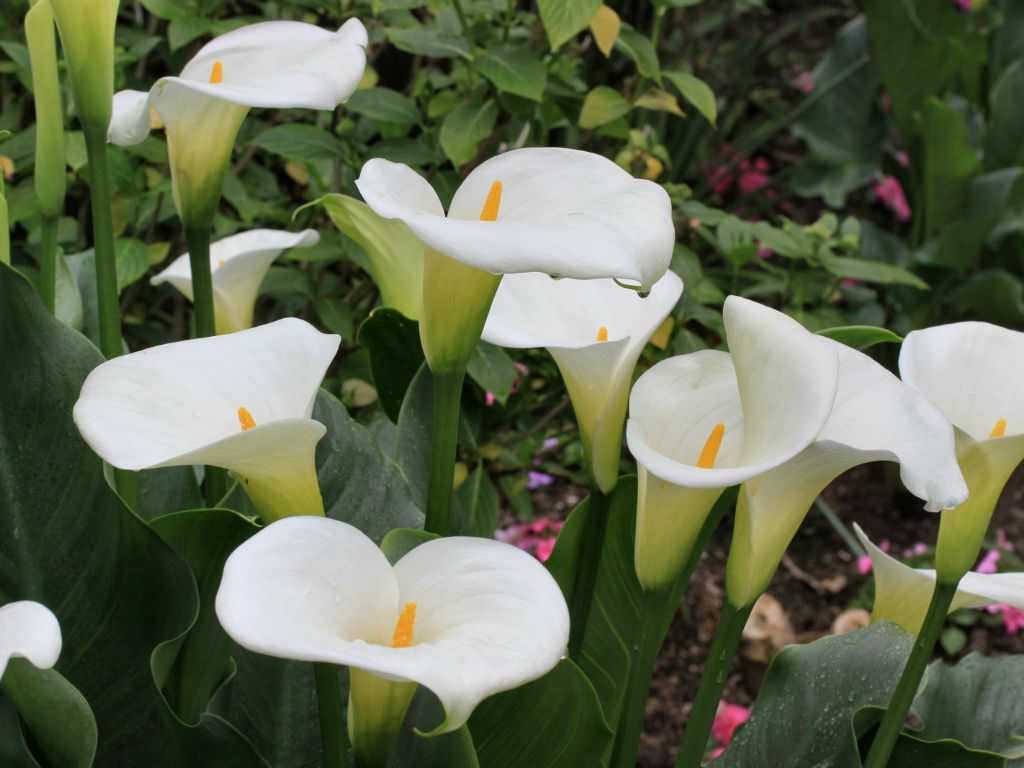
Calla lilies come in various types, each with unique growing requirements and characteristics. When selecting calla lilies, consider factors such as your garden or indoor space, climate, and personal preferences. Here are some popular calla lily varieties to consider:
Miniature Calla Lilies: These compact varieties are perfect for small gardens or indoor spaces. They typically grow up to 12 inches tall and produce smaller flowers than other calla lily types. Miniature calla lilies thrive in partial shade and well-draining soil.
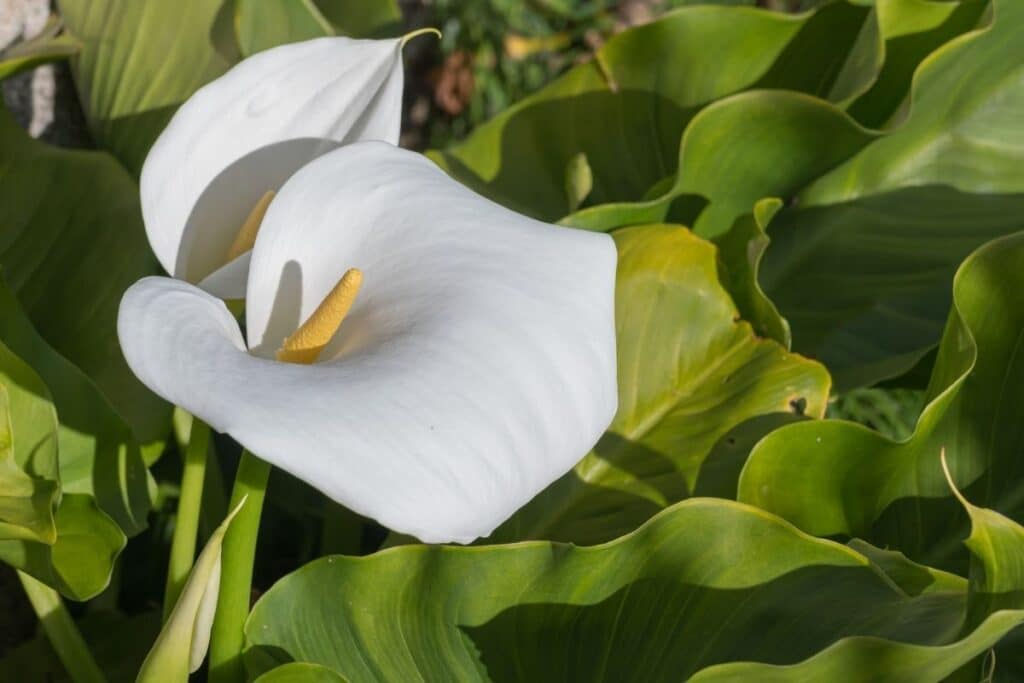
Large-Cupped Calla Lilies: Known for their large, ruffled flowers, large-cupped calla lilies are a popular choice for garden beds and borders. They usually grow between 24 and 36 inches tall and prefer full sun to partial shade. Large-cupped calla lilies require rich, well-draining soil.
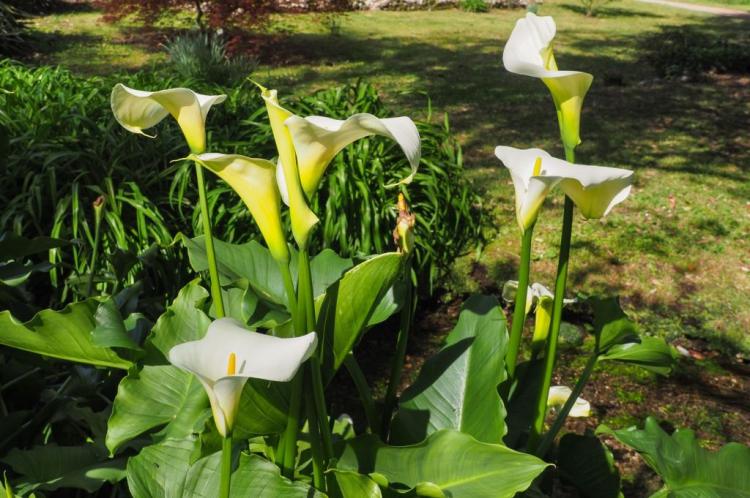
Trumpet-Shaped Calla Lilies: With their long, tubular flowers, trumpet-shaped calla lilies create a dramatic effect in gardens or indoor spaces. They typically grow between 24 and 36 inches tall and thrive in full sun to partial shade. Trumpet-shaped calla lilies prefer rich, well-draining soil.
When choosing calla lily varieties, consider the plant’s mature size, sunlight requirements, and soil preferences. Additionally, select varieties that complement your existing garden or indoor space and align with your personal style. By carefully selecting calla lily varieties, you can create a stunning and elegant display that enhances your environment.
Creating the Perfect Environment for Calla Lilies
Calla lilies thrive in specific growing conditions that cater to their sunlight, soil, and temperature preferences. By understanding these requirements, you can create an ideal environment for calla lilies in both garden beds and containers.
Sunlight Requirements
Calla lilies prefer partial shade, especially in hot climates. They require at least 3-4 hours of direct sunlight daily, with the rest of the day spent in dappled shade or indirect light. When grown indoors, place calla lilies near a north or east-facing window to ensure they receive adequate but filtered sunlight.
Soil Preferences
Calla lilies prefer well-draining, nutrient-rich soil with a slightly acidic to neutral pH (6.0-7.0). To create suitable soil for calla lilies, mix equal parts of organic compost, peat moss, and perlite or sand. This mixture ensures proper drainage and aeration, preventing root rot and other fungal diseases.
Temperature Ranges
Calla lilies prefer cooler temperatures, typically between 60 and 70°F (15-21°C) during the day and slightly cooler at night. In hot climates, provide afternoon shade and additional water to keep the soil consistently moist but not waterlogged. If you live in a cold climate, protect calla lilies from frost and freezing temperatures by covering the plants or moving them indoors during the winter months.
Container Growing
When growing calla lilies in containers, select pots with drainage holes to prevent waterlogging. Use a high-quality potting mix formulated for container gardening and ensure the container is large enough to accommodate the plant’s mature size. Place the container in a location that meets the calla lily’s sunlight and temperature requirements.
By providing the ideal growing conditions for calla lilies, you can ensure healthy plants that produce abundant, elegant blooms. Regularly monitor your calla lilies for any changes in their appearance or health, and address any issues promptly to maintain their overall well-being.
Watering and Fertilizing Calla Lilies for Optimal Growth
Proper watering and fertilization are crucial for the health and growth of calla lilies. By understanding their watering needs and fertilization requirements, you can ensure vibrant, thriving plants.
Watering Needs
Calla lilies require consistent moisture but should not be overwatered. Water the plants when the top inch of soil becomes dry. Use a soaker hose or drip irrigation system to deliver water directly to the roots, preventing water from splashing on the leaves and reducing the risk of fungal diseases. In hot, dry climates, water calla lilies more frequently to maintain consistently moist soil.
Avoiding Overwatering and Underwatering
Overwatering can lead to root rot and other fungal diseases, while underwatering can cause the leaves to wilt and the flowers to fade. To prevent overwatering, ensure the soil has adequate drainage and avoid watering the plants if the soil is still moist. To prevent underwatering, monitor the soil moisture regularly and water the plants as needed. If you are unsure whether your calla lilies need watering, wait a day or two to observe any changes in the soil or plant appearance.
Fertilizing Calla Lilies
Calla lilies benefit from regular fertilization, which provides essential nutrients for optimal growth. Use a balanced, water-soluble fertilizer with a ratio of 10-10-10 (nitrogen-phosphorus-potassium) or a fertilizer specifically formulated for calla lilies. Apply the fertilizer every 2-4 weeks during the growing season, following the manufacturer’s instructions for the recommended application rate.
Best Fertilizers and Application Schedules
When selecting a fertilizer, choose a product with a slow-release formula, which provides a steady supply of nutrients over an extended period. Alternatively, use a liquid fertilizer, which can be easily diluted and applied through a watering can or drip irrigation system. Apply the fertilizer at the beginning of the growing season, then every 2-4 weeks thereafter, adjusting the frequency based on the plant’s response and the manufacturer’s recommendations.
By understanding the watering needs and fertilization requirements of calla lilies, you can provide the necessary care for these elegant blooms to thrive. Regularly monitor your calla lilies for any changes in their appearance or health, and address any issues promptly to maintain their overall well-being.
Preventing and Managing Pests and Diseases in Calla Lilies
Calla lilies, like any other plants, are susceptible to pests and diseases. By understanding common issues and implementing proper care practices, you can prevent and manage these problems to ensure the health and beauty of your calla lilies.
Common Pests
Aphids, spider mites, and thrips are common pests that affect calla lilies. These pests can cause damage by feeding on the plant’s sap, which can lead to stunted growth, yellowing leaves, and weakened plants. To prevent pest infestations, maintain good garden hygiene, remove dead leaves and debris, and introduce beneficial insects such as ladybugs and lacewings, which feed on pests.
Organic Pest Control Methods
For minor infestations, use organic pest control methods such as insecticidal soap or neem oil. These products are safe for humans and pets and can be applied directly to the affected areas. For larger infestations, consider using a biological control agent such as Bacillus thuringiensis (Bt), which targets specific pests without harming beneficial insects or the environment.
Common Diseases
Calla lilies are susceptible to various fungal and bacterial diseases, including botrytis blight, pythium root rot, and xanthomonas leaf spot. These diseases can cause symptoms such as leaf spots, wilting, and root rot. To prevent diseases, maintain good garden hygiene, avoid overwatering, and provide adequate air circulation around the plants.
Fungicides and Disease Management
For minor disease issues, use fungicides specifically formulated for calla lilies. These products can help prevent the spread of fungal and bacterial diseases. For larger outbreaks, consider removing the affected plants and replacing them with healthy ones. Always follow the manufacturer’s instructions for the recommended application rate and frequency.
By understanding the common pests and diseases that affect calla lilies and implementing proper care practices, you can prevent and manage these issues to ensure the health and beauty of your plants. Regularly monitor your calla lilies for any changes in their appearance or health, and address any issues promptly to maintain their overall well-being.
Propagating Calla Lilies: Increasing Your Collection
Propagating calla lilies is a cost-effective way to increase your collection and share these elegant blooms with friends and family. There are two primary methods for propagating calla lilies: division and seed germination.
Division
Division is the process of separating a mature calla lily plant into smaller sections, each containing a healthy rhizome. This method is best performed in the early spring or fall when the plant is dormant. To divide calla lilies, follow these steps:
- Dig up the entire calla lily plant, taking care not to damage the rhizomes.
- Gently shake off excess soil and rinse the rhizomes to expose the individual sections.
- Using a clean, sharp knife, cut the rhizomes into sections, ensuring each section contains at least one healthy bud and a portion of the root system.
- Treat the cut surfaces with a fungicide to prevent rot and disease.
- Replant the divided rhizomes in fresh, well-draining soil, water thoroughly, and provide appropriate care.
Seed Germination
Seed germination is a slower but rewarding method for propagating calla lilies. To propagate calla lilies from seeds, follow these steps:
- Collect mature calla lily seeds from spent flowers.
- Clean the seeds and allow them to dry for several days.
- Sow the seeds in a seed-starting mix, covering them with a thin layer of soil.
- Keep the soil consistently moist and maintain a temperature between 70-75°F (21-24°C).
- Germination can take several weeks, so be patient and provide adequate care.
- Once the seedlings have emerged and reached a suitable size, transplant them into individual pots or a larger container, providing appropriate care and growing conditions.
By propagating calla lilies through division or seed germination, you can expand your collection and enjoy these graceful flowers in various spaces. Regularly monitor young plants for any changes in their appearance or health, and address any issues promptly to maintain their overall well-being.
Preparing Calla Lilies for Winter
As the growing season comes to an end, it’s essential to prepare calla lilies for winter to ensure their survival and healthy return in the spring. Depending on your climate, you may need to dig up the rhizomes or leave them in the ground. Here are some tips on how to prepare calla lilies for winter and store rhizomes during the cold months.
Digging Up Rhizomes
In regions with harsh winters, it’s best to dig up calla lily rhizomes before the first frost. Follow these steps to dig up and store calla lily rhizomes:
- Wait until the foliage has died back naturally, indicating that the plant is entering dormancy.
- Using a garden fork, gently loosen the soil around the rhizomes, taking care not to damage them.
- Lift the rhizomes out of the ground and shake off excess soil.
- Cut back the foliage to within an inch of the rhizomes.
- Allow the rhizomes to air dry for a few days in a cool, well-ventilated area.
- Dust the rhizomes with a fungicide to prevent rot and disease during storage.
- Store the rhizomes in a cardboard box or mesh bag filled with peat moss, vermiculite, or perlite. Keep them in a cool, dark location with temperatures between 40-50°F (4-10°C). Check the rhizomes periodically for signs of rot or disease, and discard any that appear damaged.
Leaving Rhizomes in the Ground
In regions with mild winters, calla lilies can be left in the ground. To prepare calla lilies for winter in these areas, follow these steps:
- Wait until the foliage has died back naturally, indicating that the plant is entering dormancy.
- Cut back the foliage to within an inch of the rhizomes.
- Mulch the area around the rhizomes with several inches of straw, leaves, or bark chips to insulate them from freezing temperatures.
- Monitor the soil temperature throughout the winter. If temperatures drop below 20°F (-6°C), consider covering the rhizomes with additional insulation or digging them up for storage.
By preparing calla lilies for winter and storing rhizomes properly, you can ensure their survival and healthy return in the spring. As the growing season approaches, replant the rhizomes in fresh, well-draining soil, providing appropriate care and growing conditions for optimal growth.
Enjoying Calla Lilies: Display and Arrangement Ideas
Calla lilies are versatile and elegant flowers that can be used in various arrangements, both indoors and outdoors. To make the most of your calla lilies, it’s essential to know how to cut and care for the stems, as well as how to combine them with other flowers and foliage for stunning displays. Here are some creative ideas for displaying and arranging calla lilies in your home or garden.
Cutting and Caring for Calla Lily Stems
To ensure the longevity of cut calla lilies, follow these steps:
- Cut the stems at an angle using a sharp, clean knife or pair of scissors.
- Immediately place the cut stems in a bucket of lukewarm water.
- Allow the stems to rest for several hours or overnight to allow them to rehydrate.
- Remove any leaves that will be submerged in the water to prevent bacterial growth.
- Change the water every two days and recut the stems if necessary.
Creative Display Ideas
Calla lilies can be used in various arrangements, from simple and elegant to bold and dramatic. Here are some creative display ideas:
- Monochromatic arrangements: Use calla lilies in a single color for a clean, modern look. Combine different shades of the same color for added depth and interest.
- Mixed flower arrangements: Pair calla lilies with other flowers, such as roses, hydrangeas, or peonies, for a romantic and feminine display.
- Foliage arrangements: Combine calla lilies with lush greenery, such as ferns, ivy, or hostas, for a natural and organic look.
- Table centerpieces: Use calla lilies as the focal point of a table centerpiece, either alone or combined with other flowers and foliage.
- Outdoor arrangements: Place calla lilies in pots or planters on your porch, patio, or deck for a touch of elegance in your outdoor living space.
By incorporating calla lilies into your displays and arrangements, you can add a touch of elegance and sophistication to any space. With proper care and maintenance, you can enjoy these beautiful flowers for weeks to come.


