Choosing the Right Variety: A Beginner’s Guide to Pea Selection
When it comes to growing peas, selecting the right variety is crucial for a successful harvest. With so many types of peas to choose from, it can be overwhelming for beginners to decide which one to plant. In this section, we will explore the different types of peas, their characteristics, and provide tips on how to choose the best type for your climate and desired use.
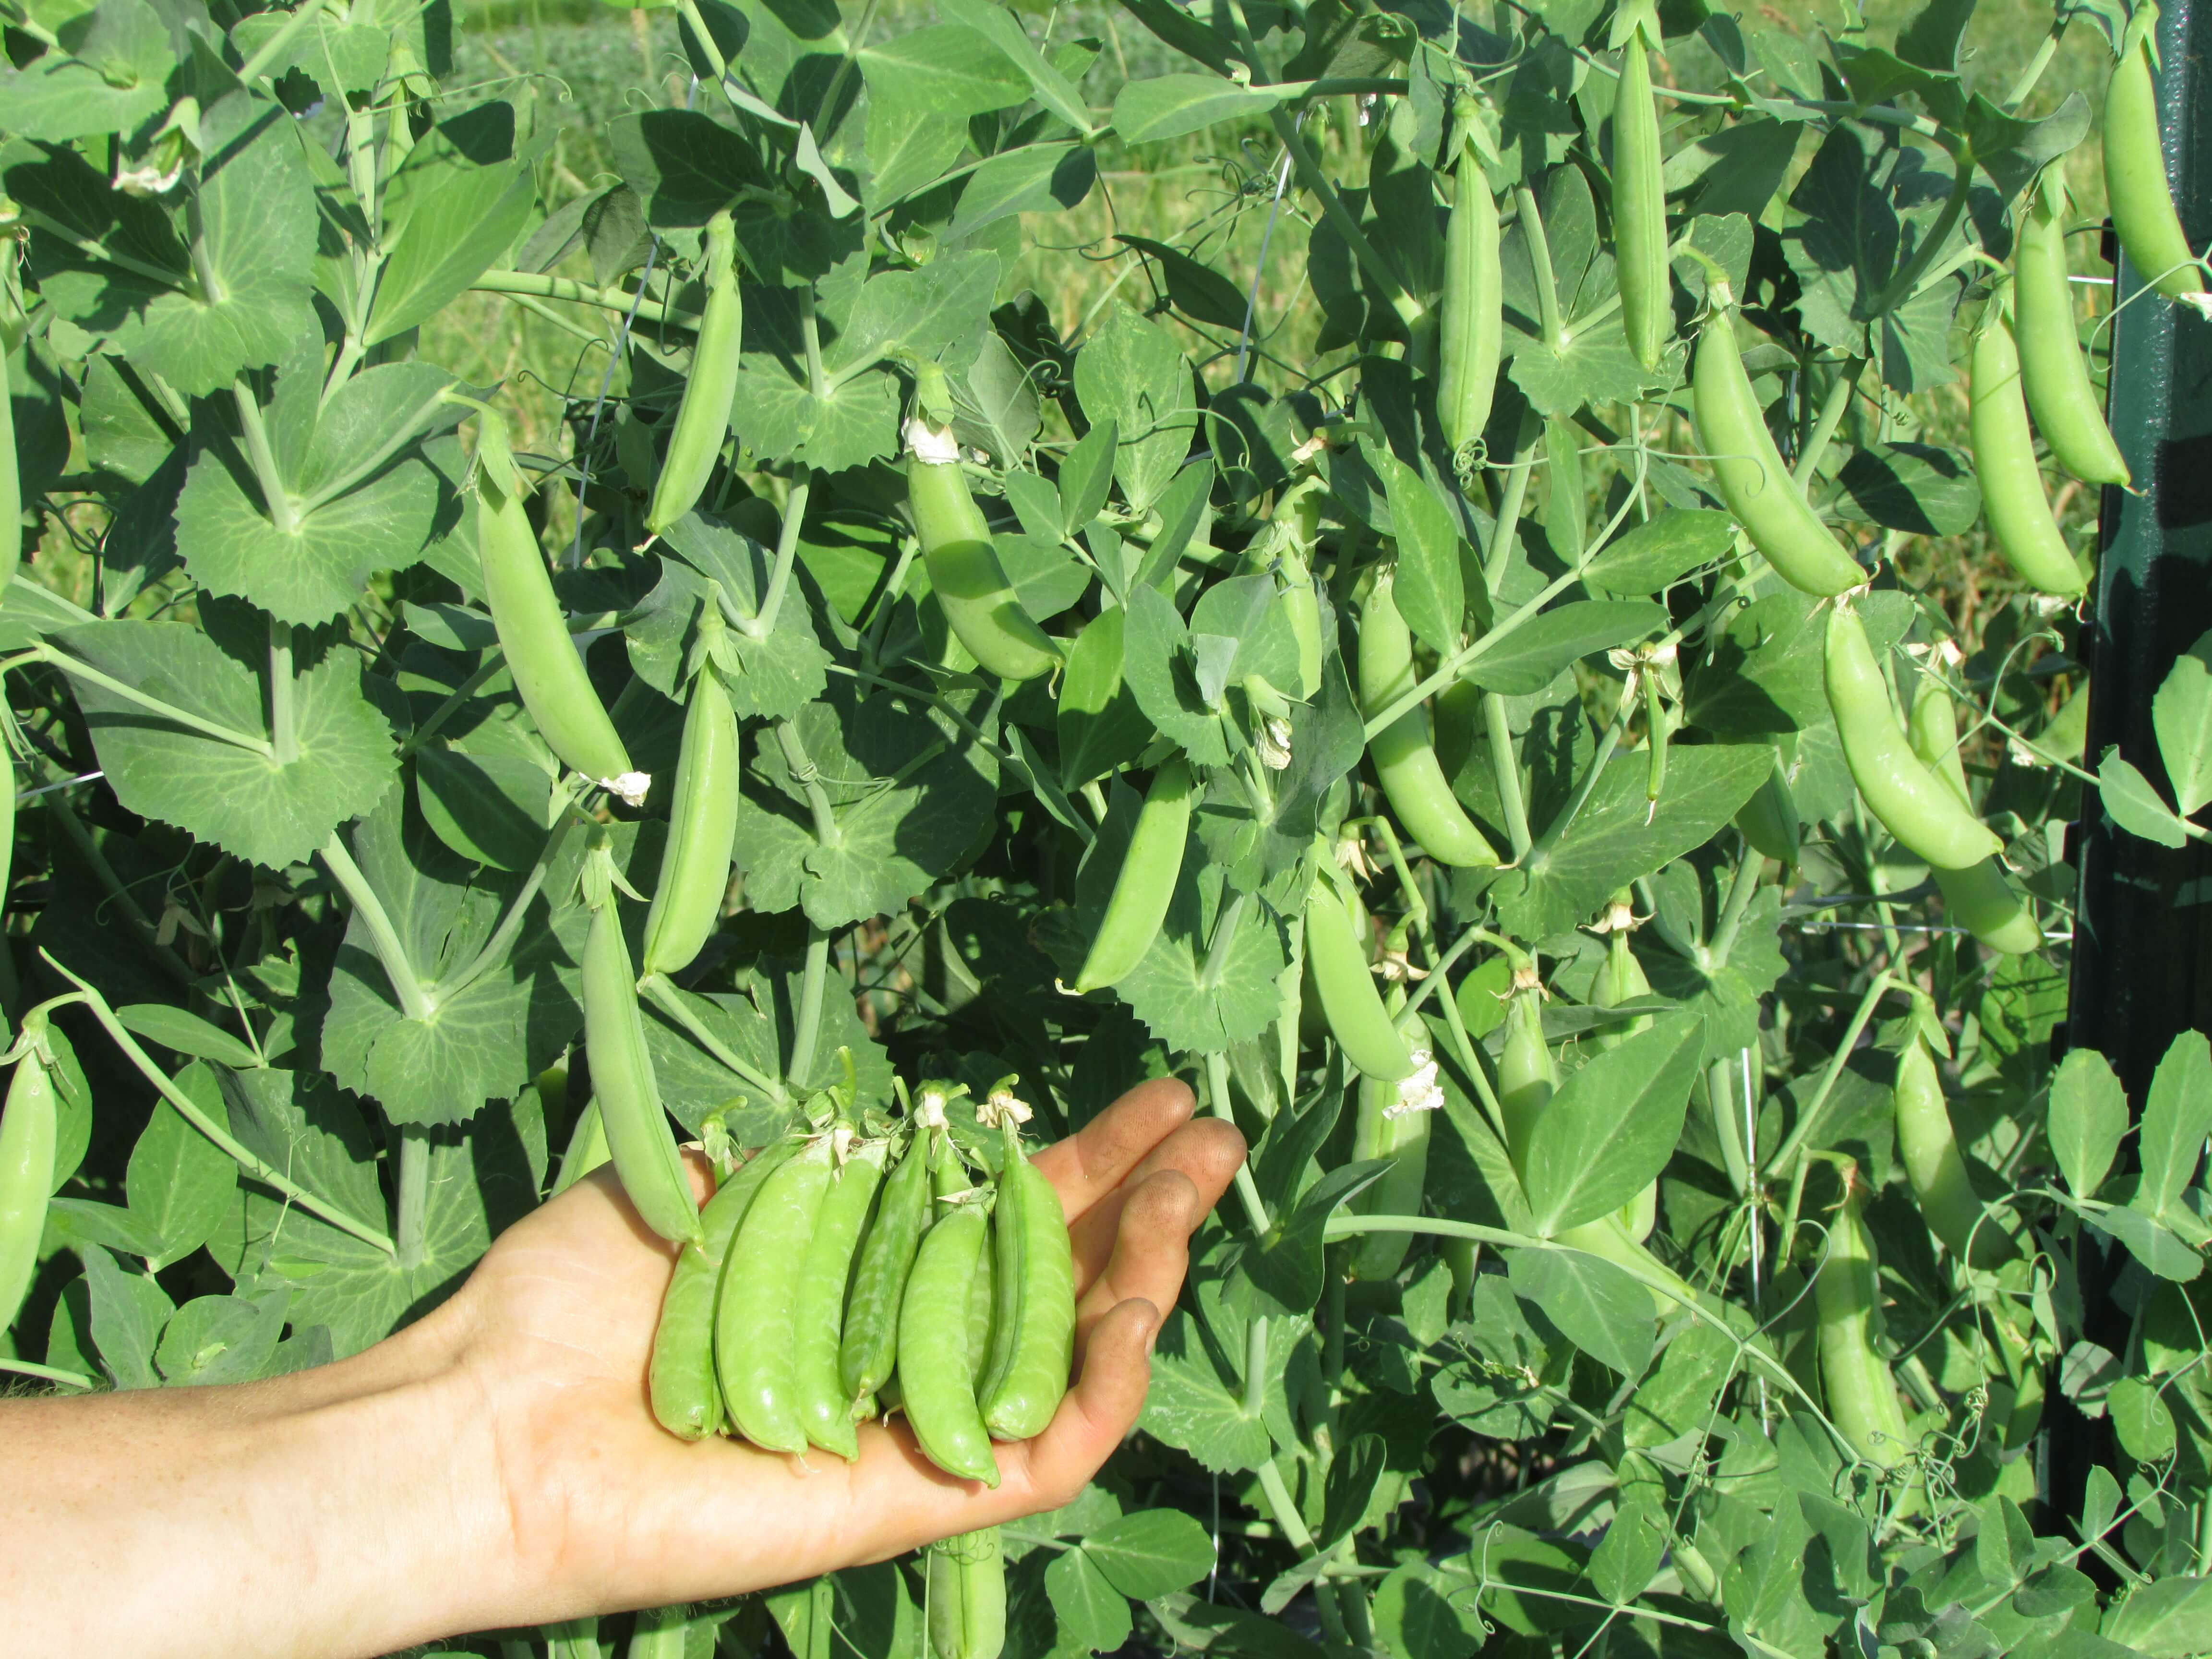
There are three main types of peas: garden peas, snow peas, and snap peas. Garden peas, also known as shelling peas, are the most common type of pea and are characterized by their plump, tender pods. Snow peas, on the other hand, have flat, tender pods and are often used in stir-fries and salads. Snap peas are a cross between garden peas and snow peas and have a sweet, crunchy texture.
When choosing a variety of pea, consider the climate and soil conditions in your area. Some pea varieties are more tolerant of heat and drought, while others prefer cooler temperatures and well-draining soil. For example, ‘Sugar Snap’ and ‘Snowbird’ are two popular varieties that thrive in cooler temperatures, while ‘Cascadia’ and ‘Oregon Sugar Pod’ are more heat-tolerant.
In addition to climate and soil conditions, consider the desired use of your peas. If you want to harvest peas for fresh eating, choose a variety that is high in sugar content, such as ‘Sugar Snap’ or ‘Mammoth Melting Sugar’. If you want to use your peas in cooking, choose a variety that is high in starch content, such as ‘Garden of Eden’ or ‘Telephone’.
By choosing the right variety of pea for your climate and desired use, you can ensure a successful harvest and enjoy the many benefits of growing your own peas. Whether you’re a seasoned gardener or a beginner, growing peas can be a fun and rewarding experience. So why not give it a try? With a little planning and preparation, you can be enjoying fresh, delicious peas from your own garden in no time.
Preparing the Soil: Tips for Creating a Pea-Friendly Environment
Before planting peas, it’s essential to prepare the soil to create a pea-friendly environment. Peas prefer well-draining, fertile soil that is rich in organic matter. To achieve this, start by testing your soil pH. Peas prefer a slightly acidic to neutral soil pH, ranging from 6.0 to 7.0.
If your soil pH is too low or too high, amend it with lime or sulfur to adjust the pH. Additionally, add organic matter such as compost or well-rotted manure to improve soil fertility and structure. This will help to provide peas with the necessary nutrients for healthy growth.
To create a well-draining soil structure, mix in some perlite or vermiculite to improve soil porosity. This will help to prevent waterlogged soil, which can lead to root rot and other problems. Also, consider adding some mulch to the soil to retain moisture and suppress weeds.
When preparing the soil, keep in mind that peas are a legume, and as such, they have the ability to fix nitrogen in the soil. However, they still require some nitrogen to grow, especially when they’re producing pods. To provide peas with the necessary nitrogen, add some nitrogen-rich fertilizer to the soil before planting.
By preparing the soil properly, you’ll be creating an ideal environment for your peas to grow. This will help to ensure a healthy and productive crop, and will also reduce the risk of pests and diseases. So, take the time to prepare your soil, and you’ll be rewarded with a bountiful harvest of delicious peas.
When it comes to how do I plant peas, soil preparation is a crucial step. By following these tips, you’ll be well on your way to creating a pea-friendly environment that will help your plants thrive.
How to Sow Peas: A Step-by-Step Guide to Planting
Sowing peas is a straightforward process that requires some basic preparation and attention to detail. To ensure a successful harvest, follow these steps to learn how to sow peas like a pro.
Before sowing, make sure the soil is prepared and ready for planting. This includes loosening the soil to a depth of about 12 inches, removing any debris or rocks, and adding any necessary fertilizers or amendments.
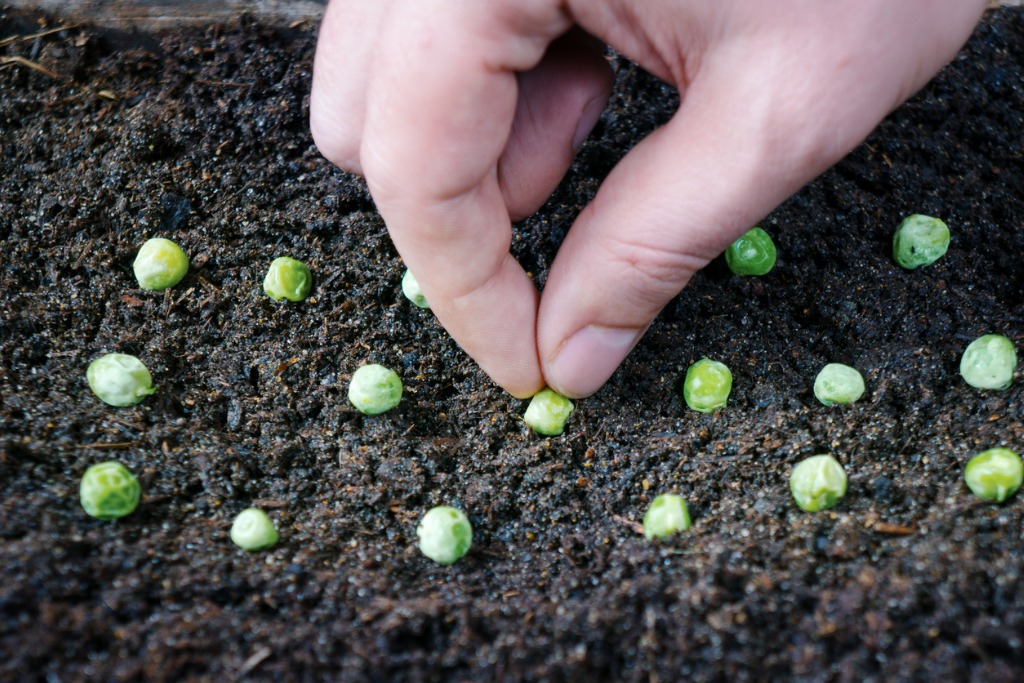
Next, sow the pea seeds at a depth of about 1-2 inches, depending on the variety. Space the seeds about 2-3 inches apart, and water the soil gently but thoroughly. It’s essential to sow the seeds at the correct depth and spacing to ensure proper growth and development.
When sowing peas, it’s also crucial to consider the timing. In most regions, the ideal time to sow peas is in early spring, about 4-6 weeks before the last frost date. This allows the peas to mature before the heat of summer sets in.
After sowing, water the soil regularly to keep it consistently moist. Avoid overwatering, which can lead to rot and other problems. Also, keep the soil weed-free to prevent competition for nutrients and water.
By following these simple steps, you’ll be able to sow peas with confidence and enjoy a bountiful harvest. Remember, when it comes to how do I plant peas, the key is to provide the right conditions for growth and development. With a little practice and patience, you’ll be a pea-growing pro in no time.
Some additional tips to keep in mind when sowing peas include using a trellis or other support system to help the plants grow upright, and rotating the crop to avoid depleting the soil of nutrients. By incorporating these tips into your pea-growing routine, you’ll be able to enjoy a healthy and productive crop of delicious peas.
Supporting Your Pea Plants: Using Trellises and Cages
As pea plants grow, they need support to keep them upright and promote healthy growth. Providing support for your pea plants is essential to ensure they receive adequate sunlight, air circulation, and water. In this section, we will discuss the importance of supporting your pea plants and provide tips on how to use trellises, cages, and other supports.
Pea plants are climbing plants that can grow quite tall, up to 6 feet or more. Without support, they can become leggy and weak, making them more susceptible to disease and pests. By providing support, you can keep your pea plants upright, promote healthy growth, and increase yields.
There are several types of supports you can use for your pea plants, including trellises, cages, and stakes. Trellises are a popular choice for pea plants, as they provide a sturdy structure for the plants to climb. You can purchase trellises at most gardening stores or make your own using materials like wood or metal.
Cages are another option for supporting pea plants. They are typically made of wire or plastic and come in various sizes. Cages are easy to set up and provide excellent support for pea plants. You can also use stakes to support individual pea plants, especially if you are growing a small number of plants.
When using trellises or cages, make sure to set them up before planting your pea seeds. This will give the plants something to climb on as they grow. You can also use twine or string to tie the plants to the support, especially if they are top-heavy with pods.
By providing support for your pea plants, you can enjoy a healthy and productive crop. Remember, when it comes to how do I plant peas, supporting the plants is an essential step in the process. With the right support, you can grow delicious and nutritious peas that will be the envy of all your friends and family.
Watering and Mulching: Tips for Keeping Your Peas Happy
Proper watering and mulching are essential for healthy pea plant growth. Peas need consistent moisture, especially when they’re producing pods. However, overwatering can lead to root rot and other problems. In this section, we’ll discuss how to water and mulch your peas for optimal growth.
Watering peas deeply but infrequently is the best approach. This encourages deep root growth and makes the plants more resistant to drought. Aim to provide about 1-2 inches of water per week, either through rainfall or irrigation. Avoid getting water on the leaves or stems to prevent fungal diseases.
Mulching is another important aspect of pea care. Mulch helps retain moisture, suppress weeds, and regulate soil temperature. Use a 2-3 inch layer of organic mulch like straw, grass clippings, or wood chips around the base of the plants. Keep the mulch a few inches away from the stems to prevent rot.
When it comes to how do I plant peas, watering and mulching are crucial steps in the process. By providing the right amount of moisture and mulch, you can promote healthy growth and maximize yields. Remember to monitor the weather and adjust your watering schedule accordingly. If you’re experiencing a dry spell, consider using drip irrigation or soaker hoses to deliver water directly to the roots.
In addition to watering and mulching, consider using a pea-specific fertilizer to promote healthy growth. These fertilizers are formulated to provide the necessary nutrients for pea plants, including nitrogen, phosphorus, and potassium. Follow the instructions on the label and apply the fertilizer according to the recommended schedule.
By following these tips on watering and mulching, you can keep your peas happy and healthy. Remember to monitor your plants regularly and adjust your care routine as needed. With the right care, you can enjoy a bountiful harvest of delicious peas.
Common Pests and Diseases: How to Identify and Manage Issues
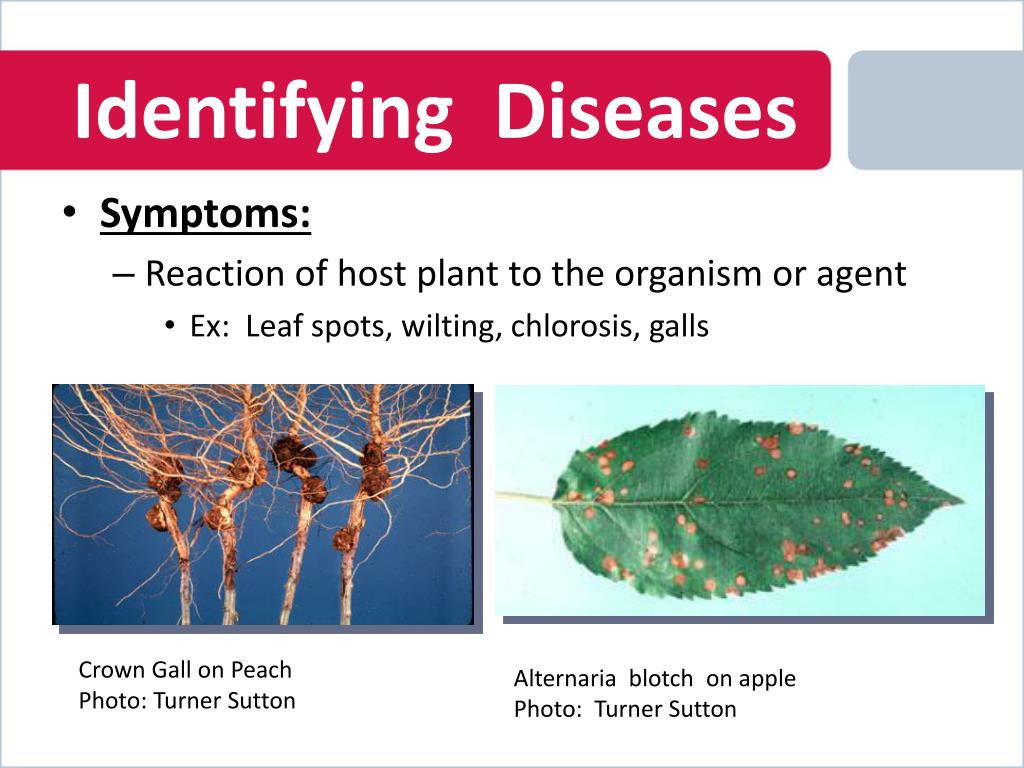
Pea plants are susceptible to various pests and diseases that can impact their growth and productivity. In this section, we’ll discuss common pests and diseases that can affect pea plants, including aphids, powdery mildew, and root rot. We’ll also provide tips on how to identify and manage these issues using organic and integrated pest management methods.
Aphids are small, soft-bodied insects that feed on plant sap, causing curled or distorted leaves. To manage aphids, use neem oil or insecticidal soap, and introduce natural predators like ladybugs or lacewings. Powdery mildew is a fungal disease that causes a white, powdery coating on leaves. To prevent powdery mildew, ensure good air circulation, water plants at the base, and use a fungicide if necessary.
Root rot is a common problem in pea plants, caused by overwatering or poor drainage. To prevent root rot, ensure well-draining soil, avoid overwatering, and use a fungicide if necessary. Other common pests and diseases that can affect pea plants include spider mites, thrips, and leaf spot.
When it comes to how do I plant peas, managing pests and diseases is an essential step in the process. By identifying and managing these issues early on, you can prevent damage to your plants and ensure a healthy harvest. Remember to monitor your plants regularly and take action at the first sign of trouble.
In addition to using organic and integrated pest management methods, consider using physical barriers to prevent pests and diseases. For example, use row covers to prevent aphids and other insects from reaching your plants. You can also use copper tape to deter slugs and snails.
By taking a proactive approach to managing pests and diseases, you can enjoy a healthy and productive pea crop. Remember to stay vigilant and take action at the first sign of trouble. With the right management strategies, you can overcome common pests and diseases and enjoy a bountiful harvest of delicious peas.
Harvesting Your Peas: Tips for Timing and Technique
Harvesting peas is an exciting moment in the growing process. To ensure you get the best flavor and texture, it’s essential to harvest peas at the optimal time. In this section, we’ll discuss how to determine when peas are ready to harvest and provide tips on how to harvest peas for maximum flavor and texture.
The timing of pea harvest depends on the variety and type of pea you’re growing. For garden peas, wait until the pods are plump and tender. For snow peas, harvest when the pods are flat and tender. For snap peas, wait until the pods are tender and crunchy.
To harvest peas, simply snip off the pods from the plant using scissors or a sharp knife. For garden peas, you can also pull the pods off the plant by hand. Be gentle when handling the plants to avoid damaging them.
When it comes to how do I plant peas, harvesting is an essential step in the process. By harvesting peas at the optimal time, you can enjoy a bountiful crop of delicious and nutritious peas. Remember to harvest peas regularly to encourage the plants to produce more pods.
In addition to harvesting peas at the optimal time, consider using a few techniques to extend the harvest season. For example, you can use a technique called “succession planting” to plant multiple batches of peas at different times. This will ensure a continuous harvest of peas throughout the growing season.
Another technique to extend the harvest season is to use a cold frame or hoop house. These structures provide protection from frost and can extend the growing season by several weeks. By using these techniques, you can enjoy a longer harvest season and more peas from your garden.
Troubleshooting Common Problems: Solutions for the Most Common Issues
When growing peas, it’s not uncommon to encounter some common problems. In this section, we’ll discuss some of the most common issues that can arise when growing peas, including poor germination, weak growth, and low yields. We’ll also provide solutions and troubleshooting tips to help readers overcome these issues.
Poor germination is a common problem when growing peas. To overcome this issue, make sure the soil is warm enough for germination, and that the seeds are sown at the correct depth and spacing. You can also try using a seed starting mix to improve germination rates.
Weak growth is another common problem when growing peas. To overcome this issue, make sure the plants are receiving enough sunlight and water. You can also try using a fertilizer specifically formulated for peas to promote healthy growth.
Low yields are a common problem when growing peas. To overcome this issue, make sure the plants are receiving enough water and nutrients. You can also try using a technique called “succession planting” to plant multiple batches of peas at different times. This will ensure a continuous harvest of peas throughout the growing season.
When it comes to how do I plant peas, troubleshooting common problems is an essential step in the process. By identifying and addressing common issues, you can ensure a healthy and productive crop of peas. Remember to stay vigilant and take action at the first sign of trouble.
In addition to troubleshooting common problems, consider keeping a garden journal to track your progress and identify patterns. This will help you refine your techniques and improve your results over time.
By following these tips and troubleshooting common problems, you can overcome common issues and enjoy a bountiful harvest of delicious peas. Remember to stay patient and persistent, and don’t be afraid to ask for help if you need it.


