Unlocking the Secrets to a Thriving Rubber Plant
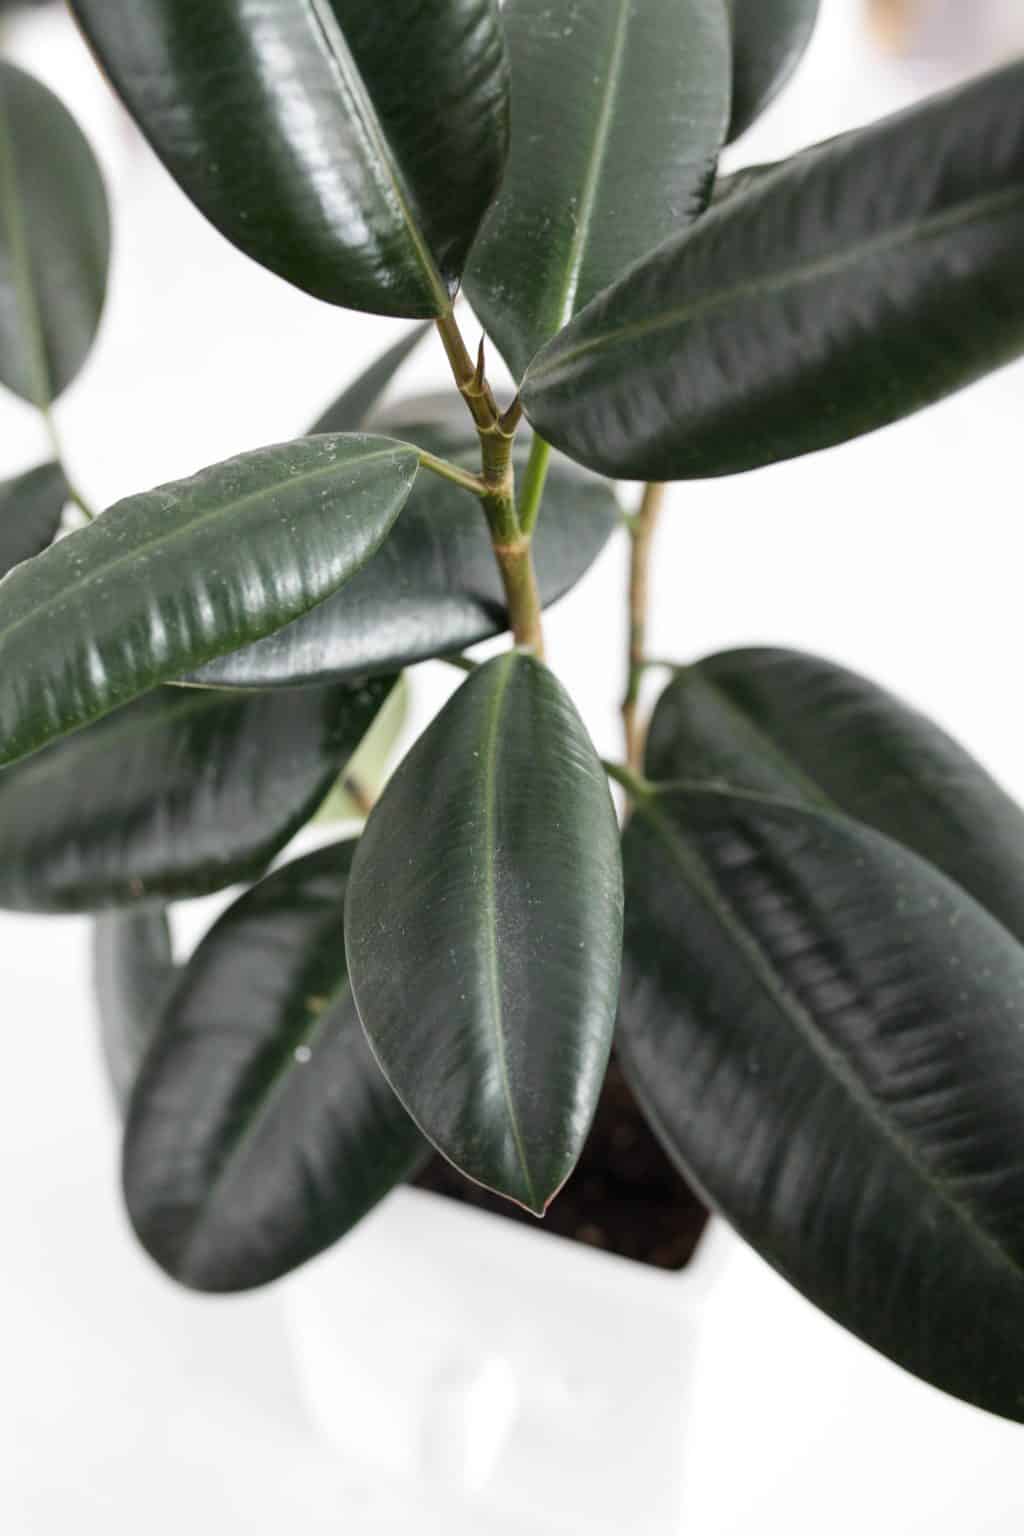
Rubber plants have become a staple in many homes and offices due to their low-maintenance requirements and striking appearance. However, to ensure the longevity and aesthetic appeal of these plants, it’s essential to understand the basics of their care. Caring for a rubber plant requires attention to its specific needs, and by doing so, you can enjoy the benefits of having a thriving and beautiful plant in your space. When considering how to care for a rubber plant, it’s crucial to remember that these plants are native to tropical regions and require a specific set of conditions to flourish.
One of the primary reasons rubber plants are popular is their ability to purify the air and improve indoor air quality. According to NASA’s Clean Air Study, rubber plants are effective at removing toxins such as formaldehyde and benzene from the air. By providing your rubber plant with the right conditions, you can reap the rewards of improved air quality and a stunning addition to your decor.
Before diving into the specifics of rubber plant care, it’s essential to understand the importance of proper care. Neglecting your rubber plant’s needs can lead to a range of issues, from yellowing leaves to root rot. By investing time and effort into caring for your rubber plant, you can enjoy the benefits of a thriving and healthy plant for years to come. In the following sections, we’ll explore the key aspects of rubber plant care, including lighting, watering, fertilizing, and pruning, to help you unlock the secrets to a thriving rubber plant.
Understanding Your Rubber Plant’s Lighting Needs
When it comes to caring for a rubber plant, one of the most critical factors to consider is lighting. Rubber plants require bright, indirect light to photosynthesize and grow. Direct sunlight can be too intense and may cause the leaves to become scorched or discolored. East- or west-facing windows are ideal for rubber plants, as they provide gentle, indirect light.
To ensure your rubber plant is receiving the right amount of light, observe its behavior. If the leaves are becoming too dark or the plant is stretching towards the light source, it may be a sign that the plant is not receiving enough light. On the other hand, if the leaves are becoming scorched or discolored, it may be a sign that the plant is receiving too much direct sunlight.
Another important consideration is the duration of light exposure. Rubber plants prefer 12-14 hours of light per day, but this can be adjusted based on the time of year and the plant’s specific needs. During the spring and summer months, rubber plants can tolerate more light, while during the fall and winter months, they prefer less light.
When adjusting the lighting conditions for your rubber plant, keep in mind that it’s better to err on the side of caution. Start with lower light levels and gradually increase the intensity and duration as needed. This will help prevent shocking the plant and ensure a smooth transition to its new lighting conditions.
By understanding your rubber plant’s lighting needs and adjusting its environment accordingly, you can help promote healthy growth and development. Remember, proper care for a rubber plant involves attention to its specific needs, and lighting is a critical component of this care.
Watering Your Rubber Plant: The Art of Finding the Right Balance
Watering is a crucial aspect of caring for a rubber plant, and finding the right balance is essential to ensure the plant’s health and longevity. Overwatering is one of the most common mistakes people make when caring for a rubber plant, and it can lead to root rot, yellowing leaves, and a range of other problems.
To avoid overwatering, it’s essential to check the soil moisture regularly. Stick your finger into the soil up to the first knuckle, and if the soil feels dry, it’s time to water. If the soil feels damp or wet, wait a few more days before watering again. This simple technique will help you determine when your rubber plant needs water.
When watering your rubber plant, make sure to use room-temperature water. Cold water can shock the roots, while hot water can cause the leaves to become scorched. Water the plant thoroughly, making sure the pot drains well to prevent waterlogged soil.
A consistent watering schedule is also crucial for the health of your rubber plant. Watering once a week is a good rule of thumb, but this may vary depending on the humidity, temperature, and light levels in your home. Adjust your watering schedule accordingly, and make sure to monitor your plant’s response to ensure you’re not overwatering or underwatering.
Another important consideration is the potting mix. A well-draining potting mix will help prevent waterlogged soil and root rot. Look for a mix that contains perlite, vermiculite, or sand, which will help improve drainage and prevent water from accumulating in the soil.
By mastering the art of watering your rubber plant, you’ll be able to provide the right amount of moisture to promote healthy growth and development. Remember, proper care for a rubber plant involves attention to its specific needs, and watering is a critical component of this care.
Fertilizing Your Rubber Plant: A Guide to Nutrient-Rich Soil
Fertilizing is an essential part of caring for a rubber plant, as it provides the necessary nutrients for healthy growth and development. Rubber plants require a balanced fertilizer that contains nitrogen, phosphorus, and potassium. These nutrients promote leaf growth, root development, and overall plant health.
When choosing a fertilizer for your rubber plant, look for a balanced formula that contains equal amounts of nitrogen, phosphorus, and potassium. A 20-20-20 fertilizer is a good option, as it provides the necessary nutrients for healthy growth. You can also use a fertilizer specifically formulated for houseplants, as these products are designed to meet the unique needs of indoor plants.
How often to fertilize your rubber plant depends on the time of year and the plant’s growth cycle. During the spring and summer months, fertilize your rubber plant once a month to promote healthy growth. During the fall and winter months, fertilize your rubber plant every 2-3 months, as the plant’s growth slows down during this time.
When fertilizing your rubber plant, make sure to follow the instructions on the fertilizer package. Overfertilizing can damage the plant’s roots and cause more harm than good. Start with a small amount of fertilizer and gradually increase the amount as needed.
In addition to using a balanced fertilizer, you can also use other methods to maintain nutrient-rich soil. Adding compost or well-rotted manure to the soil can provide essential nutrients and improve soil structure. You can also use a soil conditioner to improve soil fertility and promote healthy growth.
By fertilizing your rubber plant regularly and maintaining nutrient-rich soil, you can promote healthy growth and development. Remember, proper care for a rubber plant involves attention to its specific needs, and fertilizing is a critical component of this care.
Pruning and Grooming: Maintaining Your Rubber Plant’s Shape and Size
Pruning and grooming are essential parts of caring for a rubber plant, as they help maintain the plant’s shape and size. Regular pruning also encourages healthy growth and promotes a fuller, more balanced plant. When pruning your rubber plant, use clean, sharp tools to prevent spreading diseases and to make clean cuts.
Start by removing any dead or damaged leaves, as these can attract pests and create an environment for disease to spread. Cut back any leggy stems to encourage branching and promote a fuller plant. You can also prune your rubber plant to maintain its desired size or shape, or to encourage new growth.
When pruning, make sure to cut just above a node, which is the point where a leaf meets the stem. This will help the plant heal quickly and reduce the risk of infection. You can also use pruning to control the plant’s height, by cutting back the tallest stems and encouraging the plant to grow more horizontally.
In addition to pruning, regular grooming is also important for maintaining your rubber plant’s appearance. Use a soft-bristled brush or a damp cloth to remove any dust or debris from the leaves, and to keep the plant looking its best. You can also use a leaf shine product to give the leaves a healthy, glossy appearance.
By pruning and grooming your rubber plant regularly, you can maintain its shape and size, and promote healthy growth. Remember, proper care for a rubber plant involves attention to its specific needs, and pruning and grooming are critical components of this care.
Some common pruning techniques for rubber plants include pinching, which involves removing the growing tip of the plant to encourage branching, and topping, which involves cutting back the tallest stems to control the plant’s height. You can also use pruning to create a more balanced plant, by cutting back any leggy stems and encouraging the plant to grow more horizontally.
Common Pests and Diseases: How to Identify and Treat Issues
Rubber plants are generally hardy and resistant to pests and diseases, but they can still be affected by certain issues. Regular monitoring and prompt treatment can help prevent the spread of disease and minimize damage. Here are some common pests and diseases that can affect rubber plants, along with tips on how to identify and treat them.
One of the most common pests that can affect rubber plants is the spider mite. These tiny, spider-like insects feed on the plant’s sap, causing yellowing leaves and fine webbing. To treat spider mites, use a gentle insecticidal soap or neem oil, and make sure to isolate the plant to prevent the mites from spreading.
Another common pest that can affect rubber plants is the mealybug. These small, white insects feed on the plant’s sap, causing stunted growth and yellowing leaves. To treat mealybugs, use a gentle insecticidal soap or neem oil, and make sure to remove any affected leaves or stems.
Rubber plants can also be affected by diseases such as root rot and leaf spot. Root rot is caused by overwatering, which can lead to the roots becoming waterlogged and rotting. To treat root rot, repot the plant in fresh, well-draining soil, and make sure to avoid overwatering. Leaf spot is caused by fungal infections, which can lead to small, circular spots on the leaves. To treat leaf spot, use a fungicide specifically designed for houseplants, and make sure to remove any affected leaves.
Preventing pests and diseases is always better than treating them. To prevent pests and diseases, make sure to provide your rubber plant with good air circulation, avoid overwatering, and fertilize regularly. Regular pruning and grooming can also help prevent pests and diseases by removing any affected leaves or stems.
By being aware of the common pests and diseases that can affect rubber plants, you can take steps to prevent them and treat any issues promptly. Remember, proper care for a rubber plant involves attention to its specific needs, and monitoring for pests and diseases is a critical component of this care.
Repotting Your Rubber Plant: A Step-by-Step Guide
Repotting your rubber plant is a necessary process to provide it with fresh soil and a larger pot to accommodate its growing roots. This process can be a bit tricky, but with the right steps, you can ensure a successful repotting. Here’s a step-by-step guide on how to repot your rubber plant:
Step 1: Choose the Right Pot
When selecting a new pot for your rubber plant, make sure it is only one to two sizes larger than the current pot. A pot that is too large can cause the soil to become too wet, leading to root rot. Choose a pot that has good drainage holes to prevent waterlogged soil.
Step 2: Prepare the Soil
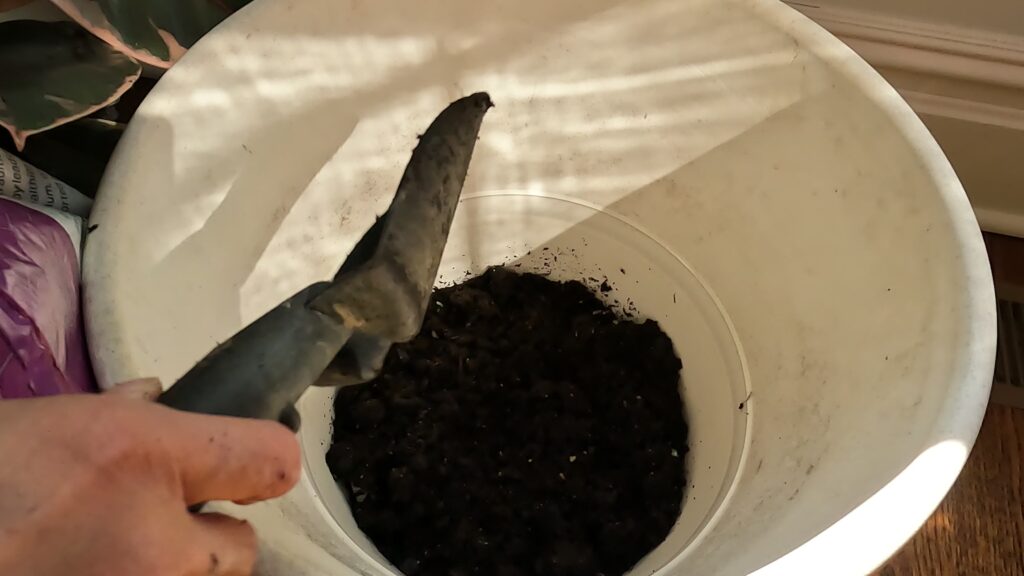
Use a high-quality potting soil that is specifically designed for indoor plants. Avoid using garden soil, as it can compact and prevent proper drainage. If you’re using a potting mix, make sure it’s fresh and not too old.
Step 3: Remove the Plant from the Old Pot
Carefully remove the plant from the old pot, taking care not to damage the roots. If the plant is stuck, gently rock the pot back and forth to loosen it.
Step 4: Inspect the Roots
Inspect the roots of the plant to see if they have become root-bound. If the roots have grown in a circular pattern, use a fork to gently tease them apart.
Step 5: Plant the Rubber Plant in the New Pot
Place the rubber plant in the new pot, making sure the soil level is the same as it was in the old pot. Add fresh potting soil around the roots, gently firming it in place.
Step 6: Water the Plant
Water the plant thoroughly after repotting, making sure the soil is moist but not waterlogged. Keep the soil consistently moist during the first few weeks after repotting.
By following these steps, you can successfully repot your rubber plant and provide it with the fresh soil and larger pot it needs to thrive. Remember, proper care for a rubber plant involves attention to its specific needs, and repotting is a critical component of this care.
Propagation and Division: Sharing Your Rubber Plant with Others
Propagation and division are great ways to share your rubber plant with friends and family, and to create new plants for your own collection. Here’s a step-by-step guide on how to propagate and divide your rubber plant:
Propagation by Leaf Cuttings
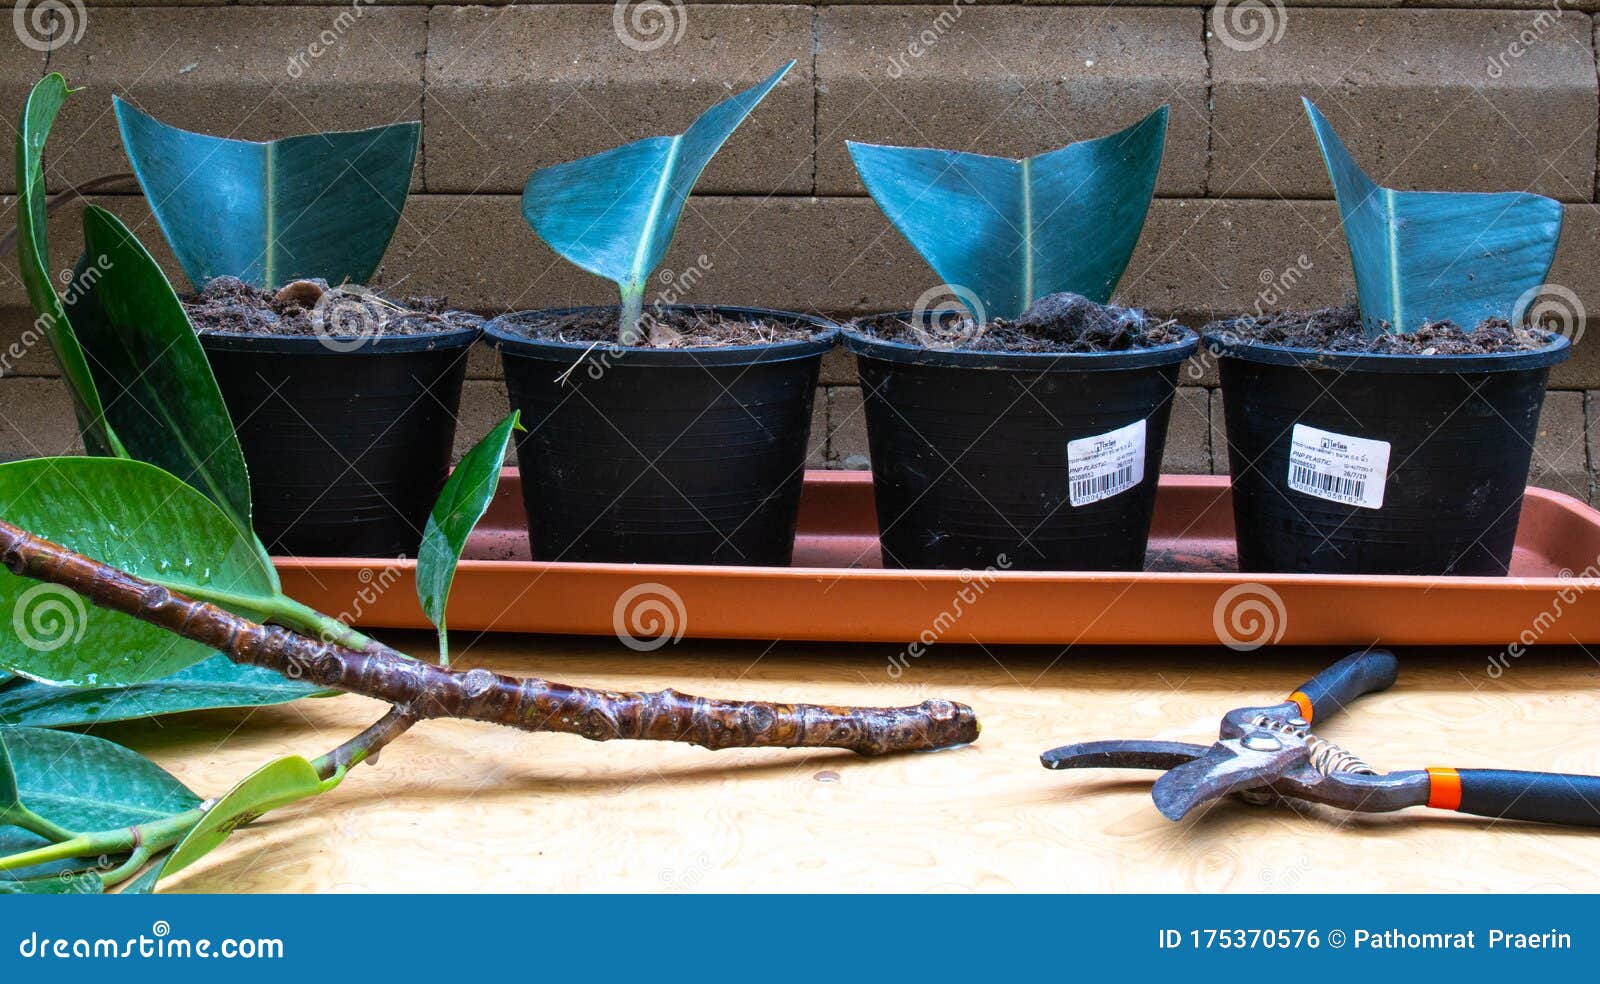
One of the easiest ways to propagate a rubber plant is by taking leaf cuttings. Choose a healthy leaf with a long petiole (stem), and cut it from the plant about 1-2 inches from the base of the leaf. Remove any lower leaves that will be submerged in water, and place the cutting in a glass of water. Roots should develop within 1-2 weeks, and you can then transfer the cutting to a pot filled with well-draining soil.
Propagation by Stem Cuttings
Another way to propagate a rubber plant is by taking stem cuttings. Choose a healthy stem with at least two nodes (the joint where a leaf meets the stem), and cut it from the plant about 1-2 inches from the base of the stem. Remove any lower leaves that will be submerged in water, and place the cutting in a glass of water. Roots should develop within 1-2 weeks, and you can then transfer the cutting to a pot filled with well-draining soil.
Division
Division is a great way to share your rubber plant with others, and to create new plants for your own collection. Choose a healthy plant with multiple stems, and carefully remove it from its pot. Gently separate the stems, making sure each section has at least one growing stem and some roots. Re-pot each section in a new pot filled with well-draining soil, and water thoroughly.
By following these steps, you can successfully propagate and divide your rubber plant, and share it with friends and family. Remember, proper care for a rubber plant involves attention to its specific needs, and propagation and division are critical components of this care.


:strip_icc()/GettyImages-1216804473-6cc3a88a3e9d4301b0f045d3fd1062a4.jpg)


