The Magic of Leaf Mould: What Makes it So Valuable
Leaf mould, a nutrient-rich soil amendment, is a valuable resource for gardeners seeking to improve the health and fertility of their soil. This natural, eco-friendly material is created through the decomposition of leaves, which are abundant and readily available in most environments. By understanding the benefits and process of making leaf mould, gardeners can unlock its full potential and reap the rewards of a thriving garden. One of the most common questions gardeners ask is “how do you make leaf mould,” and with the right guidance, anyone can create this valuable resource. Leaf mould improves soil structure, fertility, and overall plant health by increasing the water-holding capacity, aeration, and nutrient availability. It also supports a diverse range of microorganisms, which are essential for a balanced ecosystem. By incorporating leaf mould into their gardening routine, gardeners can reduce their reliance on synthetic fertilizers and create a more sustainable, environmentally friendly garden.

Click Image to Find Garden Products

Gathering the Right Materials: Leaves and More
When it comes to making leaf mould, the type and quality of leaves used are crucial. Deciduous leaves, such as those from oak, maple, or birch trees, are ideal for leaf mould production. These leaves are rich in nutrients and break down quickly, making them perfect for creating a nutrient-rich soil amendment. Coniferous leaves, like those from pine or spruce trees, can also be used, but they tend to be slower to decompose and may require additional processing. Collecting leaves in the fall, when they are abundant and easily accessible, is a great way to stockpile materials for leaf mould production. Simply rake or collect leaves into a pile, and then chop or shred them to increase their surface area and facilitate decomposition. It’s also essential to ensure that the leaves are free of contaminants, such as weeds, seeds, or diseased plant material, which can compromise the quality of the final product. By gathering the right materials and preparing them properly, gardeners can set themselves up for success in the leaf mould-making process.
https://www.youtube.com/watch?v=oeC7y3F0QGE
Creating the Perfect Environment: Setting Up Your Leaf Mould Pile
Once the leaves are collected and prepared, it’s essential to create a suitable environment for decomposition to occur. The ideal location for a leaf mould pile is in a shaded area, protected from direct sunlight and extreme temperatures. This will help maintain a consistent temperature and prevent the leaves from drying out. The pile should be situated in a well-ventilated area, allowing for adequate airflow and oxygen supply. A size of around 3x3x3 feet is recommended, as this allows for easy turning and aeration. When setting up the pile, start by adding a 4-6 inch layer of coarse material, such as twigs or branches, to improve aeration and drainage. Then, add the prepared leaves, mixing in some green materials like grass clippings or kitchen scraps to provide a nitrogen source. The key is to create a balance between “green” and “brown” materials, with a mix of 2/3 brown materials (leaves, twigs) and 1/3 green materials. By creating the perfect environment, gardeners can set the stage for successful leaf mould decomposition and ultimately, a nutrient-rich soil amendment. When asking “how do you make leaf mould,” understanding the importance of a suitable environment is crucial.
The Art of Decomposition: How to Speed Up the Process
Decomposition is a natural process that occurs when microorganisms break down organic matter. To speed up the decomposition process and create high-quality leaf mould, it’s essential to understand the factors that influence it. Temperature, moisture, and oxygen levels are critical factors that can either accelerate or slow down decomposition. Ideally, the temperature should range between 50°F and 150°F, with optimal moisture levels between 40% and 60%. Adequate oxygen supply is also crucial, which can be achieved by turning the pile regularly. Another way to speed up the process is by adding microorganisms, such as compost starters or effective microorganisms, which can help break down the leaves more efficiently. Turning the pile regularly, ideally every 7-10 days, can also help to aerate the mixture, reduce odors, and prevent matting. By understanding these factors and implementing the right strategies, gardeners can create a nutrient-rich leaf mould that will benefit their plants. When asking “how do you make leaf mould,” understanding the art of decomposition is a crucial step in the process.

Monitoring Progress: Signs of Successful Leaf Mould Decomposition
As the leaf mould decomposition process unfolds, it’s essential to monitor its progress to ensure that the conditions are optimal for microbial activity. One of the most significant signs of successful decomposition is a rise in temperature, typically between 130°F and 140°F, which indicates that microorganisms are actively breaking down the organic matter. Another indicator is the presence of an earthy, humus-like aroma, which signals that the decomposition process is progressing as expected. The appearance of worms, such as red wigglers, is also a positive sign, as they help to break down the leaves and create a nutrient-rich humus. Regularly checking the moisture levels, oxygen supply, and pile temperature can help gardeners identify any potential issues and make adjustments to optimize the decomposition process. By monitoring the progress of leaf mould decomposition, gardeners can ensure that they are creating a high-quality soil amendment that will benefit their plants. When asking “how do you make leaf mould,” understanding the signs of successful decomposition is a critical step in the process.
https://www.youtube.com/watch?v=3dq-C6WeTME
Harvesting Your Leaf Mould: When and How to Use it
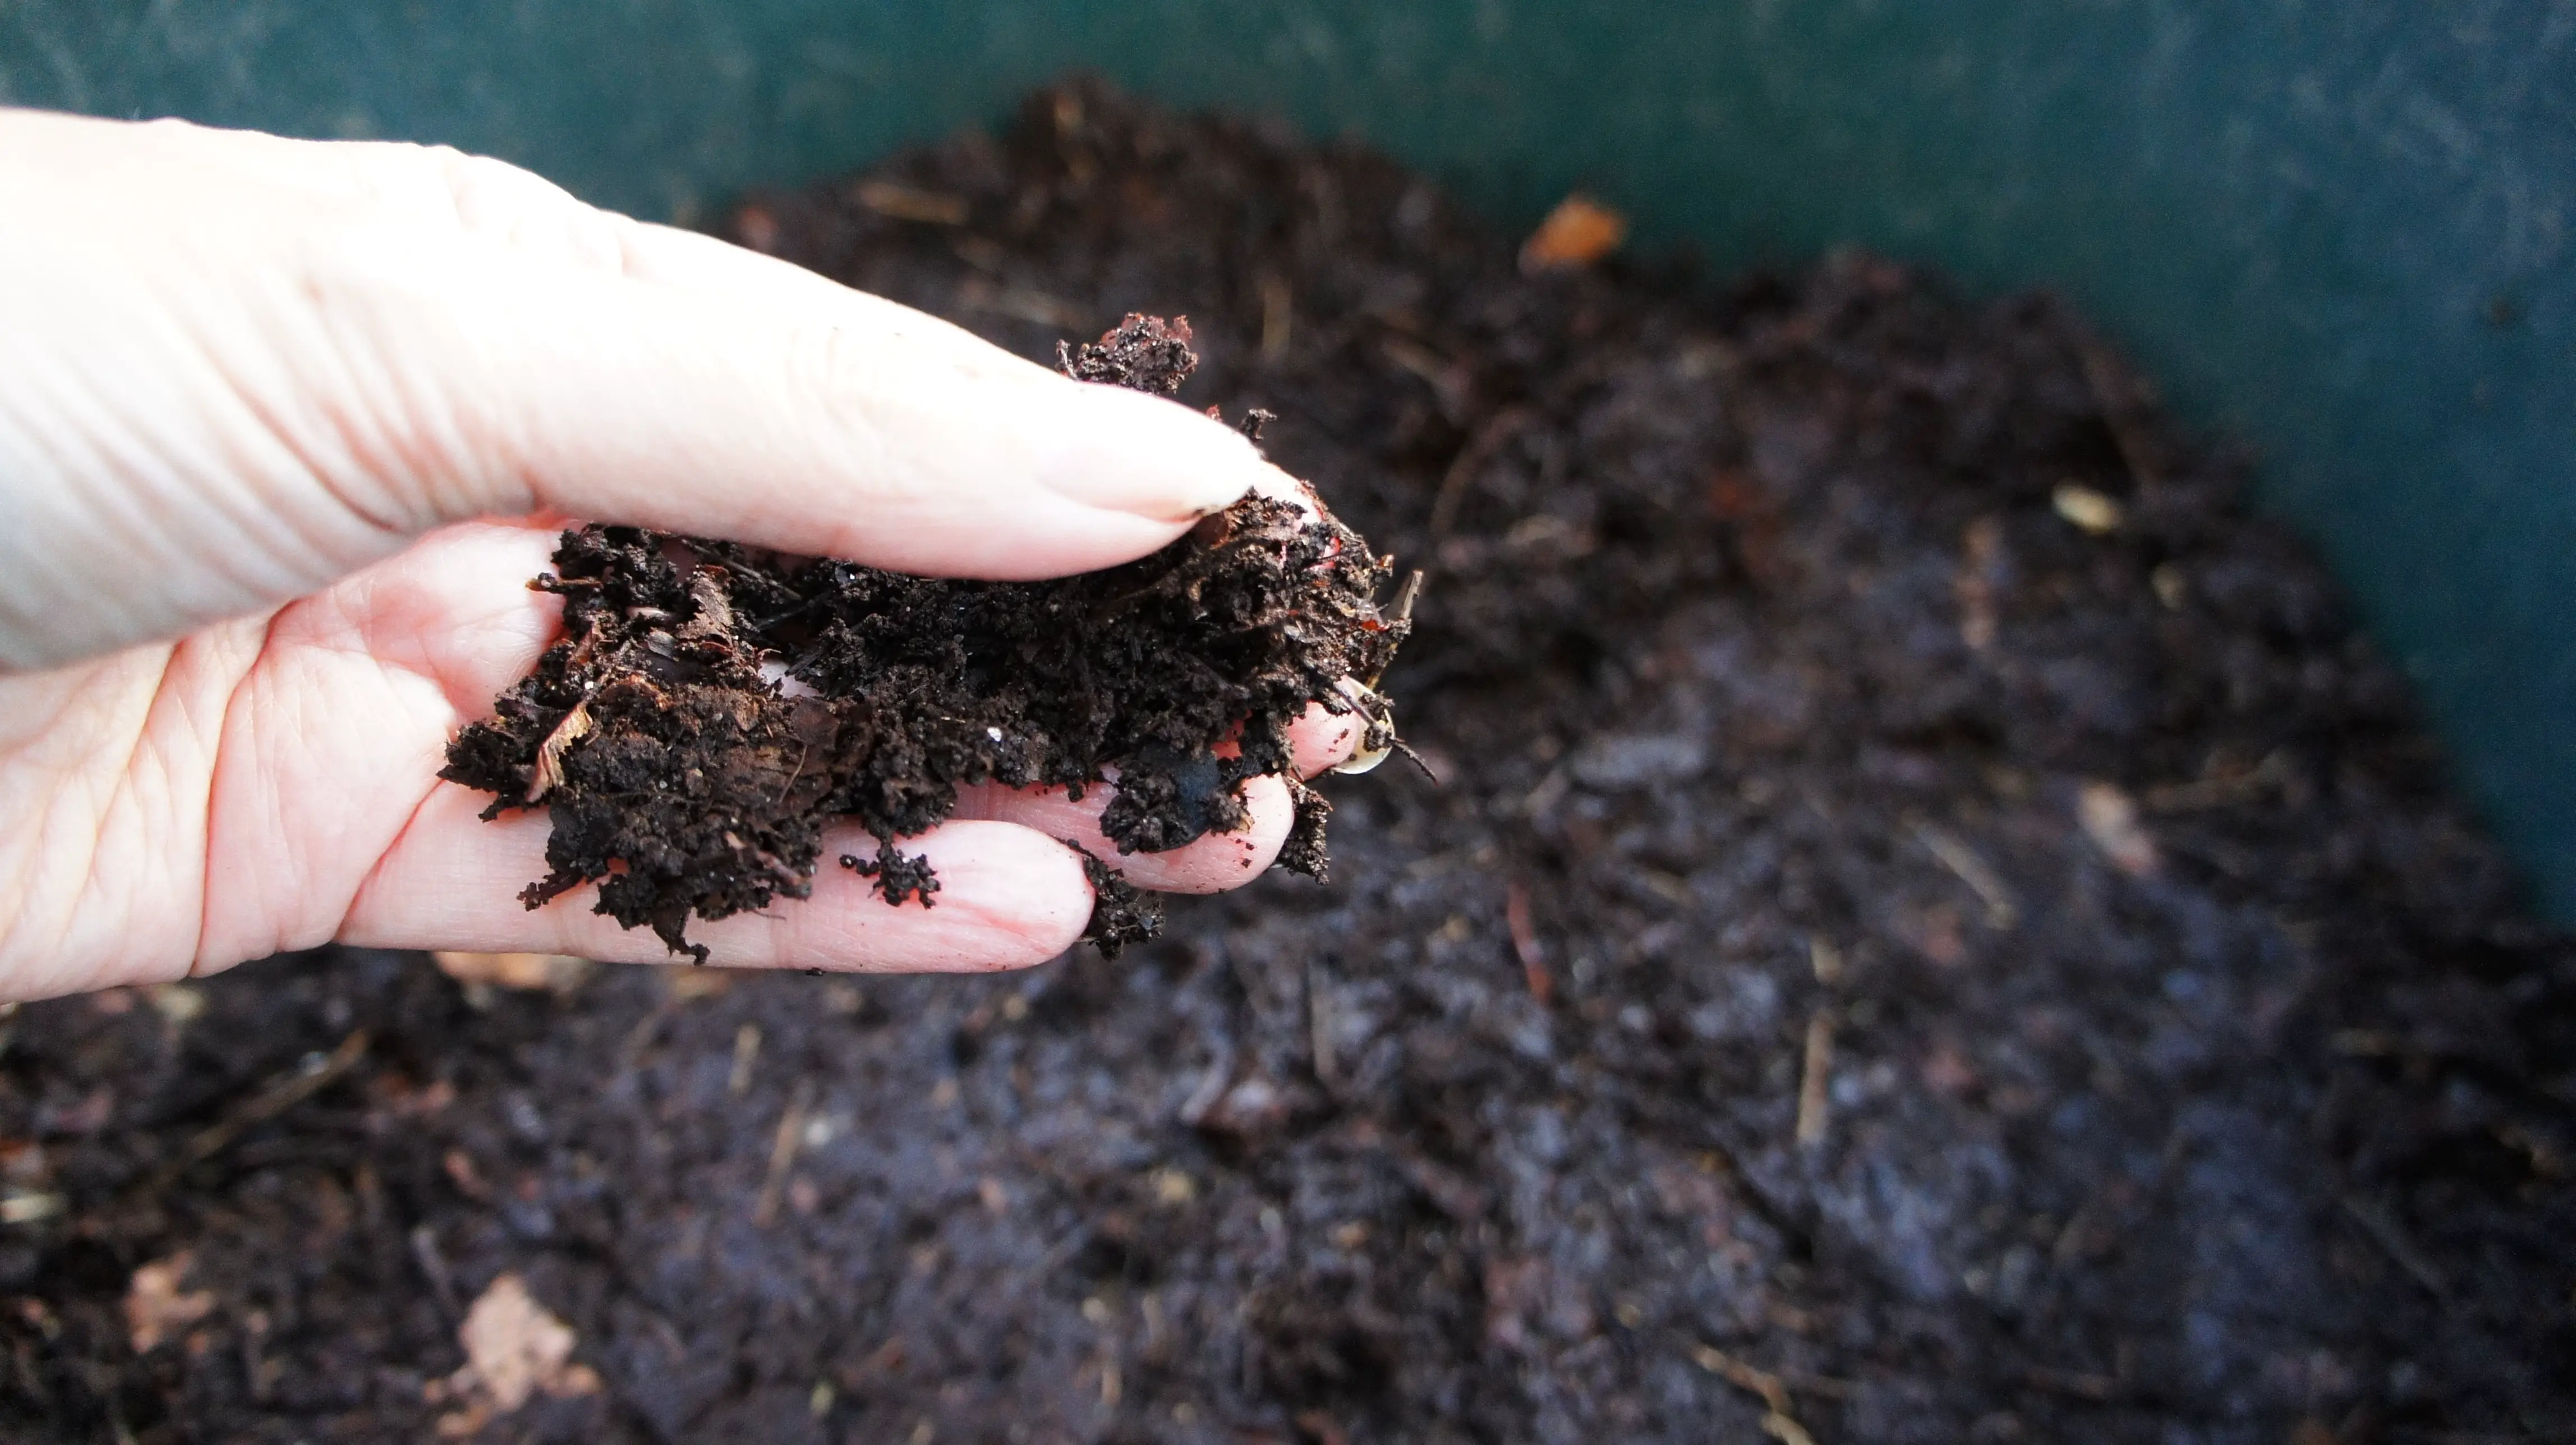
After several months of decomposition, the leaf mould is finally ready to use. The exact timeframe may vary depending on factors such as climate, moisture levels, and the type of leaves used. Generally, leaf mould is ready when it has broken down into a dark, crumbly, and earthy-smelling humus. To harvest the leaf mould, simply turn over the pile and sift through the material, removing any large pieces of debris or unbroken leaves. The resulting leaf mould can be used in a variety of gardening applications, including as a soil amendment to improve soil structure and fertility, as a mulch to retain moisture and suppress weeds, or as a potting mix ingredient to provide nutrients to plants. When asking “how do you make leaf mould,” understanding when and how to harvest it is a crucial step in the process. By using leaf mould in their gardens, gardeners can create a nutrient-rich environment that promotes healthy plant growth and development.
Troubleshooting Common Issues: Overcoming Leaf Mould Challenges
While making leaf mould can be a rewarding experience, gardeners may encounter some common challenges along the way. One of the most common issues is pests, such as rodents or insects, that may be attracted to the leaf mould pile. To overcome this problem, gardeners can try using physical barriers, such as chicken wire or mesh, to keep pests out. Another issue is unpleasant odors, which can be mitigated by ensuring adequate aeration and turning the pile regularly. Slow decomposition is another common problem, which can be addressed by adding more nitrogen-rich materials, such as grass clippings or manure, to the pile. When asking “how do you make leaf mould,” it’s essential to be aware of these potential challenges and know how to troubleshoot them. By being proactive and taking steps to prevent or address these issues, gardeners can ensure a successful leaf mould-making experience and reap the benefits of this valuable gardening resource.

Maximizing the Benefits: Tips for Using Leaf Mould in Your Garden
To get the most out of leaf mould in your garden, it’s essential to understand how to use it effectively. One of the most significant benefits of leaf mould is its ability to improve soil structure and fertility. By incorporating leaf mould into your soil, you can create a nutrient-rich environment that promotes healthy plant growth and development. Additionally, leaf mould can be used as a mulch to retain moisture and suppress weeds, or as a potting mix ingredient to provide nutrients to plants. When asking “how do you make leaf mould,” it’s also important to consider how to combine it with other compost materials to create a customized blend that meets the specific needs of your garden. For example, mixing leaf mould with other compost materials like grass clippings or manure can create a nutrient-rich fertilizer that promotes healthy plant growth. By following these tips and using leaf mould in a variety of gardening applications, gardeners can unlock the full potential of this valuable resource and create a thriving and sustainable garden.