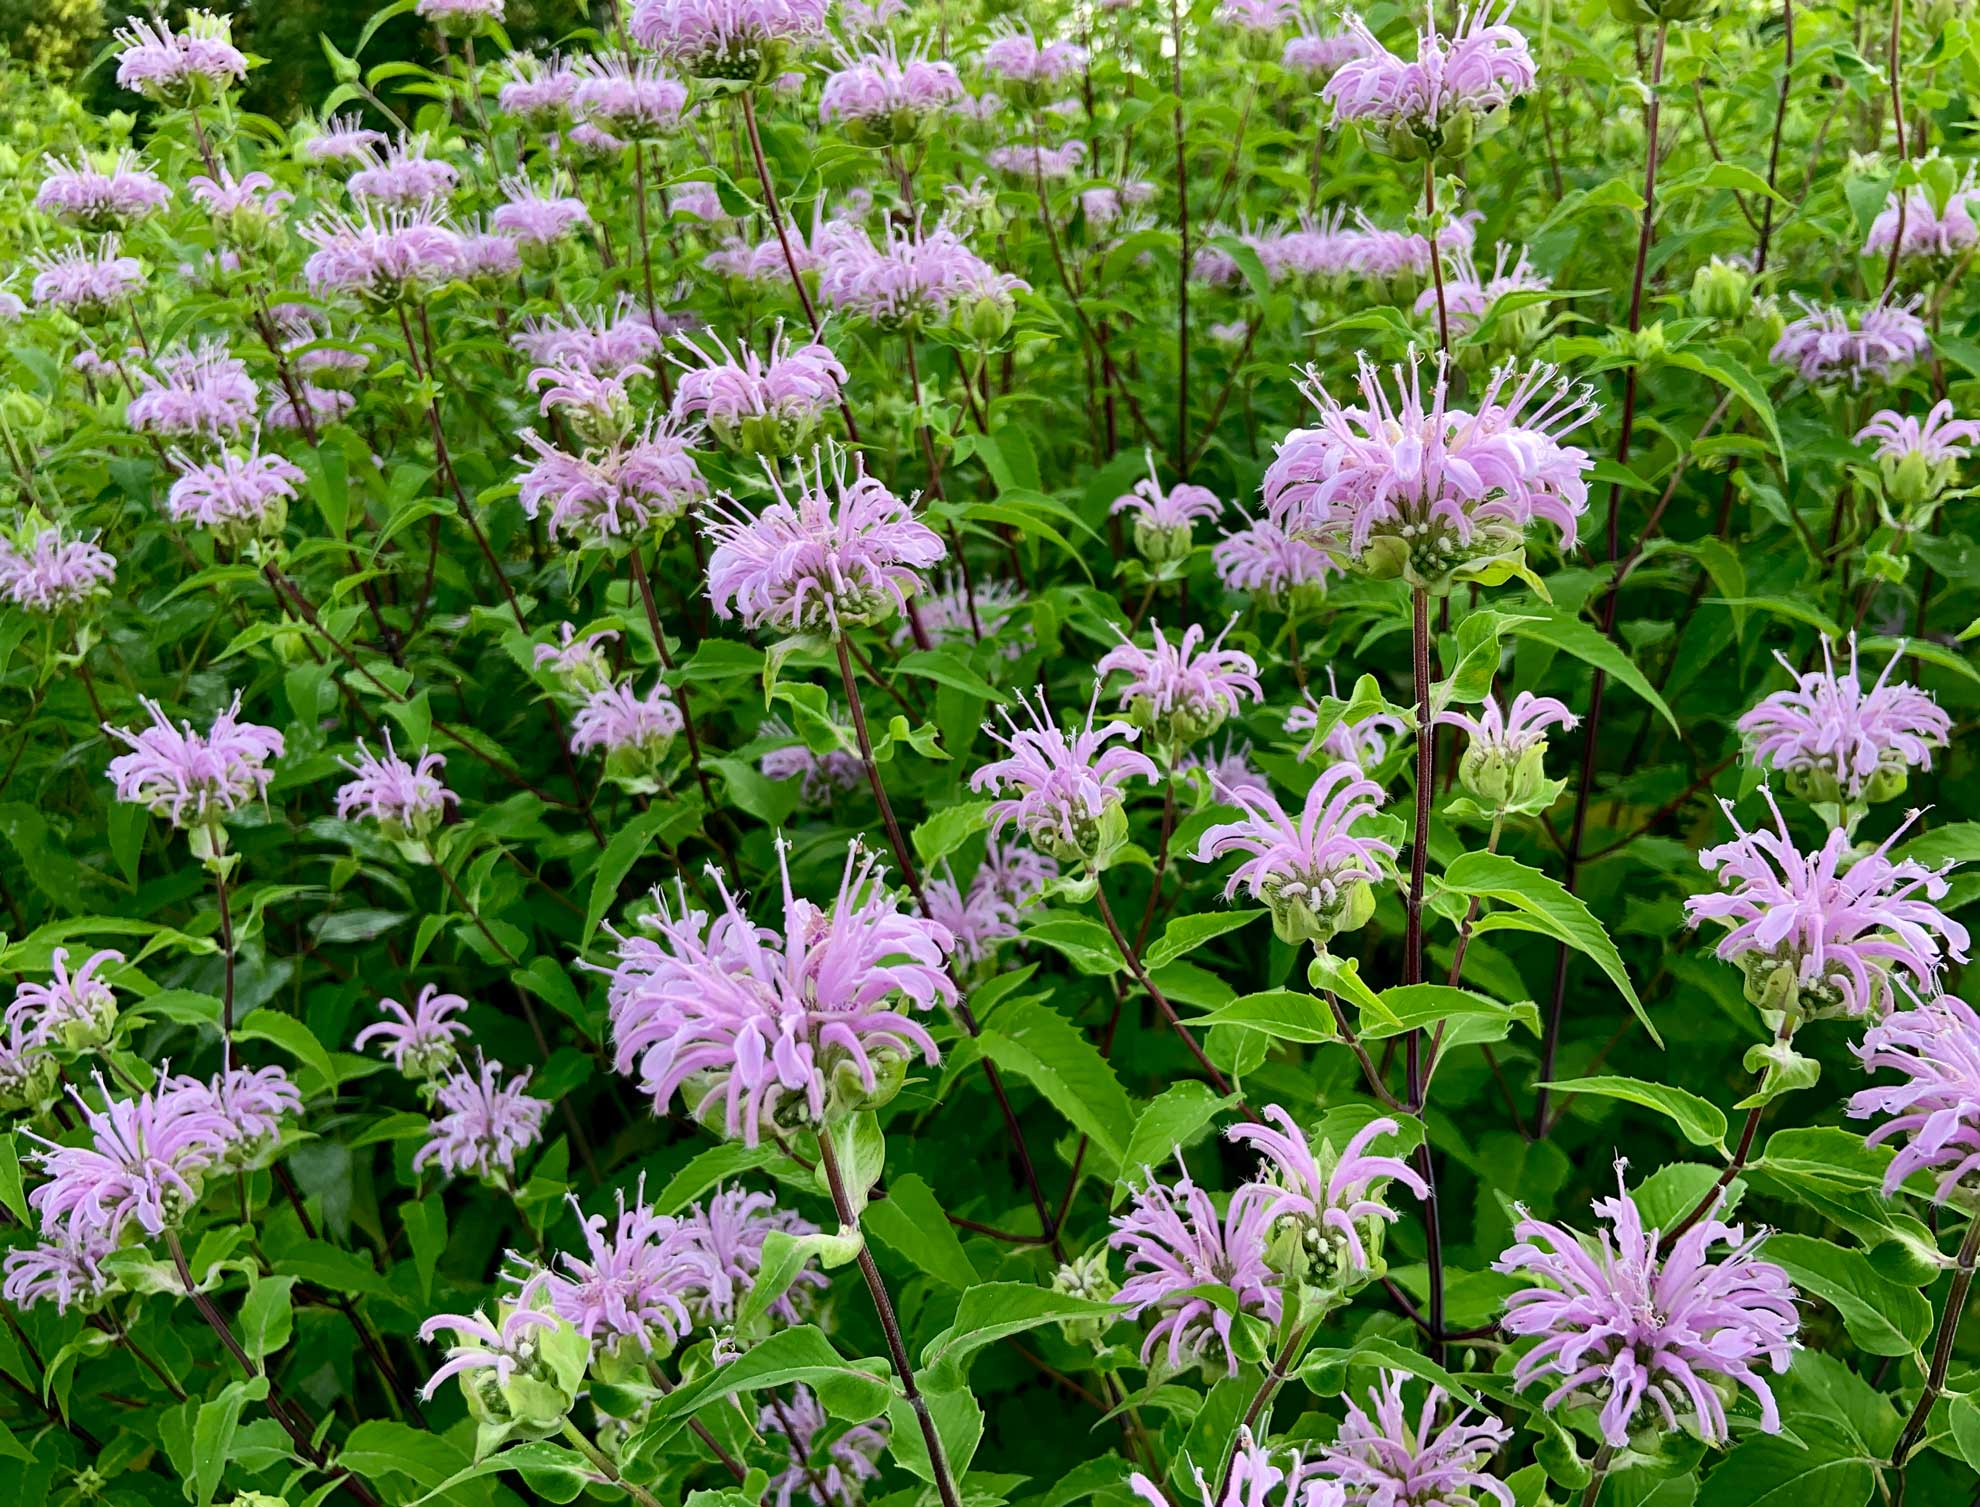
Unlocking the Secrets of Bee Balm Planting
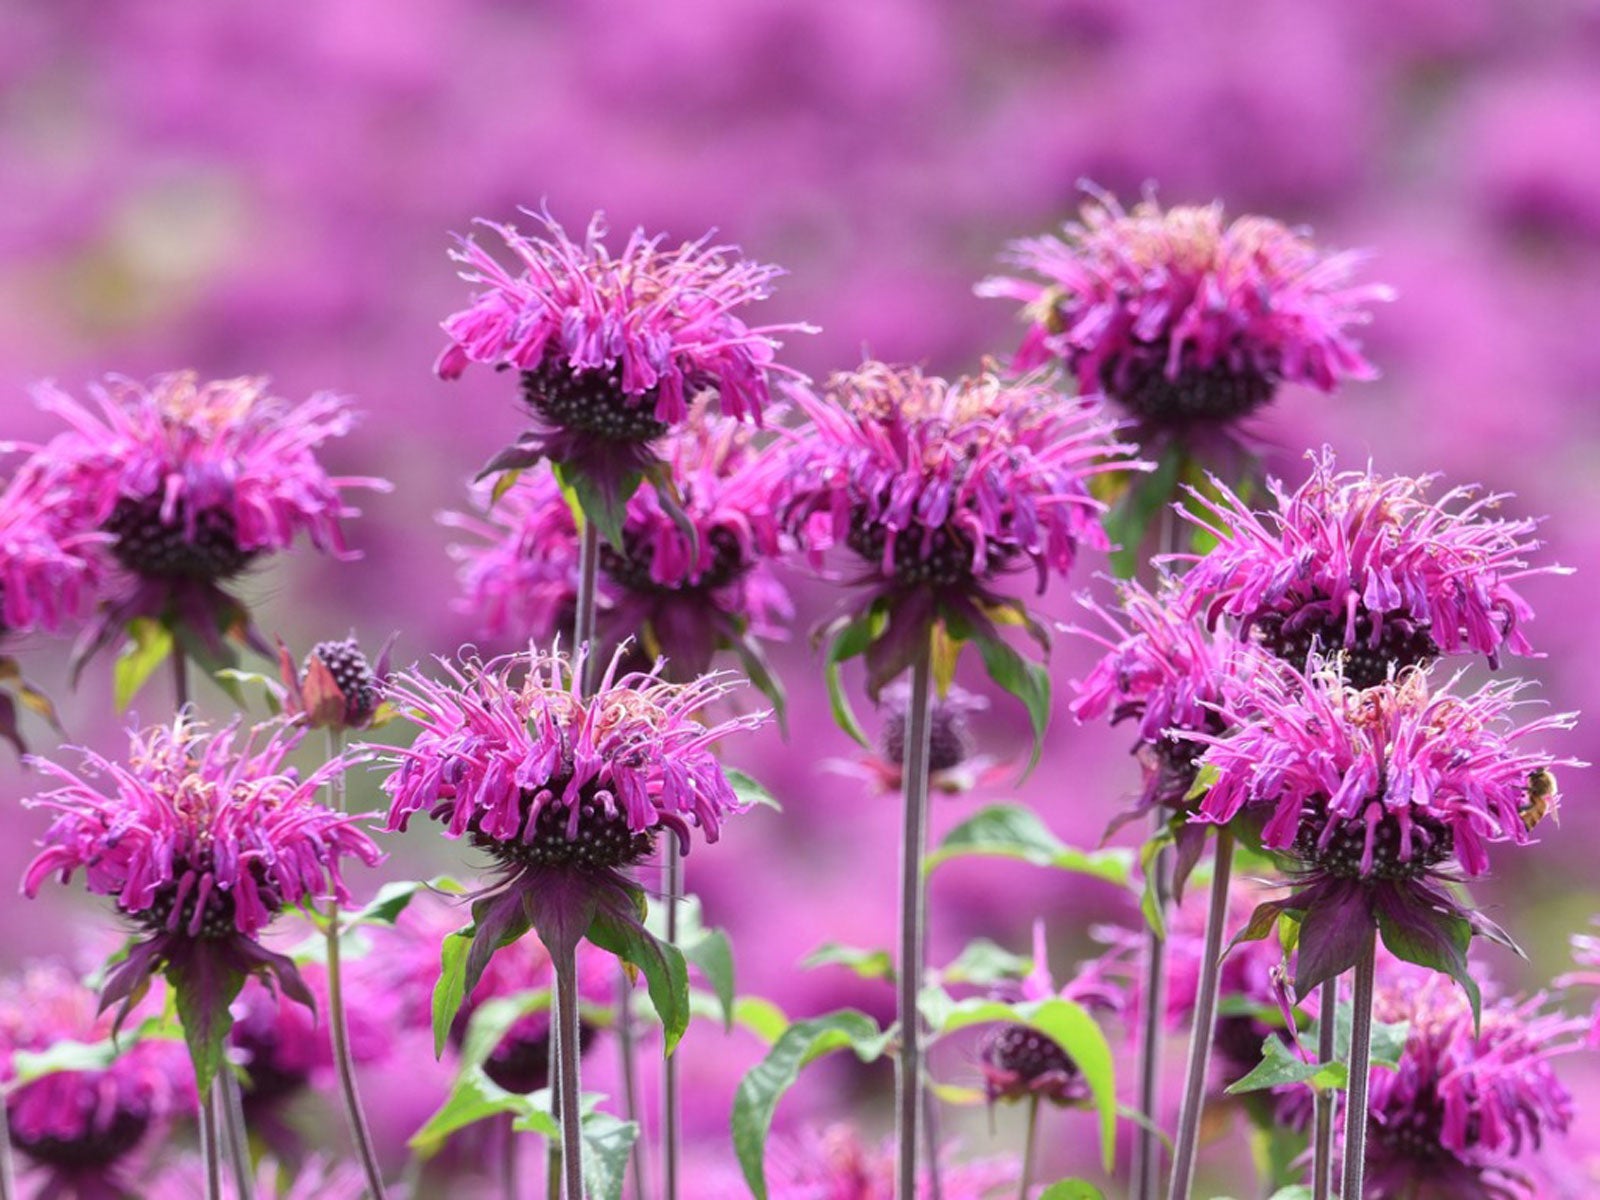
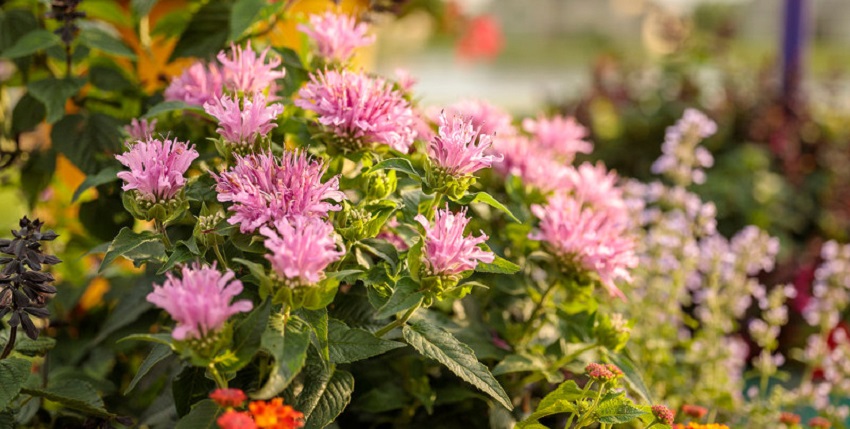
Bee balm, a fragrant herb native to North America, has been a staple in gardens for centuries. Its vibrant flowers, ranging from pink to purple, attract pollinators and add a pop of color to any garden bed. However, to ensure a healthy and thriving bee balm garden, it’s essential to understand the importance of proper planting techniques. When considering how to plant bee balm, gardeners must take into account the specific needs of this herb, from sunlight and soil requirements to moisture levels and companion planting.
One of the primary benefits of bee balm is its ability to attract pollinators, such as bees, butterflies, and hummingbirds. By incorporating bee balm into your garden, you’re not only adding a beautiful and fragrant herb, but also supporting the local ecosystem. Additionally, bee balm has been used for centuries in herbal medicine, and its leaves and flowers can be used in teas, salads, and crafts.
Before diving into the specifics of how to plant bee balm, it’s essential to understand the basics of this herb. Bee balm is a perennial plant that thrives in zones 4-9, making it an ideal choice for gardeners in a variety of climates. It prefers well-draining soil and full sun to partial shade, making it a versatile addition to any garden bed.
When it comes to planting bee balm, gardeners often wonder how to get started. The process is relatively simple, and with the right techniques, you can enjoy a thriving bee balm garden in no time. By following the steps outlined in this article, you’ll be well on your way to unlocking the secrets of bee balm planting and enjoying the many benefits this herb has to offer.
Choosing the Perfect Location for Your Bee Balm
When it comes to planting bee balm, selecting the right location is crucial for optimal growth and success. Bee balm requires full sun to partial shade, making it an ideal choice for gardens that receive at least six hours of direct sunlight per day. However, in warmer climates, it’s essential to provide some afternoon shade to prevent scorching.
In terms of soil requirements, bee balm prefers well-draining soil that is rich in organic matter. A slightly acidic to neutral soil pH, ranging from 6.0 to 7.0, is ideal for bee balm growth. If your soil is heavy clay or sandy, consider amending it with compost or well-rotted manure to improve its structure and fertility.
Moisture is also a critical factor when planting bee balm. This herb requires consistent moisture, especially during the first growing season. However, it’s essential to avoid overwatering, which can lead to root rot and other problems. Aim to provide about 1-2 inches of water per week, either through rainfall or irrigation.
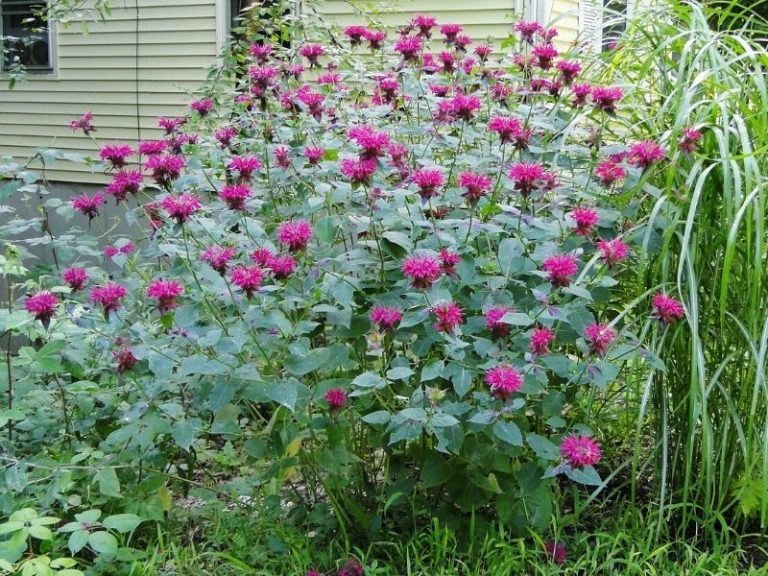
When selecting a location for your bee balm, consider the mature size of the plant. Bee balm can grow quite tall, up to 3-4 feet, and wide, up to 2-3 feet. Make sure to provide enough space between plants to allow for good air circulation and prevent overcrowding.
By choosing the perfect location for your bee balm, you’ll be well on your way to growing a healthy and thriving plant. Remember to consider the specific needs of bee balm, including sunlight, soil, and moisture requirements, to ensure optimal growth and success.
Preparing the Soil for Bee Balm Planting
Before planting bee balm, it’s essential to prepare the soil to create a fertile growing environment. This involves testing the soil pH, amending it if necessary, and adding organic matter to improve its structure and fertility.
To test the soil pH, use a soil testing kit or send a sample to a laboratory for analysis. Bee balm prefers a slightly acidic to neutral soil pH, ranging from 6.0 to 7.0. If the soil pH is too high or too low, amend it with lime or sulfur to adjust the pH.
In addition to adjusting the soil pH, add organic matter such as compost or well-rotted manure to improve the soil’s structure and fertility. This will help to increase the soil’s water-holding capacity, reduce soil compaction, and provide essential nutrients for the bee balm plants.
Remove any weeds or debris from the planting area, as these can compete with the bee balm plants for water and nutrients. Use a garden fork or spade to loosen the soil to a depth of 12-18 inches, and then rake the soil to create a smooth, even surface.
When preparing the soil for bee balm planting, it’s also essential to consider the soil’s drainage. Bee balm prefers well-draining soil, so avoid planting in areas with standing water or where water tends to collect. If necessary, create a raised bed or mound to improve drainage and prevent waterlogged soil.
By preparing the soil properly, you’ll be able to create a fertile growing environment that will support the growth and development of your bee balm plants. This will help to ensure a healthy and thriving plant, and will also make it easier to care for the plants over time.
How to Plant Bee Balm: A Step-by-Step Process
Planting bee balm is a relatively straightforward process, but it does require some care and attention to detail. To ensure the best possible start for your bee balm plants, follow these steps:
Step 1: Handle the Roots with Care
When planting bee balm, it’s essential to handle the roots with care. Gently remove the plant from its container or burlap, taking care not to damage the roots. If the roots are wrapped in burlap, remove the burlap and any string or wire that may be holding it in place.
Step 2: Plant at the Correct Depth
Plant the bee balm at the same depth as it was in the container or burlap. Make sure the crown of the plant (where the stem meets the roots) is level with the soil surface. If you’re planting multiple bee balm plants, space them 12-18 inches apart to allow for good air circulation and growth.
Step 3: Water and Mulch
Water the bee balm plants thoroughly after planting, and continue to keep the soil consistently moist during the first growing season. Mulch around the plants to retain moisture, suppress weeds, and regulate soil temperature.
Step 4: Provide Support (Optional)
If you’re planting tall varieties of bee balm, you may need to provide support to prevent the plants from toppling over in the wind. Use stakes or a trellis to provide support, and tie the stems to the support using twine or wire.
By following these steps, you’ll be able to plant your bee balm with confidence and give it the best possible start in life. Remember to keep the soil consistently moist and provide support if necessary, and you’ll be enjoying the beauty and benefits of bee balm in no time.
Caring for Your Bee Balm Plant: Tips and Tricks
Once you’ve planted your bee balm, it’s essential to provide the right care to ensure it thrives. Here are some tips and tricks to help you care for your bee balm plant:
Fertilization: Feed your bee balm plant with a balanced fertilizer once a month. You can use a water-soluble fertilizer or a slow-release fertilizer. Avoid over-fertilizing, as this can damage the plant.
Pruning: Prune your bee balm plant regularly to encourage bushy growth and prevent it from becoming leggy. Remove any dead or damaged leaves or stems, and cut back the plant to about half its height after it finishes blooming.
Deadheading: Deadheading is the process of removing spent flowers from the plant. This will encourage the plant to produce more flowers and prevent it from going to seed. Simply snip off the spent flowers with scissors or pinch them off with your fingers.
Pest and Disease Management: Bee balm is generally a hardy plant, but it can be susceptible to pests and diseases. Keep an eye out for aphids, whiteflies, and spider mites, and treat the plant with insecticidal soap or neem oil if necessary. Also, watch for signs of powdery mildew, leaf spot, and root rot, and treat the plant with a fungicide if necessary.
Watering: Bee balm prefers moist soil, but it can be susceptible to root rot if the soil is too wet. Water the plant regularly, but make sure the soil drains well and isn’t waterlogged.
By following these tips and tricks, you’ll be able to keep your bee balm plant healthy and thriving. Remember to fertilize, prune, and deadhead regularly, and keep an eye out for pests and diseases. With proper care, your bee balm plant will provide you with beautiful flowers and a bountiful harvest for years to come.
Using Bee Balm in Your Garden: Companion Planting and Design Ideas
Bee balm is a versatile herb that can be used in a variety of ways in your garden. One of the most effective ways to use bee balm is through companion planting. Companion planting involves planting different herbs and flowers together to create a mutually beneficial relationship.
Bee balm is a natural attractor of pollinators, such as bees and butterflies, and can be used to attract these beneficial insects to your garden. Planting bee balm alongside other herbs and flowers that require pollination can help to increase the overall health and productivity of your garden.
Some good companion plants for bee balm include:
- Lavender: Lavender and bee balm have a similar growing requirement and can be planted together to create a beautiful and fragrant border.
- Rosemary: Rosemary and bee balm are both members of the mint family and can be planted together to create a fragrant and attractive hedge.
- Marjoram: Marjoram and bee balm have a similar growing requirement and can be planted together to create a beautiful and fragrant border.
In addition to companion planting, bee balm can also be used in a variety of design ideas. Here are a few ideas to get you started:
- Container gardening: Bee balm can be planted in containers and used to add a pop of color and fragrance to your patio or deck.
- Border planting: Bee balm can be planted in borders to create a beautiful and fragrant hedge.
- Pollinator garden: Bee balm can be planted in a pollinator garden to attract beneficial insects and create a healthy and productive ecosystem.
By incorporating bee balm into your garden design, you can create a beautiful and fragrant space that attracts pollinators and adds a pop of color to your garden.
Troubleshooting Common Issues with Bee Balm Planting
While bee balm is a relatively easy plant to grow, there are some common issues that can arise when planting and caring for it. Here are some troubleshooting tips to help you overcome these challenges:
Poor Germination:
If your bee balm seeds are not germinating, it may be due to a variety of factors, including poor soil quality, inadequate moisture, or insufficient light. Check the soil to ensure it is moist but not waterlogged, and provide supplemental lighting if necessary.
Leaf Spot:
Leaf spot is a common fungal disease that can affect bee balm plants. To prevent leaf spot, ensure good air circulation around the plants, and remove any infected leaves or stems. Treat the plants with a fungicide if necessary.
Root Bound Plants:
If your bee balm plants are becoming root bound, it may be due to inadequate soil volume or poor drainage. Transplant the plants into a larger container or directly into the ground, and ensure the soil drains well to prevent waterlogging.
Pests:
Bee balm plants can be susceptible to pests such as aphids, whiteflies, and spider mites. Use organic pest control methods such as neem oil or insecticidal soap to control infestations.
By following these troubleshooting tips, you can overcome common issues that can arise when planting and caring for bee balm. Remember to monitor your plants regularly and take action quickly if you notice any problems.
Harvesting and Enjoying Your Bee Balm Crop
Once your bee balm plants have reached maturity, it’s time to harvest and enjoy the fruits of your labor. Here are some tips on how to harvest and use your bee balm crop:
Harvesting:
Bee balm leaves and flowers can be harvested at any time, but the best time is when the flowers are in full bloom. Simply snip off the leaves and flowers with scissors or pinch them off with your fingers.
Drying and Preserving:
To dry and preserve your bee balm leaves and flowers, tie them in small bunches and hang them upside down in a warm, dry place. You can also use a dehydrator or oven on the lowest heat setting to dry the leaves and flowers.
Using Bee Balm in Teas:
Bee balm leaves and flowers can be used to make a delicious and soothing tea. Simply steep the leaves and flowers in hot water for 5-10 minutes, then strain and enjoy.
Using Bee Balm in Salads:
Bee balm leaves and flowers can be used to add a burst of flavor and color to salads. Simply chop the leaves and flowers and add them to your favorite salad recipe.
Using Bee Balm in Crafts:
Bee balm leaves and flowers can be used to make a variety of crafts, such as potpourri, wreaths, and floral arrangements. Simply dry the leaves and flowers, then use them to create your desired craft project.
By following these tips, you can enjoy the many benefits of your bee balm crop and add a touch of beauty and flavor to your garden and home.


