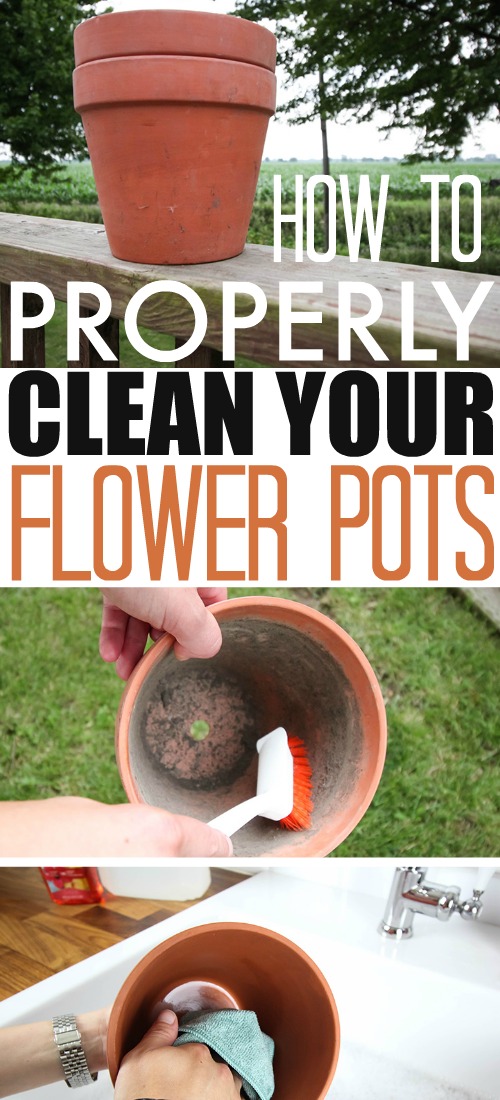
The Importance of Regular Planter Maintenance
Cleaning planter pots is a crucial step in maintaining healthy plants. When planters are not regularly cleaned, they can harbor diseases, pests, and mineral deposits that can harm plant growth. In fact, dirty planters can lead to root rot, leaf spotting, and other problems that can ultimately kill plants. By learning how to clean planter pots effectively, gardeners can prevent these issues and create a healthy environment for their plants to thrive. Regular planter maintenance also helps to promote healthy root growth, which is essential for plants to absorb the necessary nutrients and water. By incorporating planter cleaning into their gardening routine, gardeners can enjoy a bountiful harvest and beautiful, thriving plants.

Click Image to Find Garden Products
Preparing for a Deep Clean: Gathering Essential Supplies
Before diving into the process of how to clean planter pots, it’s essential to gather the necessary materials to get the job done effectively. To start, you’ll need a few simple supplies that can be found in most households. Mild dish soap is a gentle and effective cleaning agent that won’t damage your planters. Warm water is also a must, as it helps to loosen dirt and grime. A soft-bristled brush is perfect for gently scrubbing away stubborn debris, while a scrubber or steel wool can be used to tackle tougher stains and mineral deposits. Additionally, having a clean towel or cloth on hand will come in handy for drying your planters once they’re clean. With these essential supplies at your fingertips, you’ll be well on your way to learning how to clean planter pots like a pro.
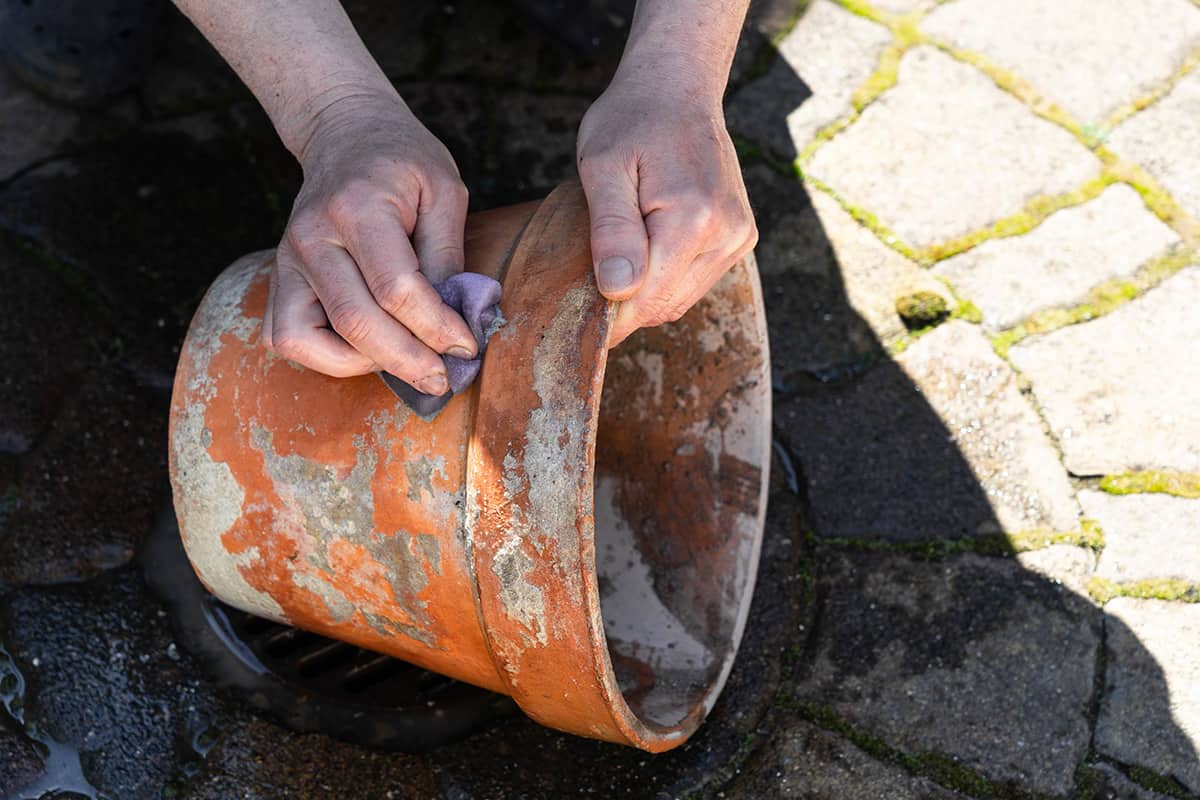
How to Remove Stubborn Debris and Grime
Now that you have gathered the necessary supplies, it’s time to dive into the process of how to clean planter pots. The first step is to remove any stubborn debris and grime that may have accumulated on the surface of the pot. To do this, start by soaking the pot in warm water for about 30 minutes. This will help to loosen any dirt and grime, making it easier to remove. Next, use a soft-bristled brush to gently scrub away any debris, working from the top of the pot down. Be sure to scrub all surfaces, including the inside and outside of the pot, as well as the handles and any other crevices. If there are any particularly stubborn stains or mineral deposits, you can use a scrubber or steel wool to help remove them. Once you have scrubbed away all of the debris, rinse the pot thoroughly with warm water to remove any soap residue. By following these steps, you’ll be able to remove even the toughest grime and debris from your planter pots, leaving them looking like new.

Tackling Tough Stains and Discoloration
Once you’ve removed any loose debris and grime, it’s time to tackle any tough stains or discoloration that may be present on your planter pots. These can be particularly stubborn, but don’t worry – there are several solutions you can try to remove them. For tough stains, try making a paste with baking soda and water, and apply it to the affected area. Let it sit for about 30 minutes before scrubbing it off with a soft-bristled brush. For more severe discoloration, you can try using a mixture of equal parts water and white vinegar. Apply the mixture to the affected area and let it sit for several hours before rinsing it off with warm water. If the stain is particularly stubborn, you can try using oxygen bleach, which is a gentle yet effective cleaning agent. By using these methods, you should be able to remove even the toughest stains and discoloration from your planter pots, leaving them looking like new. Remember, when it comes to how to clean planter pots, patience and persistence are key – don’t be afraid to try a few different methods until you find one that works for you.

Sanitizing and Disinfecting for a Healthy Start
After removing any debris, grime, and stains from your planter pots, it’s essential to sanitize and disinfect them to prevent the spread of disease. This step is crucial in how to clean planter pots, as it ensures a healthy start for your plants. To sanitize your planter pots, mix one part white vinegar with nine parts water in the pot. Let it sit for about 10 minutes before rinsing it thoroughly with warm water. This solution is effective in killing bacteria and fungi that can harm your plants. Alternatively, you can use a solution of one tablespoon of unscented chlorine bleach in one gallon of water. Be sure to rinse the pot thoroughly to remove any residue. By sanitizing and disinfecting your planter pots, you’ll be able to provide a healthy environment for your plants to thrive. Remember, a clean pot is essential for healthy plant growth, so make sure to sanitize and disinfect your pots regularly as part of your plant care routine.
![]()
Drying and Storing Clean Pots for Future Use
Once you’ve sanitized and disinfected your planter pots, it’s essential to dry and store them properly to prevent water spots and damage. This step is often overlooked in the process of how to clean planter pots, but it’s crucial for maintaining the longevity of your pots. To dry your pots, use a soft cloth or towel to wipe away any excess water. You can also use a clean, dry microfiber cloth to buff the pot and remove any remaining water spots. For storage, place the clean and dry pots in a well-ventilated area, away from direct sunlight. You can also store them in a dry, cool place, such as a garage or shed. To prevent scratching, consider wrapping each pot in a soft cloth or paper towel before storing them. By properly drying and storing your clean planter pots, you’ll be able to keep them in good condition and ensure they’re ready for their next use. Remember, a little extra care and attention can go a long way in extending the life of your planter pots.
Common Mistakes to Avoid When Cleaning Planter Pots
When it comes to how to clean planter pots, there are several common mistakes that people make that can damage their pots or hinder the cleaning process. One of the most common mistakes is using harsh chemicals or abrasive materials, which can scratch or discolor the pot. Instead, opt for gentle cleaning products and soft-bristled brushes to avoid damaging the pot’s surface. Another mistake is not rinsing the pot thoroughly, which can leave behind soap residue or mineral deposits that can affect plant growth. Make sure to rinse the pot multiple times to ensure it’s completely clean. Additionally, avoid using hot water, which can cause the pot to crack or become misshapen. By being aware of these common mistakes, you can ensure that your planter pots are cleaned effectively and safely, and that they remain in good condition for years to come.

Maintaining Your Planters: Tips for Long-Term Care
To keep your planter pots looking their best and ensure they remain clean and healthy, it’s essential to establish a regular maintenance routine. One of the most effective ways to do this is to create a cleaning schedule, where you set aside time each week or month to clean and inspect your pots. This can be as simple as wiping down the pot with a damp cloth or giving it a quick rinse with warm water. Additionally, consider implementing preventative measures to prevent dirt and grime from building up in the first place. For example, you can line the bottom of your pot with a layer of small rocks or broken pottery to improve drainage and reduce the risk of waterlogged soil. By following these tips and learning how to clean planter pots effectively, you can enjoy healthy, thriving plants and beautiful, sparkling clean pots for years to come. Remember, a little maintenance can go a long way in extending the life of your planter pots and keeping them looking their best.
