Unlocking the Secrets of Spider Plant Cuttings
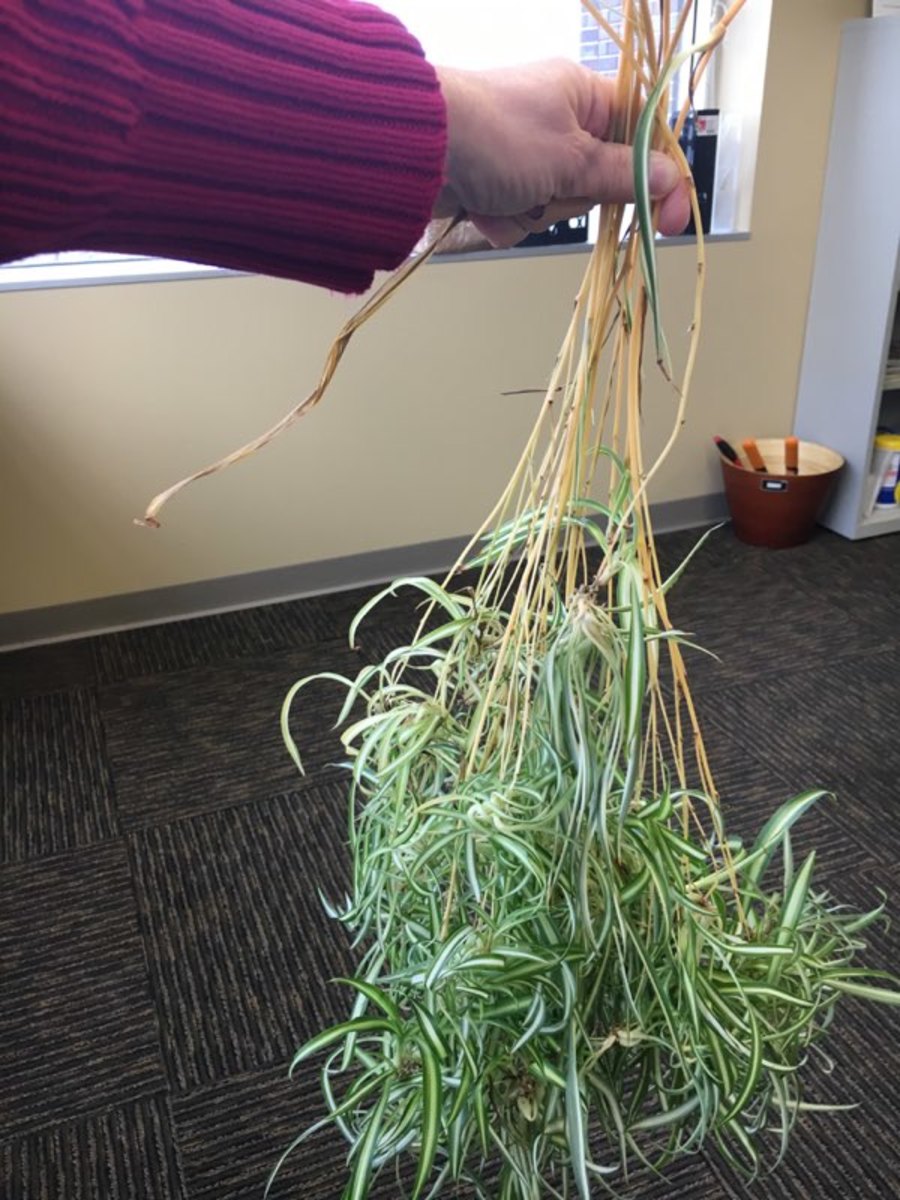
Spider plants are one of the most popular and versatile houseplants, known for their elegant white blooms and baby plantlets that dangle from the mother plant like a spider’s web. One of the best ways to share these plants with friends and family or to expand your own plant collection is by growing them from cuttings. Learning how to grow a spider plant from a cutting is a simple and rewarding process that can be accomplished with a few basic supplies and some knowledge of the plant’s needs.
Spider plants are ideal for propagation because they produce long stems with small white flowers and baby plantlets, which can be easily removed and rooted to create new plants. This process is not only a great way to share plants with others, but it also allows you to control the size and shape of your plants, making them perfect for indoor spaces with limited room.
Another benefit of growing spider plants from cuttings is their low maintenance requirements. Spider plants are adaptable to a range of lighting conditions, from bright indirect light to partial shade, and can thrive in a variety of temperatures and humidity levels. This makes them an excellent choice for busy people or those new to plant parenthood.
By learning how to grow a spider plant from a cutting, you can enjoy the many benefits of these beautiful plants, including their air-purifying properties, elegant white blooms, and versatility in indoor spaces. In this article, we will explore the step-by-step process of propagating spider plants from cuttings, including selecting healthy stems, preparing the cutting, and providing optimal conditions for rooting and growth.
Choosing the Right Cutting: Tips for Selecting Healthy Stems
When it comes to propagating spider plants from cuttings, selecting the right stem is crucial for successful rooting and growth. A healthy stem with the right characteristics can make all the difference in the success of your propagation efforts. So, what should you look for when choosing a cutting?
First and foremost, look for stems with nodes. Nodes are the small, swollen areas on the stem where the leaves meet the stem. These nodes are where the roots will form, so it’s essential to choose a stem with at least two nodes. Avoid stems with only one node, as they may not root as well.
In addition to nodes, choose stems with healthy, vibrant leaves. Avoid stems with yellow or brown leaves, as they may be a sign of stress or disease. Also, opt for stems with a moderate length, around 4-6 inches. This length will give you enough stem to work with while minimizing the risk of the cutting becoming too leggy.
Another important factor to consider is the time of year. Spider plants typically produce more baby plantlets and flowers during the spring and summer months, making these the best times to take cuttings. Avoid taking cuttings during the fall and winter months, as the plant may be dormant and less likely to root.
By choosing a healthy stem with the right characteristics, you’ll be well on your way to successfully propagating your spider plant from a cutting. Remember to handle the cutting gently and avoid damaging the nodes or leaves, as this can reduce the chances of successful rooting.
Preparing the Cutting: A Simple 3-Step Process
Once you’ve selected a healthy stem with the right characteristics, it’s time to prepare the cutting for propagation. This process is relatively simple and requires just a few basic tools. Here’s a step-by-step guide on how to prepare your spider plant cutting:
Step 1: Remove Lower Leaves
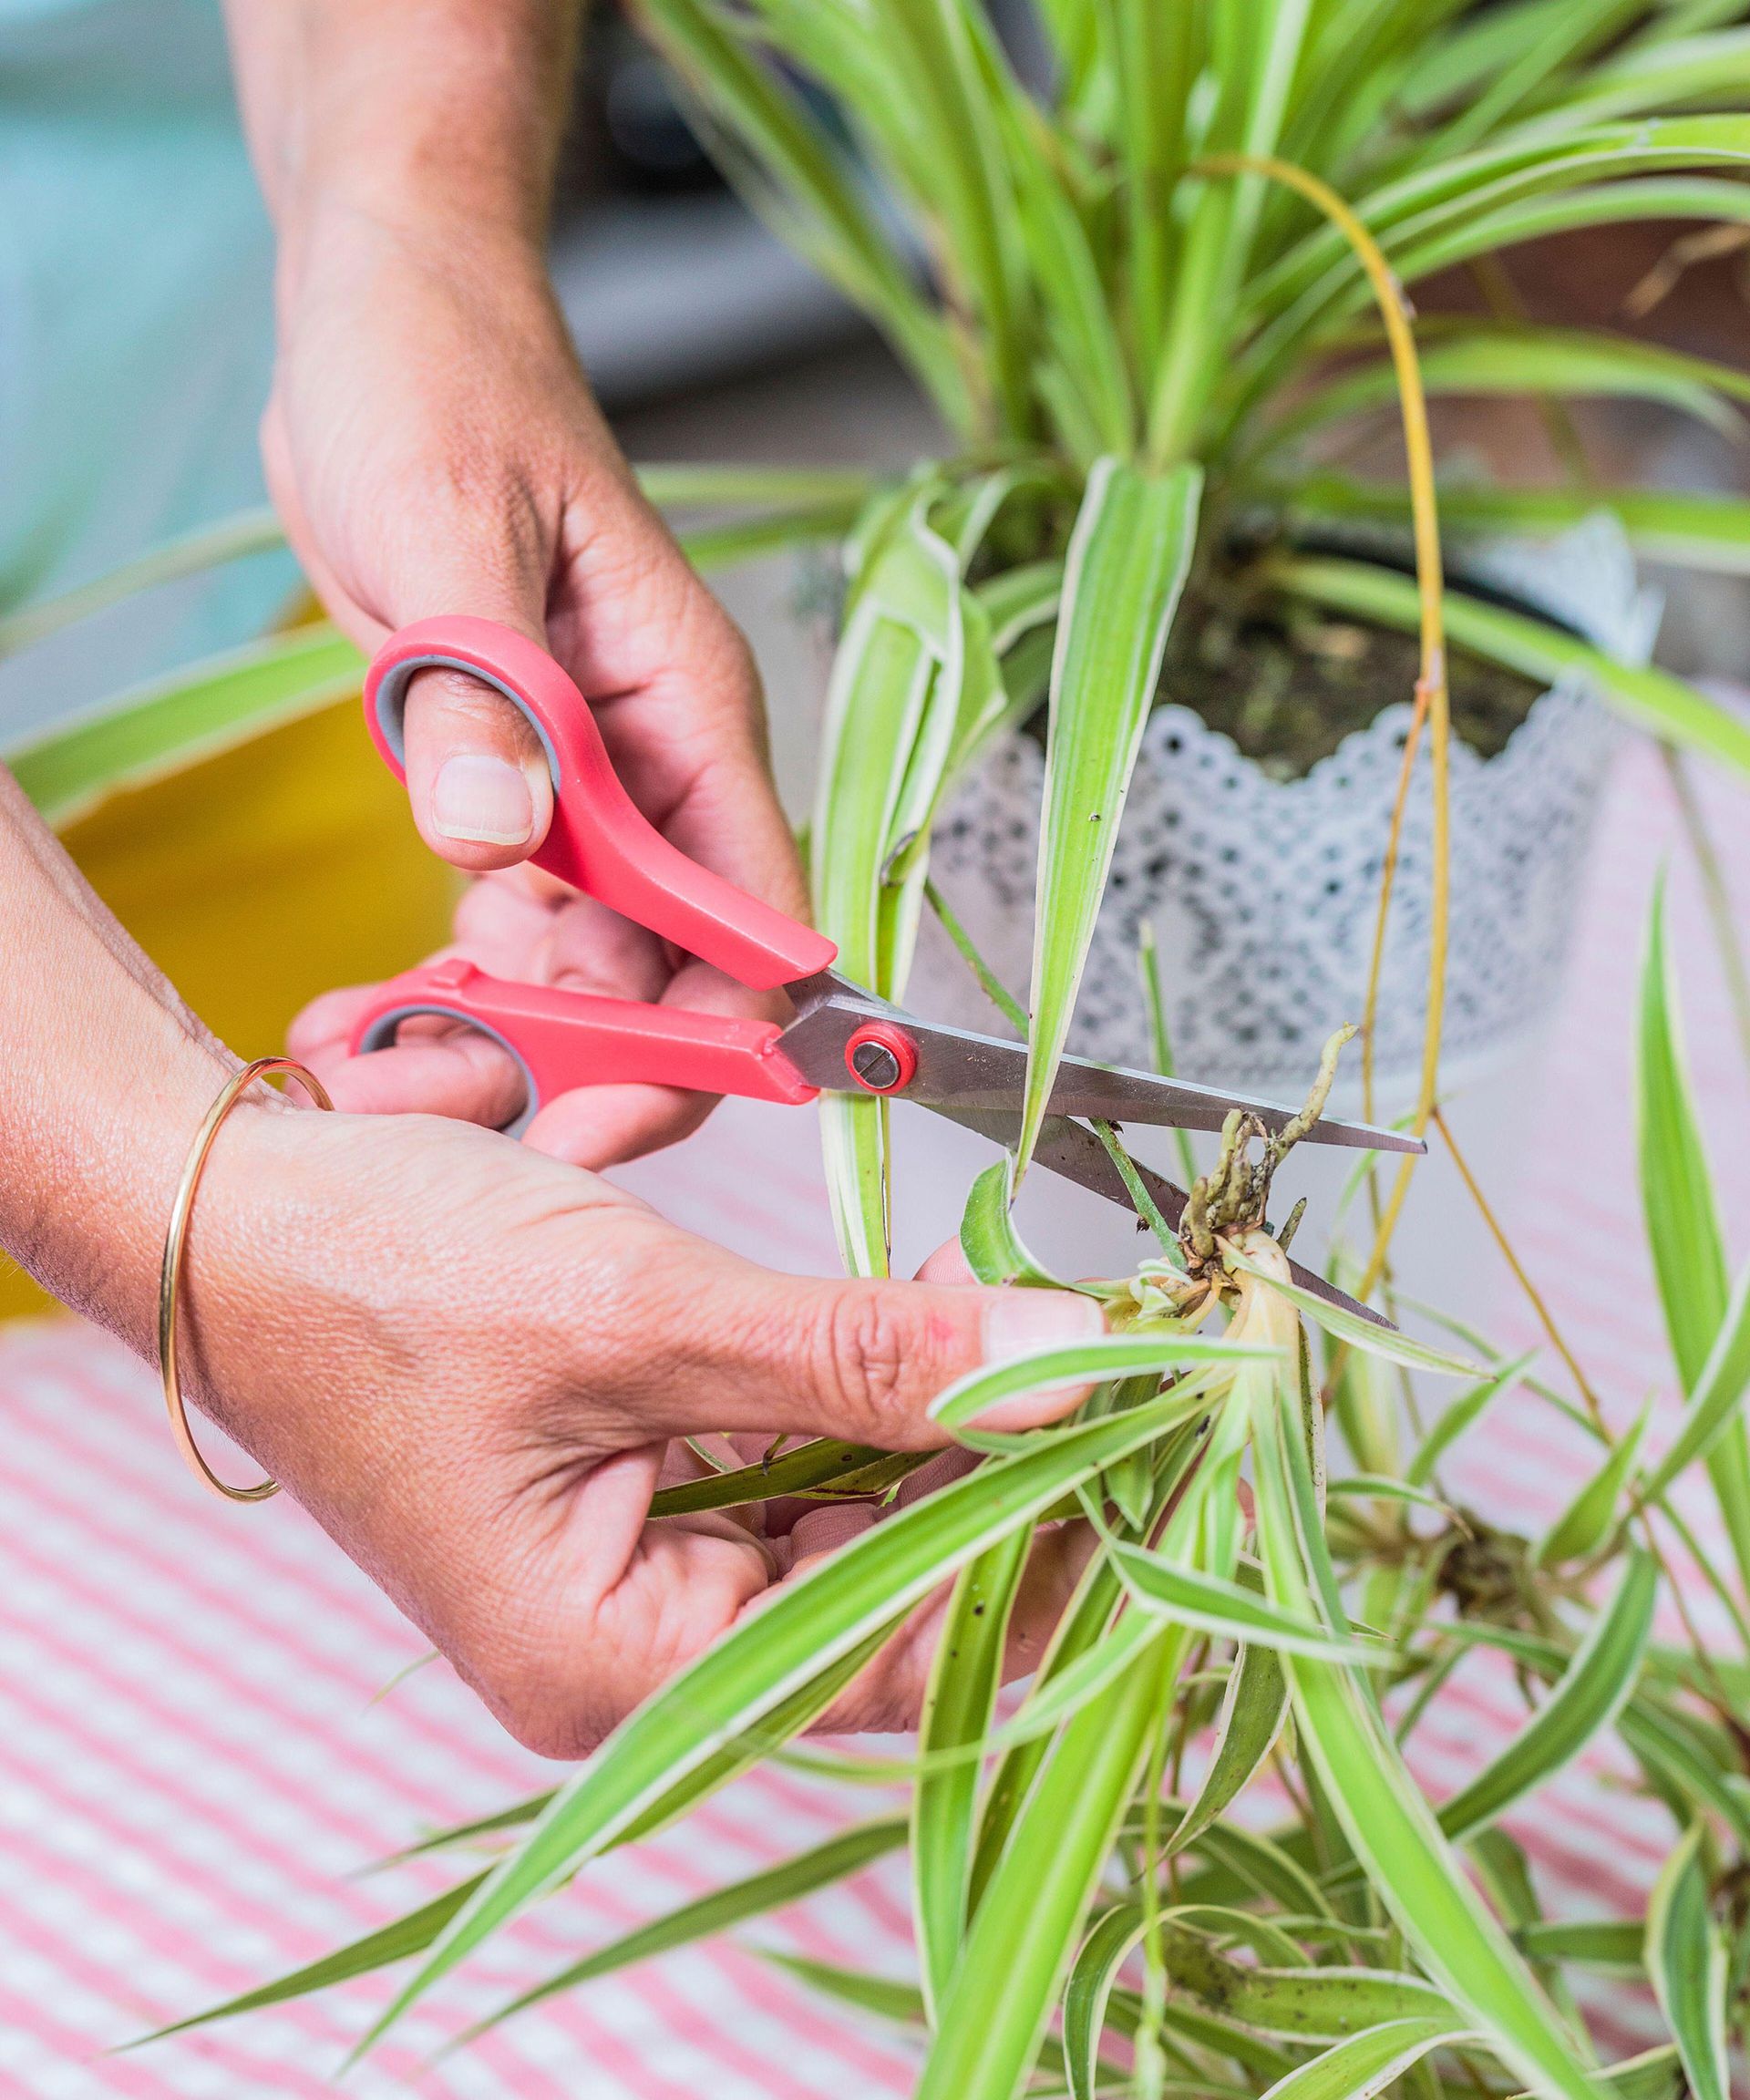
Start by gently removing the lower leaves from the cutting, leaving only the top two or three sets of leaves. This will help prevent the cutting from drying out and reduce the risk of root rot. Use a pair of clean scissors or pruning shears to carefully snip off the leaves, making sure not to damage the stem.
Step 2: Cut Just Below a Node
Next, cut the stem just below a node, using a sharp, clean knife or pruning tool. Make the cut at a 45-degree angle, and make sure the node is included in the cutting. This will help the cutting root more easily and increase the chances of successful propagation.
Step 3: Trim Excess Stem
Finally, trim any excess stem from the cutting, leaving only about 1-2 inches of stem below the node. This will help the cutting root more quickly and reduce the risk of the stem becoming too leggy.
By following these simple steps, you’ll have a well-prepared cutting that’s ready to root and grow into a new spider plant. Remember to handle the cutting gently and avoid damaging the node or leaves, as this can reduce the chances of successful propagation.
Rooting the Cutting: Methods for Success
Now that you’ve prepared your spider plant cutting, it’s time to root it. There are several methods for rooting spider plant cuttings, and the best one for you will depend on your personal preferences and the equipment you have available. Here are three common methods for rooting spider plant cuttings:
Water Rooting
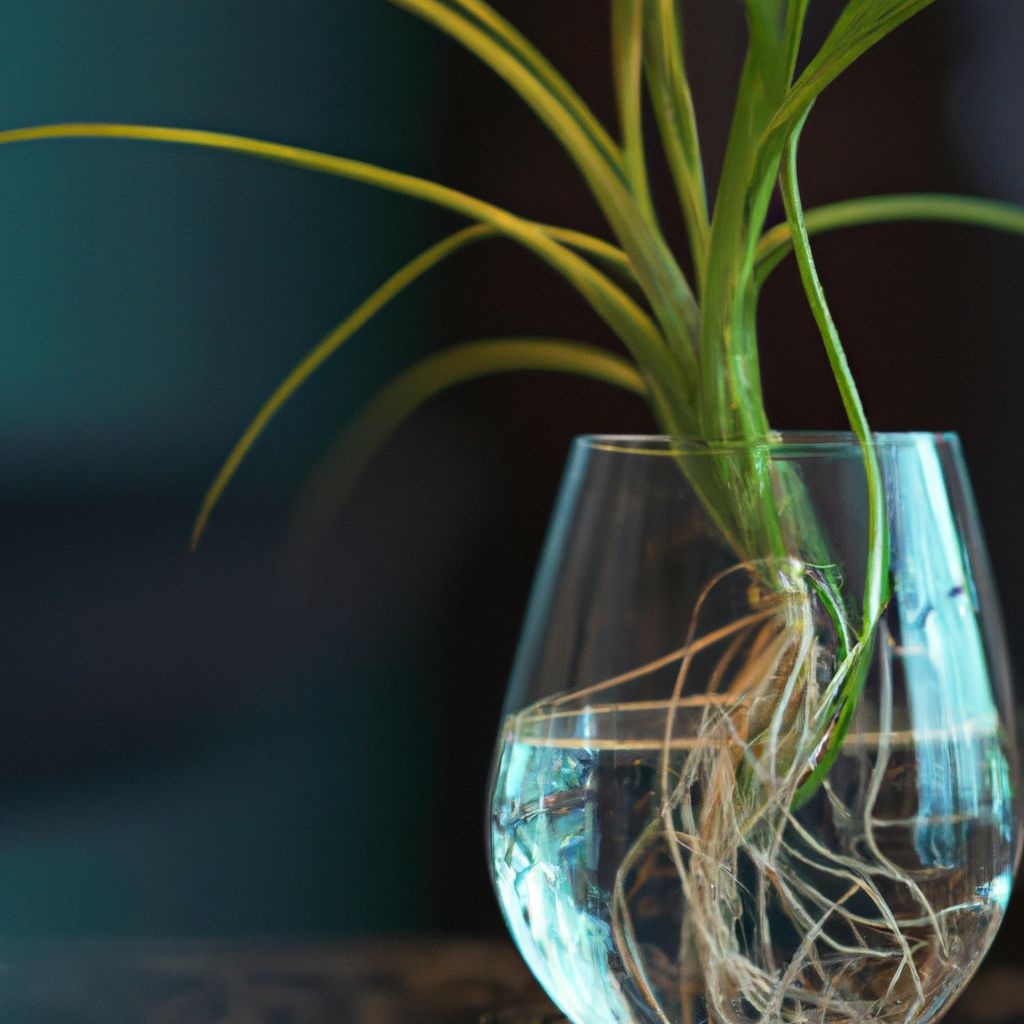
One of the most popular methods for rooting spider plant cuttings is water rooting. This involves placing the cutting in a glass of water and allowing it to root. To use this method, simply fill a glass with water and place the cutting in it, making sure that the node is fully submerged. Place the glass in a bright, indirectly lit area and change the water every few days to prevent bacterial growth.
Soil Rooting
Another method for rooting spider plant cuttings is soil rooting. This involves planting the cutting in a pot filled with a well-draining soil mix. To use this method, simply fill a small pot with a good quality potting soil and plant the cutting in it, making sure that the node is buried in the soil. Water the soil gently but thoroughly, and place the pot in a bright, indirectly lit area.
Using Rooting Hormones
Rooting hormones can also be used to help stimulate root growth in spider plant cuttings. These hormones can be applied to the cutting before planting it in soil or water, and can help to increase the chances of successful rooting. To use rooting hormones, simply dip the cutting in the hormone powder or liquid, following the instructions on the packaging.
Regardless of the method you choose, make sure to provide your spider plant cutting with the right conditions for rooting. This includes bright, indirect light, moderate watering, and high humidity. With a little patience and care, your spider plant cutting should root successfully and grow into a healthy, thriving plant.
Providing Optimal Conditions: Lighting, Watering, and Humidity
Once you’ve rooted your spider plant cutting, it’s essential to provide it with the right conditions to grow and thrive. Spider plants are relatively low-maintenance, but they do require some specific conditions to reach their full potential.
Lighting
Spider plants prefer bright, indirect light, but they can tolerate a range of lighting conditions. East- or west-facing windows are ideal, as they provide gentle, indirect light. Avoid placing your spider plant in direct sunlight, as this can cause the leaves to become scorched.
Watering
Spider plants prefer well-draining soil and should be watered moderately. Water your spider plant when the top inch of soil feels dry to the touch, and avoid getting water on the leaves to prevent fungal diseases. Overwatering is a common mistake when growing spider plants, so make sure to check the soil regularly to avoid this.
Humidity
Spider plants prefer high humidity, typically above 50%. To maintain the right humidity levels, you can place the pot on a tray filled with water and pebbles or use a humidifier nearby. This will help to create a microclimate that mimics the plant’s natural habitat.
Temperature
Spider plants prefer temperatures between 65-75°F (18-24°C), which is typical for most indoor spaces. Avoid placing your spider plant near heating or cooling vents, fireplaces, or drafty windows, as this can cause temperature fluctuations that may stress the plant.
By providing your spider plant with the right conditions, you’ll be able to enjoy its beautiful foliage and elegant white blooms for years to come. Remember to monitor your plant’s condition regularly and adjust its environment as needed to ensure optimal growth and health.
Common Mistakes to Avoid: Troubleshooting Propagation Issues
While propagating spider plants from cuttings can be a relatively straightforward process, there are some common mistakes to avoid in order to ensure success. By being aware of these potential pitfalls, you can troubleshoot any issues that may arise and increase your chances of successfully growing a new spider plant from a cutting.
Overwatering
One of the most common mistakes when propagating spider plants is overwatering. This can cause the cutting to rot, leading to a failed propagation attempt. To avoid overwatering, make sure to check the soil regularly and only water when the top inch of soil feels dry to the touch.
Underwatering
On the other hand, underwatering can also be a problem when propagating spider plants. If the soil is too dry for too long, the cutting may not be able to develop the roots it needs to grow. To avoid underwatering, make sure to water your spider plant cutting regularly, but avoid getting water on the leaves to prevent fungal diseases.
Inadequate Light
Spider plants need bright, indirect light to photosynthesize and grow. If the light is too low, the cutting may not be able to develop the roots it needs to grow. To avoid inadequate light, make sure to place your spider plant cutting in a spot with bright, indirect light, such as an east- or west-facing window.
Rooting Hormone Overuse
While rooting hormones can be helpful in stimulating root growth, overusing them can actually harm the cutting. To avoid overusing rooting hormones, make sure to follow the instructions on the packaging carefully and only use the recommended amount.
By being aware of these common mistakes and taking steps to avoid them, you can increase your chances of successfully propagating a spider plant from a cutting. Remember to monitor your plant’s condition regularly and adjust its environment as needed to ensure optimal growth and health.
Transplanting and Caring for Your New Spider Plant
Once your spider plant cutting has rooted and is growing well, it’s time to transplant it into a new pot. This will give the roots more room to grow and allow the plant to reach its full potential. Here’s a step-by-step guide on how to transplant and care for your new spider plant:
Choosing the Right Soil
When transplanting your spider plant, it’s essential to choose a well-draining potting soil that will allow the roots to breathe. A mix specifically designed for indoor plants or tropical plants is ideal. Avoid using regular garden soil, as it can compact and prevent proper drainage.
Transplanting the Cutting
Gently remove the rooted cutting from its container or water glass, taking care not to damage the roots. Place the cutting in the new pot, making sure the node (where the leaf meets the stem) is buried in the soil. Fill in the soil around the roots, gently firming it in place to prevent air pockets.
Fertilizing
Feed your new spider plant with a balanced, water-soluble fertilizer (20-20-20) once a month. Dilute the fertilizer to half the recommended strength to avoid burning the roots. You can also use a fertilizer specifically formulated for indoor plants or tropical plants.
Pruning
Prune your spider plant regularly to maintain its shape and encourage new growth. Remove any dead or dying leaves or stems, and trim back long stems to encourage branching. This will also help to prevent the plant from becoming too leggy.
By following these simple steps, you’ll be able to give your new spider plant the best possible start in life. With proper care and attention, it will thrive and provide you with beautiful foliage and elegant white blooms for years to come.
Conclusion: Enjoying the Fruits of Your Labor
Propagating spider plants from cuttings is a fun and rewarding experience that can provide you with a continuous supply of new plants. By following the steps outlined in this article, you can successfully grow a spider plant from a cutting and enjoy its beautiful foliage and elegant white blooms.
Remember, the key to successful propagation is to provide the cutting with the right conditions, including bright indirect light, moderate watering, and high humidity. With a little patience and care, you can enjoy the fruits of your labor and share your new spider plant with friends and family.
We hope this article has provided you with the information and inspiration you need to start propagating your own spider plants from cuttings. Whether you’re a seasoned gardener or a beginner, this process is a great way to expand your plant collection and enjoy the many benefits of spider plants.
Do you have any experience propagating spider plants from cuttings? Share your tips and experiences in the comments below We’d love to hear about your successes and challenges.


/spider-plant-propagation-5087087-21-27447c8ceaab47e1968516fa880ac4f4.jpg)


