Unlocking the Secrets of Garlic Bulb Planting
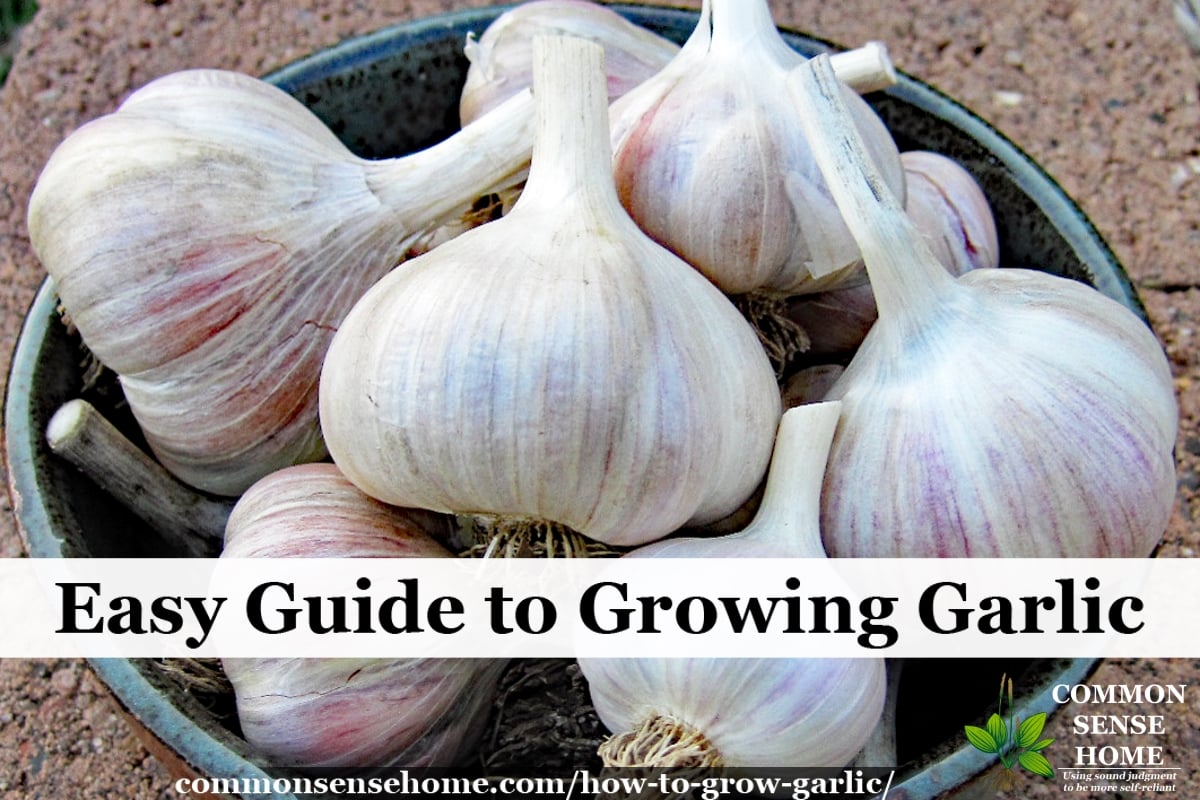
Growing garlic from bulbs is a rewarding experience that offers numerous benefits, including the ability to harvest fresh, flavorful garlic right in your own backyard. With the right techniques and a little patience, you can enjoy a bountiful crop of homegrown garlic. To get started, it’s essential to choose the right variety of garlic. There are several types to select from, including ‘Elephant’, ‘Silverskin’, and ‘Rocambole’, each with its unique characteristics and flavor profiles.
Garlic bulbs can be obtained from a local nursery or online supplier. When purchasing garlic bulbs, look for firm, plump bulbs with no signs of mold or sprouting. It’s also crucial to select bulbs that are suitable for your climate and region. In general, garlic is a cool-season crop, and the ideal time for planting is in the fall or early spring, about 6-8 weeks before the first frost.
Before planting, make sure to prepare the soil properly. Garlic prefers well-draining, fertile soil with a pH between 6.0 and 7.0. Test your soil to determine its pH level and amend it if necessary. Add organic matter such as compost or well-rotted manure to improve soil fertility and structure.
By following these simple steps and choosing the right variety of garlic, you’ll be well on your way to growing a successful crop of garlic from bulbs. With proper care and attention, you can enjoy a bountiful harvest of delicious, homegrown garlic. Whether you’re a seasoned gardener or just starting out, growing garlic from bulbs is a fun and rewarding experience that’s sure to please.
Preparing the Soil for Optimal Garlic Growth
Soil preparation is a crucial step in growing garlic from bulbs. Garlic requires a well-draining, fertile soil with a pH between 6.0 and 7.0 to thrive. To determine your soil’s pH level, you can purchase a soil testing kit or send a sample to a laboratory for analysis. If your soil is too acidic or alkaline, you can amend it by adding lime or sulfur, respectively.
In addition to pH, garlic also requires a soil rich in organic matter. Adding compost or well-rotted manure can help improve soil fertility and structure. You can also use a balanced fertilizer, such as 10-10-10 NPK, to provide essential nutrients for garlic growth. However, be cautious not to over-fertilize, as this can lead to weak and leggy growth.
To create a well-draining environment, you can add organic matter such as peat moss or perlite to the soil. This will help prevent waterlogged soil and reduce the risk of rot and other diseases. You can also consider raised bed gardening, which allows for better drainage and soil aeration.
When preparing the soil for garlic cultivation, it’s essential to remove any debris, rocks, and weeds that can compete with the garlic plants for water and nutrients. You can use a garden fork or tiller to loosen the soil to a depth of about 8-10 inches. Then, rake the soil to create a smooth, even surface.
By following these soil preparation tips, you can create an optimal growing environment for your garlic plants. Remember to plant your garlic bulbs at the right time, usually in the fall or early spring, and provide the necessary care and attention for a successful harvest.
How to Plant Garlic Bulbs for Maximum Yield
Planting garlic bulbs is a straightforward process that requires attention to detail to ensure maximum yield. Before planting, make sure to prepare the soil as described in the previous section. Then, follow these steps to plant your garlic bulbs:
1. Choose a location with full sun and well-draining soil. Garlic prefers a spot that receives at least 6 hours of direct sunlight per day.
2. Plant the garlic bulbs in the fall or early spring, about 6-8 weeks before the first frost. This allows the bulbs to establish themselves before the winter or summer months.
3. Plant the garlic bulbs at a depth of 2-3 inches, with the pointed end facing upwards. Space the bulbs 4-6 inches apart, depending on the variety.
4. Plant the garlic bulbs in rows, with the rows spaced 12-18 inches apart. This allows for good air circulation and easy access for maintenance.
5. Water the soil gently but thoroughly after planting. Keep the soil consistently moist during the first few weeks after planting.
6. Mulch the soil around the garlic bulbs to retain moisture and suppress weeds. Use a thin layer of organic mulch, such as straw or wood chips.
When handling garlic bulbs, it’s essential to be gentle to avoid damaging the delicate skin. This can lead to rot and other diseases. By following these steps and taking care to handle the bulbs gently, you can ensure a successful garlic harvest.
As the garlic plants grow, you’ll need to provide regular care and maintenance to promote healthy growth and maximize yield. This includes watering, fertilizing, and pest control, which will be discussed in the next section.
Garlic Plant Care: Watering, Fertilizing, and Pest Control
Once garlic plants are established, they require regular care and maintenance to promote healthy growth and maximize yield. Watering, fertilizing, and pest control are essential components of garlic plant care.
Watering: Garlic plants need consistent moisture, especially during the first few weeks after planting. Water the soil gently but thoroughly, providing about 1-2 inches of water per week. Avoid overwatering, which can lead to rot and other diseases.
Fertilizing: Garlic plants benefit from regular fertilization. Use a balanced fertilizer, such as 10-10-10 NPK, and follow the manufacturer’s instructions for application rates. You can also side-dress with a high-phosphorus fertilizer, such as 10-20-10 NPK, to promote bulb formation.
Pest Control: Garlic plants are susceptible to pests, such as aphids, spider mites, and thrips. Use organic pest control methods, such as neem oil or insecticidal soap, to manage infestations. You can also use physical barriers, such as fine-mesh row covers, to prevent pests from reaching the plants.
Other care requirements for garlic plants include mulching, pruning, and monitoring for diseases. Mulch around the plants to retain moisture and suppress weeds. Prune the plants to promote air circulation and prevent disease. Monitor the plants regularly for signs of disease, such as yellowing leaves or black spots, and take action promptly to prevent the spread of disease.
By following these care requirements, you can promote healthy growth and maximize yield in your garlic crop. Remember to also keep an eye out for common challenges and solutions in garlic cultivation, which will be discussed in the next section.
Understanding Garlic Growth Stages: From Sprouting to Harvest
Garlic plants go through several growth stages, from sprouting to maturity. Understanding these stages is crucial to determine when the garlic is ready for harvest. Here are the different growth stages of garlic plants:
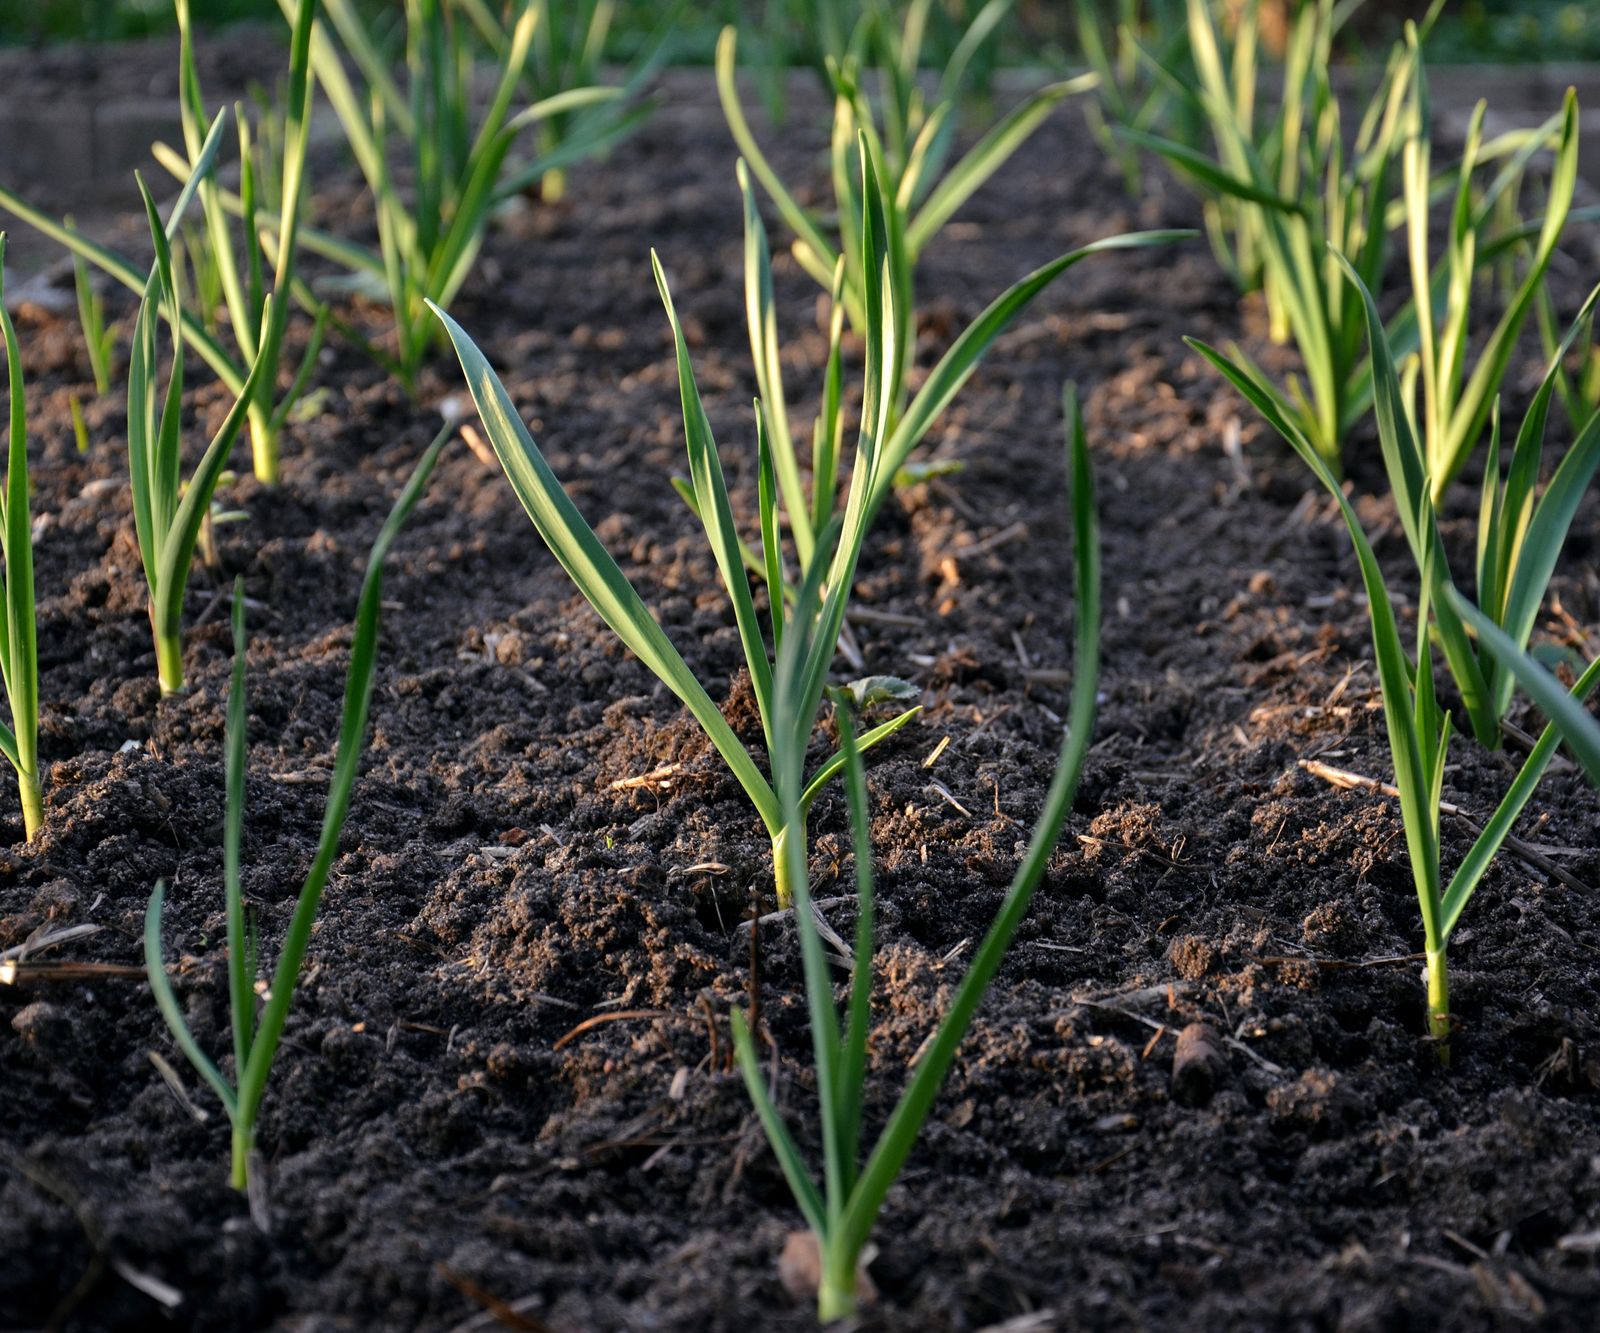
Sprouting (1-2 weeks after planting): During this stage, the garlic bulbs begin to sprout, and the green shoots emerge from the soil. Keep the soil consistently moist during this stage to promote healthy growth.
Thinning (2-4 weeks after planting): As the garlic plants grow, they may become crowded. Thin the plants to 4-6 inches apart to allow for proper air circulation and sunlight penetration.
Bulb formation (4-6 weeks after planting): During this stage, the garlic plants begin to form bulbs. The bulbs will start to swell, and the green shoots will begin to yellow and fall over.
Maturation (6-8 weeks after planting): The garlic bulbs are now fully formed and ready for harvest. The green shoots will have turned brown, and the bulbs will be firm and plump.
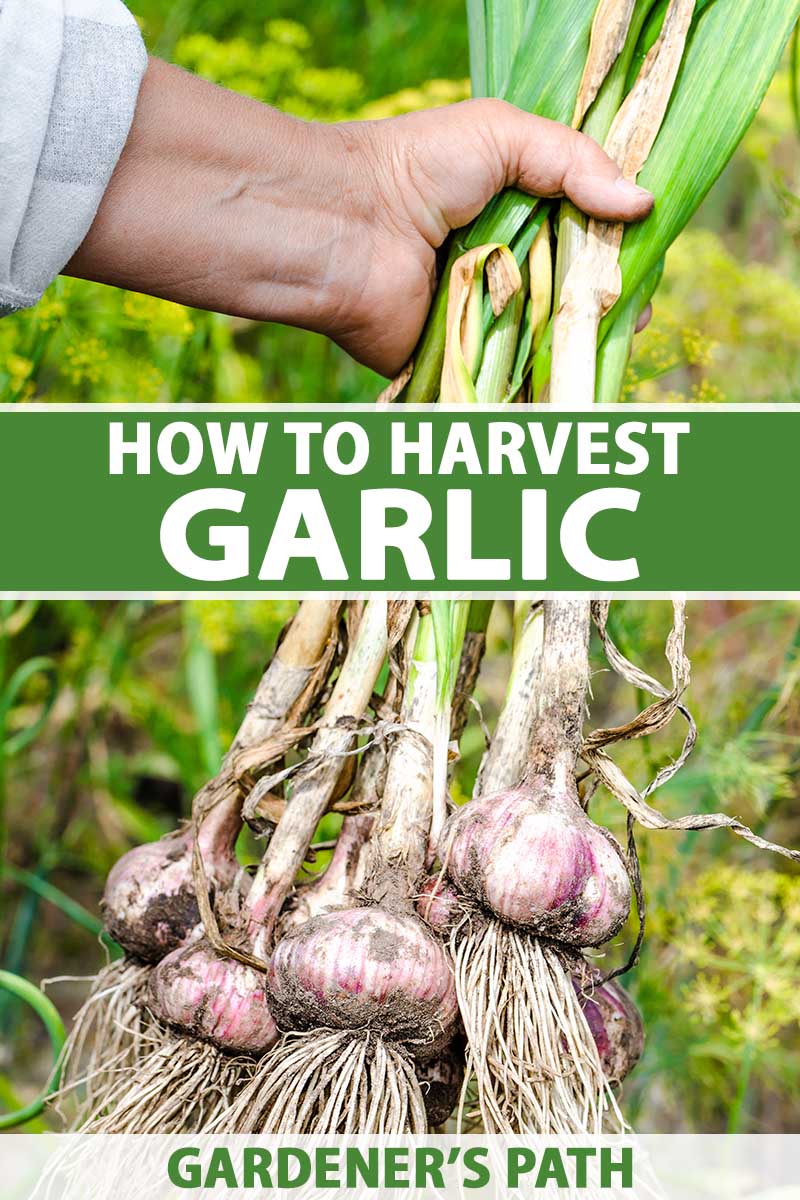
Harvest (8-10 weeks after planting): Carefully dig up the garlic bulbs, making sure not to damage them. Gently brush off any excess soil, and let the bulbs dry in a warm, dry place.
By understanding the different growth stages of garlic plants, you can determine when the garlic is ready for harvest. Remember to check the garlic regularly during the maturation stage to avoid over-maturity, which can lead to a decrease in quality.
Common Challenges and Solutions in Garlic Cultivation
Despite the many benefits of growing garlic, there are several common challenges that can arise during cultivation. Here are some of the most common issues and their solutions:
Bolting: Bolting occurs when the garlic plant produces a flower stalk, which can reduce the quality of the bulb. To prevent bolting, make sure to plant the garlic at the right time, and provide adequate moisture and nutrients.
Rot: Rot is a common problem in garlic cultivation, especially in wet or humid conditions. To prevent rot, make sure to plant the garlic in well-draining soil, and avoid overwatering.
Pests: Pests such as aphids, spider mites, and thrips can be a problem in garlic cultivation. To control pests, use organic pest control methods such as neem oil or insecticidal soap.
Diseases: Diseases such as powdery mildew and downy mildew can be a problem in garlic cultivation. To prevent diseases, make sure to plant the garlic in well-draining soil, and avoid overwatering.
By being aware of these common challenges and taking steps to prevent them, you can ensure a healthy and productive garlic crop. Remember to also keep an eye out for other potential issues, such as nutrient deficiencies or soil pH imbalances.
In addition to these common challenges, there are also several other issues that can arise during garlic cultivation. These include:
Garlic rust: Garlic rust is a fungal disease that can cause yellowing or browning of the leaves. To prevent garlic rust, make sure to plant the garlic in well-draining soil, and avoid overwatering.
Garlic scapes: Garlic scapes are the curly green shoots that emerge from the top of the garlic bulb. While they can be a nuisance, they can also be used as a flavorful addition to dishes.
By being aware of these potential issues and taking steps to prevent them, you can ensure a healthy and productive garlic crop.
Harvesting and Storing Garlic for Year-Round Enjoyment
Harvesting garlic is a crucial step in the cultivation process. Knowing when to harvest garlic is essential to ensure that the bulbs are mature and flavorful. Here are some tips on how to harvest and store garlic for year-round enjoyment:
Timing: Garlic is typically ready to harvest in mid to late summer, about 3-4 months after planting. Check the garlic regularly for signs of maturity, such as yellowing or browning of the leaves.
Tools: Use a garden fork to carefully loosen the soil around the garlic bulbs. Avoid using a shovel or other sharp tools that can damage the bulbs.
Techniques: Gently lift the garlic bulbs out of the soil, taking care not to damage the roots or the bulbs themselves. Brush off any excess soil, and let the bulbs dry in a warm, dry place.
Storage: Store the garlic bulbs in a cool, dry place with good air circulation. Avoid storing garlic in direct sunlight or in humid environments. You can also store garlic in airtight containers or bags to maintain freshness.
Long-term storage: For long-term storage, you can store garlic in a root cellar or a cool, dark place. Make sure to check on the garlic regularly to ensure that it is not developing any mold or rot.
Freezing: You can also freeze garlic to preserve it for later use. Simply chop the garlic into small pieces, place it in an airtight container or bag, and store it in the freezer.
Dehydrating: Dehydrating garlic is another way to preserve it for later use. Simply slice the garlic thinly, place it in a dehydrator or oven, and dry it until it is crispy.
By following these tips on harvesting and storing garlic, you can enjoy your homegrown garlic year-round. Whether you choose to store it in a cool, dry place or freeze it for later use, you can be sure that your garlic will remain fresh and flavorful for months to come.
Tips for Growing Garlic in Containers or Small Spaces
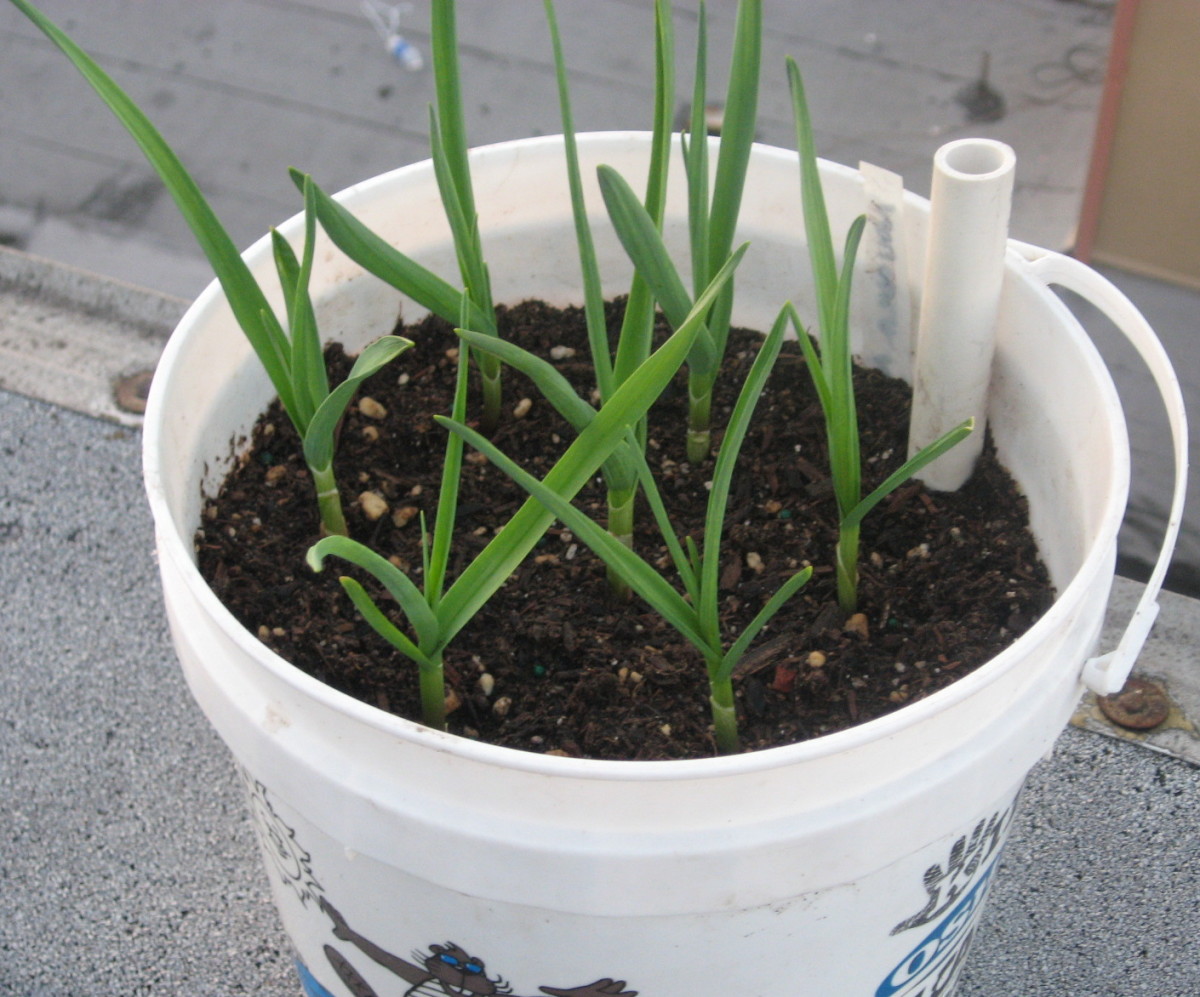
Growing garlic in containers or small spaces is a great way to enjoy the benefits of homegrown garlic, even with limited space. Here are some tips for growing garlic in containers or small spaces:
Choose compact varieties: Look for garlic varieties that are specifically bred for container growing or small spaces. These varieties tend to be more compact and produce smaller bulbs.
Use shallow containers: Garlic doesn’t need a lot of depth to grow, so use shallow containers that are at least 6-8 inches deep. Make sure the containers have good drainage holes to prevent waterlogged soil.
Provide good air circulation: Garlic needs good air circulation to prevent disease and promote healthy growth. Make sure to provide enough space between containers or plants to allow for good air circulation.
Use a well-draining potting mix: Garlic prefers well-draining soil, so use a potting mix that is specifically designed for containers. Avoid using regular garden soil, as it can be too dense and may cause waterlogging.
Water carefully: Garlic needs consistent moisture, but make sure not to overwater. Check the soil regularly and water only when the top inch of soil feels dry to the touch.
Consider using a self-watering container: Self-watering containers can be a great option for growing garlic in small spaces. These containers have a built-in water reservoir that allows the plants to draw water as needed.
Make the most of vertical space: If you have limited space, consider using a trellis or other support to grow garlic vertically. This can help make the most of your space and add visual interest to your garden.
By following these tips, you can successfully grow garlic in containers or small spaces. Whether you’re a seasoned gardener or just starting out, growing garlic can be a fun and rewarding experience.


