Unlocking the Secrets of Garlic Propagation
Growing garlic from garlic is a simple and rewarding process that can provide you with a steady supply of fresh, flavorful garlic right in your own backyard. By learning how to grow garlic from garlic, you can enjoy the many benefits of homegrown garlic, including improved flavor, freshness, and cost-effectiveness. Whether you’re a seasoned gardener or just starting out, growing garlic from garlic is a great way to add some excitement to your garden and your cooking. In this article, we’ll take a closer look at the process of growing garlic from garlic, from selecting the right variety to harvesting and curing your crop.
Choosing the Right Garlic Variety for Your Climate
When it comes to growing garlic from garlic, selecting the right variety is crucial for success. With over 300 varieties of garlic to choose from, it’s essential to select a variety that is well-suited to your region’s climate and growing conditions. Factors such as temperature, moisture, and sunlight all play a significant role in determining which variety of garlic will thrive in your garden. For example, some varieties of garlic, such as ‘Elephant’ or ‘Russian Giant’, are better suited to cooler climates with shorter growing seasons, while others, like ‘Silverskin’ or ‘Creole’, perform well in warmer climates with longer growing seasons. By choosing a variety that is tailored to your specific climate and growing conditions, you can ensure a healthy and productive garlic crop.
Preparing Garlic Cloves for Planting
Before planting, it’s essential to prepare the garlic cloves for optimal growth. This involves selecting healthy cloves, breaking apart garlic bulbs, and preparing the soil. When selecting garlic cloves, look for those that are firm, plump, and free of mold or mildew. Avoid cloves that are soft, shriveled, or show signs of sprouting, as these may not grow well. To break apart garlic bulbs, gently twist and pull the cloves apart, making sure each clove has a small piece of the basal plate attached. This will help the clove develop a strong root system. Finally, prepare the soil by loosening it to a depth of 8-10 inches and mixing in a 2-inch layer of compost or well-rotted manure. This will provide the necessary nutrients for the garlic to grow. By following these steps, you’ll be well on your way to growing delicious, flavorful garlic from garlic.
How to Plant Garlic Cloves for Optimal Growth
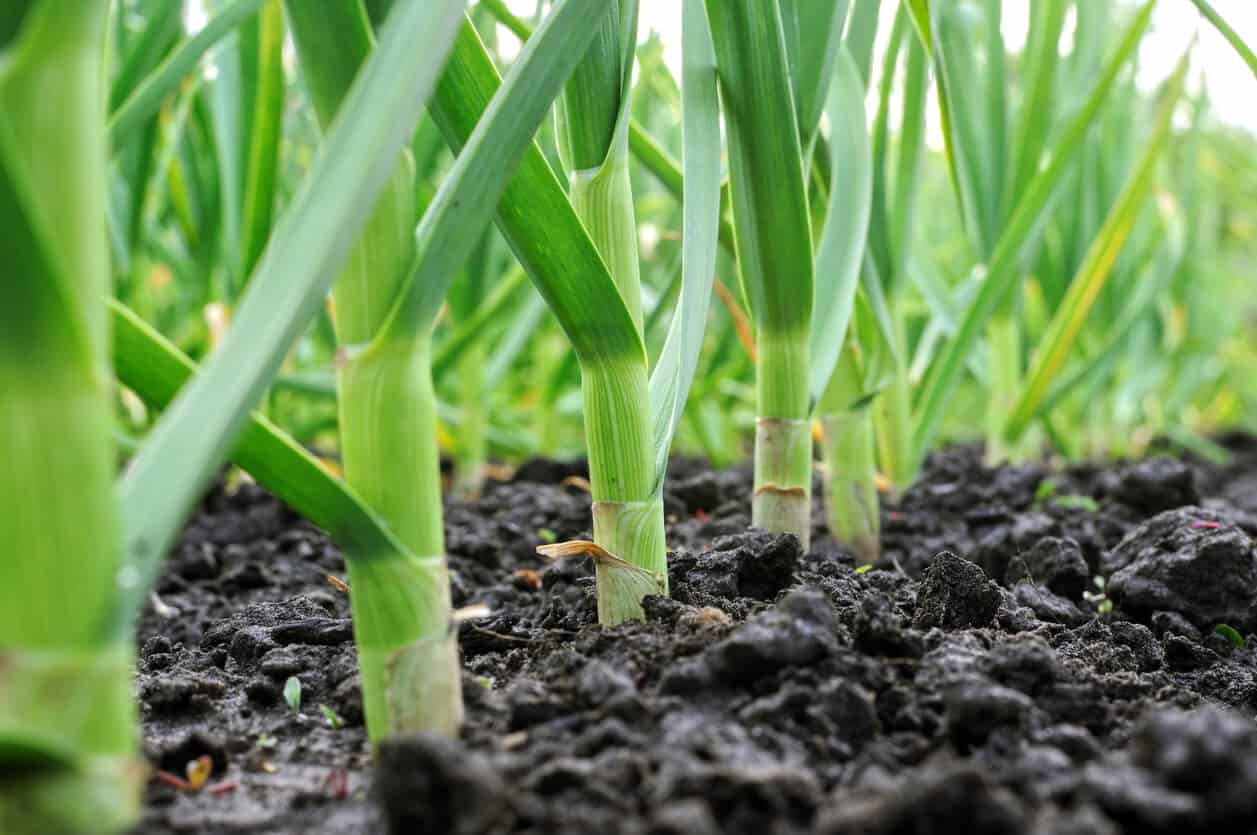
Once the garlic cloves are prepared, it’s time to plant them. To ensure optimal growth, follow these step-by-step instructions. First, choose a location that receives full sun and has well-draining soil. Plant the garlic cloves 4-6 inches apart, and 2-3 inches deep, with the pointed end facing upwards. The cloves should be planted in a north-south direction to ensure the garlic grows upright. When planting, gently firm the soil around the clove to prevent air pockets from forming. Water the soil well to settle the soil and provide enough moisture to support germination. Finally, apply a 2-inch layer of organic mulch, such as straw or wood chips, to retain moisture and suppress weeds. By following these steps, you’ll be well on your way to growing delicious, flavorful garlic from garlic. Remember, how to grow garlic from garlic requires attention to detail, but with the right techniques, you can enjoy a bountiful harvest.
Caring for Your Garlic Crop: Watering, Fertilizing, and Pest Control
Once the garlic cloves are planted, it’s essential to provide proper care to ensure healthy growth and minimize disease. Watering is crucial, especially during the first few weeks after planting. Aim to provide about 1 inch of water per week, either through rainfall or irrigation. However, be cautious not to overwater, as this can lead to rot and other diseases. Fertilizing is also important, and a balanced fertilizer with a ratio of 10-10-10 (nitrogen-phosphorus-potassium) can be applied at planting time. Additionally, consider side-dressing with a high-phosphorus fertilizer to promote bulb formation. Pest control is another critical aspect of garlic care. Keep an eye out for pests like aphids, mites, and nematodes, and use organic or integrated pest management strategies to control infestations. Regularly inspect the plants for signs of disease, such as yellowing or droopy leaves, and take action promptly to prevent the spread of disease. By following these care tips, you’ll be well on your way to growing healthy, flavorful garlic from garlic. Remember, how to grow garlic from garlic requires attention to detail, and with proper care, you can enjoy a bountiful harvest.
Identifying and Addressing Common Garlic Growing Issues
Despite proper care, garlic crops can still be susceptible to various problems. One common issue is rot, which can be caused by overwatering, poor drainage, or fungal infections. To prevent rot, ensure good air circulation, remove any infected plants, and treat the soil with a fungicide if necessary. Another problem is mold, which can occur when the soil is too moist or the garlic is not properly cured. To prevent mold, make sure the garlic is cured in a well-ventilated area, and store it in a cool, dry place. Pests, such as aphids, mites, and nematodes, can also be a problem. Use organic or integrated pest management strategies to control infestations, and consider using row covers to prevent pests from reaching the plants. By being aware of these common issues and taking preventative measures, you can minimize the risk of disease and ensure a healthy, flavorful harvest of garlic from garlic. Remember, how to grow garlic from garlic requires attention to detail, and with proper care and problem-solving, you can enjoy a bountiful harvest.
Harvesting and Curing Garlic for Maximum Flavor
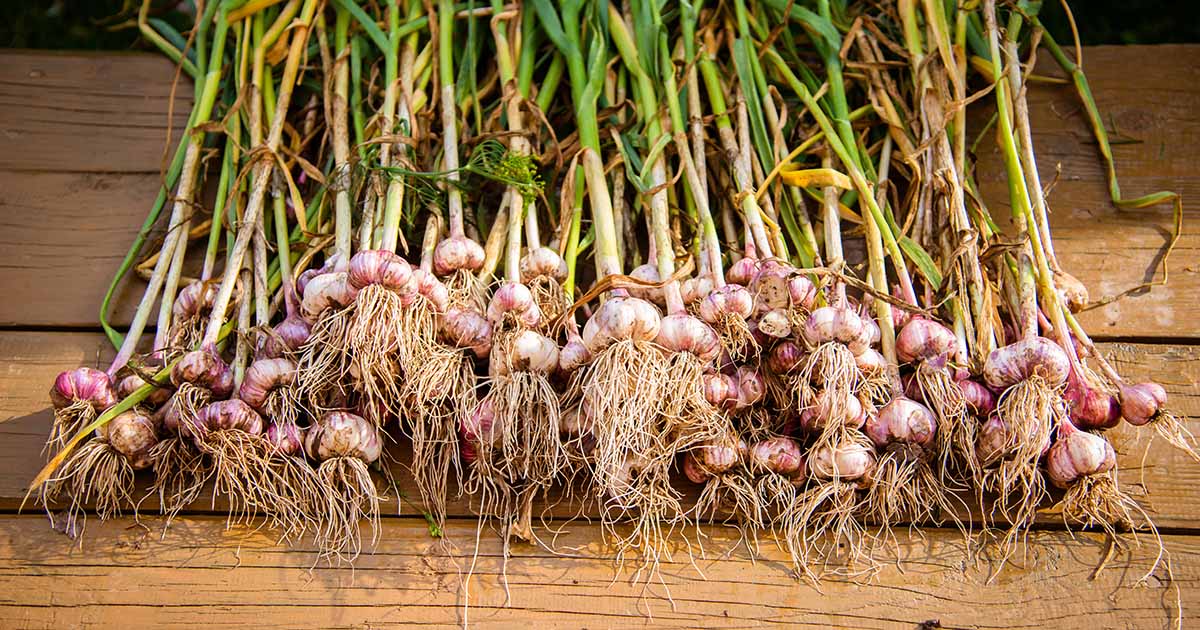
When the garlic tops begin to yellow and fall over, it’s time to harvest. Carefully dig up the bulbs, making sure not to damage them. Gently brush off any dirt, and then dry the garlic in a warm, dry, well-ventilated area. This curing process helps to develop the flavor and texture of the garlic. It’s essential to cure garlic properly to prevent mold and rot. To cure garlic, tie the bulbs in small bunches and hang them upside down in a dry, dark place. Allow the garlic to cure for 2-4 weeks, or until the necks are dry and the skin is papery. Once cured, garlic can be stored in a cool, dry place for up to 6 months. For long-term storage, consider freezing or dehydrating the garlic. By following these harvesting and curing techniques, you’ll be able to enjoy the full flavor and aroma of your homegrown garlic. Remember, how to grow garlic from garlic requires attention to detail, and with proper harvesting and curing, you can savor the fruits of your labor.
Tips and Variations for Growing Garlic Like a Pro
For those looking to take their garlic growing skills to the next level, consider trying some advanced techniques and variations. One option is to grow garlic in containers, which allows for greater control over soil quality and moisture levels. Indoor garlic growing is also possible, using a pot or tray with a good quality potting mix and providing sufficient light. If you live in a region with a short growing season, consider growing garlic in the fall or early spring, when the weather is cooler. Additionally, experiment with different garlic varieties, such as Elephant or Silverskin, which offer unique flavors and textures. When it comes to using garlic in cooking, try roasting or grilling garlic to bring out its natural sweetness, or make garlic powder or garlic oil for added convenience. By exploring these tips and variations, you’ll be able to master the art of how to grow garlic from garlic and enjoy a bountiful harvest of flavorful, aromatic garlic. With a little creativity and experimentation, the possibilities are endless!


:max_bytes(150000):strip_icc()/GettyImages-1046040508-2000-f21cb9eb99df4a87b626ff3566854ac0.jpg)


