Unlocking the Potential of Hawthorn Seeds
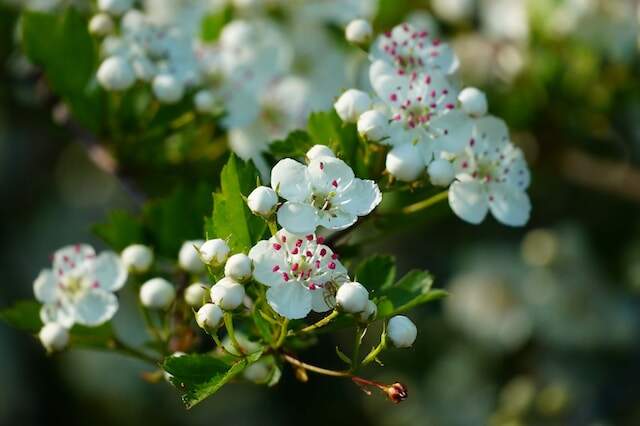
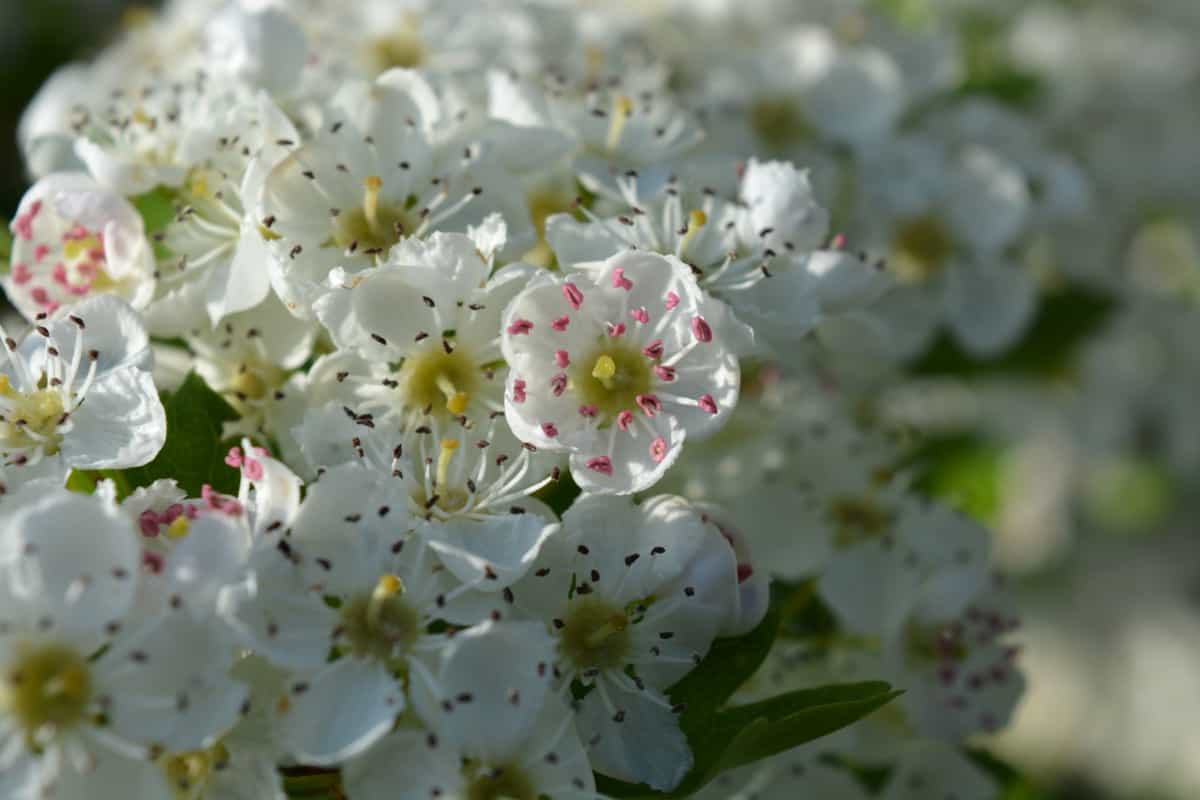
Hawthorn, a thorny yet beautiful plant, has been a staple in traditional medicine and culinary practices for centuries. Its edible fruits, rich in antioxidants and vitamins, make it a sought-after ingredient for jams, jellies, and teas. Growing hawthorn from seed can be a rewarding experience, but it requires careful planning and attention to detail. To successfully cultivate this plant, it’s essential to understand the importance of proper seed selection and preparation.

Click Image to Find Garden Products
When selecting hawthorn seeds, look for those that are fresh, plump, and free of damage. Seeds that are old or have been stored improperly may have lower germination rates, making it more challenging to grow a healthy plant. Proper seed preparation involves stratification, a process that simulates the natural winter chill that hawthorn seeds would experience in the wild. This can be achieved by placing the seeds in a moist paper towel, storing them in a plastic bag, and refrigerating them for 30 to 60 days.
By taking the time to select and prepare high-quality seeds, you’ll be well on your way to growing a thriving hawthorn plant. With the right conditions and care, your plant will flourish, providing you with an abundance of delicious fruits and a beautiful addition to your garden or landscape. Whether you’re a seasoned gardener or just starting out, growing hawthorn from seed can be a fun and rewarding experience. By following the steps outlined in this guide, you’ll be able to unlock the full potential of your hawthorn seeds and enjoy the many benefits this plant has to offer.
Preparing the Perfect Environment for Germination
Creating a suitable environment for hawthorn seed germination is crucial for successful growth. Hawthorn seeds require a period of cold stratification to break dormancy, which can be achieved by simulating the natural winter chill. To do this, place the seeds in a moist paper towel, store them in a plastic bag, and refrigerate them for 30 to 60 days.
Once the seeds have completed their cold stratification period, they can be sown in a seed starting mix. The ideal temperature for germination is between 65°F to 75°F (18°C to 24°C). Make sure the soil is consistently moist but not waterlogged, as this can lead to rot and poor germination.
Lighting is also an essential factor in hawthorn seed germination. Provide indirect light, such as east- or west-facing windows, or use grow lights with a 12- to 14-hour photoperiod. Avoid direct sunlight, which can cause the soil to dry out and inhibit germination.
Humidity is another critical factor in hawthorn seed germination. Maintain a relative humidity of 50% to 60% by covering the seed tray with a clear plastic bag or a cloche. This will help to maintain a consistent moisture level and promote healthy germination.
By providing the right conditions for germination, you’ll be well on your way to growing a healthy hawthorn plant from seed. Remember to monitor the seeds closely and adjust the environment as needed to ensure optimal growth.

Sowing Hawthorn Seeds: A Step-by-Step Process
Sowing hawthorn seeds requires attention to detail and a gentle touch. The best time to sow hawthorn seeds is in the fall or early spring, when the weather is cooler and there is ample moisture in the soil. Before sowing, make sure the seeds have completed their cold stratification period and are ready to germinate.
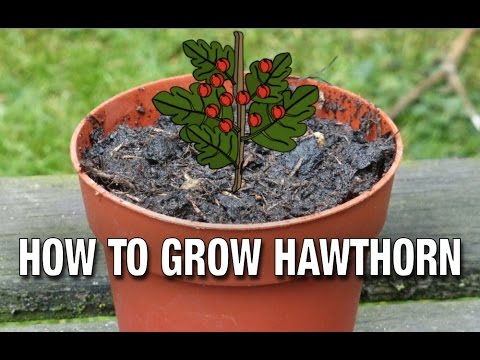
To sow hawthorn seeds, start by filling a seed tray or small pots with a good quality seed starting mix. Moisten the mix with water, but make sure it’s not too wet or dry. Sow the seeds about 1/4 inch deep and 1-2 inches apart. Cover the seeds with a thin layer of the seed starting mix and gently firm the soil.
Water the seeds gently but thoroughly, making sure the soil is consistently moist but not waterlogged. Provide indirect light, such as east- or west-facing windows, or use grow lights with a 12- to 14-hour photoperiod. Keep the soil at a consistent temperature of around 65°F to 75°F (18°C to 24°C) to promote germination.
It’s essential to handle the seeds gently and avoid common mistakes, such as sowing them too deeply or compacting the soil too much. This can lead to poor germination or weak seedlings. By following these steps and providing the right conditions, you should be able to successfully sow hawthorn seeds and start growing a healthy plant.
After sowing, keep the soil consistently moist and provide the right conditions for germination. It can take anywhere from 1-3 months for hawthorn seeds to germinate, so be patient and monitor the seeds closely. Once the seeds have germinated, you can start to provide more light and nutrients to promote healthy growth.

Nurturing Young Hawthorn Seedlings
Once hawthorn seeds have germinated, it’s essential to provide the right care to promote healthy growth and development. Young hawthorn seedlings require consistent moisture, especially during the first few weeks after germination. Water the seedlings gently but thoroughly, making sure the soil is consistently moist but not waterlogged.
Fertilization is also crucial for young hawthorn seedlings. Use a balanced, water-soluble fertilizer at half the recommended strength to promote healthy growth. Avoid over-fertilizing, as this can lead to weak and leggy growth.
Pruning is another essential aspect of caring for young hawthorn seedlings. Prune the seedlings to maintain a central leader and encourage a strong, upright growth habit. Remove any weak or spindly growth, and trim back the tips of the branches to encourage branching.
Keep an eye out for common pests and diseases that can affect young hawthorn seedlings, such as aphids, spider mites, and powdery mildew. Use organic or integrated pest management (IPM) methods to control any infestations or infections.
As the seedlings grow, provide support using stakes or trellises to keep them upright and promote healthy growth. Keep the soil consistently moist and fertilize regularly to promote healthy growth and development.
By providing the right care and attention, young hawthorn seedlings will thrive and develop into strong, healthy plants. With proper care and maintenance, hawthorn plants can live for many years and provide a bounty of delicious fruits and beautiful flowers.
Transplanting Hawthorn Seedlings: Timing and Techniques
Transplanting hawthorn seedlings is a critical step in their growth and development. The best time to transplant hawthorn seedlings is in the spring or fall, when the weather is cooler and there is ample moisture in the soil. Avoid transplanting in the middle of the summer, as this can cause stress to the seedlings and lead to poor growth.
Before transplanting, make sure the seedlings have at least two sets of leaves and are around 6-8 inches tall. This will ensure that they have a strong root system and can withstand the transplanting process.
To transplant hawthorn seedlings, start by preparing the soil in the new location. Dig a hole that is twice as wide and just as deep as the pot the seedling is currently in. Add a layer of organic matter, such as compost or well-rotted manure, to the soil to improve its fertility and drainage.
Gently remove the seedling from its pot and place it in the hole. Make sure the soil level is the same as it was in the pot, and that the seedling is not planted too deeply. Fill in the hole with soil, gently firming it around the roots to prevent air pockets.
Water the seedling thoroughly after transplanting, and keep the soil consistently moist during the first few weeks after transplanting. This will help the seedling to establish itself in its new location and reduce the risk of transplant shock.
Hardening off is an essential step in the transplanting process. This involves gradually exposing the seedling to outdoor conditions over the course of 7-10 days. Start by moving the seedling to a shaded area outdoors, and then gradually increase its exposure to direct sunlight and wind.
By following these steps and techniques, you can successfully transplant hawthorn seedlings and give them the best chance of thriving in their new location.
Supporting Hawthorn Growth: Pruning and Training
Pruning and training are essential techniques for supporting the growth and development of hawthorn plants. Pruning helps to maintain the plant’s shape, promote healthy growth, and encourage fruiting. Training, on the other hand, involves guiding the plant’s growth to achieve a desired shape or form.
When pruning hawthorn plants, it’s essential to make clean cuts just above a bud or a lateral branch. This will help the plant to heal quickly and reduce the risk of disease or pest infestations. Remove any dead, diseased, or damaged branches, as these can harm the plant’s overall health and appearance.
For optimal growth and fruiting, hawthorn plants should be pruned annually. Prune the plant in late winter or early spring, before new growth begins. Remove any weak or spindly growth, and thin out the branches to allow more sunlight to reach the fruiting branches.
Training hawthorn plants involves guiding their growth to achieve a desired shape or form. This can be done using a trellis, stake, or other support system. Train the plant to grow upright, or use a espalier system to train the plant to grow along a wall or fence.
By pruning and training hawthorn plants, you can promote healthy growth, encourage fruiting, and achieve a desired shape or form. This will help to create a beautiful and productive plant that will thrive for years to come.
When growing hawthorn from seed, it’s essential to prune and train the plant regularly to promote healthy growth and development. By following these tips and techniques, you can create a stunning and productive hawthorn plant that will provide you with delicious fruits and beautiful flowers for years to come.
Common Challenges and Solutions for Growing Hawthorn from Seed
When growing hawthorn from seed, there are several common challenges and issues that may arise. Poor germination, pests, and diseases are just a few of the potential problems that can affect the health and productivity of your hawthorn plant.
Poor germination is one of the most common challenges when growing hawthorn from seed. This can be caused by a variety of factors, including old or low-quality seeds, inadequate moisture, and insufficient light. To overcome this challenge, make sure to use fresh and high-quality seeds, provide adequate moisture and light, and maintain a consistent temperature.
Pests and diseases are another common challenge when growing hawthorn from seed. Aphids, spider mites, and powdery mildew are just a few of the potential pests and diseases that can affect hawthorn plants. To prevent these problems, use organic or integrated pest management (IPM) methods, such as introducing beneficial insects or using neem oil.
Other common challenges when growing hawthorn from seed include transplant shock, nutrient deficiencies, and inadequate pruning. To overcome these challenges, make sure to harden off your seedlings before transplanting, provide adequate nutrients, and prune your plant regularly to promote healthy growth and fruiting.
By being aware of these common challenges and taking steps to prevent them, you can increase your chances of success when growing hawthorn from seed. With proper care and attention, your hawthorn plant will thrive and provide you with delicious fruits and beautiful flowers for years to come.
Some additional tips for overcoming common challenges when growing hawthorn from seed include:
- Monitor your plant regularly for signs of pests or diseases
- Use organic or IPM methods to control pests and diseases
- Provide adequate moisture and nutrients
- Prune your plant regularly to promote healthy growth and fruiting
- Hardening off your seedlings before transplanting
Enjoying the Fruits of Your Labor: Harvesting and Using Hawthorn
After months of care and attention, your hawthorn plant is finally ready to produce delicious fruits. Hawthorn berries are a nutritious and versatile ingredient that can be used in a variety of dishes, from jams and jellies to teas and tinctures.
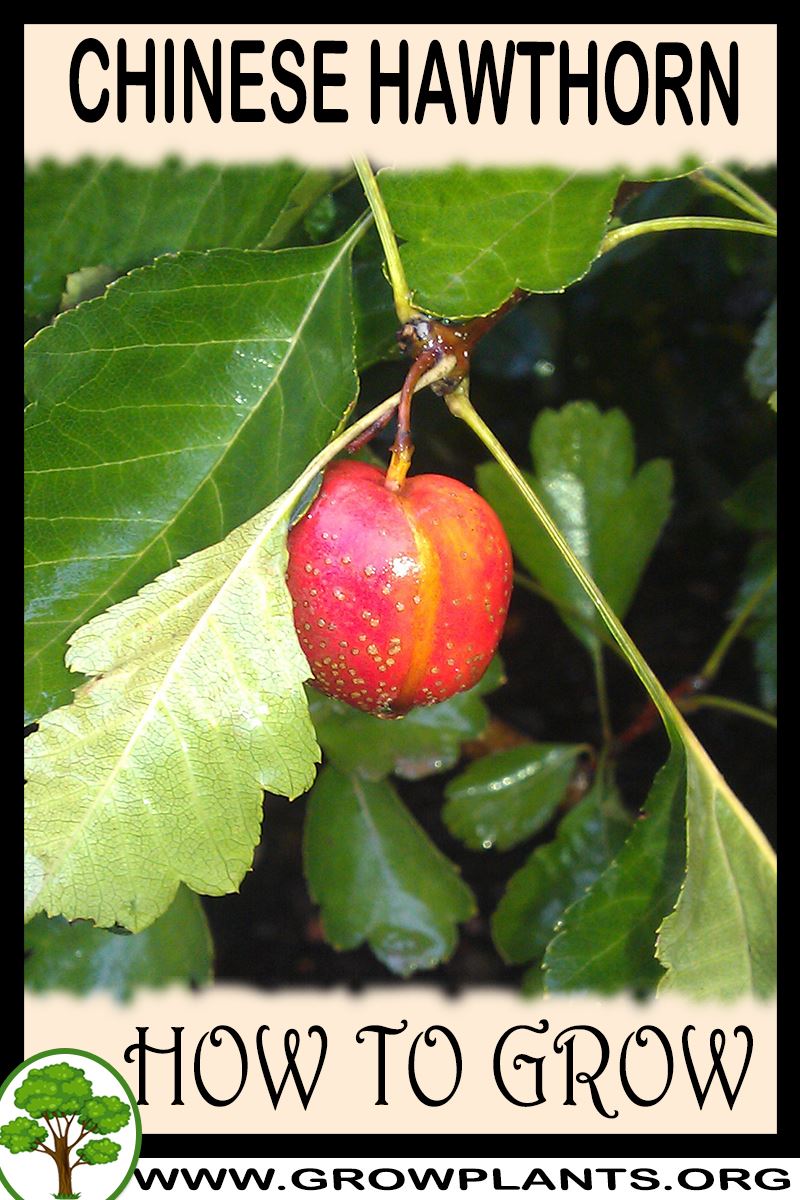
To harvest hawthorn berries, wait until they are fully ripe and have turned a deep red or purple color. Use scissors or a sharp knife to cut the berries from the plant, leaving a small piece of stem attached to the fruit. Handle the berries gently to avoid bruising or damaging them.
Hawthorn berries can be used in a variety of ways, including:
- Making jams and jellies: Hawthorn berries are a popular ingredient in homemade jams and jellies. They can be combined with other fruits, such as apples or pears, to create a delicious and nutritious spread.
- Brewing tea: Hawthorn berries can be used to make a delicious and healthy tea. Simply steep the berries in hot water, then strain and enjoy.
- Making tinctures: Hawthorn berries can be used to make a tincture, which can be used to support heart health and reduce inflammation.
- Adding to salads: Hawthorn berries can be used as a nutritious and delicious addition to salads. They can be combined with other ingredients, such as nuts and seeds, to create a healthy and tasty snack.
In addition to their culinary uses, hawthorn berries also have a number of potential health benefits. They are rich in antioxidants and flavonoids, which can help to support heart health and reduce inflammation. They may also have anti-cancer properties and can help to support digestive health.
Overall, growing hawthorn from seed can be a rewarding and delicious experience. With proper care and attention, your hawthorn plant will thrive and provide you with a bounty of nutritious and versatile fruits.
