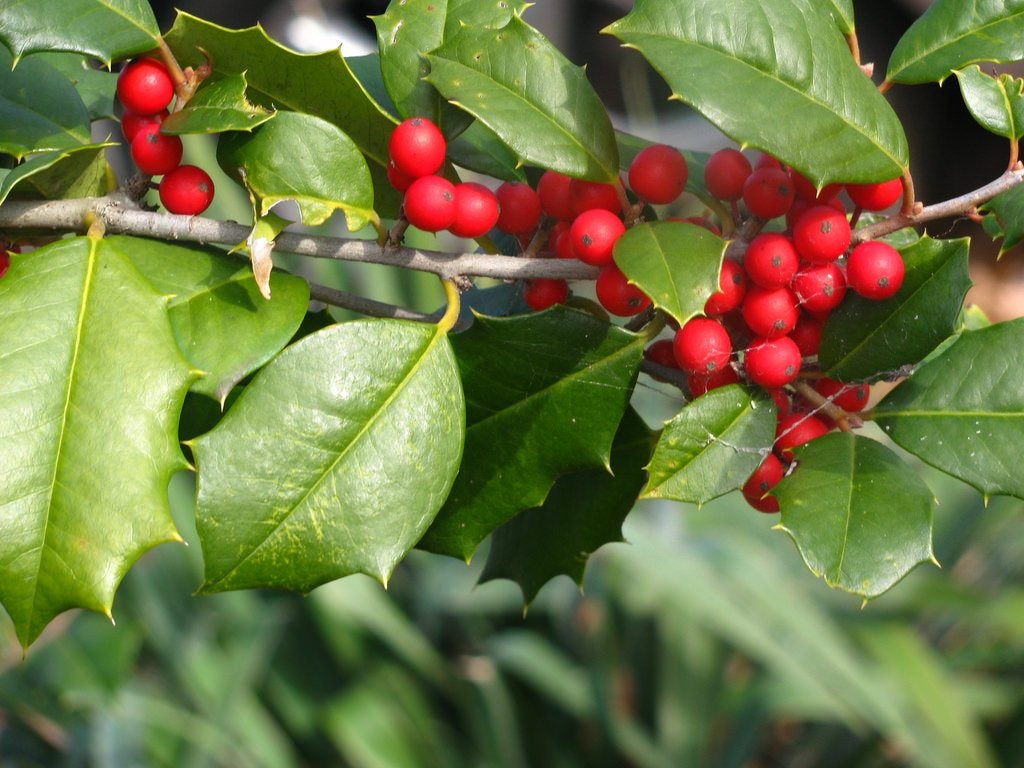
The Benefits of Growing Holly from Cuttings
Growing holly from cuttings is a highly effective method of propagation that offers several advantages over other techniques. One of the primary benefits is the ability to reproduce exact replicas of parent plants, which is particularly useful for preserving the unique characteristics of a specific holly variety. This method also allows for faster growth rates, as cuttings can be taken from the current season’s growth and rooted quickly. Additionally, growing holly from cuttings can increase disease resistance, as the new plants will have the same genetic makeup as the parent plant.

Click Image to Find Garden Products
Another significant advantage of growing holly from cuttings is the ability to produce a large number of plants in a relatively short period. This makes it an ideal method for gardeners who want to create a hedge or screen using holly plants. By taking multiple cuttings from a single parent plant, gardeners can quickly produce a large number of plants that can be used to create a dense and attractive hedge.
Furthermore, growing holly from cuttings allows gardeners to control the quality of the plants they produce. By selecting healthy parent plants and taking cuttings from the current season’s growth, gardeners can ensure that their new plants will be vigorous and disease-free. This is particularly important for gardeners who want to use their holly plants for decorative purposes, such as in wreaths or other floral arrangements.
Overall, growing holly from cuttings is a highly effective method of propagation that offers several advantages over other techniques. By reproducing exact replicas of parent plants, increasing disease resistance, and producing a large number of plants quickly, gardeners can create a beautiful and thriving holly garden with ease.
Choosing the Right Holly Variety for Cuttings
When it comes to growing holly from cuttings, selecting the right variety is crucial for success. With over 400 species of holly, choosing the right one can be overwhelming. However, by considering a few key factors, you can select a variety that is well-suited for cuttings and will thrive in your garden.
One of the most important factors to consider is the growth habit of the holly variety. Some holly varieties, such as English holly (Ilex aquifolium) and American holly (Ilex opaca), have a dense, compact growth habit that makes them ideal for hedges and topiaries. Other varieties, such as Chinese holly (Ilex cornuta) and Japanese holly (Ilex crenata), have a more open, spreading growth habit that makes them better suited for borders and screens.
Another factor to consider is the type of leaves the holly variety has. Some holly varieties, such as English holly and American holly, have prickly leaves that can be a deterrent to pests and animals. Other varieties, such as Chinese holly and Japanese holly, have smooth leaves that are less likely to cause injury.
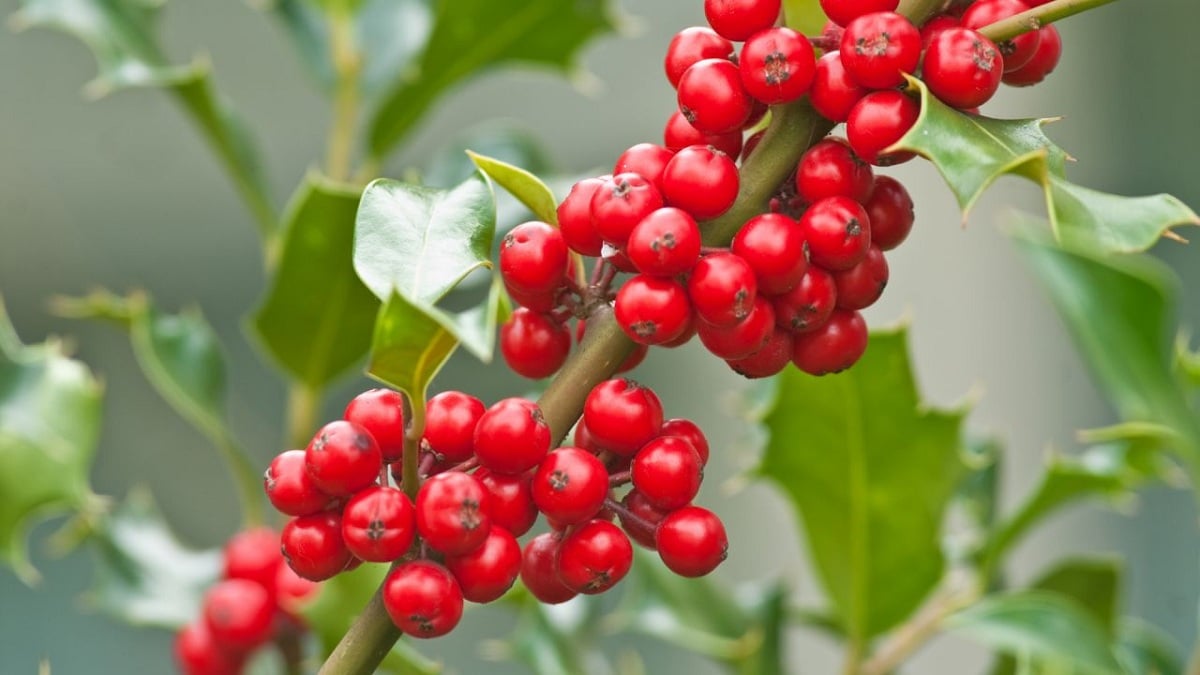
Berry production is also an important consideration when selecting a holly variety for cuttings. Some holly varieties, such as English holly and American holly, produce bright red berries that are a favorite of birds and other wildlife. Other varieties, such as Chinese holly and Japanese holly, produce smaller, less conspicuous berries.
Some popular holly varieties that can be grown from cuttings include ‘Blue Prince’, ‘Blue Princess’, and ‘Golden King’. These varieties are known for their compact growth habit, attractive foliage, and abundant berry production. By selecting one of these varieties, you can be sure to get the best results when growing holly from cuttings.
Ultimately, the key to success when growing holly from cuttings is to select a variety that is well-suited to your climate and growing conditions. By considering factors such as growth habit, leaf type, and berry production, you can choose a variety that will thrive in your garden and provide you with years of enjoyment.

Preparing Holly Cuttings for Planting
Once you have selected a healthy holly plant with the desired characteristics, it’s time to prepare the cuttings for planting. This step is crucial in ensuring the success of your propagation efforts. To prepare holly cuttings for planting, follow these steps:
Take cuttings from the current season’s growth, as these will have the highest chance of rooting successfully. Cuttings should be around 3-4 inches long and include at least two nodes (the joint where a leaf meets the stem). Cut just above a node using a sharp, clean knife or pruning tool.
Remove lower leaves from the cutting, leaving only two or three sets of leaves at the top. This will help prevent the cutting from drying out and reduce the risk of fungal diseases. You can also trim the leaves in half to reduce transpiration and prevent the cutting from drying out.
Dip the cut end of the stem into a rooting hormone powder or liquid. This will help stimulate root growth and increase the chances of successful propagation. Make sure to follow the instructions on the rooting hormone packaging for the correct application rate.
After preparing the cuttings, they are ready to be planted in a propagation tray. Make sure the tray is filled with a well-draining potting mix and has adequate moisture. Plant the cuttings about 1-2 inches deep, firming the soil gently around the stem to secure it in place.
By following these steps, you can ensure that your holly cuttings are properly prepared for planting and have the best chance of rooting successfully. This will give you a head start on growing healthy, thriving holly plants from cuttings.
Remember to handle the cuttings with care, as they can be delicate and prone to damage. By taking the time to properly prepare your holly cuttings, you can increase the chances of successful propagation and enjoy the many benefits of growing holly from cuttings.
Planting Holly Cuttings in a Propagation Tray
Once you have prepared your holly cuttings, it’s time to plant them in a propagation tray. This is a critical step in the process of growing holly from cuttings, as it will provide the cuttings with the optimal conditions they need to root and grow.
To plant your holly cuttings in a propagation tray, start by filling the tray with a well-draining potting mix. This type of mix is specifically designed to prevent waterlogged soil and root rot, which can be a major problem when growing holly from cuttings.
Next, plant the cuttings in the propagation tray, making sure to space them about 1-2 inches apart. Firm the soil gently around the stem to secure it in place, and make sure the node (where the leaf meets the stem) is buried in the soil.
Water the cuttings thoroughly after planting, and make sure the soil is consistently moist but not waterlogged. You can cover the propagation tray with a clear plastic bag or a cloche to maintain humidity and promote rooting.
Provide the cuttings with sufficient light, but avoid direct sunlight, which can cause the soil to dry out too quickly. A south-facing windowsill or a grow light can provide the optimal amount of light for rooting holly cuttings.
By following these steps, you can provide your holly cuttings with the optimal conditions they need to root and grow. With proper care and attention, your cuttings should start to root within 1-2 weeks, and you can begin to see the first signs of new growth.
Remember to keep the propagation tray in a warm, draft-free location, and avoid exposing the cuttings to extreme temperatures or sudden changes in temperature. By providing the right conditions, you can increase the chances of successful rooting and enjoy the many benefits of growing holly from cuttings.

Caring for Holly Cuttings During the Rooting Process
Once you have planted your holly cuttings in a propagation tray, it’s essential to provide them with the optimal conditions they need to root and grow. This is a critical stage in the process of growing holly from cuttings, and proper care can make all the difference in the success of your propagation efforts.
Maintaining high humidity is crucial during the rooting process. You can cover the propagation tray with a clear plastic bag or a cloche to maintain humidity and promote rooting. This will help to prevent the cuttings from drying out and reduce the risk of rooting failure.
Providing adequate light is also essential for rooting holly cuttings. A south-facing windowsill or a grow light can provide the optimal amount of light for rooting. However, avoid direct sunlight, which can cause the soil to dry out too quickly.
Avoiding extreme temperatures is also important during the rooting process. Most holly varieties prefer daytime temperatures between 65-75°F (18-24°C) and nighttime temperatures around 55-65°F (13-18°C). Avoid placing the propagation tray near heating or cooling vents, fireplaces, or drafty windows.
Watering is also critical during the rooting process. Make sure the soil is consistently moist but not waterlogged. Check the soil daily, and water only when the top inch of soil feels dry to the touch.
By providing the optimal conditions for rooting, you can increase the chances of successful propagation and enjoy the many benefits of growing holly from cuttings. With proper care and attention, your holly cuttings should start to root within 1-2 weeks, and you can begin to see the first signs of new growth.
Remember to monitor your holly cuttings regularly during the rooting process, and take action promptly if you notice any signs of stress or disease. By being proactive and providing the right conditions, you can help your holly cuttings to thrive and grow into healthy, vigorous plants.

Transplanting Holly Cuttings into Individual Pots
Once your holly cuttings have rooted and are growing well in the propagation tray, it’s time to transplant them into individual pots. This is an exciting stage in the process of growing holly from cuttings, as you’ll be able to see your new plants thrive and grow in their own pots.
To transplant your holly cuttings, start by preparing the individual pots. Use a well-draining potting mix, and make sure the pots are large enough to accommodate the roots of the holly cuttings. A pot that is at least 6-8 inches deep and has drainage holes in the bottom is ideal.
Handle the roots of the holly cuttings with care, as they can be delicate and prone to damage. Gently remove the cuttings from the propagation tray, taking care not to disturb the roots. If the roots are tangled or circling, gently tease them apart with your fingers or a blunt instrument.
Plant the holly cuttings in the individual pots, making sure the node (where the leaf meets the stem) is buried in the soil. Firm the soil gently around the roots to secure the cutting in place, and water thoroughly.
Provide the transplanted holly cuttings with sufficient water and nutrients. Water them regularly, but make sure the soil isn’t waterlogged. You can also fertilize them with a balanced, water-soluble fertilizer to promote healthy growth.
By transplanting your holly cuttings into individual pots, you’ll be able to give them the space and care they need to thrive. With proper care and attention, your holly plants should continue to grow and flourish, providing you with beautiful foliage and berries for years to come.
Remember to monitor your holly plants regularly after transplanting, and take action promptly if you notice any signs of stress or disease. By being proactive and providing the right conditions, you can help your holly plants to thrive and grow into healthy, vigorous plants.
Common Challenges and Solutions When Growing Holly from Cuttings
While growing holly from cuttings can be a rewarding experience, there are some common challenges that may arise. By being aware of these challenges and knowing how to overcome them, you can increase your chances of success and enjoy the many benefits of growing holly from cuttings.
One of the most common challenges when growing holly from cuttings is rooting failure. This can occur if the cuttings are not taken from the current season’s growth, or if the rooting hormone is not applied correctly. To overcome this challenge, make sure to take cuttings from the current season’s growth, and apply the rooting hormone according to the manufacturer’s instructions.
Pests and diseases can also be a problem when growing holly from cuttings. Common pests that can affect holly include aphids, whiteflies, and spider mites. To control these pests, use insecticidal soap or neem oil, and make sure to isolate the affected plants to prevent the pests from spreading. Common diseases that can affect holly include root rot, leaf spot, and powdery mildew. To control these diseases, use fungicides, and make sure to provide good air circulation and watering practices.
Another challenge when growing holly from cuttings is transplant shock. This can occur when the cuttings are transplanted into individual pots, and can cause the plants to become stressed and decline. To overcome this challenge, make sure to handle the roots with care, and provide sufficient water and nutrients after transplanting.
By being aware of these common challenges and knowing how to overcome them, you can increase your chances of success when growing holly from cuttings. With proper care and attention, your holly plants should thrive and provide you with beautiful foliage and berries for years to come.
Some other tips to keep in mind when growing holly from cuttings include:
- Make sure to provide sufficient light and water for the cuttings.
- Use a well-draining potting mix to prevent root rot.
- Avoid over-fertilizing, as this can cause the plants to become stressed.
- Monitor the plants regularly for signs of pests or diseases.
By following these tips and being aware of the common challenges that may arise, you can enjoy the many benefits of growing holly from cuttings and have a successful and rewarding experience.

Harvesting and Enjoying Your Homegrown Holly Plants
Once your holly plants have matured and are thriving, you can enjoy the fruits of your labor by harvesting and using them in various ways. With proper care and attention, your homegrown holly plants can provide you with beautiful foliage, berries, and flowers for years to come.
Pruning is an essential part of maintaining your holly plants. Prune your plants regularly to maintain their shape, promote healthy growth, and encourage berry production. Use sharp, clean pruning tools to avoid spreading diseases, and make clean cuts just above a node (where a leaf meets the stem).
Fertilizing your holly plants can also promote healthy growth and berry production. Use a balanced, water-soluble fertilizer during the growing season (spring-fall), and avoid over-fertilizing, which can cause the plants to become stressed.
Your homegrown holly plants can be used in various decorative arrangements, such as wreaths, garlands, and centerpieces. Simply cut a few stems from your plants, and arrange them in a vase or container with some evergreen branches and decorative items like pinecones, ribbons, or ornaments.
Holly plants can also be used as a natural screen or hedge. Plant them in a row, and prune them regularly to maintain their shape and promote healthy growth. This can provide a beautiful and functional screen for your garden or landscape.
By following these tips and enjoying your homegrown holly plants, you can appreciate the many benefits of growing holly from cuttings. With proper care and attention, your holly plants can thrive and provide you with beautiful foliage, berries, and flowers for years to come.
Some other ideas for using your homegrown holly plants include:
- Using them in floral arrangements or bouquets
- Creating a holly topiary or bonsai
- Using them as a natural Christmas tree or decoration
- Planting them in a container or pot for a beautiful display
By being creative and experimenting with different uses for your homegrown holly plants, you can enjoy the many benefits of growing holly from cuttings and have a rewarding and enjoyable experience.