Unlocking the Secrets of Hydrangea Cuttings
Growing hydrangeas from clippings is a cost-effective and efficient way to propagate these beautiful flowers. By following a few simple steps, gardeners can enjoy an abundance of hydrangeas in their gardens without breaking the bank. One of the primary benefits of growing hydrangeas from clippings is the ability to reproduce exact replicas of the parent plant, ensuring consistent bloom color and plant characteristics.
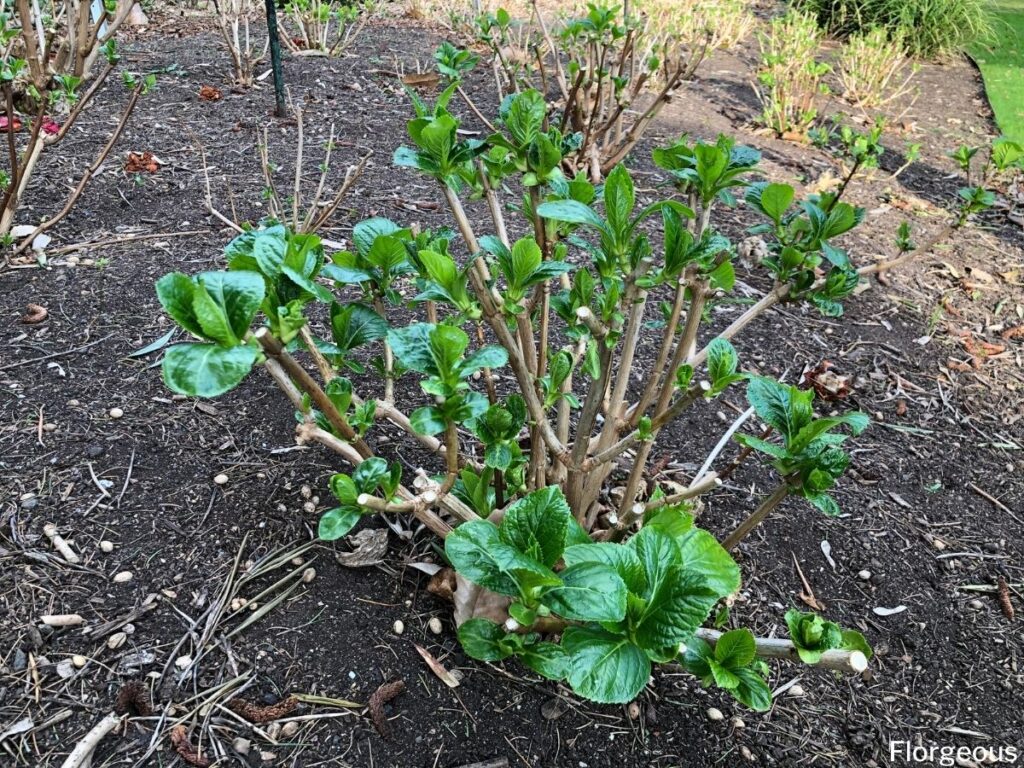
To get started, it’s essential to choose healthy parent plants with desirable traits. Look for plants with robust growth, vibrant blooms, and a robust root system. The ideal time for taking cuttings is during the active growing season, typically in the spring or summer when the plant is producing new growth. Avoid taking cuttings during the dormant season, as this can reduce the chances of successful propagation.
When selecting cuttings, consider the type of hydrangea you’re working with. Bigleaf hydrangeas (Hydrangea macrophylla) and panicle hydrangeas (Hydrangea paniculata) are popular varieties that can be easily propagated using stem cuttings. Oakleaf hydrangeas (Hydrangea quercifolia) and climbing hydrangeas (Hydrangea anomala) may require more specialized techniques, such as leaf or root cuttings.
By understanding the basics of hydrangea propagation, gardeners can unlock the secrets of growing these stunning flowers from clippings. With a little patience and practice, anyone can become a skilled hydrangea propagator, enjoying the many benefits of growing these beautiful plants from cuttings.
Preparing the Perfect Cuttings: Tips and Tricks
When it comes to taking cuttings from hydrangea plants, timing is everything. The best time to take cuttings is during the active growing season, typically in the spring or summer when the plant is producing new growth. This is usually around late May or early June, depending on the specific variety and climate.
The ideal time of day for taking cuttings is early morning, when the plant is at its highest water content. This helps to minimize stress on the cutting and increases the chances of successful propagation. Avoid taking cuttings during the hottest part of the day, as this can cause the cutting to dry out and reduce its chances of rooting.
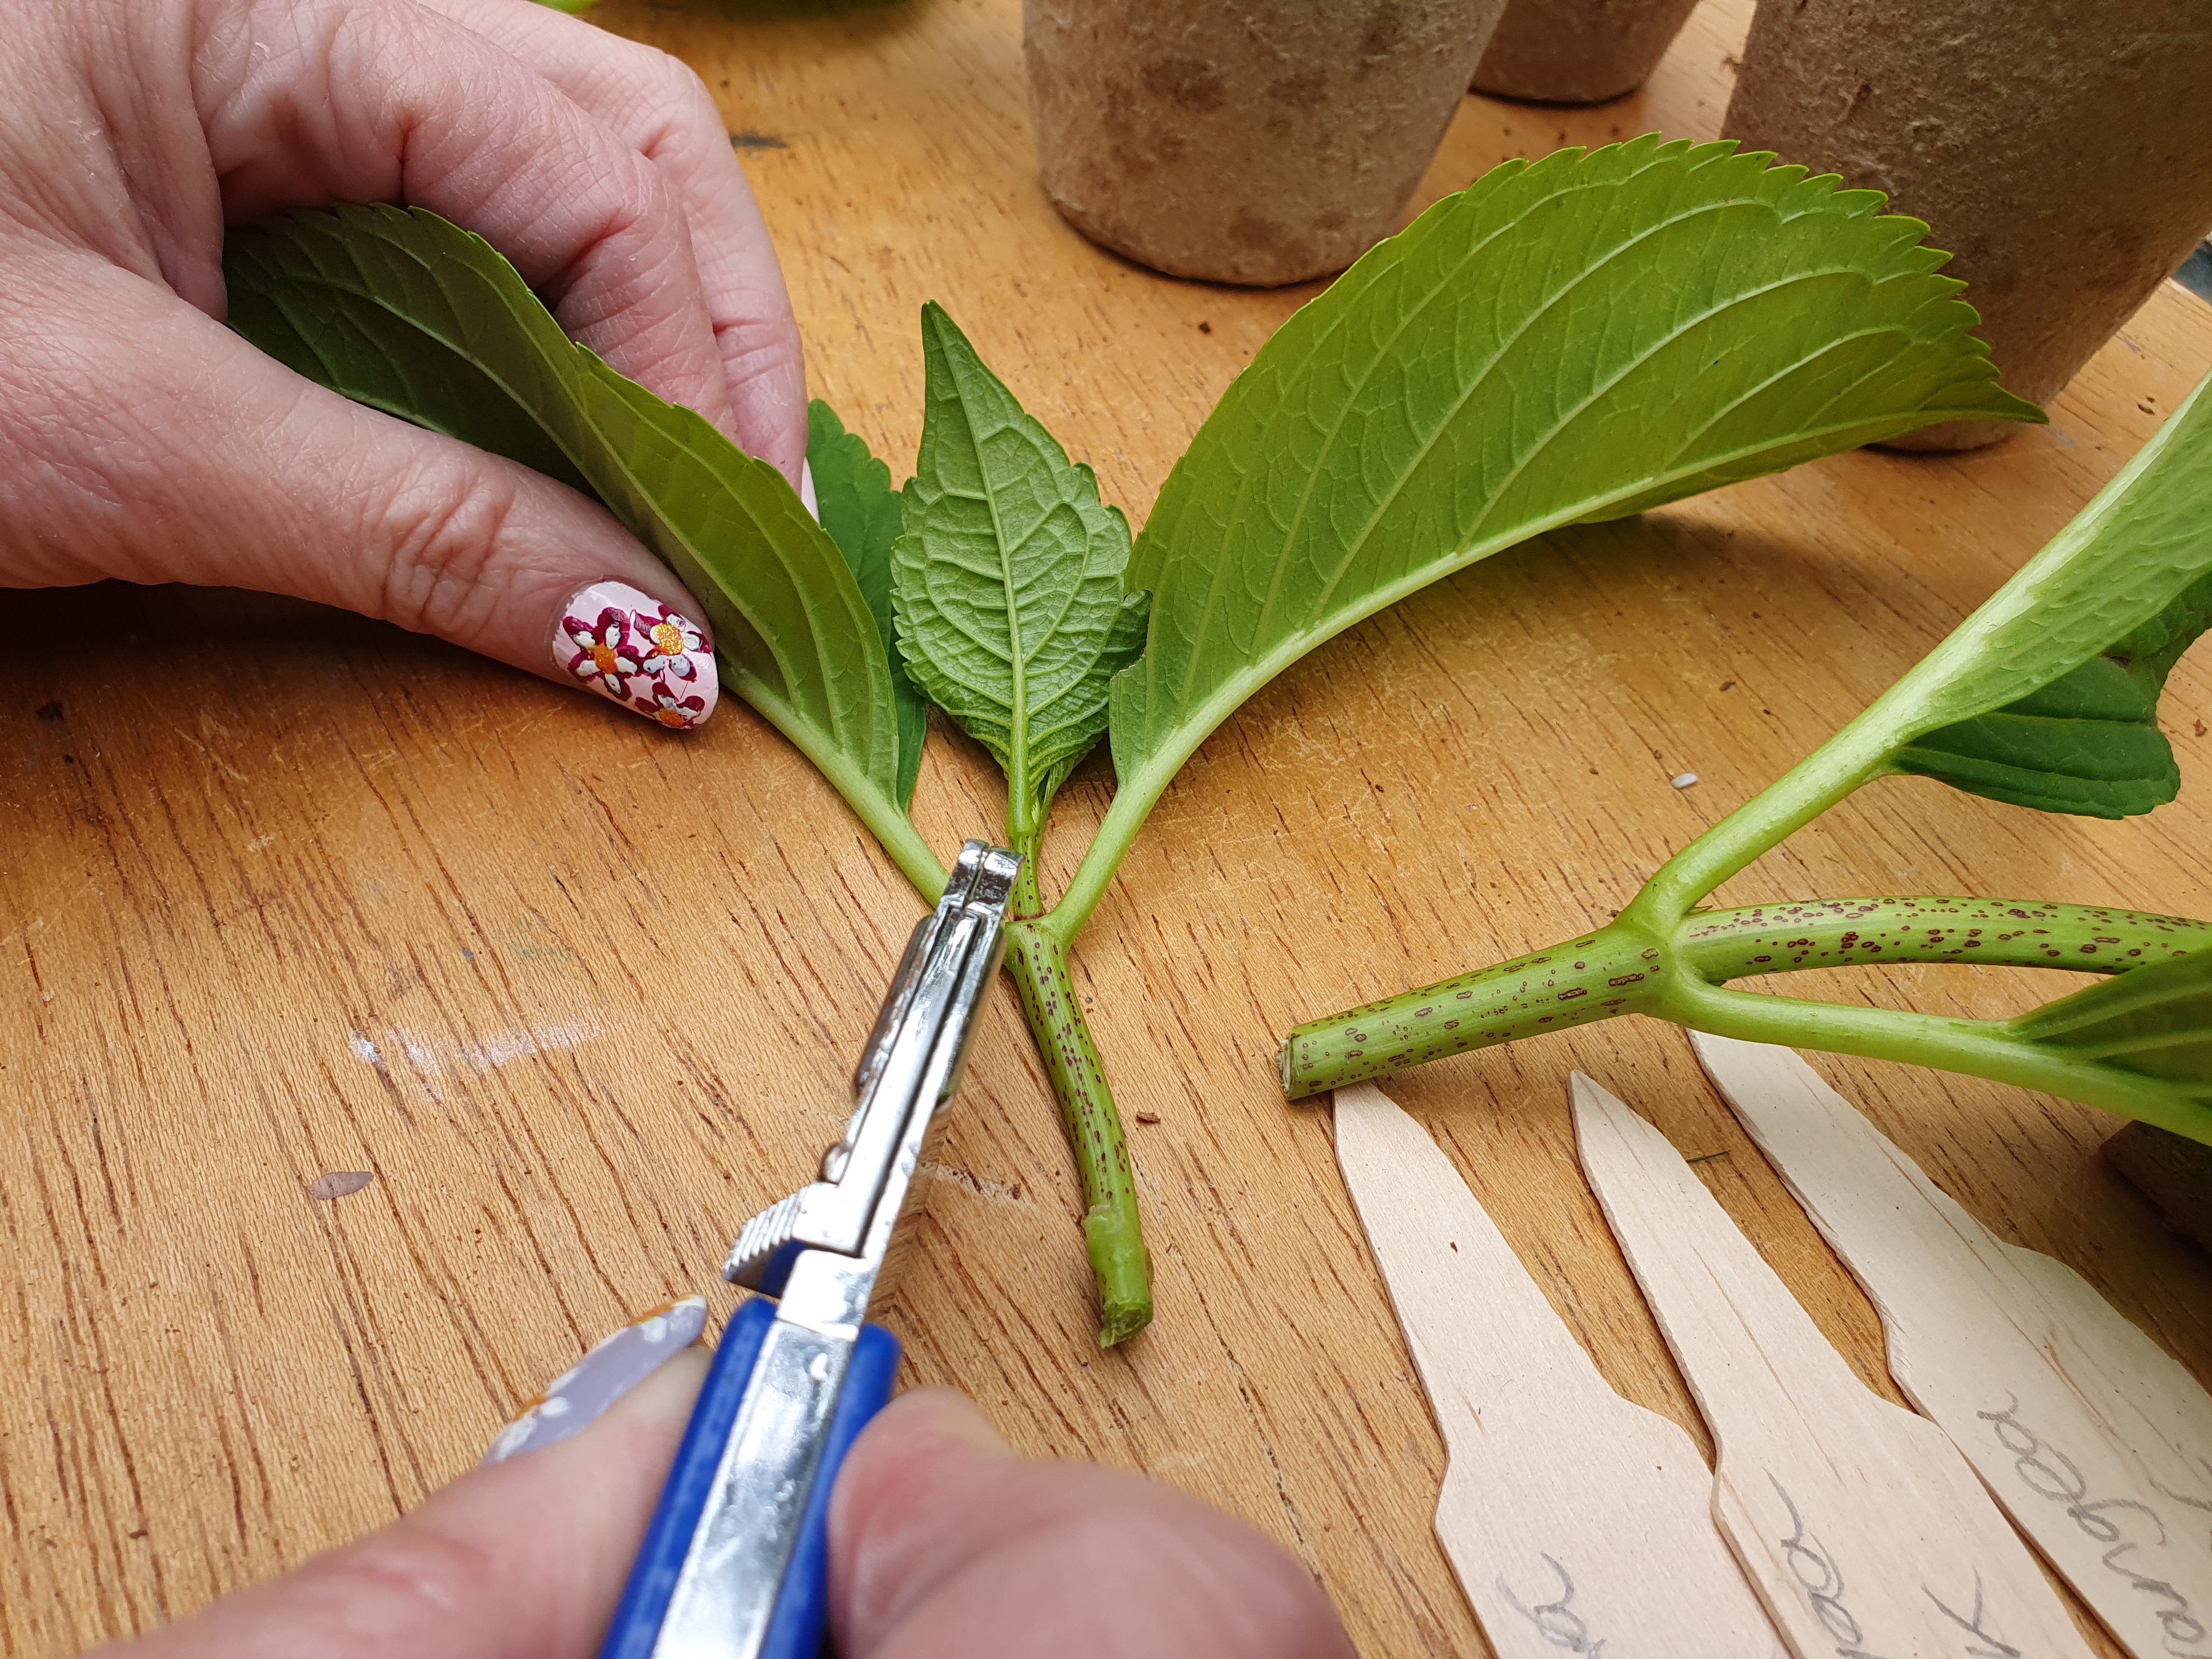
The length and thickness of the cutting are also crucial factors to consider. For stem cuttings, aim for sections that are around 3-4 inches long and have at least two nodes (the joint where a leaf meets the stem). Remove any lower leaves, leaving only two or three sets of leaves at the top of the cutting. This helps to prevent the cutting from drying out and reduces the risk of fungal diseases.
There are several types of cuttings that can be used to propagate hydrangeas, each with its own advantages. Stem cuttings are the most common type and are ideal for bigleaf and panicle hydrangeas. Leaf cuttings are better suited for oakleaf and climbing hydrangeas, while root cuttings are often used for more mature plants. By understanding the different types of cuttings and their respective advantages, gardeners can increase their chances of success when growing hydrangeas from clippings.
When taking cuttings, make clean cuts just above a node using a sharp, sterile knife or pruning tool. Remove any weak or damaged growth, and trim the cutting to the desired length. By following these simple tips and tricks, gardeners can prepare the perfect cuttings for rooting and increase their chances of success when growing hydrangeas from clippings.
Rooting Hydrangea Cuttings: The Art of Encouraging Growth
Once you have prepared your hydrangea cuttings, it’s time to encourage them to root. This process requires a combination of the right environment, proper care, and a little patience. One of the most effective ways to promote rooting is by using rooting hormones. These hormones, such as indole-3-butyric acid (IBA) and naphthaleneacetic acid (NAA), stimulate the cutting to produce new roots and increase the chances of successful propagation.
Another crucial factor in rooting hydrangea cuttings is maintaining high humidity. This can be achieved by covering the cuttings with a clear plastic bag or a cloche, which helps to create a mini-greenhouse effect. The ideal temperature for rooting hydrangea cuttings is between 65-75°F (18-24°C), with bright, indirect light. Avoid direct sunlight, as it can cause the cutting to dry out and reduce its chances of rooting.
There are two main methods of rooting hydrangea cuttings: water rooting and soil rooting. Water rooting involves placing the cutting in a glass of water, where it will develop roots over time. This method is ideal for bigleaf and panicle hydrangeas, as it allows for easy observation of root development. Soil rooting, on the other hand, involves planting the cutting directly into a pot or propagation tray filled with a well-draining rooting medium. This method is better suited for oakleaf and climbing hydrangeas, as it provides more support for the developing roots.
Regardless of the rooting method, it’s essential to maintain consistent moisture levels and provide adequate nutrients for the cutting to root. A balanced, water-soluble fertilizer can be applied at half the recommended strength to promote healthy root growth. By following these tips and providing the right environment, you can increase the chances of successful rooting and grow healthy, thriving hydrangeas from clippings.
Creating the Ideal Environment for Cuttings to Thrive
Once you have prepared your hydrangea cuttings and encouraged them to root, it’s essential to provide the right environment for them to thrive. This includes maintaining optimal temperature, humidity, and light levels, as well as using the right propagation equipment.
Propagation trays, greenhouses, or indoor growing spaces are ideal for creating a controlled environment for hydrangea cuttings. These spaces allow for precise temperature and humidity control, which is crucial for promoting healthy root growth and preventing disease. A temperature range of 65-75°F (18-24°C) and humidity levels of 50-70% are ideal for hydrangea cuttings.
Lighting is also an essential factor in creating the ideal environment for hydrangea cuttings. Bright, indirect light is best, as direct sunlight can cause the cuttings to dry out and reduce their chances of rooting. East- or west-facing windows or grow lights with a balanced spectrum are ideal for providing the right amount of light.
In addition to temperature, humidity, and light, it’s also important to consider air circulation when creating the ideal environment for hydrangea cuttings. Good air circulation helps to prevent disease and promotes healthy growth. Make sure to provide enough space between each cutting to allow for adequate air circulation.
By providing the right environment for your hydrangea cuttings, you can increase their chances of success and promote healthy growth. Remember to monitor temperature, humidity, and light levels closely, and make adjustments as necessary to ensure optimal conditions. With the right environment and proper care, you can grow healthy and thriving hydrangeas from clippings.
Common Challenges and Solutions: Troubleshooting Hydrangea Cuttings
While growing hydrangeas from clippings can be a rewarding experience, it’s not without its challenges. Common issues that may arise include rooting failures, pest infestations, and nutrient deficiencies. In this section, we’ll address these common challenges and provide troubleshooting tips and solutions to help you overcome them.
Rooting failures are one of the most common issues when growing hydrangeas from clippings. This can be caused by a variety of factors, including poor cutting quality, inadequate rooting hormones, and insufficient humidity. To overcome rooting failures, make sure to use high-quality cuttings, apply the right amount of rooting hormones, and maintain optimal humidity levels.
Pest infestations are another common issue when growing hydrangeas from clippings. Pests such as aphids, whiteflies, and spider mites can infest the cuttings and prevent them from rooting. To prevent pest infestations, make sure to inspect the cuttings regularly, use insecticidal soap or neem oil to control infestations, and maintain good air circulation.
Nutrient deficiencies can also affect the growth and development of hydrangea cuttings. Nutrient deficiencies can be caused by a lack of essential nutrients such as nitrogen, phosphorus, and potassium. To prevent nutrient deficiencies, make sure to use a balanced fertilizer, and follow the recommended application rates.
By being aware of these common challenges and taking steps to prevent them, you can increase your chances of success when growing hydrangeas from clippings. Remember to monitor your cuttings regularly, and take action quickly if you notice any issues. With the right care and attention, you can grow healthy and thriving hydrangeas from clippings.
Transplanting and Caring for Newly Rooted Hydrangeas
Once your hydrangea cuttings have developed a robust root system and are growing new leaves, it’s time to transplant them into larger pots or directly into the garden. This process requires careful planning and attention to detail to ensure the newly rooted hydrangeas continue to thrive.
Before transplanting, make sure to harden off the newly rooted hydrangeas by gradually exposing them to outdoor conditions over the course of 7-10 days. This will help prevent shock and ensure a smooth transition to their new environment.
When selecting a pot or garden bed for your newly rooted hydrangeas, choose a location with well-draining soil and full sun to partial shade. Hydrangeas prefer slightly acidic soil with a pH between 6.0 and 7.0. If your soil is heavy clay or sandy, consider amending it with organic matter such as compost or well-rotted manure.
Water your newly transplanted hydrangeas regularly, but avoid overwatering, which can lead to root rot and other problems. Fertilize your hydrangeas regularly with a balanced, water-soluble fertilizer, following the manufacturer’s instructions for application rates.
Pruning is also an essential part of caring for newly rooted hydrangeas. Prune your hydrangeas in late winter or early spring, removing any dead or damaged branches and shaping the plant to maintain its desired form.
By following these tips and providing the right care, you can help your newly rooted hydrangeas continue to thrive and produce beautiful blooms for years to come.
Maximizing Success: Best Practices for Growing Hydrangeas from Cuttings
Growing hydrangeas from clippings can be a rewarding experience, but it requires patience, attention to detail, and proper care. By following the steps outlined in this article, you can increase your chances of success and grow healthy and thriving hydrangeas from clippings.
One of the most important factors in growing hydrangeas from clippings is providing the right environment. This includes maintaining optimal temperature, humidity, and light levels, as well as using the right propagation equipment. By creating a controlled environment, you can promote healthy root growth and prevent disease.
Another key factor in growing hydrangeas from clippings is using high-quality cuttings. This includes selecting healthy parent plants, taking cuttings at the right time, and preparing the cuttings properly. By using high-quality cuttings, you can increase the chances of successful propagation and reduce the risk of disease.
In addition to providing the right environment and using high-quality cuttings, it’s also important to follow proper care and maintenance techniques. This includes watering, fertilizing, and pruning your hydrangeas regularly, as well as monitoring for pests and diseases. By following these best practices, you can promote healthy growth and maximize your chances of success.
By following these tips and best practices, you can grow healthy and thriving hydrangeas from clippings. Remember to be patient, as growing hydrangeas from clippings can take time. With the right care and attention, you can enjoy the beauty and benefits of these stunning flowers for years to come.
Conclusion: Enjoying the Fruits of Your Labor
Congratulations You have now completed the step-by-step guide on how to grow hydrangeas from clippings. With the knowledge and skills you have gained, you can successfully propagate hydrangeas and enjoy their beautiful blooms in your garden.
We encourage you to share your experiences and successes with growing hydrangeas from clippings. Join online gardening communities, share your photos and stories on social media, and inspire others to try their hand at propagating hydrangeas.
Remember, growing hydrangeas from clippings is just one of many ways to propagate plants. Explore other plant propagation methods, such as seed starting, division, and layering, to expand your gardening skills and knowledge.
Happy gardening, and we look forward to hearing about your successes with growing hydrangeas from clippings!


:max_bytes(150000):strip_icc()/leafpruning-5851b3685f9b586e025c8b43.jpg)

:max_bytes(150000):strip_icc()/HydrangeaPropagation-5851b4315f9b586e025ec893.jpg)
