Unlocking the Potential of This Nutritious Root Vegetable
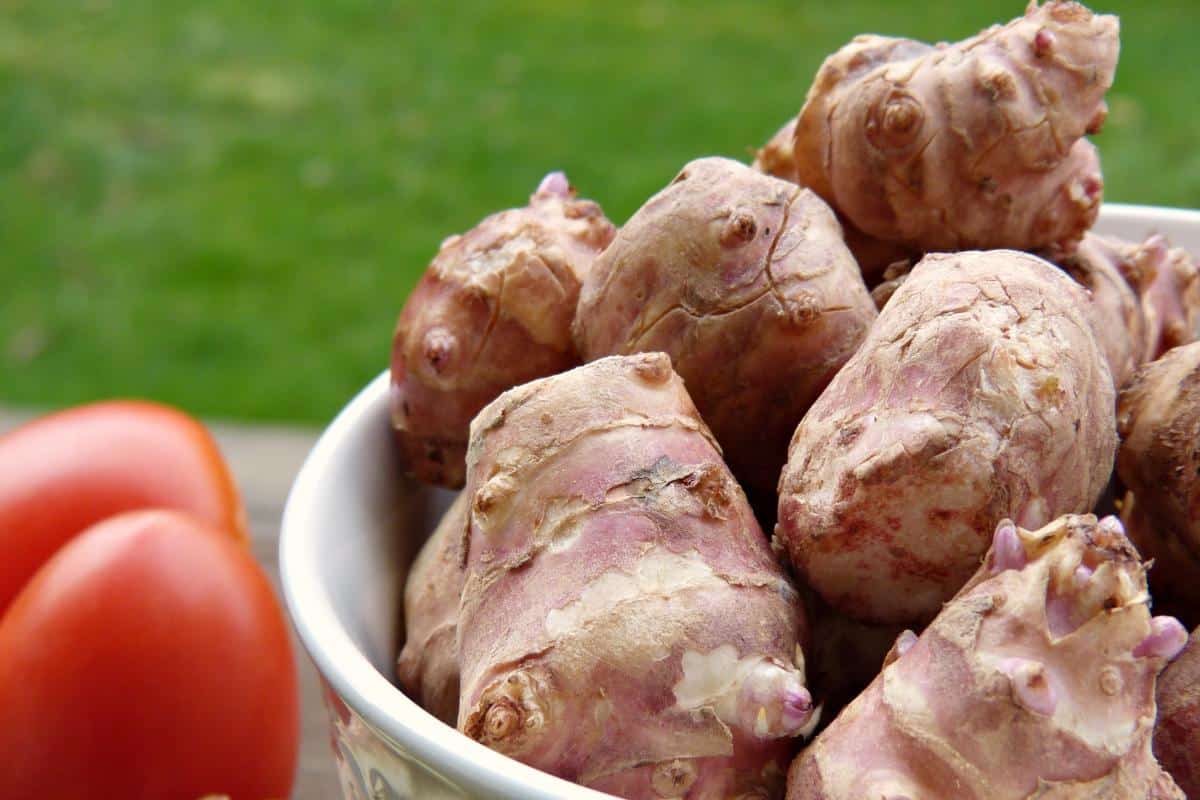
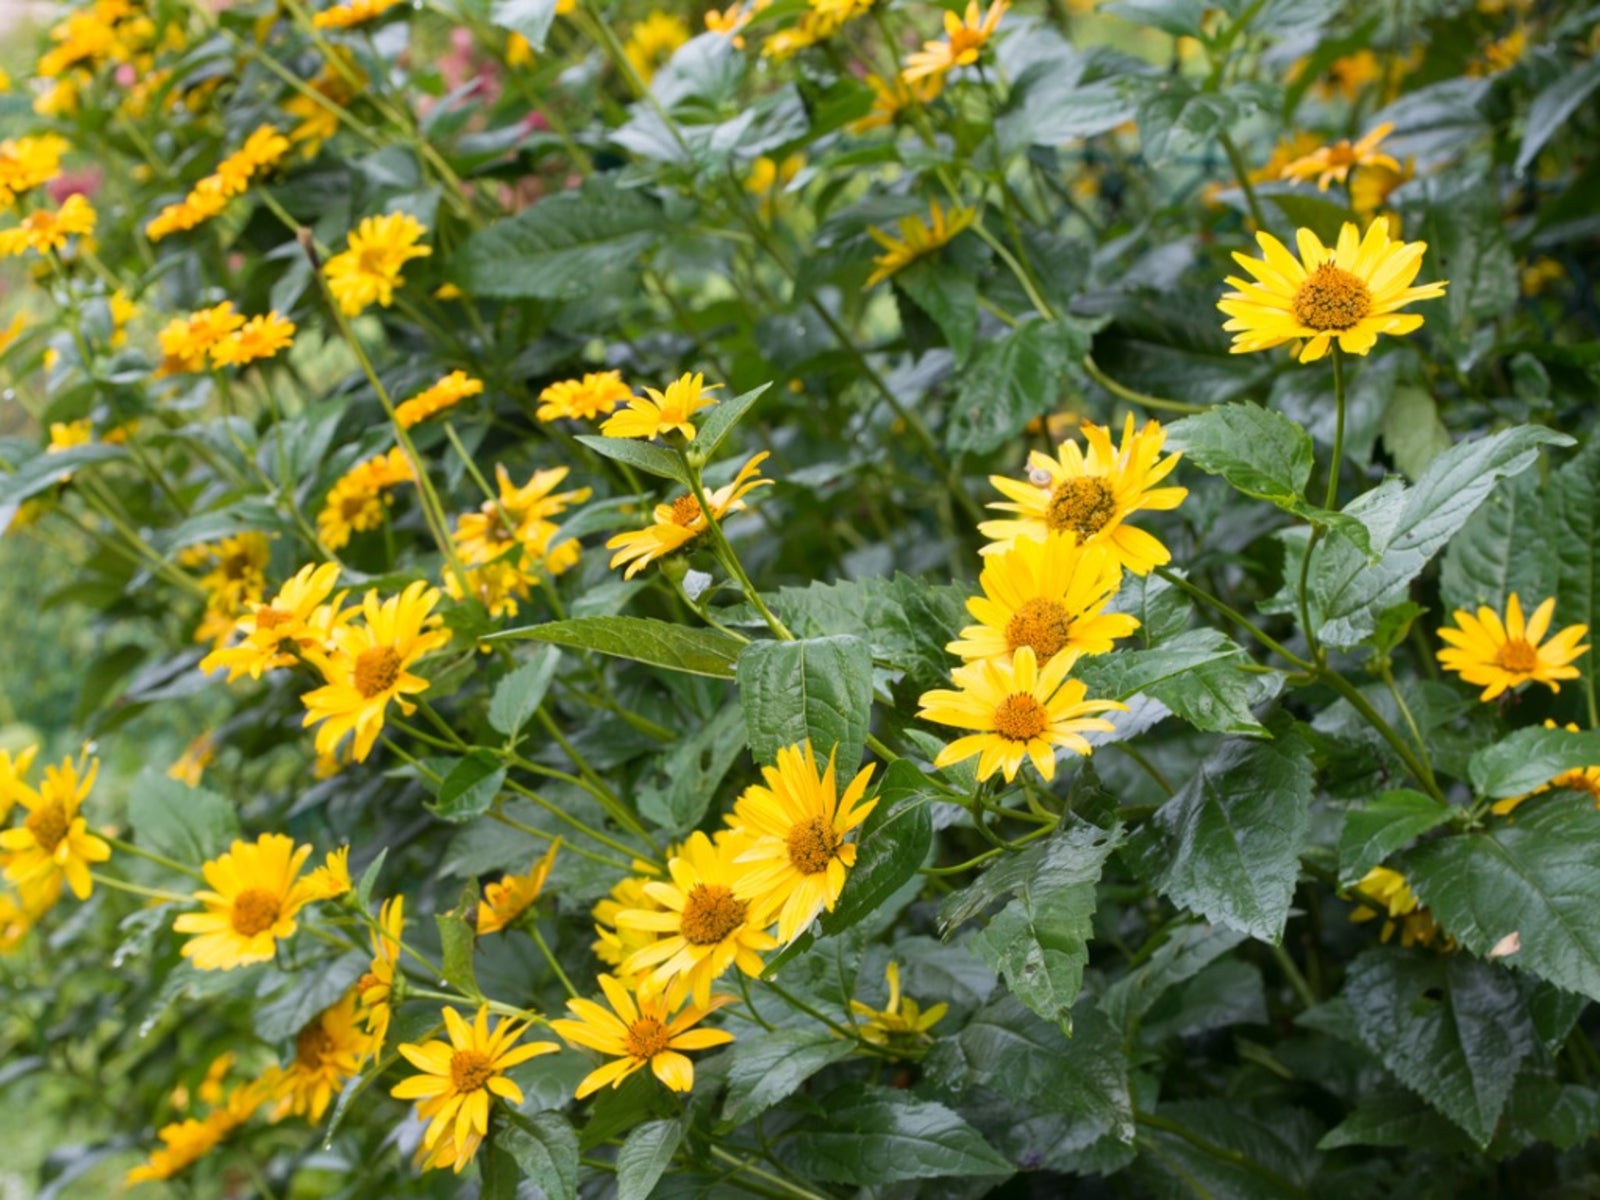
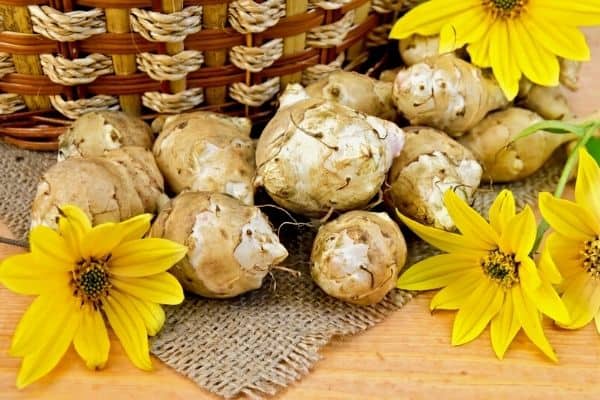
Jerusalem artichokes, also known as sunchokes, are a type of root vegetable that has been gaining popularity in recent years due to their unique flavor, versatility, and numerous health benefits. These underground tubers are native to North America and have been cultivated for centuries, providing a rich source of nutrients, including fiber, potassium, and iron. With their sweet, nutty flavor and crunchy texture, Jerusalem artichokes can be used in a variety of dishes, from soups and salads to roasted vegetable medleys and mashed potato alternatives. Moreover, they have been used in traditional medicine for their anti-inflammatory properties and ability to support digestive health. By learning how to grow Jerusalem artichoke, you can enjoy this nutritious root vegetable year-round, while also reaping the rewards of homegrown produce. Whether you’re a seasoned gardener or a beginner, growing Jerusalem artichokes can be a rewarding experience, and with the right techniques and knowledge, you can successfully cultivate these delicious tubers in your own backyard.
Choosing the Right Variety for Your Climate and Soil
When it comes to growing Jerusalem artichokes, selecting the right variety is crucial for optimal growth and yield. With over 100 known varieties, each with its unique characteristics, choosing the best one for your specific climate and soil type can be overwhelming. However, by understanding the different types of Jerusalem artichokes, you can make an informed decision and increase your chances of success. Some popular varieties include ‘Mammoth White’, ‘Red Fuseau’, and ‘Stampede’, each with its own strengths and weaknesses. For example, ‘Mammoth White’ is known for its high yield and tolerance to wet soils, while ‘Red Fuseau’ is prized for its sweet, nutty flavor and compact growth habit. When selecting a variety, consider factors such as your region’s temperature and moisture levels, as well as the soil type and pH. By choosing a variety that is well-suited to your local conditions, you can ensure a healthy and productive crop. Additionally, learning how to grow Jerusalem artichoke requires understanding the specific needs of your chosen variety, including its spacing, watering, and fertilization requirements.
Preparing the Soil for Optimal Growth
Before planting Jerusalem artichokes, it’s essential to prepare the soil to ensure optimal growth and yield. Soil preparation is a critical step in how to grow Jerusalem artichoke, as it sets the foundation for a healthy and productive crop. The first step is to test the soil pH, as Jerusalem artichokes prefer a slightly acidic to neutral soil pH, ranging from 6.0 to 7.0. If the soil pH is too high or too low, it can affect the availability of essential nutrients, leading to stunted growth and reduced yields. To amend the soil pH, add organic matter such as compost or well-rotted manure, which will help to neutralize the soil pH and improve its structure. Additionally, remove any weeds and debris from the planting area, as they can compete with the Jerusalem artichokes for water and nutrients. Till the soil to a depth of 12 inches to loosen the soil and remove any compacted layers. Finally, add a 2-inch layer of organic mulch to the planting area, which will help to retain moisture, suppress weeds, and regulate soil temperature. By following these soil preparation tips, you can create an ideal environment for your Jerusalem artichokes to thrive.
Planting and Spacing Jerusalem Artichokes for Maximum Yield
When it comes to how to grow Jerusalem artichoke, proper planting and spacing are crucial for optimal growth and yield. Jerusalem artichoke tubers should be planted in the early spring, as soon as the soil can be worked, or in the fall, about 4-6 weeks before the first frost. Choose a location that receives full sun to partial shade and has well-draining soil. Plant the tubers 2-4 inches deep, with the “eyes” or buds facing upwards. Space the tubers 12-18 inches apart, in rows that are 3 feet apart. This will allow for good air circulation and sunlight penetration, which is essential for healthy growth. It’s also important to orient the tubers correctly, with the stem end facing upwards and the root end facing downwards. This will help the tubers to grow upwards and outwards, producing a larger and more productive crop. By following these planting and spacing guidelines, you can ensure a bountiful harvest of delicious and nutritious Jerusalem artichokes.
Watering and Mulching Strategies for Healthy Growth
Consistent moisture and proper mulching are essential for healthy growth and development of Jerusalem artichokes. When it comes to how to grow Jerusalem artichoke, watering is critical, especially during the first few weeks after planting. Water the soil gently but thoroughly, providing about 1 inch of water per week. As the plants grow, reduce watering to about 0.5 inches per week. It’s also important to mulch around the plants to retain moisture, suppress weeds, and regulate soil temperature. Apply a 2-3 inch layer of organic mulch, such as straw or wood chips, around the plants. This will help to prevent soil erosion, reduce evaporation, and keep the soil cool and moist. Additionally, mulching can help to prevent disease and pests by creating a physical barrier between the soil and the plants. By following these watering and mulching strategies, you can create an ideal environment for your Jerusalem artichokes to thrive and produce a bountiful harvest.
Managing Pests and Diseases: Common Issues and Solutions
When learning how to grow Jerusalem artichoke, it’s essential to be aware of common pests and diseases that can affect the crop. One of the most common pests that target Jerusalem artichokes is the artichoke plume moth, which can cause significant damage to the leaves and stems. To manage this pest, use organic methods such as introducing natural predators, like ladybugs, or spraying soapy water to deter the moths. Another common issue is powdery mildew, a fungal disease that can cause white powdery patches on the leaves. To prevent powdery mildew, ensure good air circulation, water plants at the base rather than overhead, and remove infected leaves. Additionally, Jerusalem artichokes can be susceptible to root rot, which can be caused by overwatering or poor drainage. To prevent root rot, ensure the soil drains well, avoid overwatering, and add organic matter to improve soil structure. By being aware of these common pests and diseases and using organic and integrated pest management solutions, you can minimize the risk of damage and ensure a healthy and productive crop of Jerusalem artichokes.
Harvesting and Storing Jerusalem Artichokes for Year-Round Enjoyment
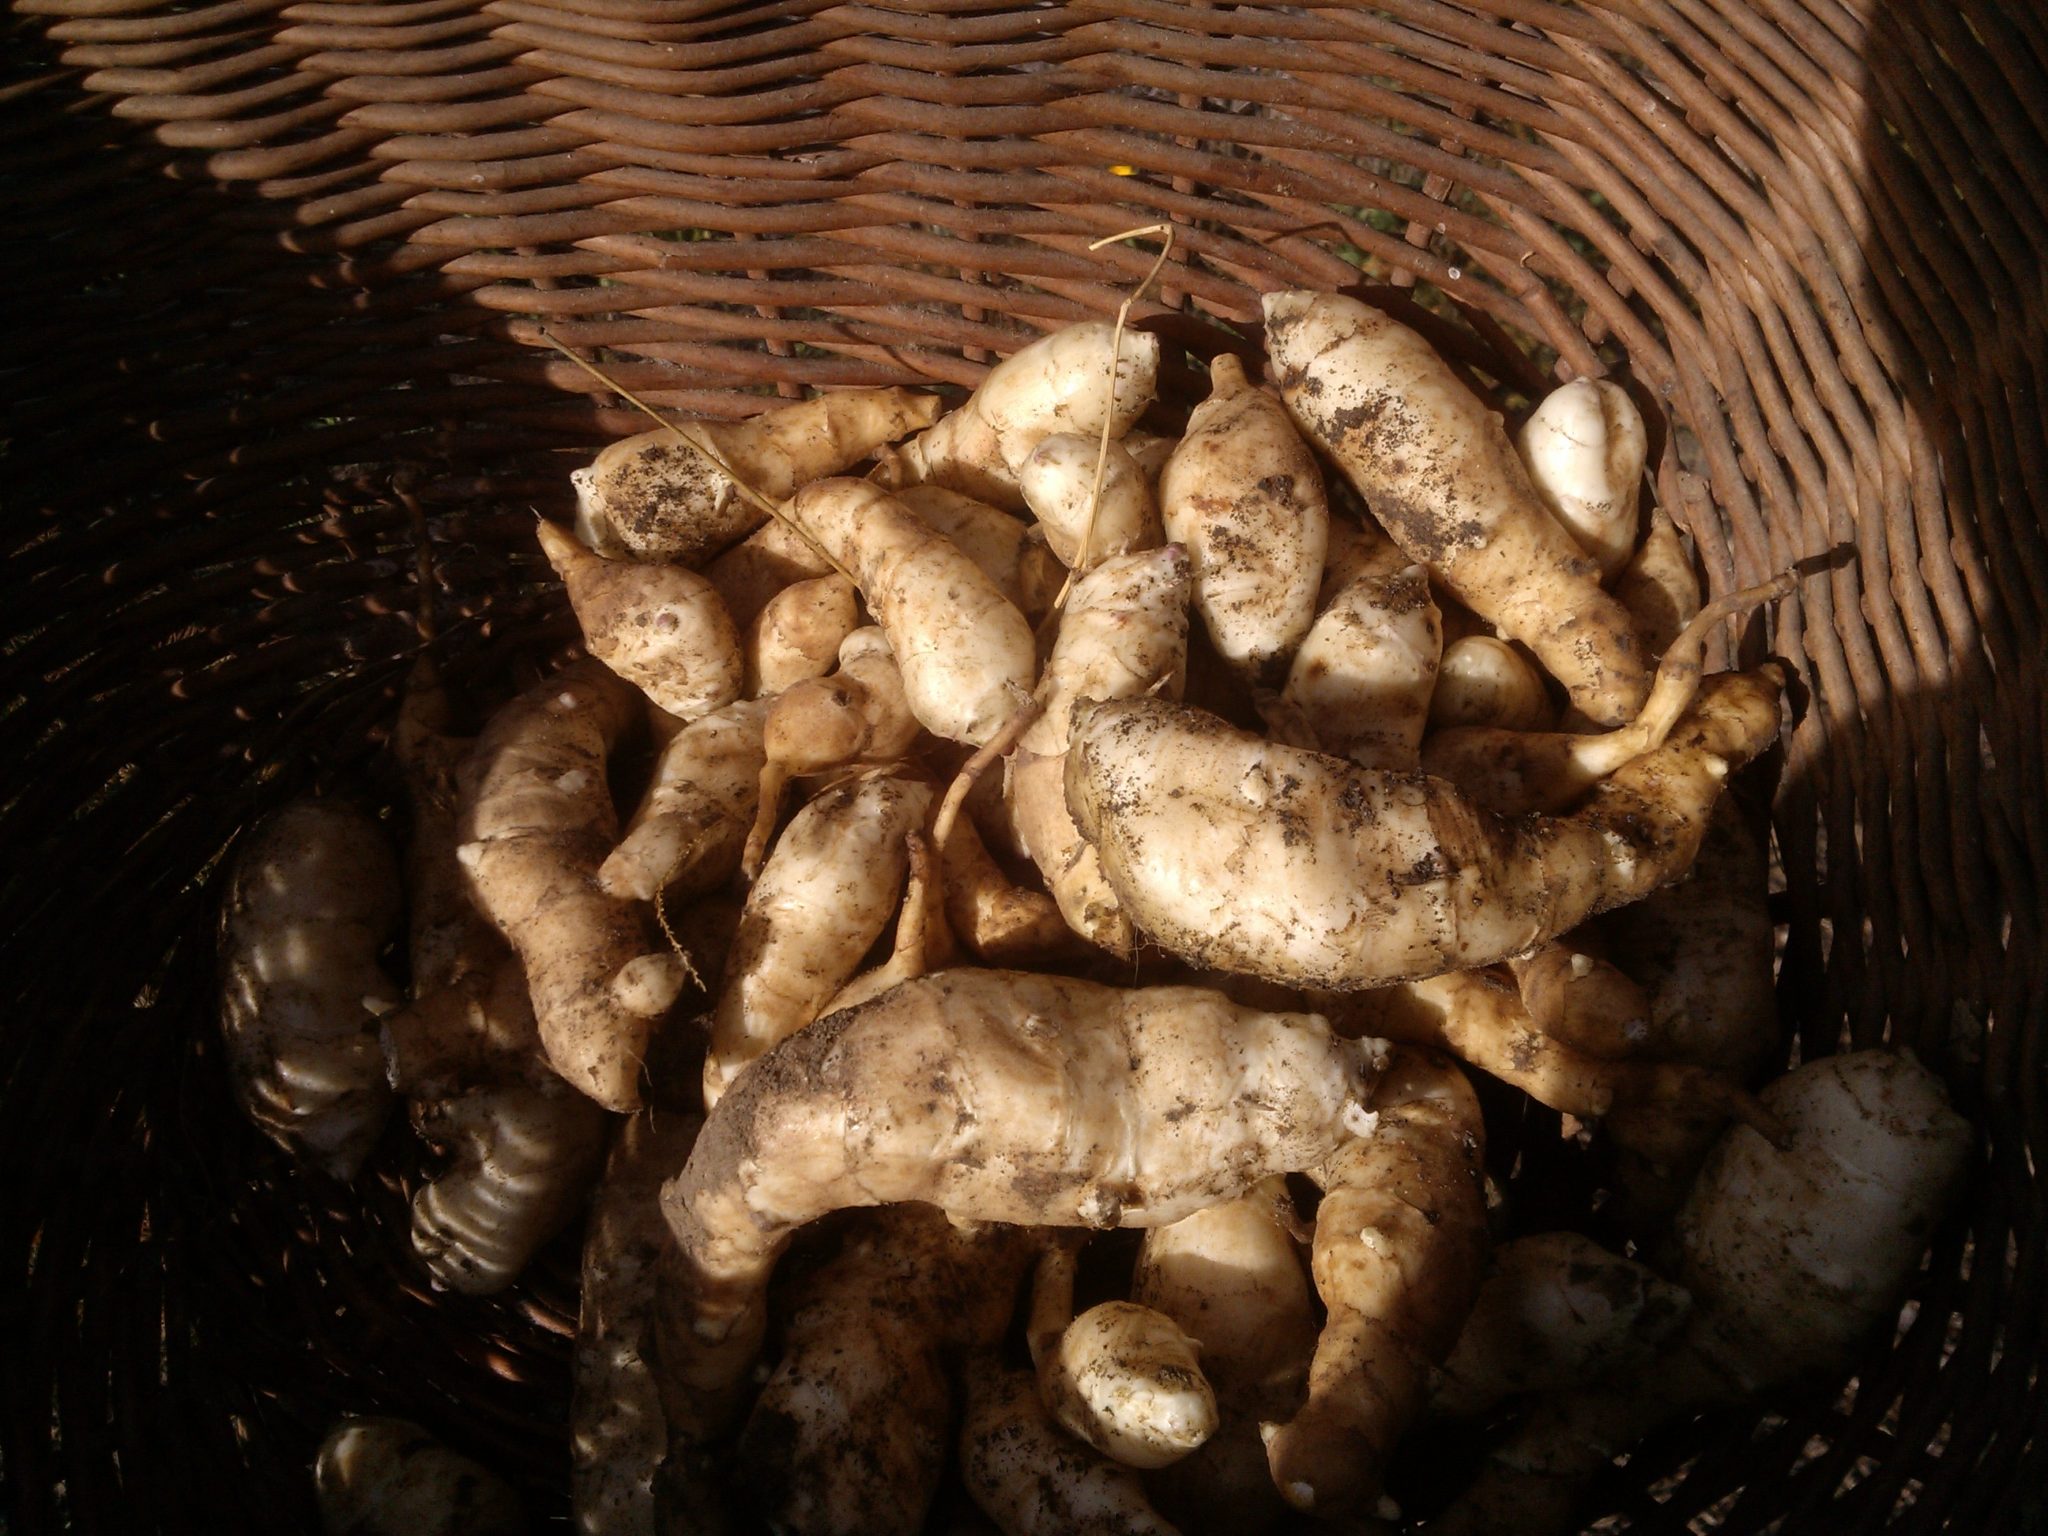
When it comes to how to grow Jerusalem artichoke, harvesting and storing are crucial steps to ensure a bountiful and long-lasting supply of this nutritious root vegetable. Jerusalem artichokes are typically ready to harvest in the fall, about 3-4 months after planting. To harvest, carefully dig around the plants with a fork, being careful not to damage the tubers. Lift the tubers out of the soil, and gently brush off any excess dirt. For immediate use, wash the tubers thoroughly and store them in a cool, dark place. For long-term storage, dry the tubers in a warm, dry place for a few days to form a protective skin. Then, store them in a paper bag or breathable container in a cool, dark place. Check on the tubers regularly to ensure they remain firm and healthy. By following these harvesting and storing tips, you can enjoy your Jerusalem artichokes throughout the year, adding their unique flavor and nutritional benefits to a variety of dishes.
Tips and Variations for Cooking and Using Jerusalem Artichokes
Once you’ve mastered how to grow Jerusalem artichoke, it’s time to explore the many ways to use this versatile root vegetable in your cooking. Jerusalem artichokes can be used in a variety of dishes, from soups and stews to salads and side dishes. One of the most popular ways to prepare Jerusalem artichokes is to roast them, bringing out their natural sweetness and depth of flavor. Simply slice the tubers thinly, toss with olive oil, salt, and pepper, and roast in the oven until tender and caramelized. You can also boil or steam Jerusalem artichokes as a side dish, or add them to soups and stews for added nutrition and flavor. For a unique twist, try pickling Jerusalem artichokes in vinegar and spices, or using them in place of potatoes in dishes like gnocchi or latkes. With their nutty flavor and crunchy texture, Jerusalem artichokes are a great addition to many recipes, and can be used in both sweet and savory dishes. By experimenting with different preparation methods and recipes, you can unlock the full potential of this nutritious and delicious root vegetable.


