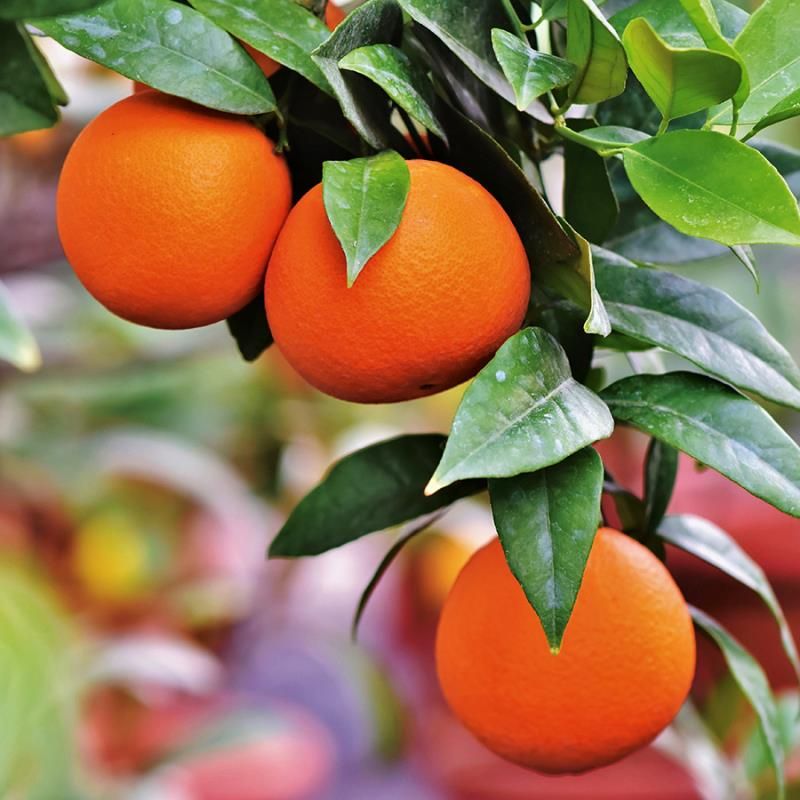
The Joy of Growing Your Own Navel Oranges
Growing navel oranges from seeds can be a fulfilling and rewarding experience for any gardening enthusiast. By cultivating your own navel oranges, you can savor the satisfaction of nurturing a plant from a mere seed into a mature tree laden with juicy citrus fruits. This endeavor also offers potential cost savings, as homegrown oranges can reduce the need for store-bought produce. Moreover, there is a unique sense of accomplishment in harvesting homegrown citrus fruits, which can be shared with family and friends or enjoyed as a personal treat.

Click Image to Find Garden Products

Selecting the Right Navel Orange Seeds
Choosing high-quality navel orange seeds is crucial for ensuring optimal growth and successful cultivation. Several factors should be taken into account when selecting navel orange seeds, including seed source, variety, and freshness. Purchasing seeds from a reputable supplier or nursery is essential, as they typically offer a wide selection of healthy and viable seeds. Opt for organic or non-GMO seeds when possible, as these are more likely to produce healthy and robust plants. When considering variety, research local climate conditions and select a navel orange cultivar that is well-suited to your region. Some popular navel orange varieties include ‘Washington,’ ‘Bahia,’ and ‘Fukumoto.’ Each variety has unique growth habits, fruit characteristics, and cold tolerance levels, so selecting a cultivar that aligns with your local climate will increase the chances of successful growth.
Freshness is another critical factor when selecting navel orange seeds. Seeds that are too old or have been stored improperly may not germinate or may produce weak and spindly seedlings. To ensure freshness, purchase seeds as close to the planting date as possible or store them in a cool, dark, and dry location until ready for use. Ideally, navel orange seeds should be planted within one year of purchase for the best results.
Preparing the Soil for Navel Orange Seed Germination
Preparing the soil is a crucial step in ensuring successful navel orange seed germination. By selecting the right soil type, ensuring proper drainage, and maintaining the ideal soil pH, you can create an environment that supports healthy root development and robust plant growth. First, choose a high-quality potting mix specifically designed for citrus plants or create your own by combining equal parts peat moss, perlite, and vermiculite. This mixture provides excellent drainage and aeration, which are essential for navel orange seed germination. Avoid using garden soil, as it may contain pests, diseases, or poor drainage characteristics that can hinder seed germination and seedling growth.
Next, focus on ensuring proper drainage. Navel orange seeds require well-draining soil to prevent waterlogging, which can lead to root rot and other fungal diseases. To improve drainage, incorporate organic matter such as compost, aged bark, or well-rotted manure into the soil mixture. Additionally, consider using a container with drainage holes to prevent excess water accumulation.
Maintaining the ideal soil pH is another critical factor in preparing the soil for navel orange seed germination. Navel oranges prefer slightly acidic to neutral soil, with a pH range of 6.0 to 7.5. Test the soil pH using a home testing kit or send a soil sample to a local extension service for analysis. If the soil pH is too high or too low, amend it by adding sulfur (to lower pH) or lime (to raise pH) as needed.
Once the soil is prepared, moisten it thoroughly and allow it to drain before planting the navel orange seeds. This ensures that the seeds are in contact with moist soil, which is essential for germination, without becoming waterlogged.
Planting Navel Orange Seeds: A Step-by-Step Guide
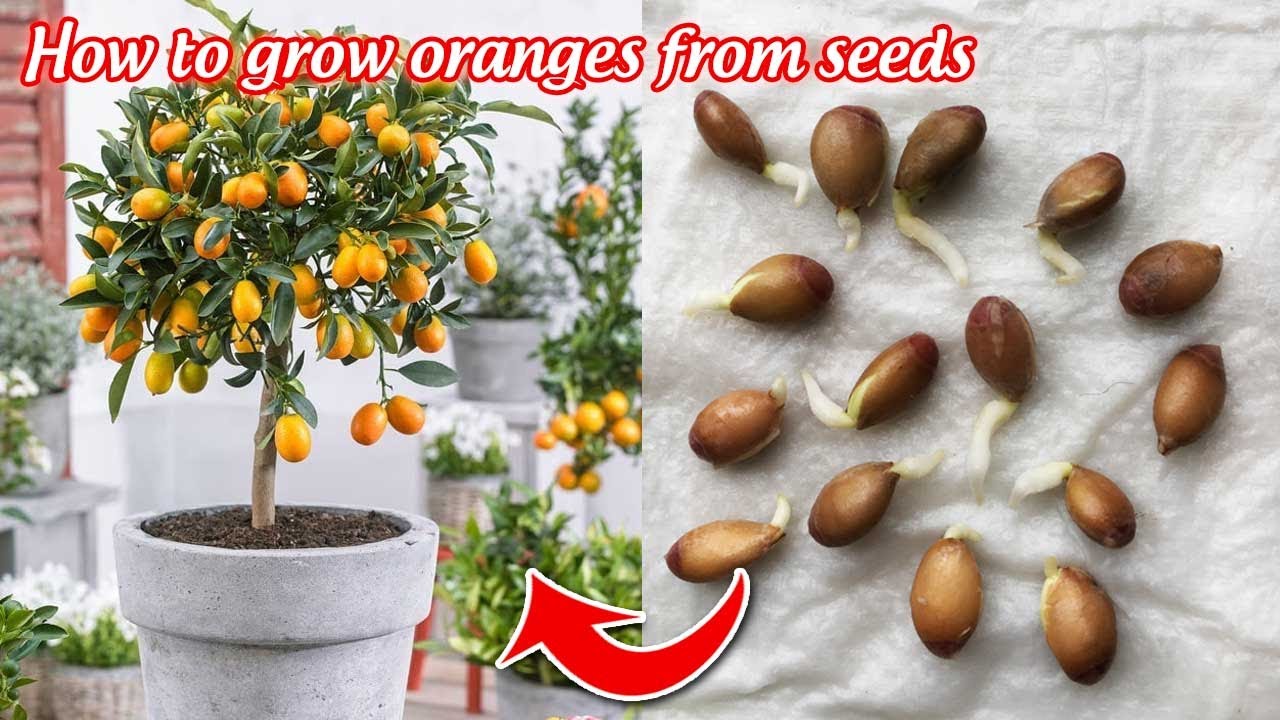
Planting navel orange seeds is a relatively simple process that can be accomplished in a few easy steps. By following this comprehensive guide, you can ensure that your seeds are planted correctly and have the best chance of successful germination. Step 1: Soak the Seeds
Before planting, soak the navel orange seeds in warm water for 24 hours. This helps to soften the seed coat and promote faster and more even germination. After soaking, gently remove any remaining pulp from the seeds and allow them to air dry for a few hours.
Step 2: Prepare the Planting Container
Choose a clean, well-draining container with drainage holes at the bottom. Fill the container with a high-quality potting mix specifically designed for citrus plants or create your own by combining equal parts peat moss, perlite, and vermiculite. Moisten the soil thoroughly and allow it to drain before planting the seeds.
Step 3: Plant the Seeds
Plant the navel orange seeds approximately 1/2 to 1 inch deep, depending on the seed size. Space the seeds about 1 to 2 inches apart to allow for adequate growth and air circulation. Cover the seeds with a thin layer of soil and gently press down to ensure good seed-to-soil contact.
Step 4: Water the Seeds
Water the seeds gently using a spray bottle or watering can with a fine nozzle. This helps to prevent soil displacement and seed movement. Keep the soil consistently moist but not waterlogged during the germination process.
Step 5: Provide Adequate Light and Warmth
Place the container in a warm, sunny location with indirect light. Navel orange seeds require a consistent temperature between 65°F and 85°F (18°C and 29°C) for optimal germination. Consider using a heat mat or seedling warmer to maintain consistent temperatures if necessary.
Nurturing Navel Orange Seedlings: Essential Care Tips
Once your navel orange seeds have germinated and grown into healthy seedlings, it’s essential to provide them with proper care to ensure optimal growth. Here are some essential care tips for navel orange seedlings, including watering frequency, sunlight requirements, and fertilization guidelines.
Watering Frequency
Maintaining consistent moisture levels is crucial for navel orange seedlings. Water the seedlings when the top inch of soil feels dry to the touch. Use a well-draining potting mix and avoid overwatering, as this can lead to root rot and other fungal diseases.
Sunlight Requirements
Navel orange seedlings require bright, indirect light for optimal growth. Place the seedlings near a south-facing window or under grow lights if natural light is insufficient. Ensure that the seedlings receive at least 6 to 8 hours of sunlight daily.
Fertilization Guidelines
Fertilize your navel orange seedlings with a citrus-specific fertilizer or a balanced, water-soluble fertilizer with a ratio such as 10-10-10. Follow the manufacturer’s instructions for application rates and frequencies. Generally, fertilize your seedlings every 4 to 6 weeks during the growing season (spring and summer) and reduce fertilization during the dormant season (fall and winter).
Additional Care Tips
Rotate your navel orange seedlings every few days to ensure even growth and prevent them from becoming leggy.
Prune your seedlings regularly to remove any dead, damaged, or diseased growth and promote bushy, well-balanced plants.
Monitor your seedlings for pests and diseases, and take appropriate action if necessary. Common pests include aphids, spider mites, and scale insects, while common diseases include powdery mildew and root rot.
Repot your navel orange seedlings when they become root-bound, typically every 12 to 18 months. Choose a container that is 1 to 2 inches larger in diameter than the current one and provides adequate drainage.

Transitioning Navel Orange Trees to Outdoor Growth
Transitioning your navel orange tree from an indoor seedling to outdoor growth is an exciting step in its development. Proper hardening off techniques and optimal planting times are crucial to ensure the tree’s successful transition and long-term health. Here’s a step-by-step guide on how to transition your navel orange tree outdoors.
Step 1: Choose the Right Location
Select a sunny location with well-draining soil and protection from strong winds. Navel orange trees prefer full sun, so choose a spot that receives at least 6 to 8 hours of direct sunlight daily.
Step 2: Acclimate the Tree (Hardening Off)
Before transplanting your navel orange tree outdoors, it’s essential to acclimate it to outdoor conditions gradually. This process, known as hardening off, helps the tree adjust to temperature fluctuations, sunlight intensity, and wind exposure.
Begin by placing the tree in a shaded area outdoors for a few hours each day, gradually increasing the exposure to direct sunlight and wind over 7 to 10 days. Monitor the tree for signs of stress, such as wilting or sunburn, and adjust the hardening off schedule accordingly.
Step 3: Prepare the Planting Site
Clear the planting site of weeds, debris, and grass. Dig a hole that is slightly larger than the tree’s root ball, ensuring that the top of the root ball is level with the surrounding soil.
Step 4: Transplant the Tree
Carefully remove the navel orange tree from its container, taking care not to damage the roots. Place the tree in the prepared hole and backfill with a mixture of native soil and high-quality organic compost. Gently tamp the soil around the root ball and water thoroughly to remove any air pockets.
Step 5: Mulch and Fertilize
Apply a 2- to 3-inch layer of organic mulch around the base of the tree, keeping it at least 6 inches away from the trunk. This helps to conserve moisture, suppress weeds, and regulate soil temperature. Fertilize the tree with a citrus-specific fertilizer or a balanced, water-soluble fertilizer with a ratio such as 10-10-10, following the manufacturer’s instructions for application rates and frequencies.
Step 6: Monitor and Maintain
After transplanting, monitor the tree for signs of stress or disease. Water the tree consistently, maintaining moist but not waterlogged soil. Prune the tree as needed to remove any dead, damaged, or diseased growth and promote a strong, well-balanced structure.
Optimal Planting Times
In general, the best time to transition navel orange trees outdoors is in the late spring or early summer, when temperatures are consistently warm, and the risk of frost has passed. However, in regions with mild winters, trees can be planted in the fall or early winter, provided they are adequately protected from frost and freezing temperatures.

Maintaining and Harvesting Navel Orange Trees
Cultivating navel oranges from seeds is a rewarding and engaging process that requires patience, dedication, and proper care. As your navel orange tree grows and matures, it’s essential to provide ongoing maintenance and attention to ensure a bountiful and healthy harvest. Here are some key aspects of long-term care for navel orange trees, including pruning, pest management, and harvesting techniques.
Pruning Techniques Navel oranges typically take 7 to 15 years to reach maturity and begin producing fruit. Harvest your navel oranges when they are ripe, usually from late fall to early spring. Growing navel oranges from seeds can be a rewarding experience, but it may present several challenges along the way. Slow growth, pests, and diseases are common issues that gardeners may encounter. By understanding these challenges and implementing practical solutions, you can increase your chances of success and enjoy the fruits of your labor. Slow Growth
Pruning is an essential maintenance task for navel orange trees, promoting a strong structure, improving fruit quality, and managing tree size. Prune your tree annually, ideally in the late winter or early spring, just before new growth begins.
Focus on removing dead, damaged, or diseased branches, as well as any crossing or rubbing limbs that may cause injury to the tree. Aim to maintain an open, vase-shaped canopy that allows sunlight and air to penetrate the interior of the tree. This helps to prevent pests and diseases and encourages even fruit production.
Pest Management Strategies
Navel orange trees can be susceptible to various pests, including aphids, scales, whiteflies, and citrus leafminers. Regularly inspect your tree for signs of infestation, such as sticky residue, discolored leaves, or damaged fruit.
Implement an integrated pest management (IPM) strategy to control pests, combining cultural, mechanical, and chemical methods. This may include removing affected leaves or branches, introducing beneficial insects, or using organic or synthetic pesticides as a last resort. Always follow the manufacturer’s instructions and guidelines for application rates and frequencies.
Harvesting Techniques
To determine if your oranges are ready to harvest, look for signs of maturity, such as a smooth, deep orange skin color and a slightly loose, plump fruit. Gently twist the fruit from the tree or use pruning shears to cut it free, leaving a short length of stem attached.
After harvesting, store your navel oranges in a cool, dry location away from direct sunlight. Enjoy your homegrown citrus fruits fresh, or preserve them through juicing, canning, or freezing for long-term storage.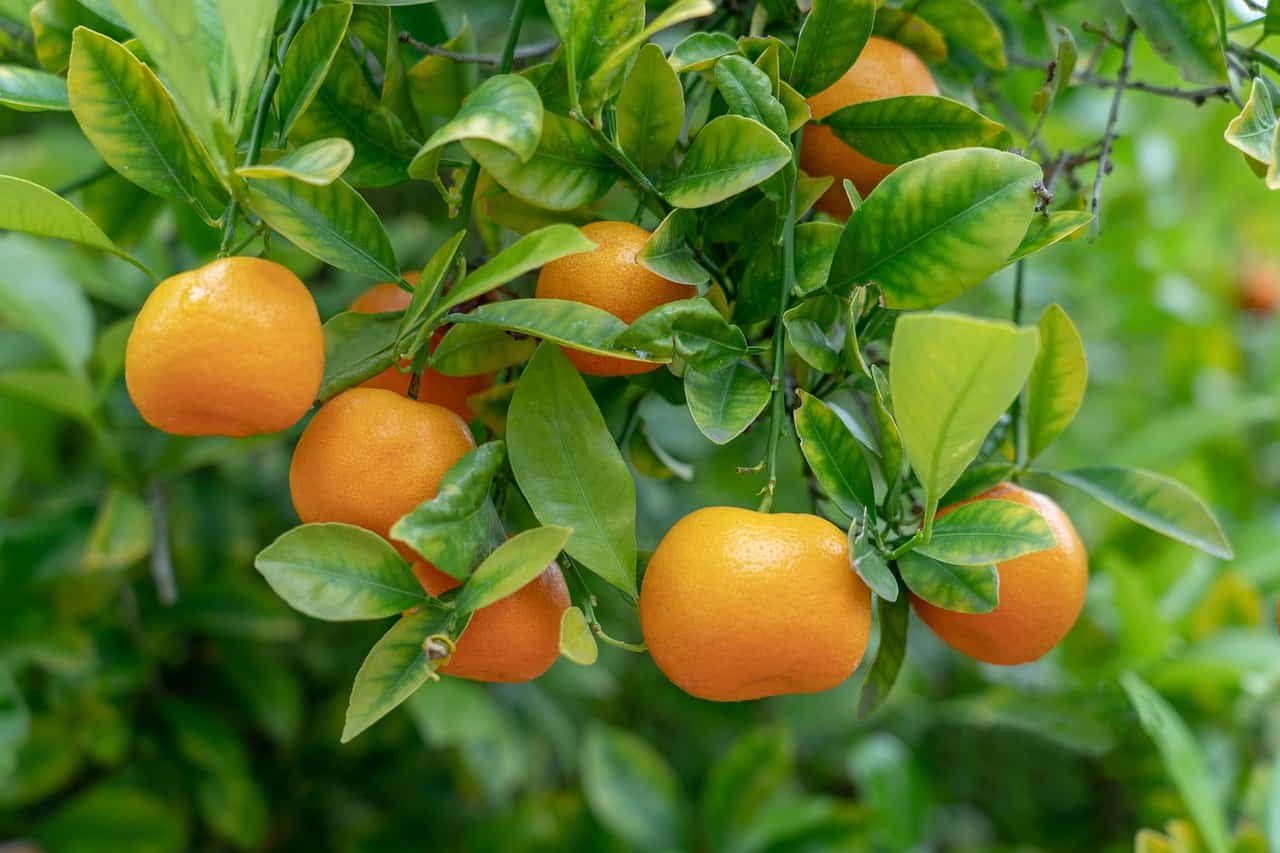
Troubleshooting Common Navel Orange Growing Challenges
Navel orange trees can be slow-growing, especially during their early stages. Patience is essential, as it may take several years for your tree to mature and produce fruit. To promote healthy growth, ensure that your tree receives adequate sunlight, water, and nutrients. Consider using a high-quality citrus-specific fertilizer to provide essential micronutrients that may be lacking in your soil.
Pests
Various pests can affect navel orange trees, including aphids, scales, whiteflies, and citrus leafminers. These pests can cause damage to leaves, stems, and fruit, reducing the overall health and vigor of your tree.
To manage pests, implement an integrated pest management (IPM) strategy that combines cultural, mechanical, and chemical methods. Regularly inspect your tree for signs of infestation and remove affected leaves or branches. Introduce beneficial insects, such as ladybugs or lacewings, to help control pest populations. As a last resort, use organic or synthetic pesticides, following the manufacturer’s instructions and guidelines for application rates and frequencies.
Diseases
Navel orange trees can be susceptible to various diseases, including citrus greening, root rot, and powdery mildew. These diseases can cause significant damage to your tree, affecting its growth and fruit production.
To prevent diseases, maintain proper cultural practices, such as pruning, watering, and fertilization. Ensure that your tree receives adequate air circulation and sunlight to help prevent the onset of fungal diseases. If your tree becomes infected, consider using organic or synthetic fungicides, following the manufacturer’s instructions and guidelines for application rates and frequencies.
Persistence in the Face of Setbacks
Growing navel oranges from seeds can be a challenging yet rewarding experience. Persistence is crucial, as setbacks and challenges are inevitable. By understanding the common issues that may arise and implementing practical solutions, you can increase your chances of success and enjoy the satisfaction of harvesting homegrown citrus fruits.