The Allure of Water Lilies: Why Grow Them in a Bowl?
Water lilies are renowned for their breathtaking beauty and ability to create a serene atmosphere. These aquatic plants have been a popular choice for ponds and lakes, but they can also thrive in a bowl, bringing their elegance and tranquility to small spaces or indoor gardens. One of the primary benefits of growing water lilies in a bowl is their ability to purify the water, making them a great option for those who want to create a self-sustaining ecosystem. Additionally, water lilies are relatively low-maintenance and can be grown indoors, making them an ideal choice for those who want to bring a touch of nature into their home. By learning how to grow water lilies in a bowl, you can enjoy the beauty and benefits of these stunning plants, even with limited space.

Click Image to Find Garden Products

Choosing the Right Container: Essential Considerations
When it comes to growing water lilies in a bowl, selecting the right container is crucial for the health and success of your plant. The container should be large enough to accommodate the mature size of the water lily, as well as provide adequate depth for the roots to grow. A minimum depth of 12-18 inches is recommended, with a width that is at least 2-3 times the diameter of the plant. The material of the container is also important, with ceramic, fiberglass, or plastic being good options. Avoid using metal containers, as they can react with the water and harm the plant. Additionally, consider the color of the container, as a light-colored bowl can help to reflect light and promote healthy growth. By choosing the right container, you can create an ideal environment for your water lily to thrive and enjoy the beauty of how to grow water lilies in a bowl.

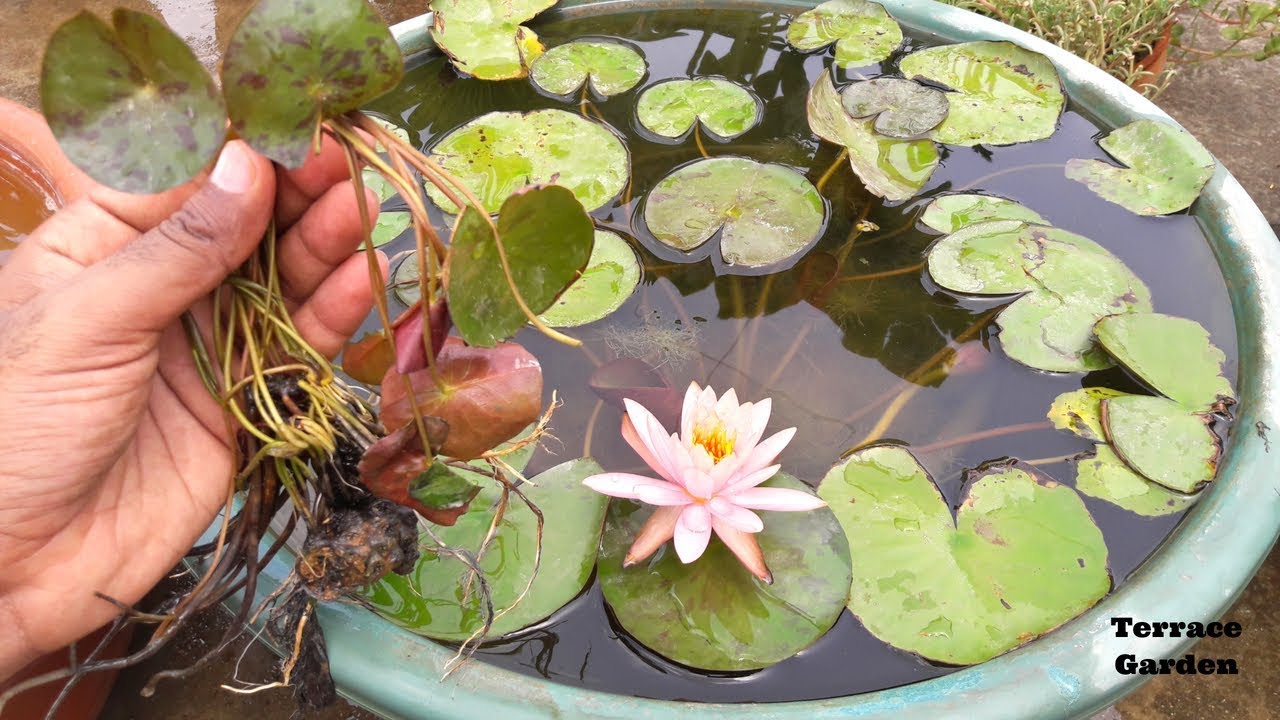
How to Select Healthy Water Lilies for Your Bowl
When selecting water lily plants for your bowl, it’s essential to choose healthy specimens to ensure optimal growth and success. Whether you’re purchasing from a nursery or online retailer, there are several key factors to consider. First, inspect the rhizome or plant for signs of disease or pests, such as holes, discoloration, or unusual growths. Look for plants with firm, green leaves and sturdy stems, as these are indicative of good health. Avoid plants with yellow or wilted leaves, as these may be stressed or diseased. Additionally, consider the size and maturity of the plant, as well as its hardiness and climate tolerance. By selecting healthy water lily plants, you can set yourself up for success and enjoy the beauty of how to grow water lilies in a bowl. Remember to handle the plants gently and avoid damaging the roots or leaves during transportation and planting. With proper care and attention, your water lily will thrive and provide years of enjoyment.

Creating the Ideal Environment: Water Quality and Lighting
When it comes to growing water lilies in a bowl, creating the ideal environment is crucial for the plant’s success. Two of the most critical factors to consider are water quality and lighting. Water lilies require optimal water conditions to thrive, including a pH level between 6.5 and 8.5, a temperature range of 75-87°F (24-31°C), and a balanced nutrient supply. Regularly test the water for pH, ammonia, and nitrite levels, and perform partial water changes as needed to maintain optimal conditions. Additionally, provide your water lily with the right amount of light. Most water lilies require full sun to partial shade, with a minimum of 4-6 hours of direct sunlight per day. However, some varieties can tolerate low light conditions, so be sure to research the specific needs of your plant. By maintaining optimal water quality and providing the right amount of light, you can create an ideal environment for your water lily to thrive and enjoy the beauty of how to grow water lilies in a bowl.

Planting and Caring for Your Water Lily: A Step-by-Step Guide
Once you’ve selected a healthy water lily plant and prepared the perfect bowl, it’s time to plant and care for your new addition. To ensure success, follow these step-by-step instructions. Begin by preparing the soil, using a mixture specifically designed for aquatic plants. Plant the rhizome at a depth of 1-2 inches, with the growing tips facing upwards. Add a layer of gravel or rocks to prevent the soil from clouding the water. Next, fill the bowl with dechlorinated water, leaving about 1-2 inches at the top for watering. Place the bowl in a location with the right amount of light, and maintain a consistent water temperature between 75-87°F (24-31°C). To promote healthy growth, fertilize your water lily regularly with a balanced fertilizer. Prune the plant regularly to maintain its shape and encourage new growth. Divide and replant your water lily every 2-3 years to maintain its health and vigor. By following these simple steps, you’ll be well on your way to growing a thriving water lily in a bowl and enjoying the beauty and benefits of how to grow water lilies in a bowl.

Troubleshooting Common Issues: Pests, Diseases, and Nutrient Deficiencies
Despite proper care, water lilies in bowls can still be susceptible to pests, diseases, and nutrient deficiencies. It’s essential to monitor your plant’s health regularly and address any issues promptly. Common pests that can affect water lilies include aphids, whiteflies, and spider mites. To control infestations, use organic pest control methods such as neem oil or insecticidal soap. Fungal diseases like root rot and leaf spot can be treated with fungicides, while bacterial diseases require antibiotic treatments. Nutrient deficiencies can be addressed by adjusting the fertilizer regimen or adding supplements. Regularly inspect your plant for signs of disease or pests, such as yellowing leaves, black spots, or tiny insects. By catching problems early, you can prevent them from spreading and ensure your water lily continues to thrive in its bowl. Remember, learning how to grow water lilies in a bowl requires patience, attention to detail, and a willingness to troubleshoot common issues that may arise.

Enhancing Your Water Lily Display: Tips for Aesthetics and Maintenance
To create a stunning water lily display, consider the arrangement of your plants, decorative elements, and overall bowl maintenance. Start by selecting a visually appealing bowl that complements the color and shape of your water lily. Arrange your plants in a way that creates a sense of balance and harmony, leaving enough space for growth and air circulation. Add decorative elements such as rocks, gravel, or floating plants to enhance the aesthetic appeal of your display. Regularly clean your bowl by removing debris and excess algae, and replace the water as needed to maintain optimal water quality. By following these tips, you can create a beautiful and thriving water lily display that brings joy and serenity to any space. Remember, learning how to grow water lilies in a bowl requires attention to detail and a willingness to experiment with different arrangements and decorative elements to find the perfect look for your display.
Conclusion: Enjoying the Fruits of Your Labor
By following the guidelines outlined in this article, you can successfully grow water lilies in a bowl and enjoy the numerous benefits they provide. From purifying the water to creating a serene atmosphere, water lilies are a great addition to any indoor or outdoor space. Remember, learning how to grow water lilies in a bowl requires patience, attention to detail, and a willingness to experiment with different techniques and arrangements. With the right care and maintenance, your water lily can thrive and provide beauty and enjoyment for years to come. So why not give it a try? Start growing your own water lily in a bowl today and discover the joy of nurturing these stunning plants. With a little practice and patience, you’ll be well on your way to becoming a water lily expert and enjoying the many rewards of growing these beautiful plants in a bowl.
