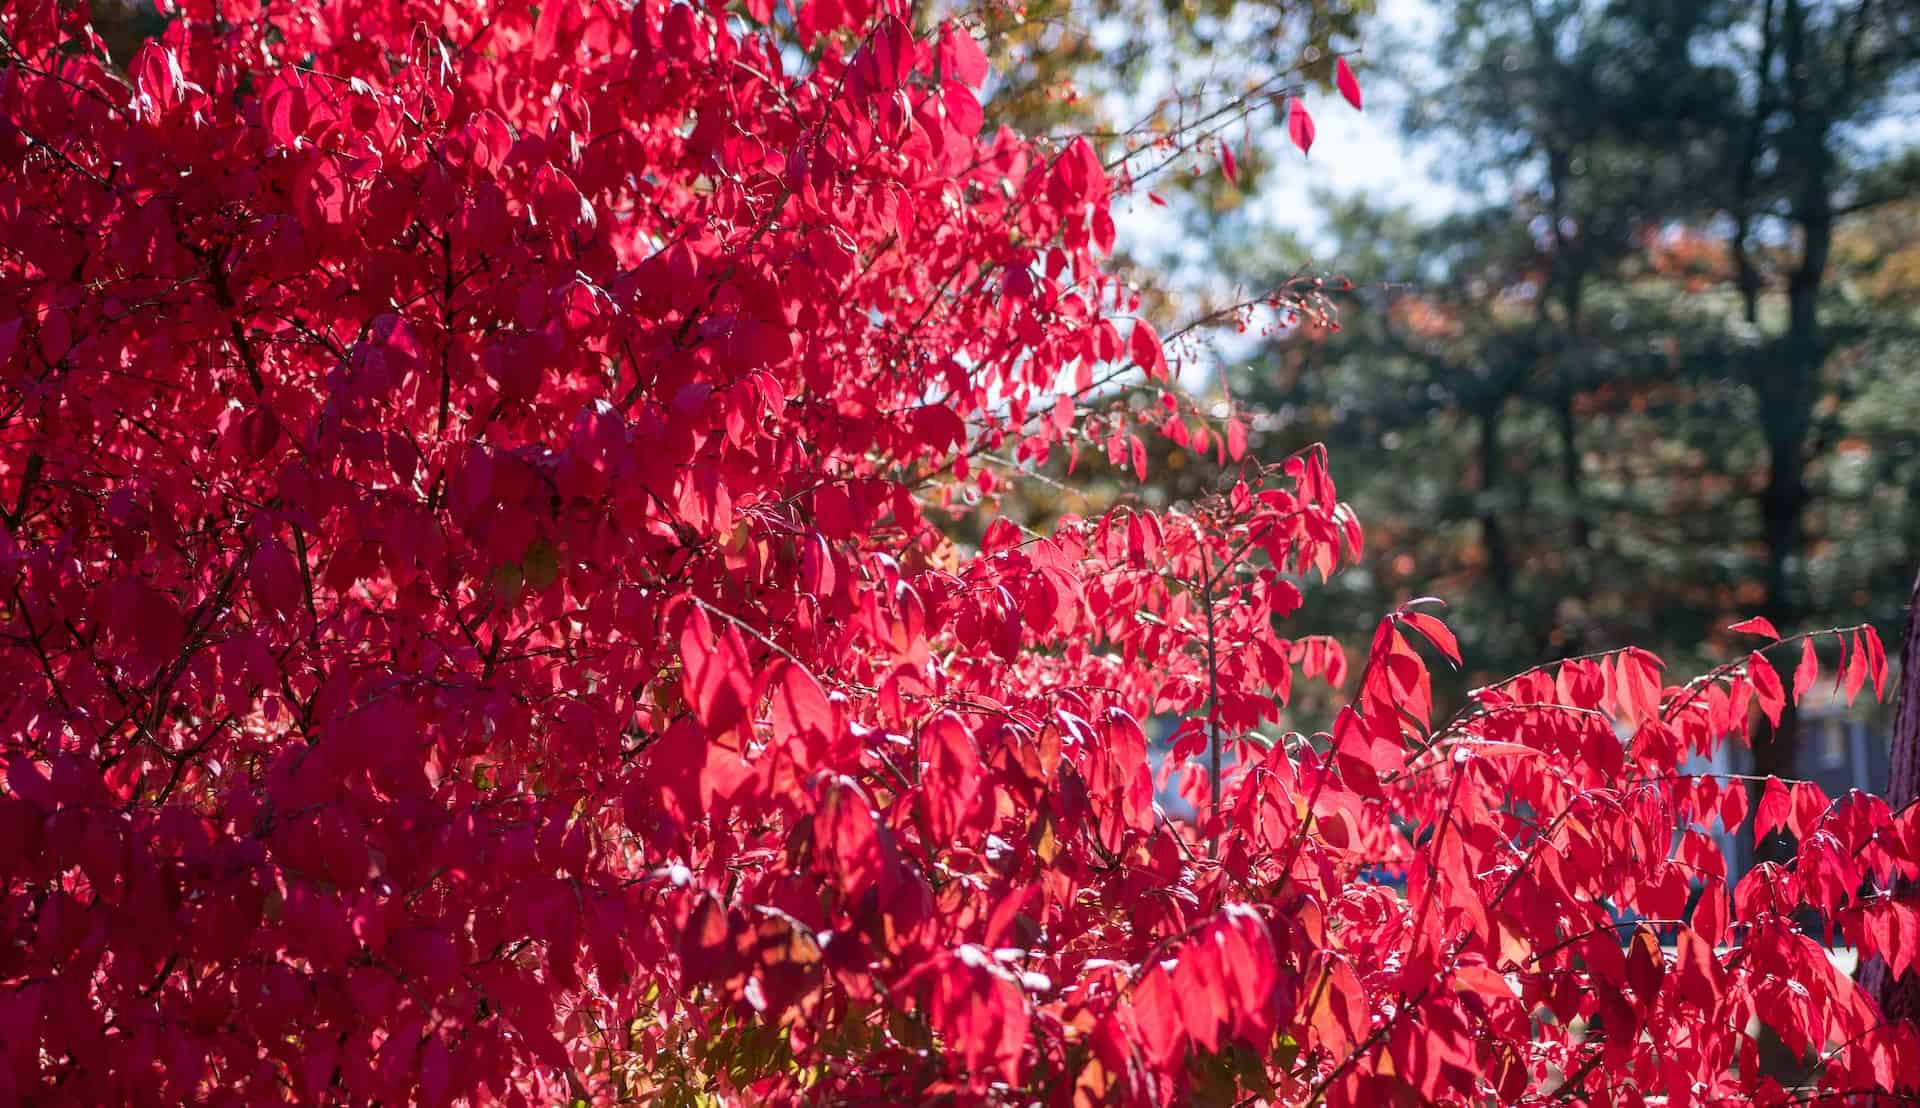
Choosing the Perfect Location for Your Burning Bush
When it comes to planting a burning bush, selecting the right location is crucial for its growth and success. Burning bushes prefer full sun to partial shade, so choose a spot that receives at least 4-6 hours of direct sunlight per day. In addition to sunlight, burning bushes require well-draining soil to prevent root rot and other problems. The ideal soil pH for burning bushes is slightly acidic to neutral, ranging from 6.0 to 7.0. To determine your soil type, you can purchase a soil testing kit or consult with a local nursery or gardening expert.

Click Image to Find Garden Products
To ensure optimal growth, avoid planting your burning bush in low-lying areas where water may collect. Burning bushes are adaptable to a range of soil types, but they prefer soil that is rich in organic matter. If your soil is heavy clay or sandy, consider amending it with compost or well-rotted manure to improve its structure and fertility. By choosing the right location and preparing the soil properly, you’ll be well on your way to growing a thriving and beautiful burning bush.
When learning how to plant a burning bush, it’s essential to consider the mature size of the plant. Burning bushes can grow up to 10-15 feet tall and wide, so make sure to provide enough space for the plant to grow and spread out. Also, consider the location of nearby plants and features, such as sidewalks, patios, and other landscaping elements, to ensure that your burning bush has enough room to grow without encroaching on other areas of your garden.
By selecting the perfect location for your burning bush, you’ll be able to enjoy its vibrant fall colors and attractive foliage for years to come. With proper care and maintenance, your burning bush will thrive and become a stunning addition to your garden or landscape.
Preparing the Soil for Your Burning Bush
Before planting your burning bush, it’s essential to prepare the soil to ensure optimal growth and establishment. The first step is to remove any weeds or debris from the planting area. This will prevent competition for water and nutrients and reduce the risk of disease and pests. Use a garden fork or spade to loosen the soil to a depth of 12-18 inches, breaking up any clods or compacted areas.
Next, add organic matter such as compost or well-rotted manure to the soil. This will help improve the soil’s structure, fertility, and overall health. Burning bushes prefer a slightly acidic to neutral soil pH, so if your soil is heavy clay or sandy, consider adding amendments to adjust the pH. A soil test can help determine the pH and nutrient levels of your soil, allowing you to make informed decisions about amendments and fertilizers.
When learning how to plant a burning bush, it’s crucial to understand the importance of soil preparation. By taking the time to prepare the soil properly, you’ll be creating a solid foundation for your burning bush to thrive. This will help ensure that your plant establishes itself quickly, grows vigorously, and produces vibrant fall colors.
In addition to adding organic matter, consider incorporating other soil amendments such as perlite or vermiculite to improve drainage and aeration. This is especially important if you have heavy clay soil, which can be prone to waterlogging. By creating a well-draining and fertile soil environment, you’ll be giving your burning bush the best possible start in life.
Once you’ve prepared the soil, you’re ready to move on to the next step in the process: planting your burning bush. By following these simple steps, you’ll be well on your way to growing a thriving and beautiful burning bush that will provide years of enjoyment and beauty in your garden.

Planting Your Burning Bush: A Step-by-Step Process
Now that you’ve prepared the soil and selected the perfect location, it’s time to plant your burning bush. This process requires some care and attention to detail, but with the right steps, you’ll be able to give your plant the best possible start in life. When learning how to plant a burning bush, it’s essential to follow these steps carefully to ensure optimal growth and establishment.
Start by digging a hole that is twice as wide and just as deep as the root ball of your burning bush. If your plant is bare-root, dig a hole that is slightly deeper to accommodate the roots. Gently remove the plant from its container, taking care not to disturb the roots. If the roots are wrapped in burlap, remove the burlap and any string or wire that may be holding it in place.
Place the plant in the hole, making sure that the root flare (where the stem meets the roots) is level with the soil surface. Backfill the soil, gently firming it around the roots to prevent air pockets. Water the soil thoroughly to settle the soil and provide enough moisture to support establishment.
Once you’ve planted your burning bush, it’s essential to provide adequate water and care to support establishment. Water your plant deeply once or twice a week, depending on weather conditions. Avoid overwatering, which can lead to root rot and other problems. Mulch around the base of the plant to retain moisture, suppress weeds, and regulate soil temperature.
By following these steps, you’ll be able to plant your burning bush with confidence and give it the best possible start in life. Remember to monitor your plant’s progress, adjusting your care routine as needed to ensure optimal growth and establishment. With proper care and attention, your burning bush will thrive and provide years of beauty and enjoyment in your garden.

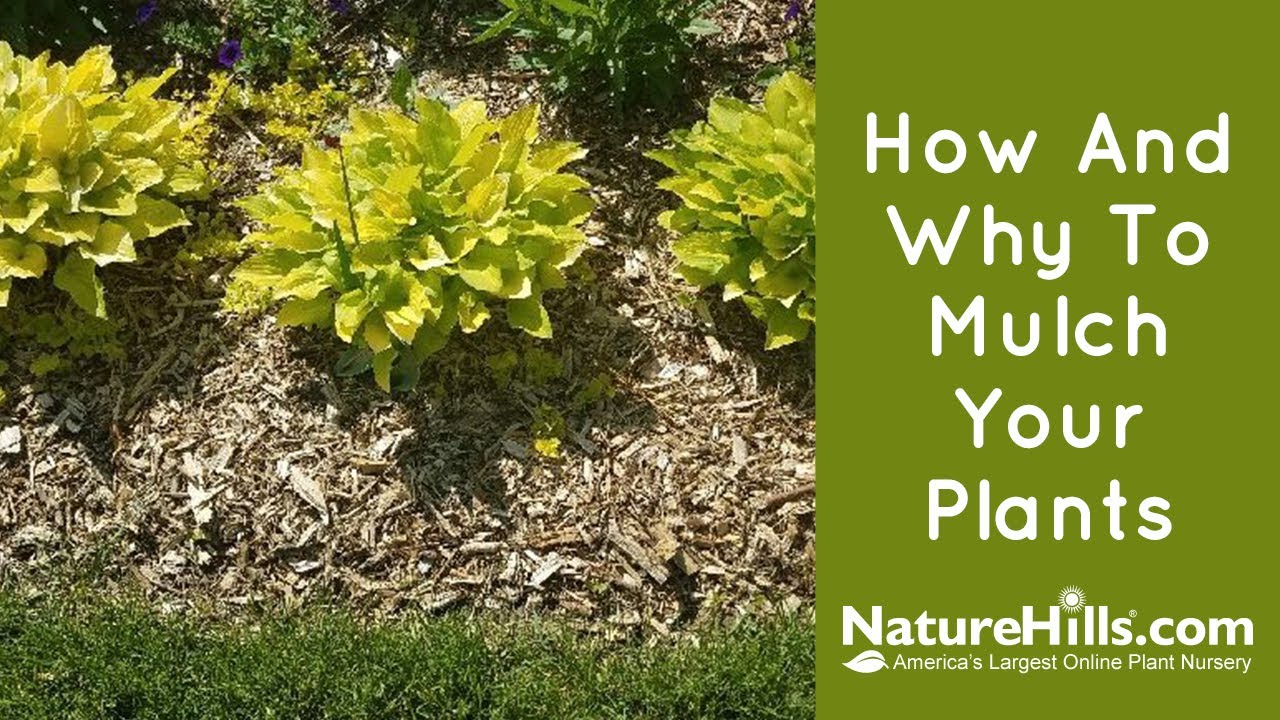
Watering and Mulching Your Newly Planted Burning Bush
Proper watering and mulching techniques are crucial for newly planted burning bushes. When learning how to plant a burning bush, it’s essential to understand the importance of providing adequate moisture and nutrients to support establishment. Water your burning bush deeply once or twice a week, depending on weather conditions. Avoid overwatering, which can lead to root rot and other problems.
Mulching around the base of the plant is also essential for retaining moisture, suppressing weeds, and regulating soil temperature. Apply a 2-3 inch layer of organic mulch such as wood chips, bark, or straw around the base of the plant. Keep the mulch a few inches away from the stem to prevent moisture from accumulating and causing rot.
It’s also important to monitor the soil moisture by inserting your finger into the soil up to the knuckle. If the soil feels dry, it’s time to water. Avoid getting water on the leaves or crown of the plant to prevent fungal diseases. Instead, water at the base of the plant, allowing the soil to absorb the moisture.
In addition to watering and mulching, it’s essential to provide your burning bush with adequate nutrients. Burning bushes are heavy feeders and require regular fertilization to promote healthy growth and color. Apply a balanced fertilizer in the spring, following the manufacturer’s instructions for application rates and timing.
By following these watering and mulching techniques, you’ll be able to provide your newly planted burning bush with the best possible start in life. Remember to monitor your plant’s progress, adjusting your care routine as needed to ensure optimal growth and establishment. With proper care and attention, your burning bush will thrive and provide years of beauty and enjoyment in your garden.
Fertilizing and Pruning Your Burning Bush for Optimal Growth
Once your burning bush is established, it’s essential to provide regular fertilization and pruning to promote optimal growth and color. When learning how to plant a burning bush, it’s crucial to understand the importance of fertilization and pruning in maintaining the plant’s health and appearance.
Apply a balanced fertilizer in the spring, following the manufacturer’s instructions for application rates and timing. Burning bushes are heavy feeders and require regular fertilization to promote healthy growth and color. Avoid overfertilizing, which can lead to weak and leggy growth.
Pruning is also essential for maintaining the shape and promoting new growth of your burning bush. Prune in the late winter or early spring, removing any dead or damaged branches. Cut back the tips of the branches to encourage new growth and maintain the plant’s shape. Remove any suckers or water sprouts that may be growing from the base of the plant.
Pruning can also help control the size of your burning bush. If you want to maintain a smaller plant, prune more frequently to control the growth. If you want to allow the plant to grow larger, prune less frequently to allow the branches to grow longer.
By fertilizing and pruning your burning bush regularly, you’ll be able to promote optimal growth and color. Remember to monitor your plant’s progress, adjusting your care routine as needed to ensure optimal growth and establishment. With proper care and attention, your burning bush will thrive and provide years of beauty and enjoyment in your garden.

Common Problems and Pests to Watch Out for When Growing Burning Bush
Like any plant, burning bushes can be susceptible to certain problems and pests. When learning how to plant a burning bush, it’s essential to be aware of these potential issues and know how to identify and treat them. By taking proactive steps, you can help prevent problems and ensure your burning bush remains healthy and thriving.
One common problem that can affect burning bushes is root rot. This can occur when the soil is too wet or waterlogged, causing the roots to rot. To prevent root rot, make sure the soil is well-draining and avoid overwatering. If you notice any signs of root rot, such as yellowing leaves or soft stems, remove the affected areas and treat the plant with a fungicide.
Leaf spot is another common problem that can affect burning bushes. This is a fungal disease that causes small, circular spots to form on the leaves. To treat leaf spot, remove any affected leaves and treat the plant with a fungicide. Make sure to disinfect your pruning tools between cuts to prevent the spread of the disease.
Spider mites are a common pest that can affect burning bushes. These tiny insects feed on the sap of the plant, causing yellowing leaves and fine webbing. To treat spider mites, spray the plant with a strong jet of water to dislodge the mites. You can also use insecticidal soap or neem oil to control the infestation.
Other pests that can affect burning bushes include aphids, scale, and mealybugs. To control these pests, use insecticidal soap or neem oil, and make sure to follow the instructions on the label carefully.
By being aware of these potential problems and pests, you can take proactive steps to prevent them and ensure your burning bush remains healthy and thriving. Remember to monitor your plant regularly and take action quickly if you notice any signs of problems or pests.
/burning-bush-euonymus-alatus-08a9ae7f-6085dd0bcd714e08a374dd45e33ee665.jpg)
Using Burning Bush in Your Landscape Design
Burning bushes are versatile plants that can be used in a variety of ways in your landscape design. When learning how to plant a burning bush, it’s essential to consider how you can use this plant to create a beautiful and cohesive landscape. One popular way to use burning bushes is as a hedge or border. They can be pruned to maintain a compact shape and can be used to create a formal or informal hedge.
Burning bushes can also be used as a specimen plant, adding a pop of color and interest to your landscape. They can be planted in a container or in the ground, and can be used to create a focal point in your garden. When using burning bushes as a specimen plant, make sure to provide enough space for the plant to grow and spread out.
Another way to use burning bushes is in a mixed border or garden bed. They can be combined with other plants and features to create a beautiful and cohesive landscape. When combining burning bushes with other plants, make sure to choose plants that have similar growing conditions and space requirements.
Some popular plants to combine with burning bushes include perennials such as coneflowers, black-eyed susans, and daylilies. These plants can add a variety of textures and colors to your landscape, and can help to create a beautiful and cohesive look. You can also combine burning bushes with other shrubs, such as boxwood or holly, to create a formal or informal hedge.
When using burning bushes in your landscape design, make sure to consider the mature size of the plant and leave enough space for it to grow and spread out. You should also consider the growing conditions and space requirements of the plant, and choose plants that have similar needs. By following these tips, you can create a beautiful and cohesive landscape that showcases the beauty of burning bushes.

Maintenance and Care for Your Mature Burning Bush
Once your burning bush has matured, it will require ongoing maintenance and care to ensure it continues to thrive. When learning how to plant a burning bush, it’s essential to understand the importance of regular watering, fertilizing, and pruning in maintaining the plant’s health and appearance.
Water your mature burning bush regularly, providing about 1 inch of water per week. Avoid overwatering, which can lead to root rot and other problems. Fertilize your burning bush annually, using a balanced fertilizer that is high in phosphorus to promote healthy root growth and flowering.
Pruning is also essential for maintaining the shape and promoting new growth of your mature burning bush. Prune in the late winter or early spring, removing any dead or damaged branches. Cut back the tips of the branches to encourage new growth and maintain the plant’s shape.
Monitor your burning bush regularly for pests and diseases, and take action quickly if you notice any problems. Common pests that can affect burning bushes include aphids, scale, and spider mites. Regularly inspect your plant for signs of infestation, and use organic or integrated pest management methods to control any problems that arise.
As your burning bush matures, it may require adjustments to its care routine. For example, you may need to prune more frequently to maintain the plant’s shape, or adjust the frequency of watering and fertilizing based on weather conditions. By monitoring your plant’s progress and making adjustments as needed, you can ensure your burning bush continues to thrive and provide years of beauty and enjoyment in your garden.