The Allure of Homegrown Olives
Growing olive trees from seed offers a unique opportunity to connect with nature and enjoy the fruits of your labor. Having a personal olive grove can be a rewarding experience, providing a sense of accomplishment and pride in nurturing a tree from seed to maturity. One of the most significant benefits of growing olive trees from seed is the potential for fresh, homegrown olives. Imagine harvesting olives from your own tree, enjoying the flavor and aroma of freshly picked olives, and sharing them with family and friends. With the right guidance, anyone can successfully cultivate an olive tree, regardless of their gardening experience. By understanding the process of growing olive trees from seed, individuals can unlock the secrets of this ancient practice and reap the rewards of their labor.
Choosing the Right Olive Seed Variety
Selecting the right olive seed variety is crucial for successful cultivation. With hundreds of olive tree varieties to choose from, it’s essential to consider factors such as climate, soil type, and desired olive characteristics. For example, if you live in a region with hot summers, you may want to choose a variety that is heat-tolerant, such as ‘Arbequina’ or ‘Koroneiki’. If you prefer a milder flavor, you may opt for a variety like ‘Frantoio’ or ‘Moraiolo’. In regions with cooler winters, varieties like ‘Mission’ or ‘Manzanillo’ may thrive. Understanding the specific needs of your region and the characteristics of different olive seed varieties will help you make an informed decision and increase your chances of success. By choosing the right variety, you’ll be well on your way to growing a healthy, productive olive tree that will provide you with fresh, delicious olives for years to come.
Preparing the Soil for Olive Seed Germination
Before planting an olive seed, it’s essential to prepare the soil to ensure optimal germination conditions. Olive seeds require a well-draining seed starting mix to prevent waterlogged soil, which can lead to root rot and poor germination. A mix specifically designed for seeds, with a pH between 6.0 and 7.0, is ideal. To create your own seed starting mix, combine 1 part peat moss, 1 part vermiculite, and 1 part perlite. Sterilize the soil by baking it in the oven at 300°F (150°C) for 30 minutes to kill any fungal diseases that may be present. This step is crucial, as olive seeds are susceptible to fungal diseases, which can hinder germination. By preparing the soil properly, you’ll be creating a conducive environment for your olive seed to germinate and thrive. Remember, when learning how to plant an olive seed, soil preparation is a critical step that should not be overlooked.
How to Plant an Olive Seed: A Step-by-Step Guide
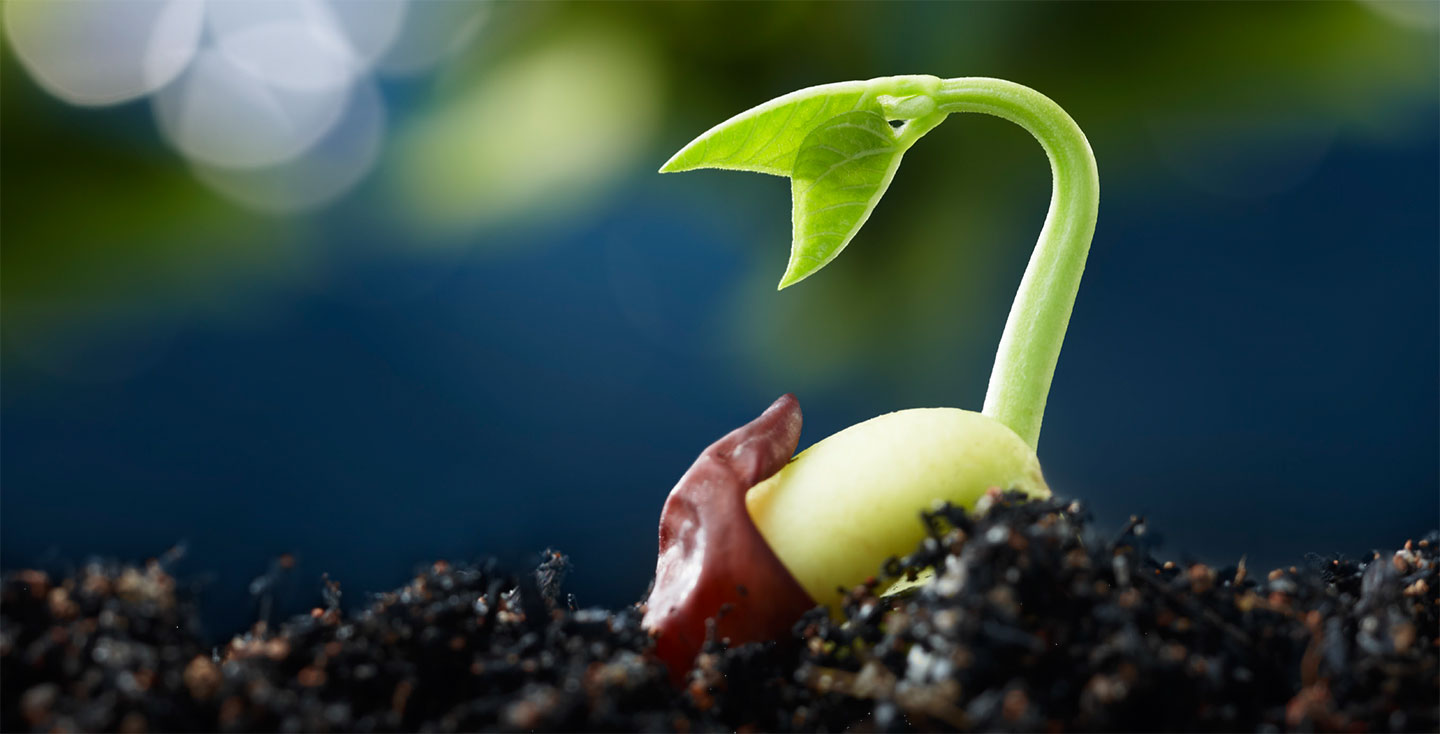
Now that you have prepared the soil, it’s time to learn how to plant an olive seed. This crucial step requires attention to detail to ensure successful germination. Start by filling a small pot or seed tray with the prepared seed starting mix, leaving about 1-2 inches at the top for watering. Sow the olive seed about 1/4 inch deep and 1-2 inches apart, depending on the size of the seed. Cover the seed with a thin layer of the seed starting mix. Water gently but thoroughly, making sure the soil is moist but not waterlogged. Provide adequate light, ideally in a sunny location with indirect light, and maintain a consistent temperature between 65°F to 75°F (18°C to 24°C). Keep the soil consistently moist during the first few weeks after planting, but avoid overwatering. By following these steps, you’ll be well on your way to successfully germinating your olive seed and growing a healthy olive tree. Remember, learning how to plant an olive seed is a critical step in cultivating a thriving olive tree.
Caring for Your Olive Seedling: Watering, Pruning, and Pest Control
Once your olive seed has germinated, it’s essential to provide proper care to ensure the seedling grows into a healthy olive tree. Watering is crucial, and a consistent schedule should be established. Water your olive seedling when the top inch of soil feels dry to the touch, taking care not to overwater. As the seedling grows, gradually increase the time between waterings to encourage deep root growth. Pruning is also vital, as it helps maintain the tree’s shape, promotes healthy growth, and encourages fruiting. Prune your olive seedling regularly, removing any dead or damaged leaves or branches. Additionally, keep an eye out for pests and diseases that can affect young olive trees, such as spider mites, mealybugs, and root rot. Use organic pest control methods whenever possible, and treat any infestations promptly to prevent the spread of disease. By following these care guidelines, you’ll be well on your way to growing a thriving olive tree that will provide you with fresh, homegrown olives for years to come.
Transplanting Your Olive Tree: When and How to Do It
As your olive seedling grows, it will eventually outgrow its container and require transplantation to a larger pot or directly into the ground. Timing is crucial, and it’s essential to wait until the seedling has developed a robust root system and is around 6-12 inches tall. Look for signs such as the seedling becoming pot-bound, or the soil becoming depleted of nutrients. When transplanting, choose a location with full sun and well-draining soil, and dig a hole that is twice as wide and just as deep as the root ball. Gently remove the seedling from its container, taking care not to disturb the roots. Place the seedling in the hole, backfill with soil, and water thoroughly. Mulch around the base to retain moisture and suppress weeds. If transplanting to a larger pot, use a well-draining potting mix and a container that is at least 2-3 times larger than the original one. By following these steps, you’ll be able to successfully transplant your olive tree and provide it with the room it needs to continue growing and thriving.
Common Challenges and Solutions in Growing Olive Trees from Seed
While growing olive trees from seed can be a rewarding experience, it’s not without its challenges. One common issue is slow growth, which can be caused by inadequate light, water, or nutrients. To overcome this, ensure your olive tree is receiving at least 6 hours of direct sunlight per day, and fertilize regularly with a balanced fertilizer. Pests and diseases can also affect young olive trees, such as spider mites, mealybugs, and root rot. To prevent infestations, maintain good hygiene practices, and use organic pest control methods whenever possible. If you do encounter pests or diseases, treat promptly with insecticidal soap or fungicides. Another challenge is transplant shock, which can occur when the olive tree is transplanted to a larger pot or directly into the ground. To minimize this risk, harden off the seedling before transplanting, and provide adequate water and nutrients after transplantation. By being aware of these common challenges and taking proactive steps to prevent them, you can ensure your olive tree grows strong and healthy, and eventually provides you with a bountiful harvest of fresh, homegrown olives.
Harvesting Your Homegrown Olives: Timing and Techniques
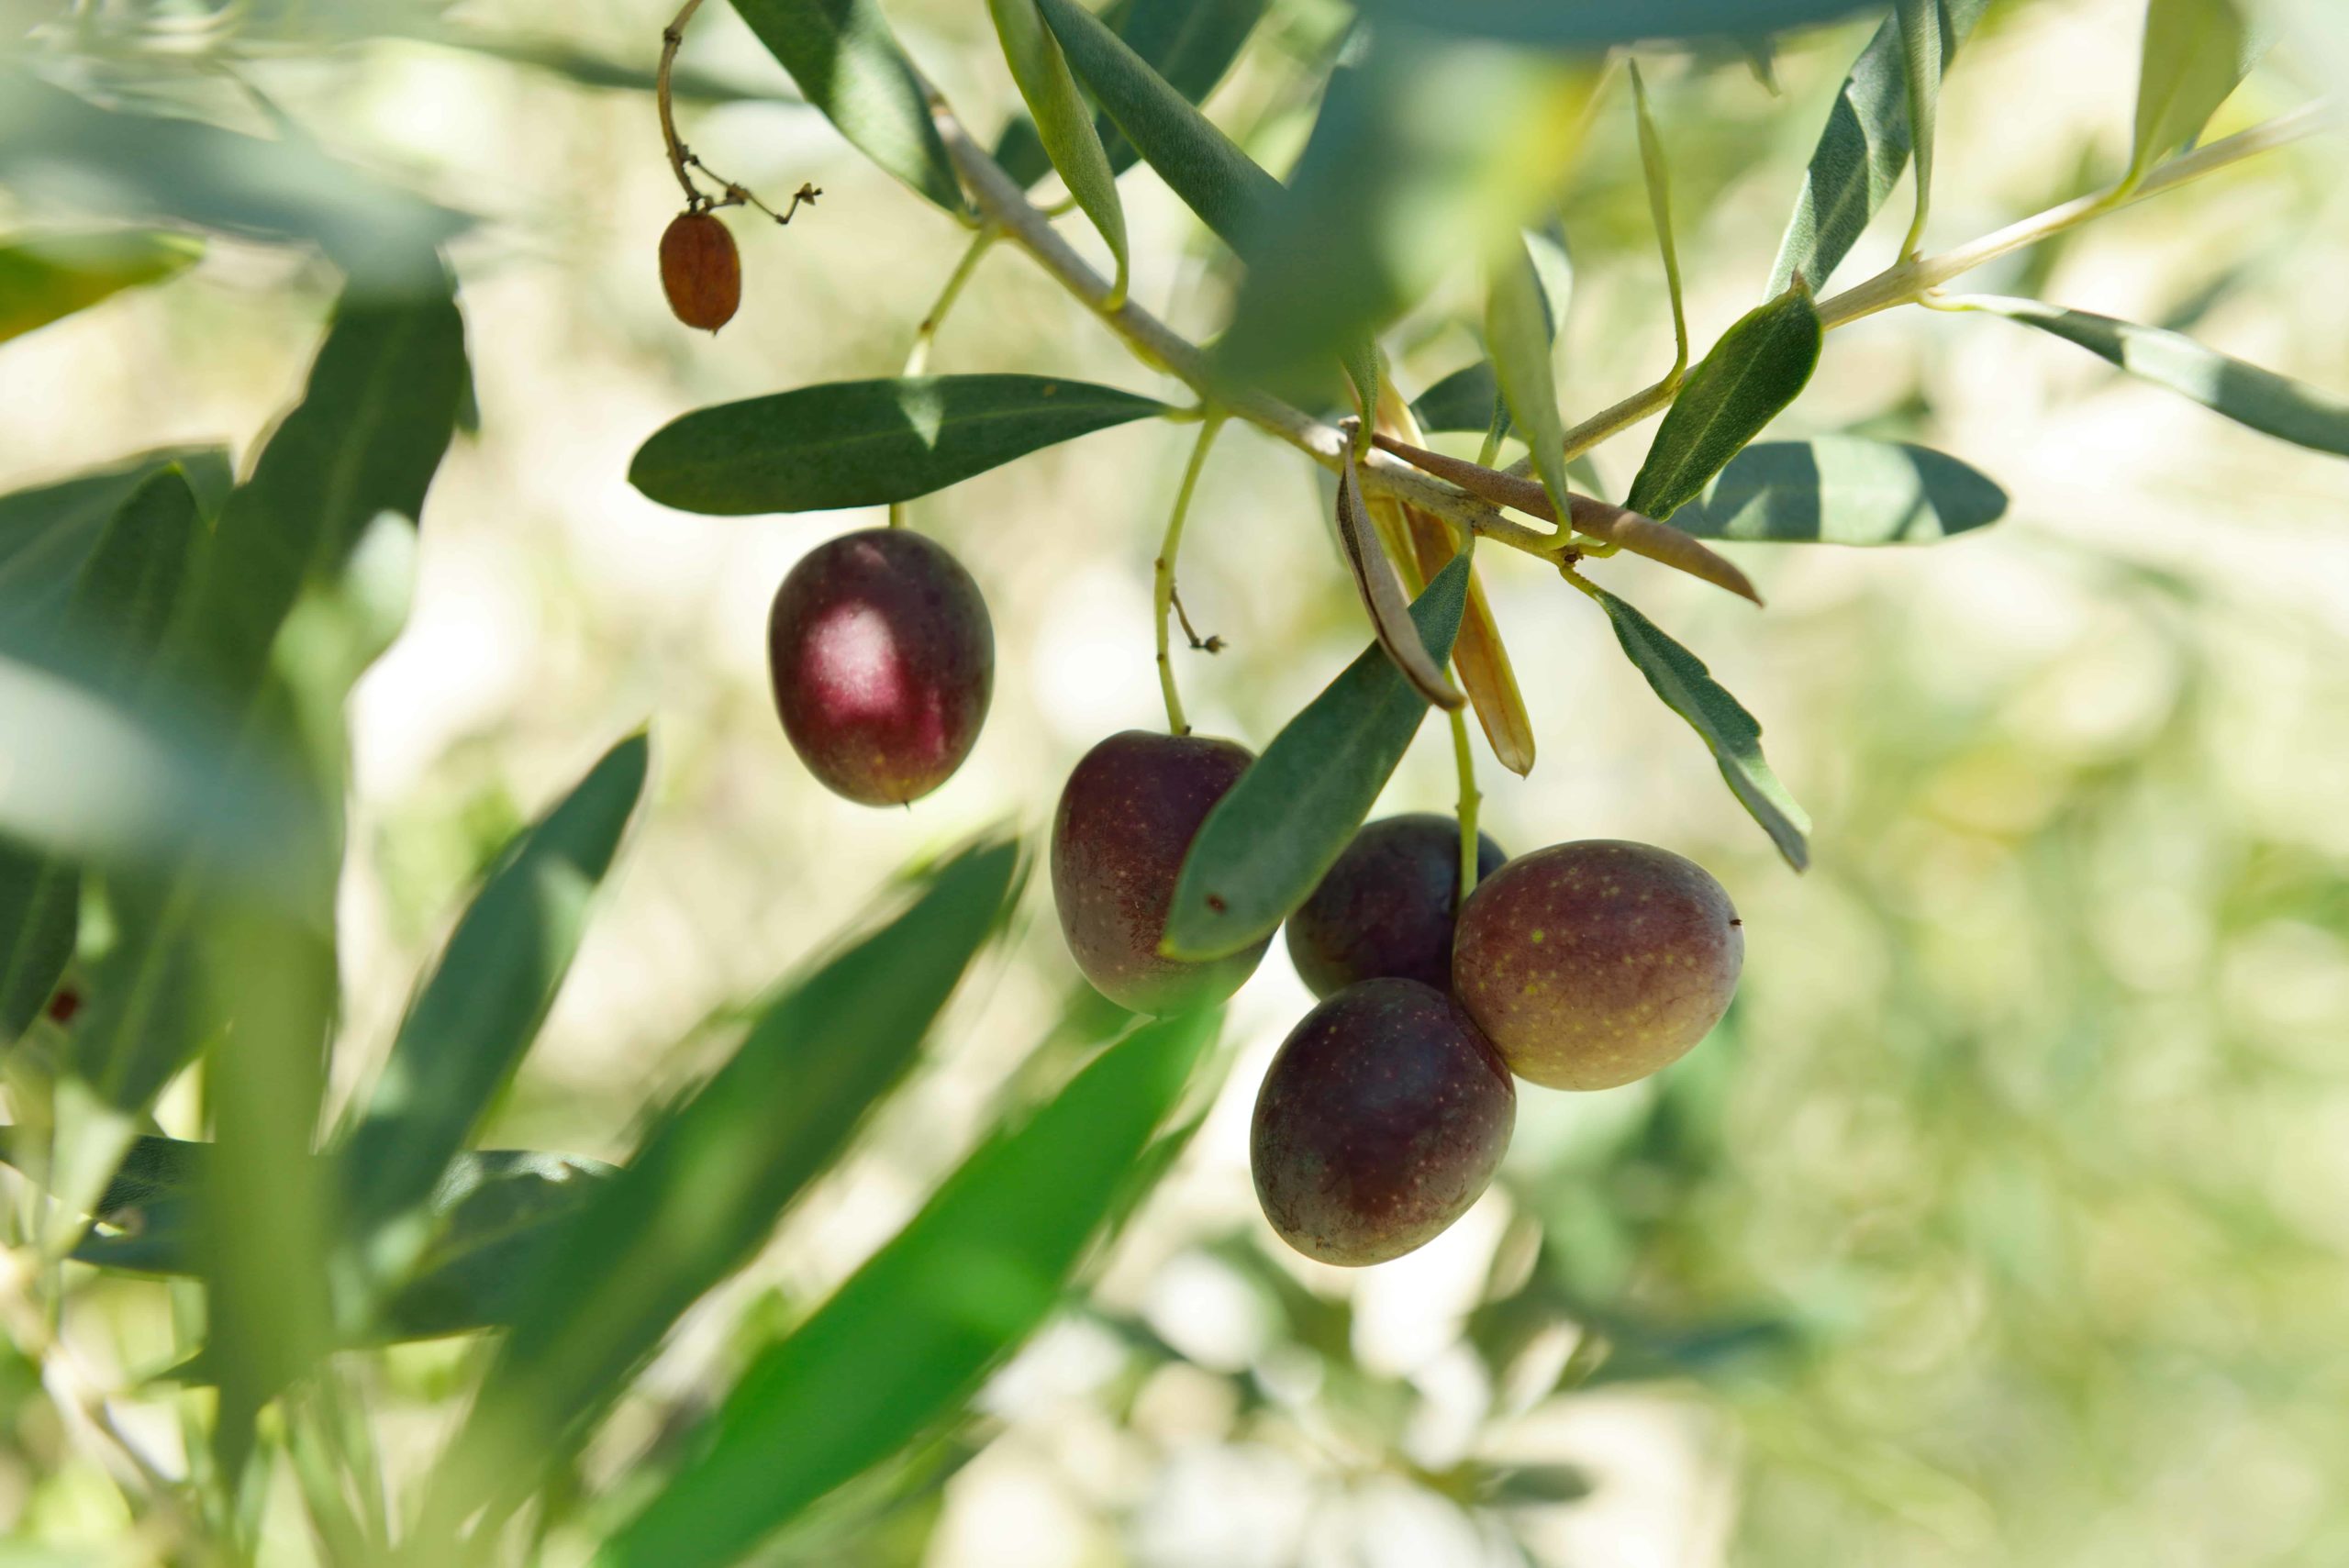
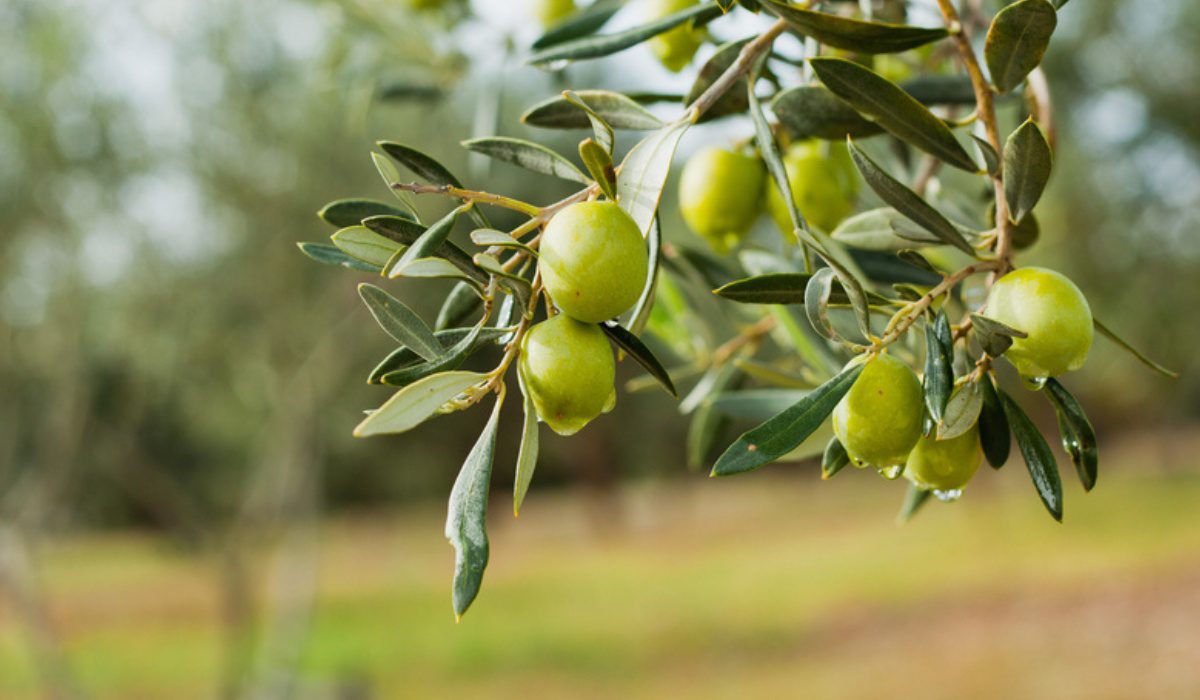
After months of nurturing and care, the moment of truth arrives – it’s time to harvest your homegrown olives Timing is crucial, as olives can quickly turn from perfectly ripe to overripe and spoiled. Typically, olives are ready to harvest between October and December, depending on the variety and climate. To determine if your olives are ripe, gently twist and pull on the fruit; ripe olives will come off the tree easily. Harvesting methods vary, but hand-picking is often the most effective way to avoid damaging the fruit or tree. Use a small basket or bag to collect the olives, and handle them gently to prevent bruising. Post-harvest care is also essential, as olives are highly perishable. Store them in a cool, dry place, and process them within a few days of harvesting to preserve their flavor and texture. With proper harvesting and care, you’ll be able to enjoy the fruits of your labor – delicious, fresh olives from your very own tree!


