Choosing the Right Azalea Variety for Your Climate
With over 10,000 known azalea species, selecting the right variety for your region’s climate and soil conditions is crucial for their survival and success. Azaleas come in two main types: deciduous and evergreen. Deciduous azaleas, such as the popular ‘Pink Perfume‘ and ‘Golden Glow’ varieties, are ideal for regions with cold winters. These plants shed their leaves during the winter months, allowing them to conserve energy and protect themselves from harsh weather conditions.
Evergreen azaleas, like the ‘Red Ruffle’ and ‘Hino Crimson’ varieties, are better suited for warmer climates, as they retain their leaves year-round and require minimal protection from the elements. When selecting an azalea variety, consider your region’s temperature extremes, average rainfall, and soil type. This will ensure that your azaleas receive the right amount of moisture, nutrients, and sunlight to thrive.
Before planting azaleas in the ground, research the specific needs of your chosen variety. This will help you provide the optimal environment for your plants to flourish. By choosing the right azalea variety for your climate and soil conditions, you’ll be well on your way to enjoying vibrant, colorful blooms in your garden.
Preparing the Soil for Azalea Planting
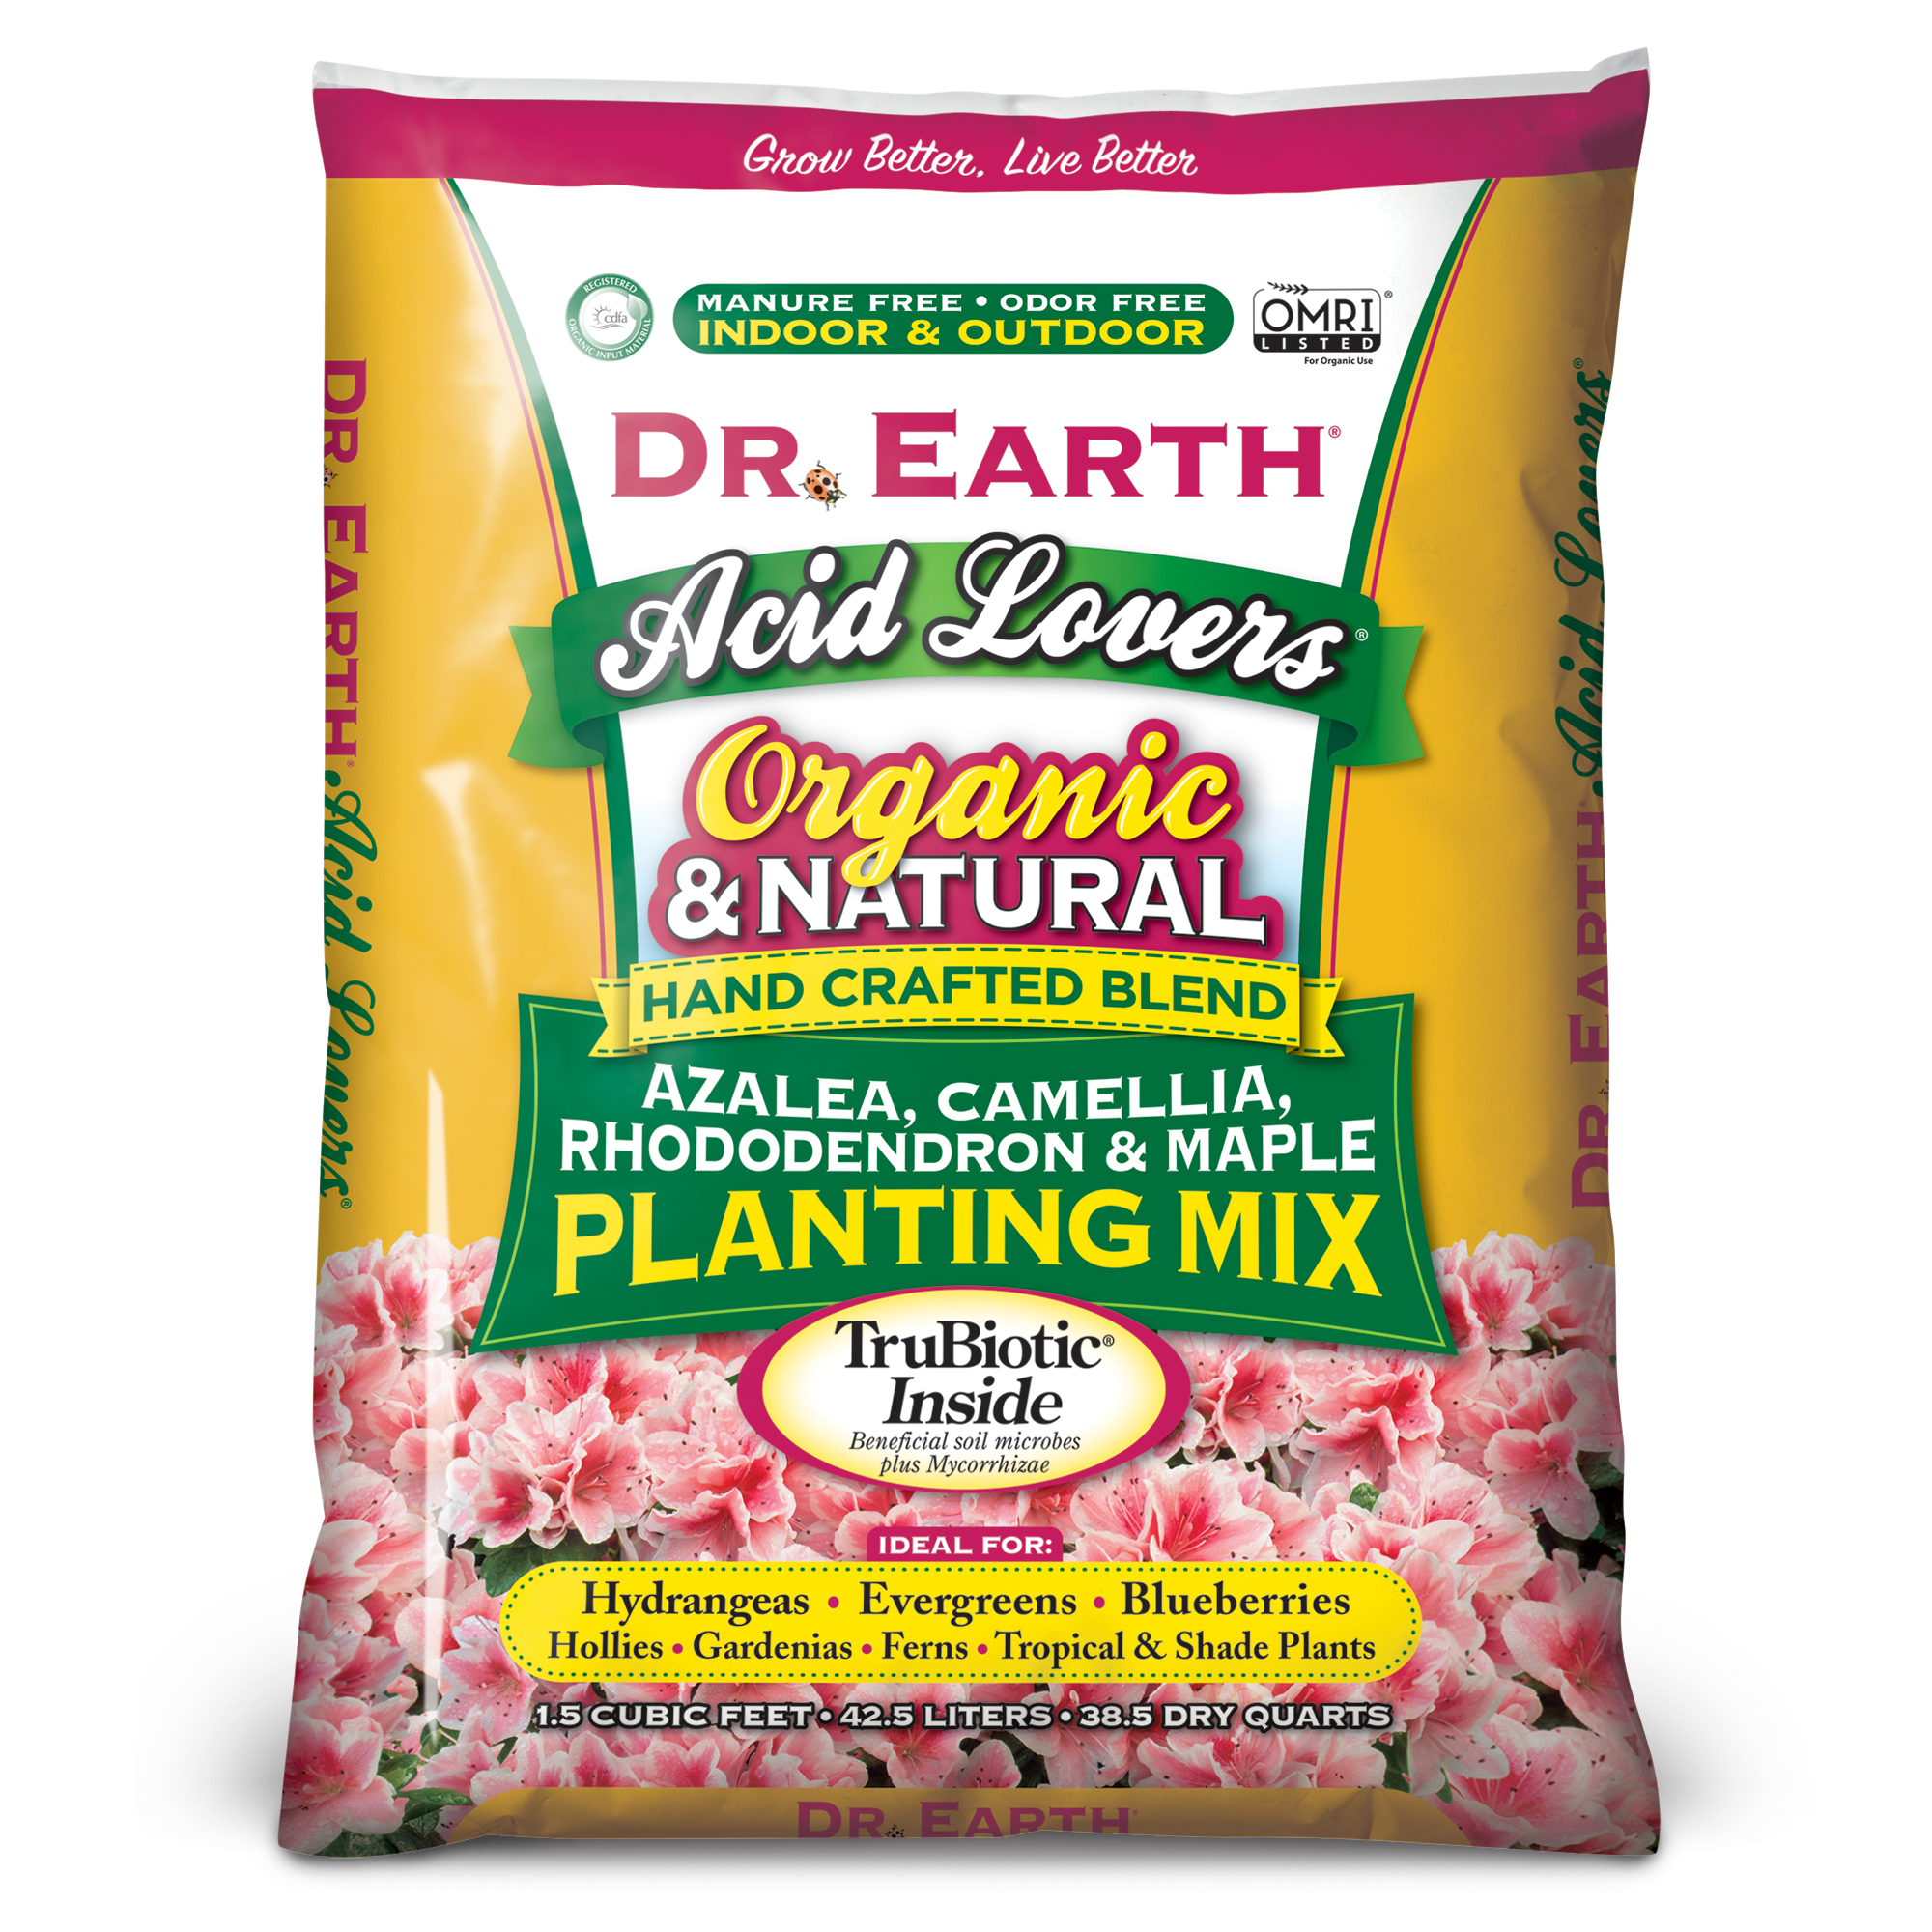
Before learning how to plant azaleas in the ground, it’s essential to prepare the soil to create an ideal environment for your plants. Azaleas thrive in well-draining, acidic soil with a pH between 5.5 and 6.5. If your soil is heavy clay, sandy, or alkaline, you may need to amend it to create a suitable environment for your azaleas.
To test your soil’s pH level, you can purchase a DIY soil testing kit or send a sample to a laboratory for analysis. Based on the results, you can add organic matter such as peat moss, compost, or well-rotted manure to lower the pH or lime to raise it. Additionally, azaleas require nutrient-rich soil, so consider adding a balanced fertilizer according to the manufacturer’s instructions.
Proper drainage is also crucial for azaleas, as they are prone to root rot in waterlogged soil. To improve drainage, mix in some organic matter or perlite into the soil. If your soil is heavy clay, consider raised beds or mounds to ensure good drainage. By preparing your soil correctly, you’ll be providing your azaleas with a strong foundation for healthy growth and vibrant blooms.
How to Plant Azaleas in the Ground: A Step-by-Step Guide
Now that you’ve prepared the soil, it’s time to learn how to plant azaleas in the ground. Follow these steps to ensure a successful planting:
Step 1: Dig the Hole – Dig a hole that is twice as wide and just as deep as the root ball of your azalea plant. If your soil is poorly draining, consider raising the bed by 2-3 inches to improve drainage.
Step 2: Add Organic Matter – Add a 2-inch layer of organic matter such as compost, peat moss, or well-rotted manure to the hole. This will help improve soil structure, fertility, and drainage.
Step 3: Place the Plant – Gently remove the azalea plant from its container and place it in the hole. Make sure the root flare (where the stem flares out at the base of the plant) is level with the soil surface.
Step 4: Backfill and Water – Fill in the hole with soil, gently firming it around the roots as you go. Water the soil well to settle it and provide enough moisture to support establishment.
Step 5: Mulch Around the Plant – Apply a 2-3 inch layer of organic mulch such as wood chips or bark around the plant, keeping it a few inches away from the stem. This will help retain moisture, suppress weeds, and regulate soil temperature.
By following these steps, you’ll be well on your way to successfully planting azaleas in the ground. Remember to water and mulch your plants regularly to ensure they receive the care they need to thrive.
Watering and Mulching: Essential Care for Newly Planted Azaleas
After planting azaleas in the ground, it’s crucial to provide them with the right amount of water and mulch to ensure a healthy start. Proper watering and mulching techniques can make all the difference in the success of your azalea plants.
Watering Newly Planted Azaleas – Water your newly planted azaleas regularly, but avoid overwatering. Check the soil moisture by inserting your finger into the soil up to the knuckle. If the soil feels dry, it’s time to water. Water at the base of the plant, avoiding the leaves to prevent fungal diseases. Aim to provide about 1 inch of water per week, either through rainfall or irrigation.
Mulching Around Azaleas – Mulching is essential for retaining moisture in the soil, suppressing weeds, and regulating soil temperature. Apply a 2-3 inch layer of organic mulch such as wood chips, bark, or pine straw around the base of the plant, keeping it a few inches away from the stem. Replenish the mulch as needed to maintain the desired depth.
Tips for Effective Mulching – When mulching, avoid piling the mulch against the stem, as this can cause rot and other problems. Instead, create a mulch ring around the plant, keeping the mulch a few inches away from the stem. Also, avoid using mulches that can attract pests, such as grass clippings or fresh manure.
By following these watering and mulching tips, you’ll be providing your newly planted azaleas with the care they need to thrive. Remember to monitor your plants regularly and adjust your watering and mulching schedule as needed to ensure optimal growth and blooming.
Providing Ongoing Care for Your Azaleas
To ensure optimal growth and blooming, azaleas require regular maintenance. By following these tips, you can provide your azaleas with the care they need to thrive.
Fertilization – Feed your azaleas with an acid-forming fertilizer in the spring and summer months. This will help promote healthy growth and blooming. Avoid using high-nitrogen fertilizers, as they can promote leaf growth at the expense of flowers.
Pruning – Prune your azaleas immediately after they finish blooming to maintain their shape and promote new growth. Remove any dead or damaged branches, and cut back leggy stems to encourage bushy growth.
Pest Management – Keep an eye out for pests such as lace bugs, spider mites, and aphids, which can cause damage to your azaleas. Use organic or chemical controls as needed to prevent infestations.
Soil Care – Continue to mulch around your azaleas to retain moisture and suppress weeds. Add organic matter such as compost or well-rotted manure to the soil to maintain its fertility and structure.
Regular Maintenance – Regularly inspect your azaleas for signs of disease or pests, and take action promptly to prevent the problem from spreading. Also, keep the area around your azaleas weed-free to prevent competition for water and nutrients.
By following these tips, you can provide your azaleas with the ongoing care they need to thrive. Remember, regular maintenance is key to enjoying beautiful blooms and a healthy, vibrant garden.
Common Mistakes to Avoid When Planting Azaleas
When planting azaleas, it’s essential to avoid common mistakes that can hinder their growth and blooming. By being aware of these mistakes, you can take steps to prevent them and ensure your azaleas thrive.
Planting Too Deeply – One of the most common mistakes when planting azaleas is planting them too deeply. This can cause the roots to rot, leading to poor growth and reduced blooming. Make sure to plant the azalea at the correct depth, with the root flare (where the stem flares out at the base of the plant) level with the soil surface.
Insufficient Sunlight – Azaleas need sufficient sunlight to bloom well, so make sure to plant them in a location that receives at least partial sun. Avoid planting azaleas in deep shade, as this can lead to weak and spindly growth.
Improper Soil Preparation – Failing to prepare the soil properly can lead to poor growth and blooming. Make sure to test the soil pH and nutrient content, and amend it as necessary to create an ideal environment for azaleas.
Overwatering – Azaleas don’t like wet feet, so avoid overwatering them. Check the soil moisture regularly, and water only when the soil feels dry to the touch.
Not Mulching – Mulching is essential for retaining moisture in the soil and suppressing weeds. Make sure to mulch around your azaleas regularly, using a layer of organic mulch such as wood chips or bark.
By avoiding these common mistakes, you can ensure your azaleas get off to a strong start and thrive in their new home. Remember to follow the tips outlined in this guide, and you’ll be enjoying beautiful blooms in no time.
Azalea Planting Tips for Specific Soil Types
When it comes to planting azaleas, the type of soil you have can make a big difference in their success. Different soil types require specific care and attention, and understanding these needs can help you provide the best environment for your azaleas to thrive.
Clay Soil – Clay soil can be challenging for azaleas, as it can retain too much water and cause root rot. To overcome this, add organic matter such as compost or well-rotted manure to improve drainage and aeration. Also, consider raised beds or mounds to improve soil structure and drainage.
Sandy Soil – Sandy soil, on the other hand, can be too well-draining, leading to drought stress in azaleas. To combat this, add organic matter such as peat moss or coconut coir to retain moisture and improve soil structure. Mulching can also help retain moisture and reduce evaporation.
Loamy Soil – Loamy soil is often considered ideal for azaleas, as it provides good drainage and aeration while retaining moisture. However, it’s still important to add organic matter to maintain soil fertility and structure. Consider adding a layer of compost or well-rotted manure to the soil before planting.
Acidic Soil – Azaleas prefer acidic soil, with a pH between 5.5 and 6.5. If your soil is too alkaline, consider adding elemental sulfur or peat moss to lower the pH. Conversely, if your soil is too acidic, add lime to raise the pH.
By understanding the specific needs of your soil type, you can provide the best environment for your azaleas to thrive. Remember to follow the general guidelines for planting azaleas, and adjust your care accordingly based on your soil type. With the right care and attention, your azaleas will bloom beautifully and bring vibrant color to your garden.
Enjoying the Fruits of Your Labor: Azalea Care After Planting
After planting your azaleas, it’s essential to remember that the journey doesn’t end there. With proper care and attention, your azaleas will thrive and provide beautiful blooms for years to come. By following the tips outlined in this guide, you’ll be well on your way to enjoying the fruits of your labor.
Remember to be patient, as azaleas take time to establish themselves and produce blooms. With regular maintenance, including fertilization, pruning, and pest management, you’ll be rewarded with vibrant, healthy plants that bring joy and beauty to your garden.
As you care for your azaleas, keep in mind that they require ongoing attention to thrive. Regularly inspect your plants for signs of stress or disease, and take action promptly to address any issues that arise. By staying proactive and committed to their care, you’ll be able to enjoy the many benefits that azaleas have to offer.
Whether you’re a seasoned gardener or just starting out, planting azaleas can be a rewarding and enjoyable experience. By following the guidelines outlined in this article, you’ll be well on your way to creating a stunning display of color and beauty in your garden. So go ahead, get planting, and enjoy the fruits of your labor!


:max_bytes(150000):strip_icc()/how-to-care-for-azaleas-5074145-08-57d77d4be13a4d6c92e9653d31cd25b4.jpg)
