Unlocking the Secrets of Dill Seed Germination
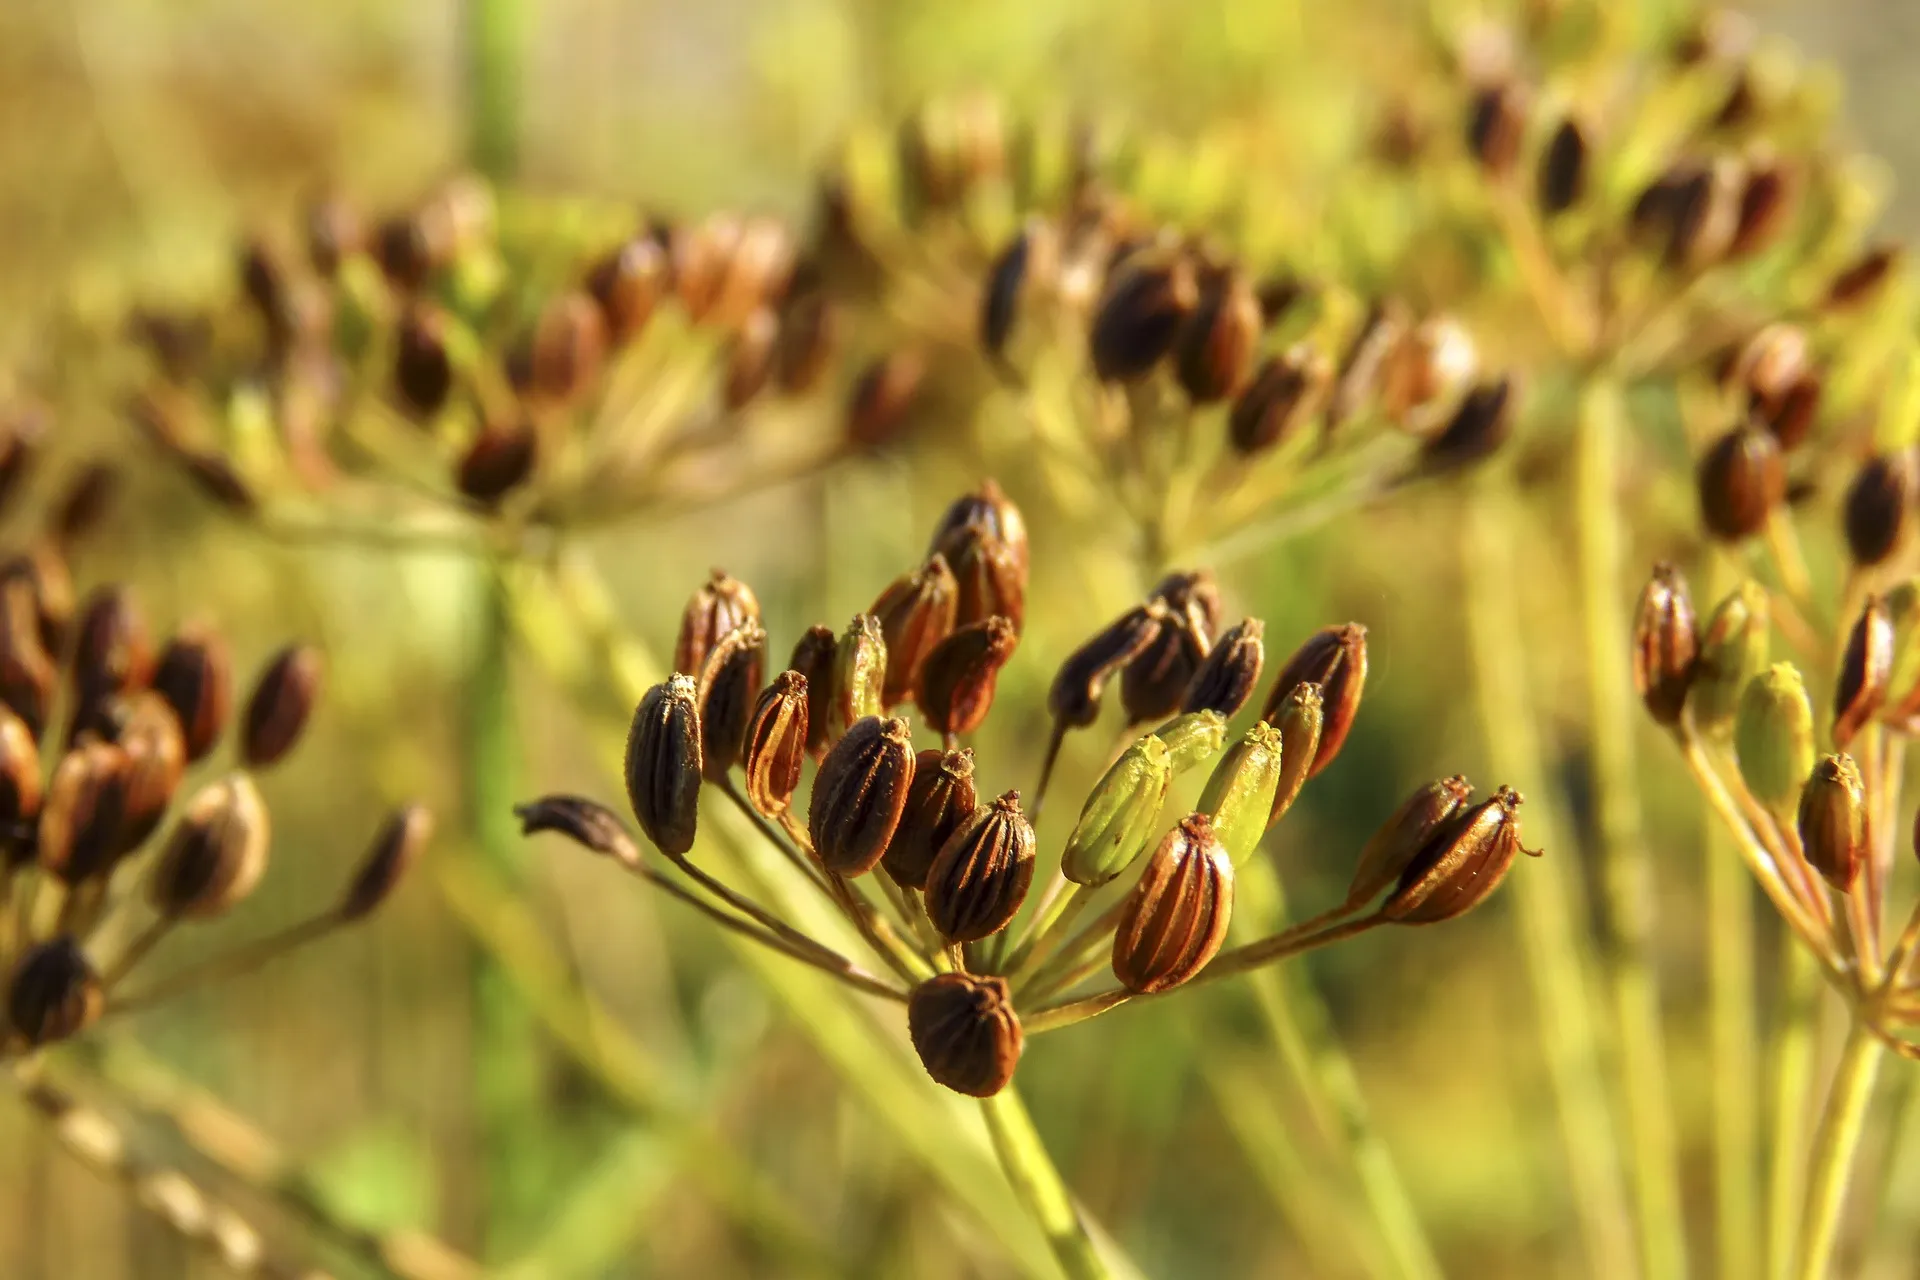
Proper seed germination techniques are crucial for growing healthy dill plants. Understanding the optimal conditions for dill seed germination can lead to a successful harvest. Dill seeds require a specific set of conditions to germinate, including adequate moisture, temperature, and light. To increase the chances of successful germination, it’s essential to provide the right environment for the seeds.
One of the most critical factors in dill seed germination is moisture. Dill seeds require consistent moisture to germinate, but overwatering can be detrimental. The ideal soil moisture for dill seed germination is between 60-70% relative humidity. To achieve this, water the soil gently but thoroughly, and ensure the soil is not waterlogged.
Temperature is another vital factor in dill seed germination. Dill seeds germinate best in temperatures between 60-70°F (15-21°C). Avoid exposing the seeds to extreme temperatures, as this can slow down or prevent germination. If you’re starting dill seeds indoors, use a heating mat or a warm location to maintain the optimal temperature.
Light is also essential for dill seed germination. Dill seeds require indirect light to germinate, so avoid direct sunlight, which can cause the soil to dry out. If you’re starting dill seeds indoors, use grow lights or place the seeds near a sunny window.
By providing the right conditions for dill seed germination, you can increase the chances of successful germination and set your dill plants up for a healthy and productive growth. In the next section, we’ll discuss the importance of preparing the soil for dill seed planting.
Preparing the Soil for Dill Seed Planting
Soil quality and preparation are crucial for successful dill seed planting. Dill plants prefer well-draining, fertile soil with a pH between 5.5 and 6.5. To create an ideal soil environment for dill, start by selecting a high-quality potting mix or garden soil that is rich in organic matter.
Test the pH level of your soil to ensure it falls within the optimal range for dill. If your soil is too acidic or alkaline, adjust the pH level by adding lime or sulfur. Additionally, add necessary nutrients such as nitrogen, phosphorus, and potassium to promote healthy dill growth.
When preparing the soil for dill seed planting, it’s essential to remove any debris, rocks, or weeds that can compete with the dill plants for water and nutrients. Till the soil to a depth of 8-10 inches to loosen and aerate it. This will help to improve drainage and promote healthy root growth.
For optimal dill growth, the soil should be moist but not waterlogged. Avoid overwatering, which can lead to root rot and other problems. Instead, water the soil gently but thoroughly, and ensure the top 1-2 inches of soil are consistently moist.
By preparing the soil properly, you can create an ideal environment for your dill seeds to germinate and grow. In the next section, we’ll discuss the step-by-step process for sowing dill seeds for maximum yield.
How to Sow Dill Seeds for Maximum Yield
Sowing dill seeds requires attention to detail and a gentle touch. To ensure maximum yield, follow these steps for sowing dill seeds:
First, choose a location with full sun and well-draining soil. Dill plants prefer a spot that receives direct sunlight for at least 4-6 hours a day. If you’re starting dill seeds indoors, use a container that is at least 6-8 inches deep to accommodate the taproot.
Next, sow the dill seeds at a depth of 1/4 inch (6-8 mm) and 1-2 inches (2.5-5 cm) apart. You can sow multiple seeds in a single container or directly in the ground. Cover the seeds with a thin layer of soil and gently firm the soil to ensure good contact.
Water the soil gently but thoroughly after sowing the seeds. Keep the soil consistently moist during the first few weeks after sowing. Avoid overwatering, which can lead to rot and poor germination.
Timing is also crucial when sowing dill seeds. In most regions, the ideal time to sow dill seeds is in early spring or late summer/early fall, when the weather is cooler. Avoid sowing dill seeds in extreme temperatures, as this can affect germination and growth.
By following these steps and tips, you can successfully sow dill seeds and set your plants up for maximum yield. In the next section, we’ll discuss the importance of providing the right conditions for dill seedlings to thrive.
Providing the Right Conditions for Dill Seedlings to Thrive
Once dill seeds have germinated, it’s essential to provide the right conditions for the seedlings to thrive. Dill seedlings require adequate light, temperature, and moisture to develop strong roots and stems.
Light is a critical factor in dill seedling growth. Dill seedlings require bright, indirect light to photosynthesize and grow. If you’re growing dill indoors, place the seedlings near a sunny window or use grow lights to provide the necessary light. Outdoors, choose a location that receives partial shade to full sun.
Temperature is also crucial for dill seedling growth. Dill seedlings prefer daytime temperatures between 65-75°F (18-24°C) and nighttime temperatures around 55-65°F (13-18°C). Avoid exposing the seedlings to extreme temperatures, as this can cause stress and slow growth.
Moisture is another essential factor in dill seedling growth. Dill seedlings require consistent moisture, especially during the first few weeks after germination. Water the seedlings gently but thoroughly, and avoid overwatering, which can lead to root rot and other problems.
To create a favorable environment for dill seedlings, maintain a humid microclimate around the plants. You can do this by covering the seedlings with a clear plastic bag or a cloche. This will help to retain moisture and maintain a consistent temperature.
By providing the right conditions for dill seedlings, you can encourage healthy growth and development. In the next section, we’ll discuss common mistakes to avoid when planting dill seeds and how to troubleshoot common issues.
Common Mistakes to Avoid When Planting Dill Seeds
When planting dill seeds, it’s essential to avoid common mistakes that can lead to poor germination, weak growth, and reduced yields. Here are some common mistakes to avoid and tips on how to troubleshoot them:
Overcrowding is a common mistake that can lead to weak and leggy growth. To avoid overcrowding, sow dill seeds at the recommended spacing of 1-2 inches (2.5-5 cm) apart. This will give the seedlings enough room to grow and receive adequate light and air circulation.
Underwatering is another common mistake that can lead to poor germination and weak growth. To avoid underwatering, water the soil gently but thoroughly after sowing the seeds. Keep the soil consistently moist during the first few weeks after sowing, but avoid overwatering, which can lead to root rot and other problems.
Exposure to extreme temperatures is also a common mistake that can lead to poor germination and weak growth. To avoid exposure to extreme temperatures, sow dill seeds in a location with a consistent temperature between 65-75°F (18-24°C). Avoid sowing dill seeds in areas with drafts or extreme temperature fluctuations.
By avoiding these common mistakes, you can ensure a healthy and productive dill crop. In the next section, we’ll discuss the importance of providing support for dill plants as they grow, including staking, pruning, and training.
Supporting Dill Plants as They Grow
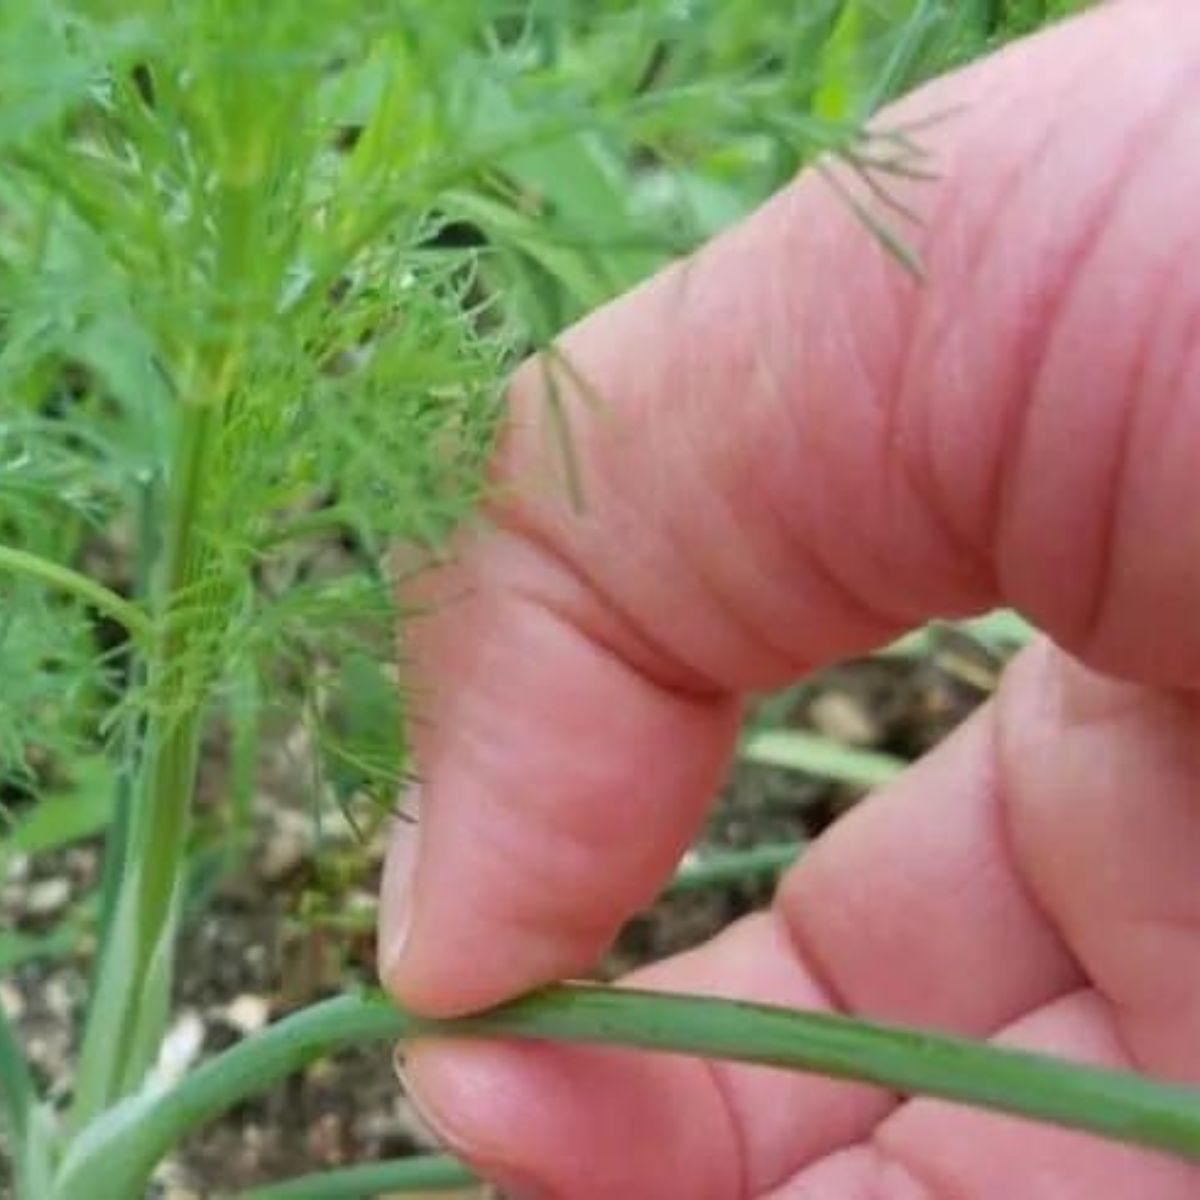
As dill plants grow, they require support to maintain their shape and promote healthy growth. Providing support for dill plants is crucial to encourage bushy growth and prevent the plants from becoming leggy.
Staking is a common method of supporting dill plants. Use bamboo stakes or wooden stakes to provide support for the plants. Gently tie the stems to the stakes using twine or wire. Make sure the stakes are not too tight, as this can damage the stems.
Pruning is another essential technique for supporting dill plants. Prune the plants regularly to encourage bushy growth and prevent the plants from becoming leggy. Remove any weak or spindly growth, and trim the tips of the stems to encourage branching.
Training is also an effective method of supporting dill plants. Train the plants to grow up a trellis or a fence. This will help to keep the plants upright and promote healthy growth.
By providing support for dill plants, you can encourage healthy growth and promote a bountiful harvest. In the next section, we’ll discuss pest and disease management for dill plants, including tips on how to identify and manage common pests and diseases.
Pest and Disease Management for Dill Plants
Dill plants are susceptible to various pests and diseases that can affect their growth and productivity. To ensure a healthy dill crop, it’s essential to identify and manage common pests and diseases. Here are some tips on how to identify and manage common pests and diseases that can affect dill plants:
Aphids are a common pest that can affect dill plants. These small, soft-bodied insects feed on the sap of the plant, causing curled or distorted leaves. To manage aphids, use neem oil or insecticidal soap. Spray the plants thoroughly, making sure to cover all surfaces.
Spider mites are another common pest that can affect dill plants. These tiny, spider-like insects feed on the sap of the plant, causing yellowing or bronzing of the leaves. To manage spider mites, use neem oil or insecticidal soap. Spray the plants thoroughly, making sure to cover all surfaces.
Powdery mildew is a common disease that can affect dill plants. This fungal disease causes a white, powdery coating to form on the leaves and stems of the plant. To manage powdery mildew, use a fungicide specifically designed for powdery mildew. Spray the plants thoroughly, making sure to cover all surfaces.
Organic and integrated pest management strategies are essential for maintaining a healthy dill crop. Use a combination of physical, cultural, and biological controls to manage pests and diseases. This includes using row covers, crop rotation, and biological controls such as beneficial insects and microorganisms.
By identifying and managing common pests and diseases, you can ensure a healthy and productive dill crop. In the next section, we’ll discuss the best practices for harvesting and preserving dill, including when to pick the leaves, how to dry or freeze the herb, and tips for using dill in cooking and crafts.
Harvesting and Preserving Your Dill Crop
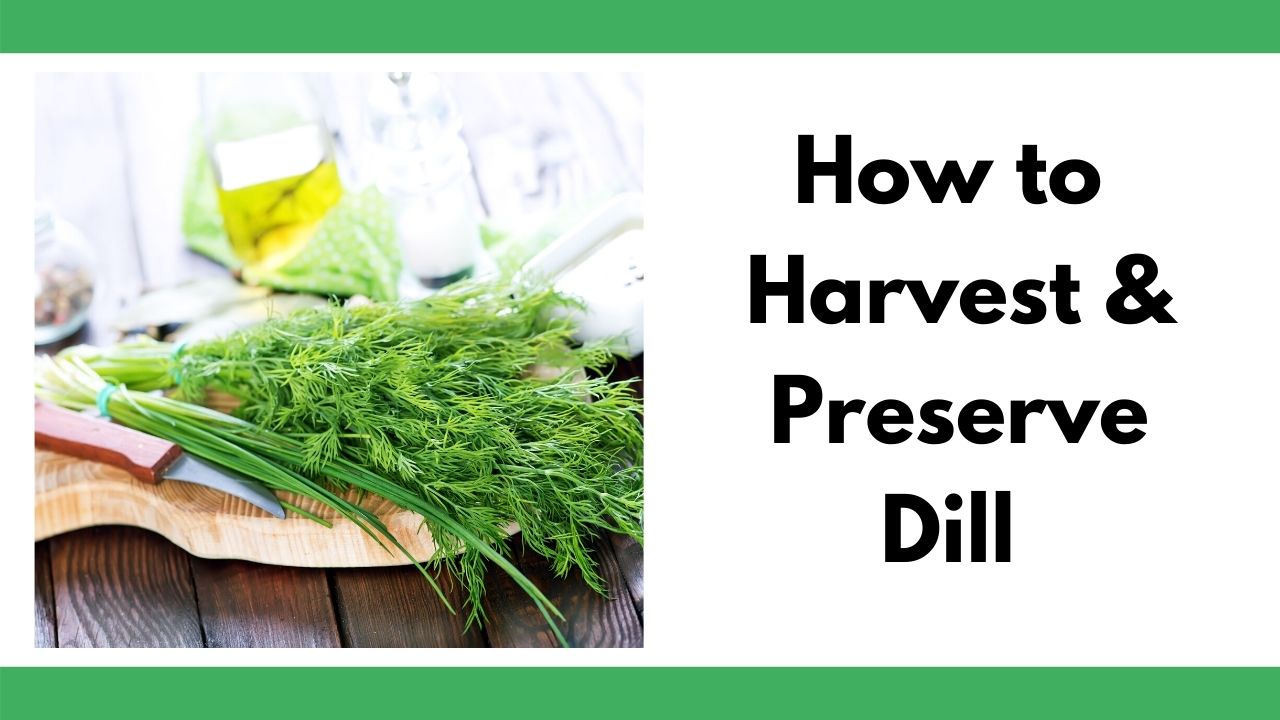
Harvesting and preserving your dill crop is an essential step in enjoying the fruits of your labor. Here are some tips on how to harvest and preserve your dill crop:
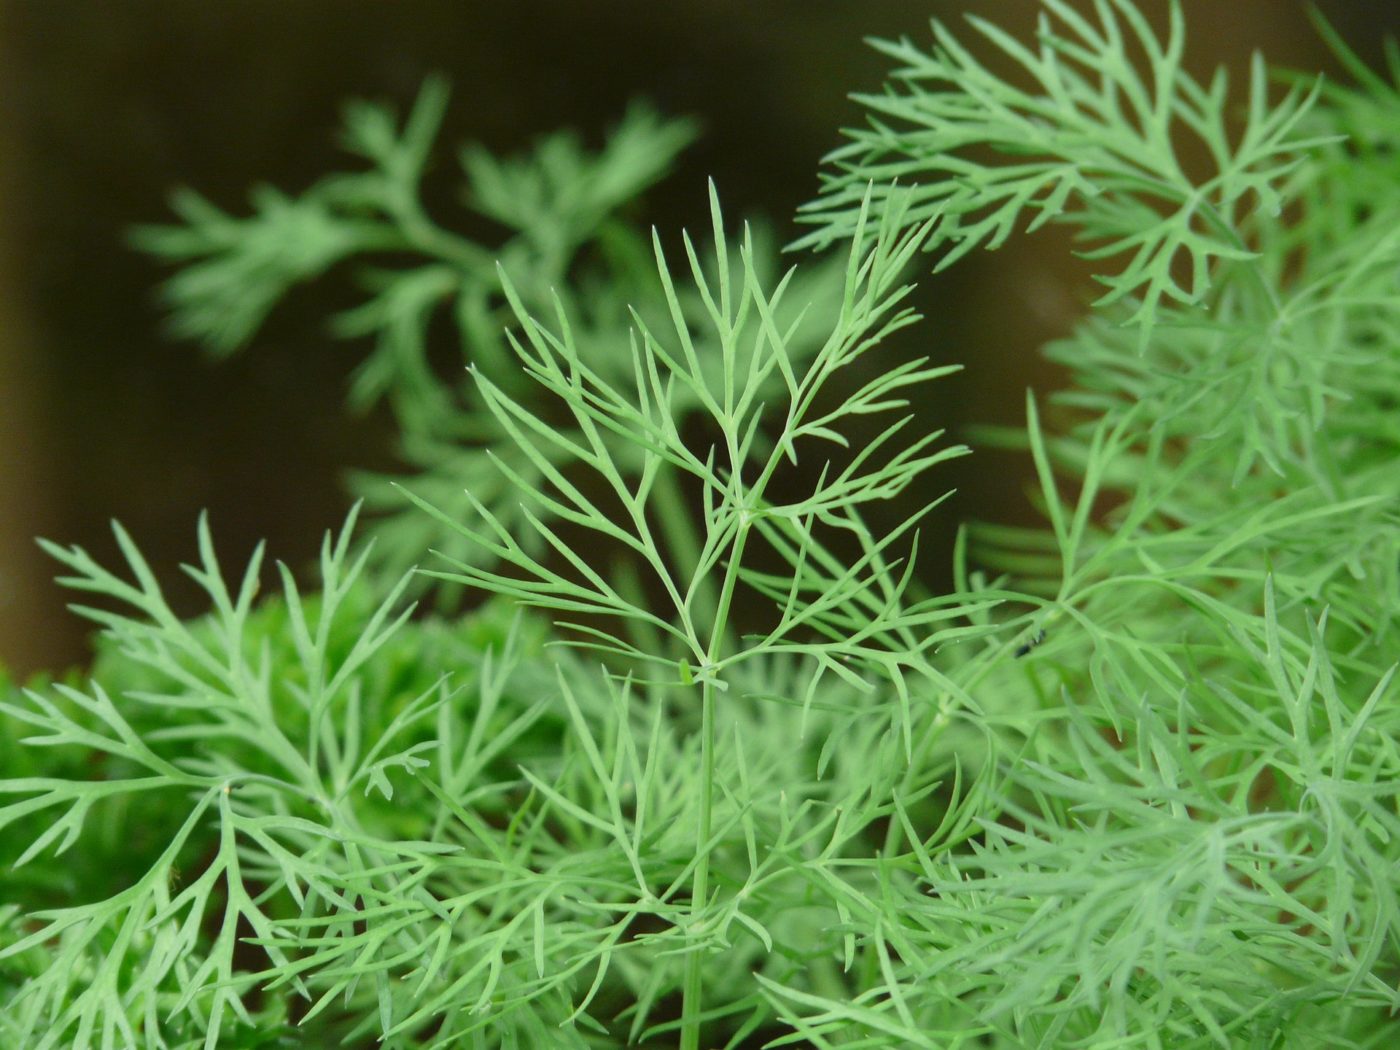
When to Harvest: Dill is ready to harvest when the leaves are a bright green color and the stems are about 6-8 inches tall. You can harvest the leaves at any time, but the best time is usually in the morning, after the dew has dried but before the heat of the day.
How to Harvest: To harvest dill, simply snip off the leaves and stems with scissors or pinch them off with your fingers. You can also harvest the entire plant by cutting it off at the base of the stem.
Preserving Dill: There are several ways to preserve dill, including drying, freezing, and pickling. To dry dill, tie the stems in small bunches and hang them upside down in a warm, dry place. To freeze dill, chop the leaves and stems and place them in an airtight container or freezer bag. To pickle dill, soak the leaves and stems in a brine solution and store them in the refrigerator.
Using Dill in Cooking and Crafts: Dill is a versatile herb that can be used in a variety of dishes, including salads, soups, and sauces. You can also use dill in crafts, such as making potpourri or wreaths.
By following these tips, you can enjoy your dill crop for months to come. Whether you use it in cooking, crafts, or as a decorative element, dill is a wonderful herb that can add flavor and beauty to your life.


