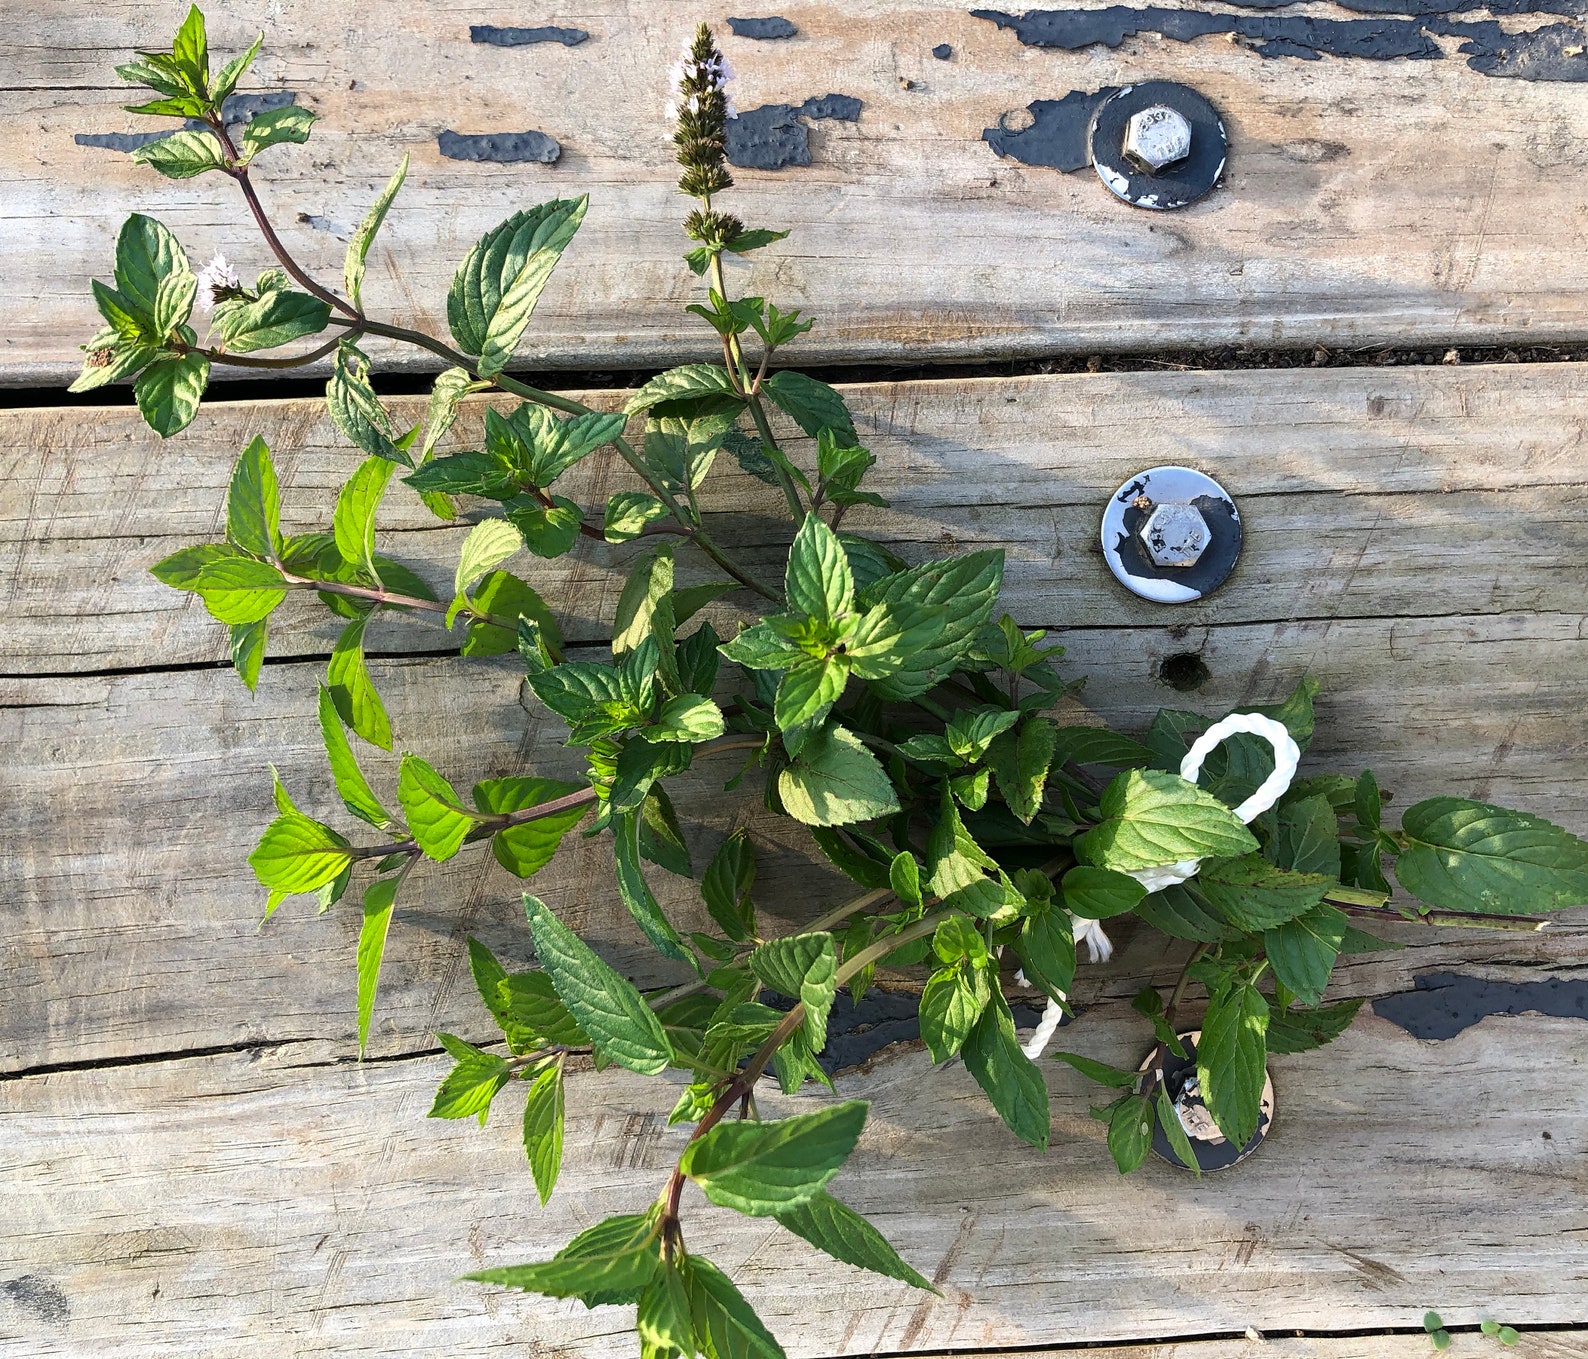
Selecting and Preparing Peppermint Cuttings
To successfully plant peppermint cuttings, it is crucial to start with healthy, disease-free material. You can obtain cuttings from an existing peppermint plant, either your own or from a trusted source. The ideal time to take cuttings is during the plant’s active growth phase, typically in spring or early summer.

Click Image to Find Garden Products
When selecting cuttings, look for young, tender stems with at least two sets of leaves. Avoid taking cuttings from old, woody growth, as these are less likely to root successfully. Using a clean, sharp pair of scissors or pruning shears, cut the stem at a 45-degree angle, about 4 to 5 inches (10 to 13 cm) from the tip.
Before planting, prepare the cuttings by removing the lower leaves, leaving only the top two sets. This process exposes the nodes, which are crucial for root development. Optionally, you can dip the cut ends in rooting hormone to promote faster and more robust root growth. However, this step is not mandatory, as peppermint is a vigorous grower and often roots well without the hormone.

Creating the Perfect Environment for Your Peppermint Cuttings
Peppermint plants thrive in well-drained, moist soil with a slightly acidic to neutral pH (6.0 to 7.0). Choose a location with partial shade to full sun, ensuring the plants receive at least 4 to 6 hours of direct sunlight daily.
To prepare the planting site, remove any weeds or debris from the area. Improve soil structure and fertility by mixing in organic matter, such as compost or well-rotted manure, at a ratio of 25% by volume. This amendment will help promote healthy root growth and provide essential nutrients for your peppermint cuttings.
Drainage is crucial for peppermint plants, as they do not tolerate waterlogged soil. If your garden has heavy clay or poorly draining soil, consider planting your peppermint cuttings in raised beds or containers with drainage holes. This will ensure adequate water flow and prevent root rot, a common issue in poorly drained soils.
Planting Peppermint Cuttings Step-by-Step
Planting peppermint cuttings is a straightforward process that can be accomplished in a few simple steps. Follow this guide to ensure successful rooting and establishment:
-
Prepare small pots or seedling trays with a well-draining seed-starting mix or a 50/50 blend of peat moss and perlite. Moisten the mix before planting to aid in moisture retention.
-
Create a hole in the planting mix for each cutting, approximately 1 to 2 inches (2.5 to 5 cm) deep, depending on the cutting’s length. Space the holes about 3 to 4 inches (7.5 to 10 cm) apart to allow for adequate growth and air circulation.
-
Insert the prepared peppermint cuttings into the holes, ensuring that at least one node is buried. Firmly press the planting mix around the cuttings to provide support and maintain contact with the soil.
-
Water the planted cuttings gently but thoroughly, using a watering can or a spray bottle to avoid dislodging the cuttings. Keep the soil consistently moist but not waterlogged during the rooting process.
-
Cover the pots or trays with a clear plastic bag or dome to create a greenhouse effect, promoting humidity and warmth. Place the covered cuttings in a location with bright, indirect light, maintaining a temperature between 65°F and 75°F (18°C and 24°C).
-
Check the cuttings’ progress regularly, monitoring for signs of root growth, such as new leaves or stems. Once roots have developed, typically within 2 to 4 weeks, remove the plastic covering and gradually acclimate the young plants to their permanent growing location, either in the garden or in larger containers.
Nurturing and Maintaining Your Peppermint Plants
Proper care and maintenance are essential for promoting healthy growth and preventing overcrowding in your peppermint plants. Follow these guidelines to ensure your plants thrive:
Watering
Peppermint plants require consistent moisture but do not tolerate waterlogged soil. Aim to water your plants deeply once or twice a week, depending on your local climate and soil conditions. Ensure that the soil remains moist but not soggy, and allow the top inch (2.5 cm) of soil to dry out between waterings.
Fertilizing
Fertilize your peppermint plants once or twice a year, using a balanced, water-soluble fertilizer with a ratio like 10-10-10 or 20-20-20. Follow the manufacturer’s instructions for application rates and timing. Organic options, such as compost or well-rotted manure, can also be used to provide nutrients and improve soil structure.
Pruning
Regular pruning is crucial for maintaining a healthy, manageable peppermint plant. Prune your peppermint every 2 to 3 weeks, removing spent flowers and dead or yellowing leaves. This practice encourages bushier growth and helps prevent the plant from becoming leggy and unproductive. Additionally, cut back the entire plant by one-third to one-half in late winter or early spring to promote vigorous new growth.
Common Issues and Pests
Powdery mildew, a common fungal issue, can affect peppermint plants. To prevent powdery mildew, ensure adequate air circulation, avoid overhead watering, and space plants properly. If mildew is present, treat the affected areas with a fungicide or a baking soda solution. Common pests, such as aphids, spider mites, and whiteflies, can also impact peppermint plants. Use insecticidal soap or neem oil to control infestations, following the product instructions for application rates and timing.

Harvesting and Using Your Homegrown Peppermint
Harvesting peppermint leaves at the right time and with the proper technique ensures a bountiful supply of fresh, flavorful herbs for your culinary and wellness endeavors. Here’s how to do it:
Ideal Time to Harvest Peppermint
The best time to harvest peppermint leaves is just before the plant begins to flower, typically in mid to late summer. At this stage, the leaves contain the highest concentration of essential oils, yielding the most potent flavor and aroma. Regularly pruning your peppermint plant throughout the growing season will encourage bushy growth and provide ample opportunities for harvesting.
Proper Harvesting Technique
To harvest peppermint leaves, use a pair of sharp scissors or pruning shears to snip off the top 2 to 3 inches (5 to 7.5 cm) of growth. Make your cuts just above a set of leaves, ensuring that you leave enough foliage for the plant to continue growing. Avoid harvesting more than one-third of the plant at a time to prevent stressing the plant and compromising its health.
Fresh Uses for Peppermint
Fresh peppermint leaves can be used in various culinary applications, such as teas, salads, and desserts. For a refreshing beverage, steep a handful of leaves in hot water for 5 to 10 minutes, then sweeten with honey or sugar, if desired. Add fresh leaves to fruit salads, yogurt parfaits, or homemade ice cream for a burst of cool, minty flavor. You can also use peppermint leaves as a garnish or incorporate them into marinades and sauces for meats and fish.
Preserving Peppermint for Later Use
If you have more peppermint than you can use fresh, consider preserving it for later use. Techniques such as drying, freezing, and making infused oils can help you enjoy your homegrown peppermint year-round. For detailed instructions on these preservation methods, refer to Preserving Peppermint for Long-Term Use.
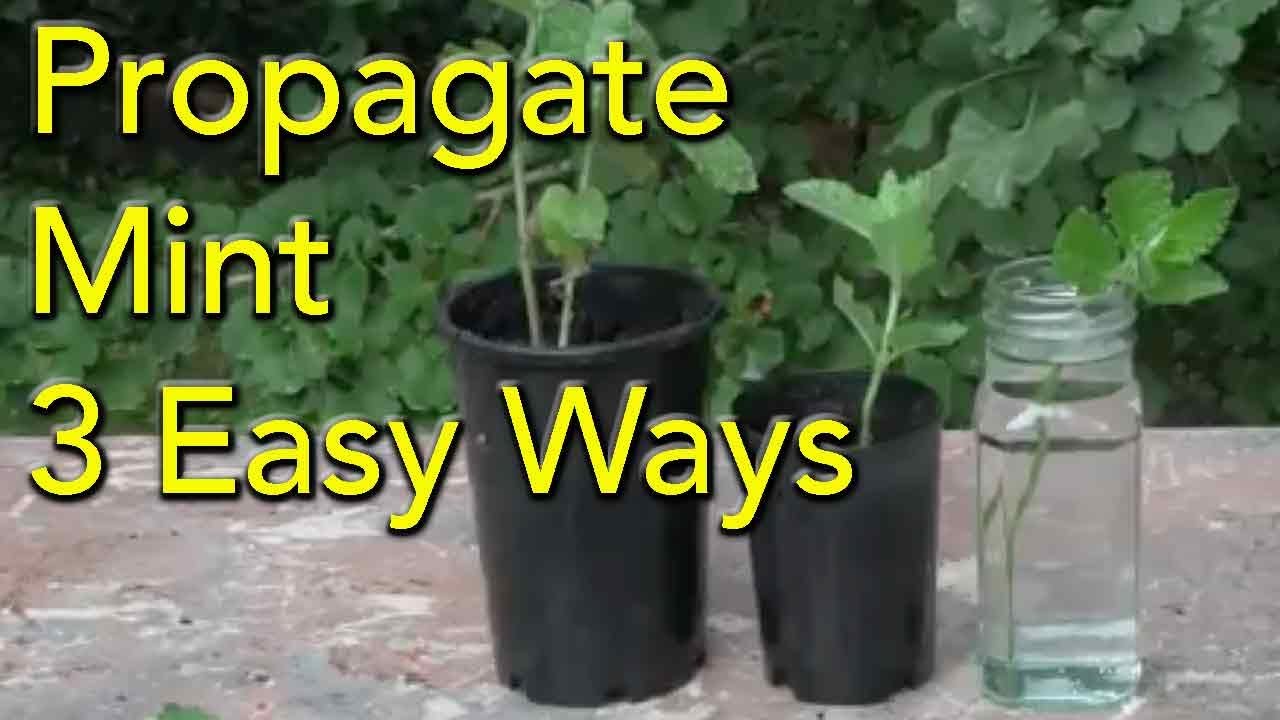
Propagating Peppermint: Expanding Your Herb Garden
Propagating peppermint is an easy and cost-effective way to expand your herb garden or share your homegrown plants with friends and family. There are several propagation methods to choose from, including cuttings, root division, and layering. Each method has its benefits and ideal use cases, ensuring that you can find the perfect technique for your gardening needs.
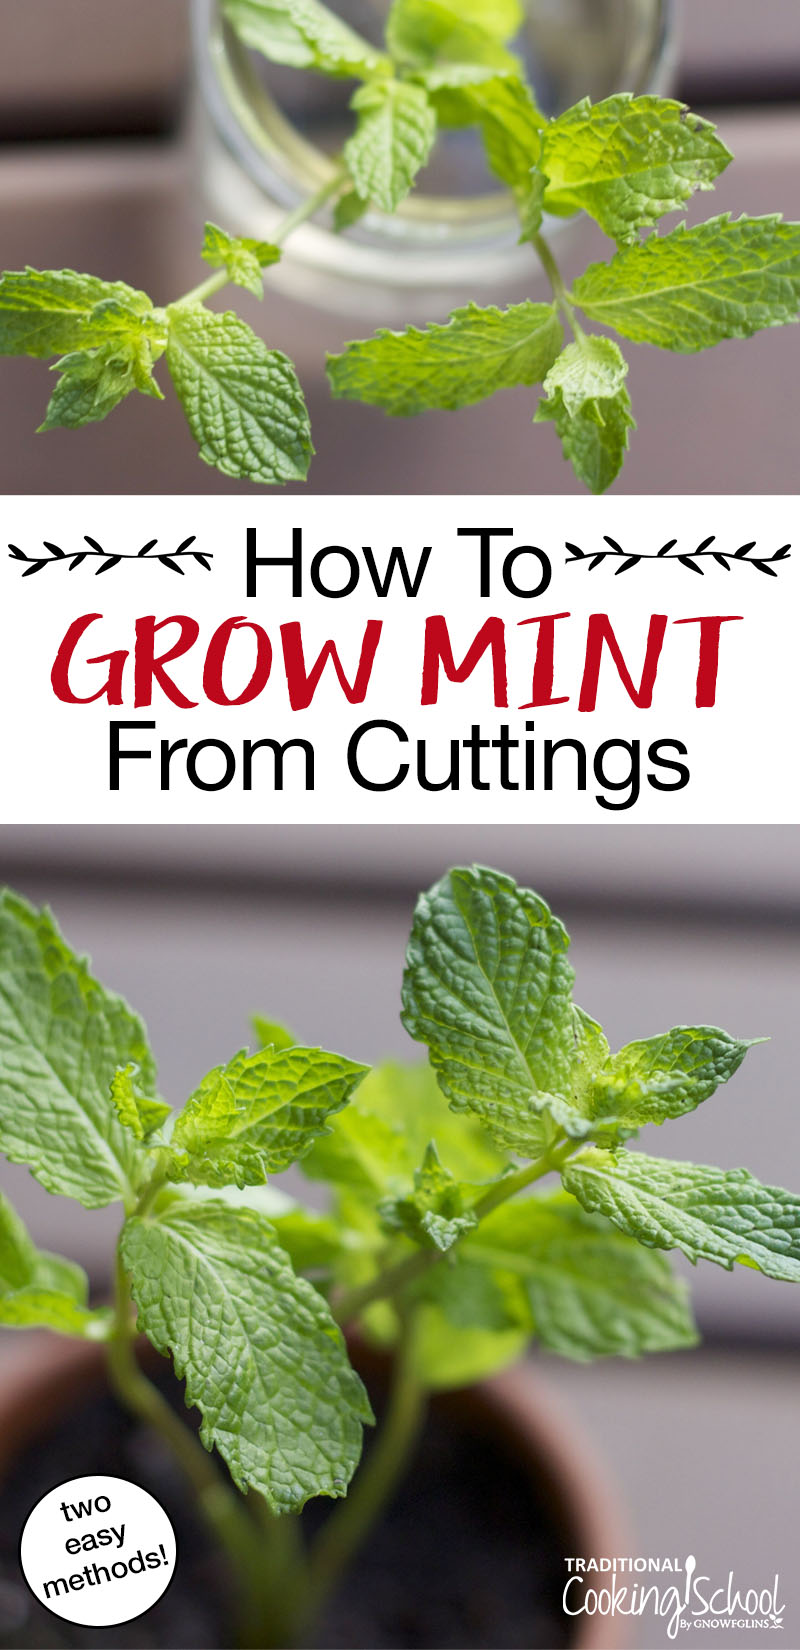
Propagating Peppermint Cuttings
Taking peppermint cuttings is a simple and efficient way to propagate your plants. This method involves snipping a section of the stem and encouraging it to develop roots. Here’s how to do it:
-
Select a healthy, vigorous stem from your peppermint plant, ideally one that is 4 to 6 inches (10 to 15 cm) long. Make your cut just below a leaf node using a clean, sharp pair of scissors or pruning shears.
-
Remove the lower leaves from the cutting, leaving only the top two sets of leaves intact. This step exposes the nodes, which are essential for root development.
-
Prepare a small pot or seedling tray with a well-draining seed-starting mix or a 50/50 blend of peat moss and perlite. Moisten the mix before planting to aid in moisture retention.
-
Create a hole in the planting mix for each cutting, approximately 1 to 2 inches (2.5 to 5 cm) deep, depending on the cutting’s length. Space the holes about 3 to 4 inches (7.5 to 10 cm) apart to allow for adequate growth and air circulation.
-
Insert the prepared peppermint cuttings into the holes, ensuring that at least one node is buried. Firmly press the planting mix around the cuttings to provide support and maintain contact with the soil.
-
Water the planted cuttings gently but thoroughly, using a watering can or a spray bottle to avoid dislodging the cuttings. Keep the soil consistently moist but not waterlogged during the rooting process.
-
Cover the pots or trays with a clear plastic bag or dome to create a greenhouse effect, promoting humidity and warmth. Place the covered cuttings in a location with bright, indirect light, maintaining a temperature between 65°F and 75°F (18°C and 24°C).
Root Division
Root division is another effective method for propagating peppermint. This technique involves separating a mature peppermint plant into smaller sections, each with its own root system. Divide your peppermint plants in early spring or fall, ensuring that each section has ample foliage and roots for healthy growth.
Layering
Layering is a more advanced propagation method that involves encouraging a stem to grow roots while still attached to the parent plant. This technique is particularly useful for mature peppermint plants that may be more challenging to propagate using cuttings or division. To layer your peppermint plant, follow these steps:
-
Select a healthy, flexible stem from your peppermint plant, ideally one that is 6 to 12 inches (15 to 30 cm) long.
-
Make a shallow cut on the underside of the stem, just below a leaf node. This cut will encourage root development.
-
Bend the stem down and bury the cut portion in the soil, ensuring that the leaf node is in contact with the soil. Secure the stem in place with a landscape pin or a small stone.
-
Water the layered stem thoroughly and maintain consistent moisture throughout the rooting process. Root development can take several weeks, so be patient and monitor the stem’s progress regularly.
-
Once roots have formed, snip the new plant from the parent using a clean, sharp pair of scissors or pruning shears. Transplant the new peppermint plant to its permanent location, ensuring that it has enough space to grow and thrive.

Preserving Peppermint for Long-Term Use
Preserving your homegrown peppermint allows you to enjoy its refreshing aroma and flavor long after the growing season has ended. There are several techniques for preserving peppermint, including drying, freezing, and making infused oils. Each method has its advantages and disadvantages, so choose the one that best suits your needs and preferences.
Drying Peppermint
Drying is a simple and cost-effective way to preserve peppermint leaves. Air-drying is the most common method, requiring only a warm, dry, well-ventilated area and a few days of patience. To air-dry peppermint, follow these steps:
-
Harvest your peppermint leaves in the morning, after the dew has evaporated but before the heat of the day sets in. Choose leaves that are at their peak of freshness and free from blemishes or signs of disease.
-
Wash the leaves gently in cool water, then pat them dry with a clean towel. Avoid using a spin cycle in your washing machine or a hairdryer, as excessive heat can damage the leaves and reduce their potency.
-
Place the leaves in a single layer on a clean, dry tray or screen, ensuring that they do not overlap. Exposure to air is crucial for even drying, so avoid stacking the leaves or placing them in airtight containers.
-
Store the tray or screen in a warm, dry, well-ventilated area, away from direct sunlight. Allow the leaves to dry for 2 to 3 weeks, or until they become crisp and crumble easily. Check the leaves periodically for signs of mold or mildew, and discard any affected leaves immediately.
-
Once the leaves are thoroughly dried, remove any remaining stems and store the leaves in airtight containers, such as glass jars or zip-top bags. Label the containers with the date and contents, and store them in a cool, dark place, away from heat and light.
Freezing Peppermint
Freezing is an excellent option for preserving the fresh taste and aroma of peppermint leaves. This method retains more of the plant’s essential oils than drying, ensuring a more potent flavor. To freeze peppermint, follow these steps:
-
Harvest and wash the peppermint leaves as described in the drying method. Blanching the leaves in boiling water for 10 to 15 seconds can help preserve their color and texture, but this step is optional.
-
Place the leaves in a single layer on a baking sheet lined with parchment paper. Freeze the leaves for 1 to 2 hours, or until they are frozen solid. This step prevents the leaves from sticking together when stored.
-
Transfer the frozen leaves to airtight containers or zip-top bags. Label the containers with the date and contents, and store them in the freezer for up to 6 months. Use the leaves directly from the freezer in your favorite recipes, as thawing can cause them to become limp and lose their flavor.
Making Infused Peppermint Oil
Infused peppermint oil is a versatile and fragrant way to preserve the herb’s essence. This method involves steeping peppermint leaves in a carrier oil, such as olive or grapeseed oil, to extract the plant’s essential oils. To make infused peppermint oil, follow these steps:
-
Harvest and wash the peppermint leaves as described in the drying method. Coarsely chop the leaves to increase their surface area and enhance oil extraction.
-
Place the chopped leaves in a clean, dry jar, filling it about three-quarters full. Pour a carrier oil over the leaves, ensuring that they are completely submerged. Use enough oil to cover the leaves by at least 1 inch (2.5 cm).
-
Cover the jar with a tight-fitting lid and store it in a warm, dark place, such as a pantry or cupboard. Allow the mixture to steep for 4 to 6 weeks, shaking the jar gently every few days to distribute the oil and prevent spoilage.
-
After the steeping period, strain the oil through a cheesecloth or fine-mesh sieve, discarding the spent leaves. Store the infused oil in a clean, dry jar or bottle, away from heat and light. Infused peppermint oil can be used in various culinary and wellness applications, such as salad dressings, marinades, and aromatherapy.
Enjoying the Benefits of Peppermint in Your Daily Life
Peppermint offers a wide range of benefits, from its refreshing scent to its medicinal properties. By incorporating peppermint into your daily routine, you can enjoy these advantages and enrich your life in various ways. Here are some ideas for using peppermint in your everyday activities:
Aromatherapy
The invigorating aroma of peppermint can help boost your mood, alleviate stress, and improve focus. Add a few drops of peppermint essential oil to a diffuser, or mix it with a carrier oil and apply it to your temples for a revitalizing scent.
Culinary Delights
Fresh peppermint leaves can elevate a variety of dishes, from salads and beverages to desserts and baked goods. Experiment with peppermint in your favorite recipes, or try new ones that showcase the herb’s unique flavor. For inspiration, refer to Harvesting and Using Your Homegrown Peppermint.
Natural Remedies
Peppermint has long been used for its medicinal properties, including its ability to soothe digestive issues, alleviate headaches, and provide relief from muscle pain. Consult with a healthcare professional or a certified aromatherapist to learn how to use peppermint safely and effectively in your self-care routine.
Home and Garden
Peppermint plants can serve as attractive and functional additions to your home and garden. Plant them in containers or garden beds, and enjoy their refreshing scent and beautiful foliage. Additionally, peppermint can help deter pests, making it a valuable companion plant for other herbs and vegetables.
Personal Care
Peppermint’s cooling and soothing properties make it an excellent ingredient in personal care products, such as lotions, balms, and shampoos. You can also make your own natural skincare and haircare products using fresh peppermint leaves or essential oil. For instructions, refer to Harvesting and Using Your Homegrown Peppermint.
By embracing peppermint in your daily life, you can experience its numerous benefits firsthand. Whether you’re enjoying its aroma, savoring its flavor, or harnessing its medicinal properties, peppermint is a versatile and valuable herb to have in your garden and your life.
