An Overview of Cactus Propagation: Techniques and Benefits
Cactus propagation is the process of creating new cacti plants from existing ones, offering numerous benefits for cactus enthusiasts and gardeners. By learning how to propagate a cactus, you can expand your collection, share plants with others, and even save money on purchasing new cacti. Various propagation techniques are available, including stem cuttings, offset separation, and grafting. Each method caters to different cacti species and growth habits, ensuring that you can find the perfect approach for your plants.

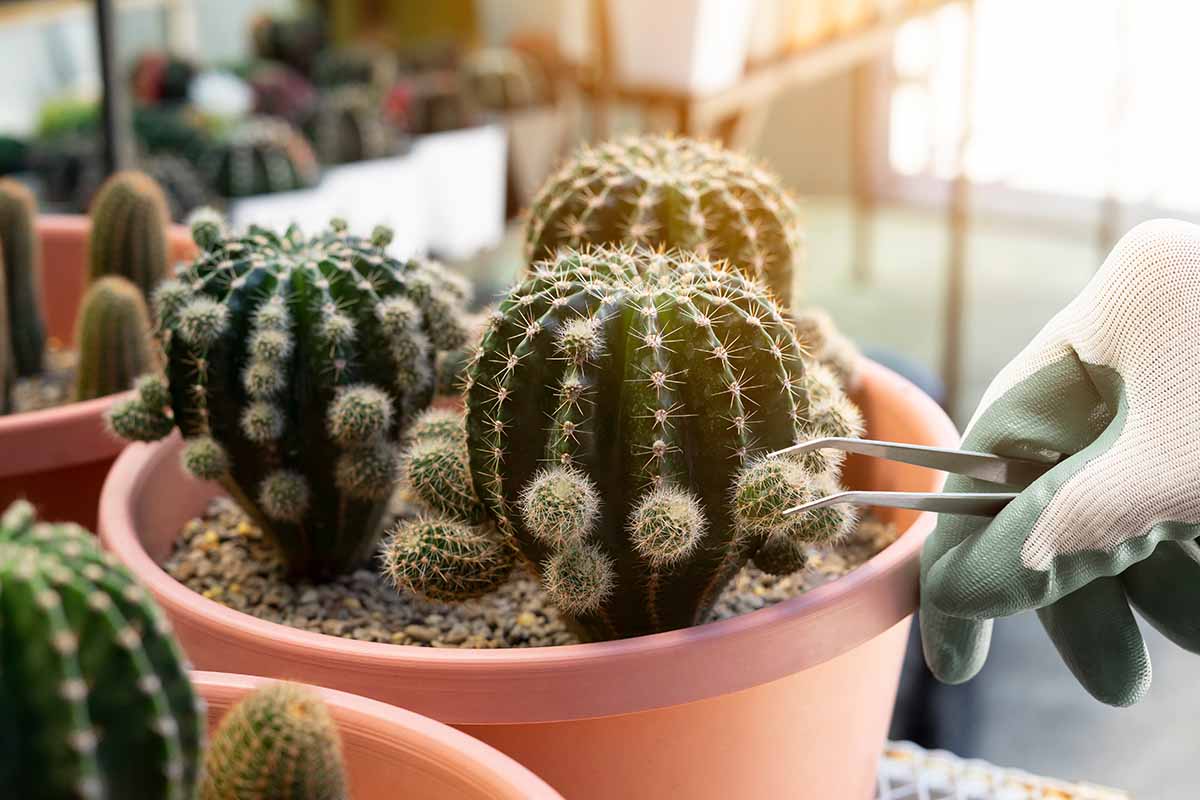
Click Image to Find Garden Products

Preparing the Right Tools and Materials for Cactus Propagation
To successfully propagate a cactus, it is crucial to gather the appropriate tools and materials. These essential items not only facilitate the propagation process but also minimize the risk of damaging the cacti. The primary tools and materials required for cactus propagation are:
- Clean, sharp knife: A sterilized, sharp blade ensures clean cuts and reduces the likelihood of infection during propagation.
- Well-draining potting mix: A specialized cactus or succulent potting mix, designed to provide optimal drainage and aeration, supports healthy root development.
- Rooting hormone: Applying a rooting hormone to the cutting can stimulate root growth and improve the success rate of propagation.
Using the correct tools and materials is vital for the successful propagation of cacti. By investing in these items, you can ensure that your cacti have the best possible chance of thriving and expanding your collection without unnecessary setbacks or damages.

Selecting Suitable Cacti Species for PropagationHow to Propagate Cacti via Stem Cuttings: Step-by-Step Instructions
Propagating cacti using stem cuttings is a straightforward and popular method for cactus enthusiasts and gardeners. By following these step-by-step instructions, you can successfully propagate your cacti and expand your collection:
- Select a healthy stem segment: Choose a healthy, mature stem from a well-established cactus. Ensure the segment is at least a few inches long, depending on the cactus species.
- Prepare the cutting: Using a clean, sharp knife, carefully remove the stem segment from the main cactus. Make a clean cut at a natural breaking point or growth node. Allow the cutting to dry for a few days, which helps prevent rot and encourages root development.
- Callous the cutting: Place the cut end of the stem segment on a paper towel or tray, allowing it to dry and callous. This process typically takes 3-7 days, depending on the cactus species and environmental conditions.
- Plant the cutting: Once the cutting has calloused, dip the cut end in rooting hormone (optional) and plant it in a well-draining potting mix. Firmly press the potting mix around the cutting to ensure good contact and stability.
- Maintain proper moisture levels: Water the newly planted cutting sparingly, allowing the potting mix to dry slightly between waterings. Overwatering can lead to root rot and hinder the propagation process.
- Provide adequate light: Place the cutting in a location with bright, indirect light. Avoid direct sunlight, which can scorch the delicate cactus tissue.
By following these steps, you can successfully propagate cacti using stem cuttings, allowing you to expand your collection and share your plants with others.
Separating Offsets for New Cactus Growth: A Comprehensive Guide
Offsets, also known as pups, are small cacti that grow around the base of mature cacti. Separating offsets from mature cacti is an effective method for propagating new plants. By following these steps, you can successfully generate new cactus growth:
- Identify the ideal time for offset separation: The best time to separate offsets is during the cactus’s active growth period, typically in late spring or early summer. At this time, the offsets have developed sufficient root systems and are easier to remove without causing damage.
- Prepare the mature cactus and offsets: Carefully remove the mature cactus from its pot, ensuring not to damage the offsets. Loosen the potting mix around the offsets, exposing the connection points between the offsets and the main cactus.
- Remove the offsets: Using a clean, sharp knife, carefully cut the offsets away from the main cactus at the connection points. Make sure to leave some roots attached to the offsets for successful propagation.
- Allow the offsets to dry: Place the offsets on a paper towel or tray, allowing them to dry for a day or two. This process helps prevent rot and encourages root development.
- Plant the offsets: Once the offsets have dried, plant them in a well-draining potting mix. Firmly press the potting mix around the offsets to ensure good contact and stability.
- Maintain proper moisture levels: Water the newly planted offsets sparingly, allowing the potting mix to dry slightly between waterings. Overwatering can lead to root rot and hinder the propagation process.
- Provide adequate light: Place the offsets in a location with bright, indirect light. Avoid direct sunlight, which can scorch the delicate cactus tissue.
By following these steps, you can successfully separate offsets from mature cacti and generate new cactus growth, further expanding your collection.

Grafting Cacti: Techniques and Considerations
Cacti grafting is a horticultural technique that combines the desirable traits of two cacti to create a single plant. This method can promote faster growth, overcome incompatibility issues, and produce visually striking plants. Here, we discuss the concept of cacti grafting, its purposes, and various grafting techniques:
Understanding Cacti Grafting
Grafting involves joining two cacti: a rootstock, which provides a strong foundation and nutrients, and a scion, the top part that determines the plant’s appearance and growth characteristics. The two parts are fused together, allowing them to grow as a single entity.
Purposes of Cacti Grafting
Grafting can serve several purposes, such as:
- Promoting faster growth: Some slow-growing cacti can benefit from grafting onto faster-growing rootstocks.
- Overcoming incompatibility issues: Grafting can help combine incompatible species or varieties, allowing them to grow together successfully.
- Creating visually striking plants: Grafting can produce unique, multi-colored, or patterned cacti that might not be possible through traditional propagation methods.
Simple Cactus Grafting Technique
To perform a simple cactus graft, follow these steps:
- Select a rootstock: Choose a healthy, vigorous rootstock with a compatible size and shape to support the scion.
- Prepare the rootstock: Cut the rootstock’s top growth, leaving a clean, flat surface. Allow the cut to dry for a day or two to prevent rot.
- Select a scion: Choose a healthy scion with several growth nodes. Cut the scion, leaving a slanted surface on the bottom side.
- Join the rootstock and scion: Align the scion’s slanted surface with the rootstock’s flat surface, ensuring a snug fit. Use a grafting clip or tape to hold the two parts together.
- Heal the graft: Place the grafted cactus in a shaded area with indirect light. Allow the graft to heal for 7-10 days, maintaining proper moisture levels and avoiding direct sunlight.
By following these steps, you can successfully graft cacti, combining desirable traits from two different plants to create a unique and thriving specimen.

Troubleshooting Common Cactus Propagation Issues
Cactus propagation can sometimes present challenges, but understanding common issues and implementing practical solutions can lead to successful propagation. Here, we address three prevalent problems: rot, pests, and slow growth.
Rot
Rot, often caused by overwatering, can lead to the decay and death of cacti tissue. To prevent and address rot, follow these steps:
- Ensure proper drainage: Use a well-draining potting mix and avoid overwatering.
- Allow cuttings to callous: Before planting stem cuttings, allow them to dry and callous to prevent rot.
- Monitor for signs of rot: Look for discolored or mushy tissue, and remove affected areas using a clean, sharp knife.
- Treat with fungicides: If rot persists, consider using a fungicide to prevent further damage.
Pests
Pests, such as mealybugs, scale insects, and spider mites, can harm cacti during propagation. To manage pests, consider the following:
- Inspect plants regularly: Check for signs of pests during watering and care sessions.
- Isolate affected plants: Separate infested cacti from the rest of your collection to prevent the spread of pests.
- Use insecticidal soap: Apply insecticidal soap to affected areas, following the manufacturer’s instructions.
- Introduce beneficial insects: Consider introducing predatory insects, such as ladybugs, to control pest populations.
Slow Growth
Slow growth is common during cactus propagation, especially in the early stages. To promote faster growth, consider the following tips:
- Provide adequate light: Ensure that cacti receive sufficient light for photosynthesis.
- Maintain proper moisture levels: Avoid overwatering, but ensure that the potting mix remains slightly moist during the growing season.
- Fertilize sparingly: Use a cactus-specific fertilizer at half the recommended strength during the growing season to support growth.
- Promote air circulation: Ensure good air circulation around cacti to prevent fungal issues and promote healthy growth.
By addressing common cactus propagation issues, such as rot, pests, and slow growth, you can increase the likelihood of successful propagation and maintain a thriving cactus collection.
Caring for Newly Propagated Cacti: Tips and Best Practices
After successfully propagating a cactus, it’s essential to provide proper care to ensure healthy growth. Here, we discuss essential tips and best practices for watering, light, temperature, and humidity requirements, as well as the importance of regular monitoring.
Watering
Newly propagated cacti require careful watering to prevent root rot. Follow these guidelines:
- Wait for the potting mix to dry out between waterings.
- Water sparingly, providing just enough moisture to keep the mix slightly moist.
- Gradually increase watering as the cacti establish their root systems and begin to grow.
Light
Light is crucial for cacti growth. Ensure that your newly propagated cacti receive adequate light, following these recommendations:
- Place cacti near a south-facing window for bright, indirect light.
- Rotate cacti regularly to ensure even light exposure and promote balanced growth.
- Gradually acclimate cacti to stronger light levels to prevent sunburn or stress.
Temperature and Humidity
Cacti thrive in warm, dry environments. Consider the following guidelines:
- Maintain a temperature between 70-80°F (21-27°C) during the day and above 55°F (13°C) at night.
- Avoid placing cacti near drafty windows, air vents, or cold surfaces.
- Minimize humidity by placing cacti on a tray with pebbles and water or using a humidifier.
Regular Monitoring
Regularly monitor your newly propagated cacti for signs of growth, pests, or issues. Address any problems promptly to ensure healthy growth. Be patient, as cacti can take time to establish and grow. With proper care, your newly propagated cacti will thrive and contribute to your growing collection.
