Why Propagate Your Dieffenbachia?
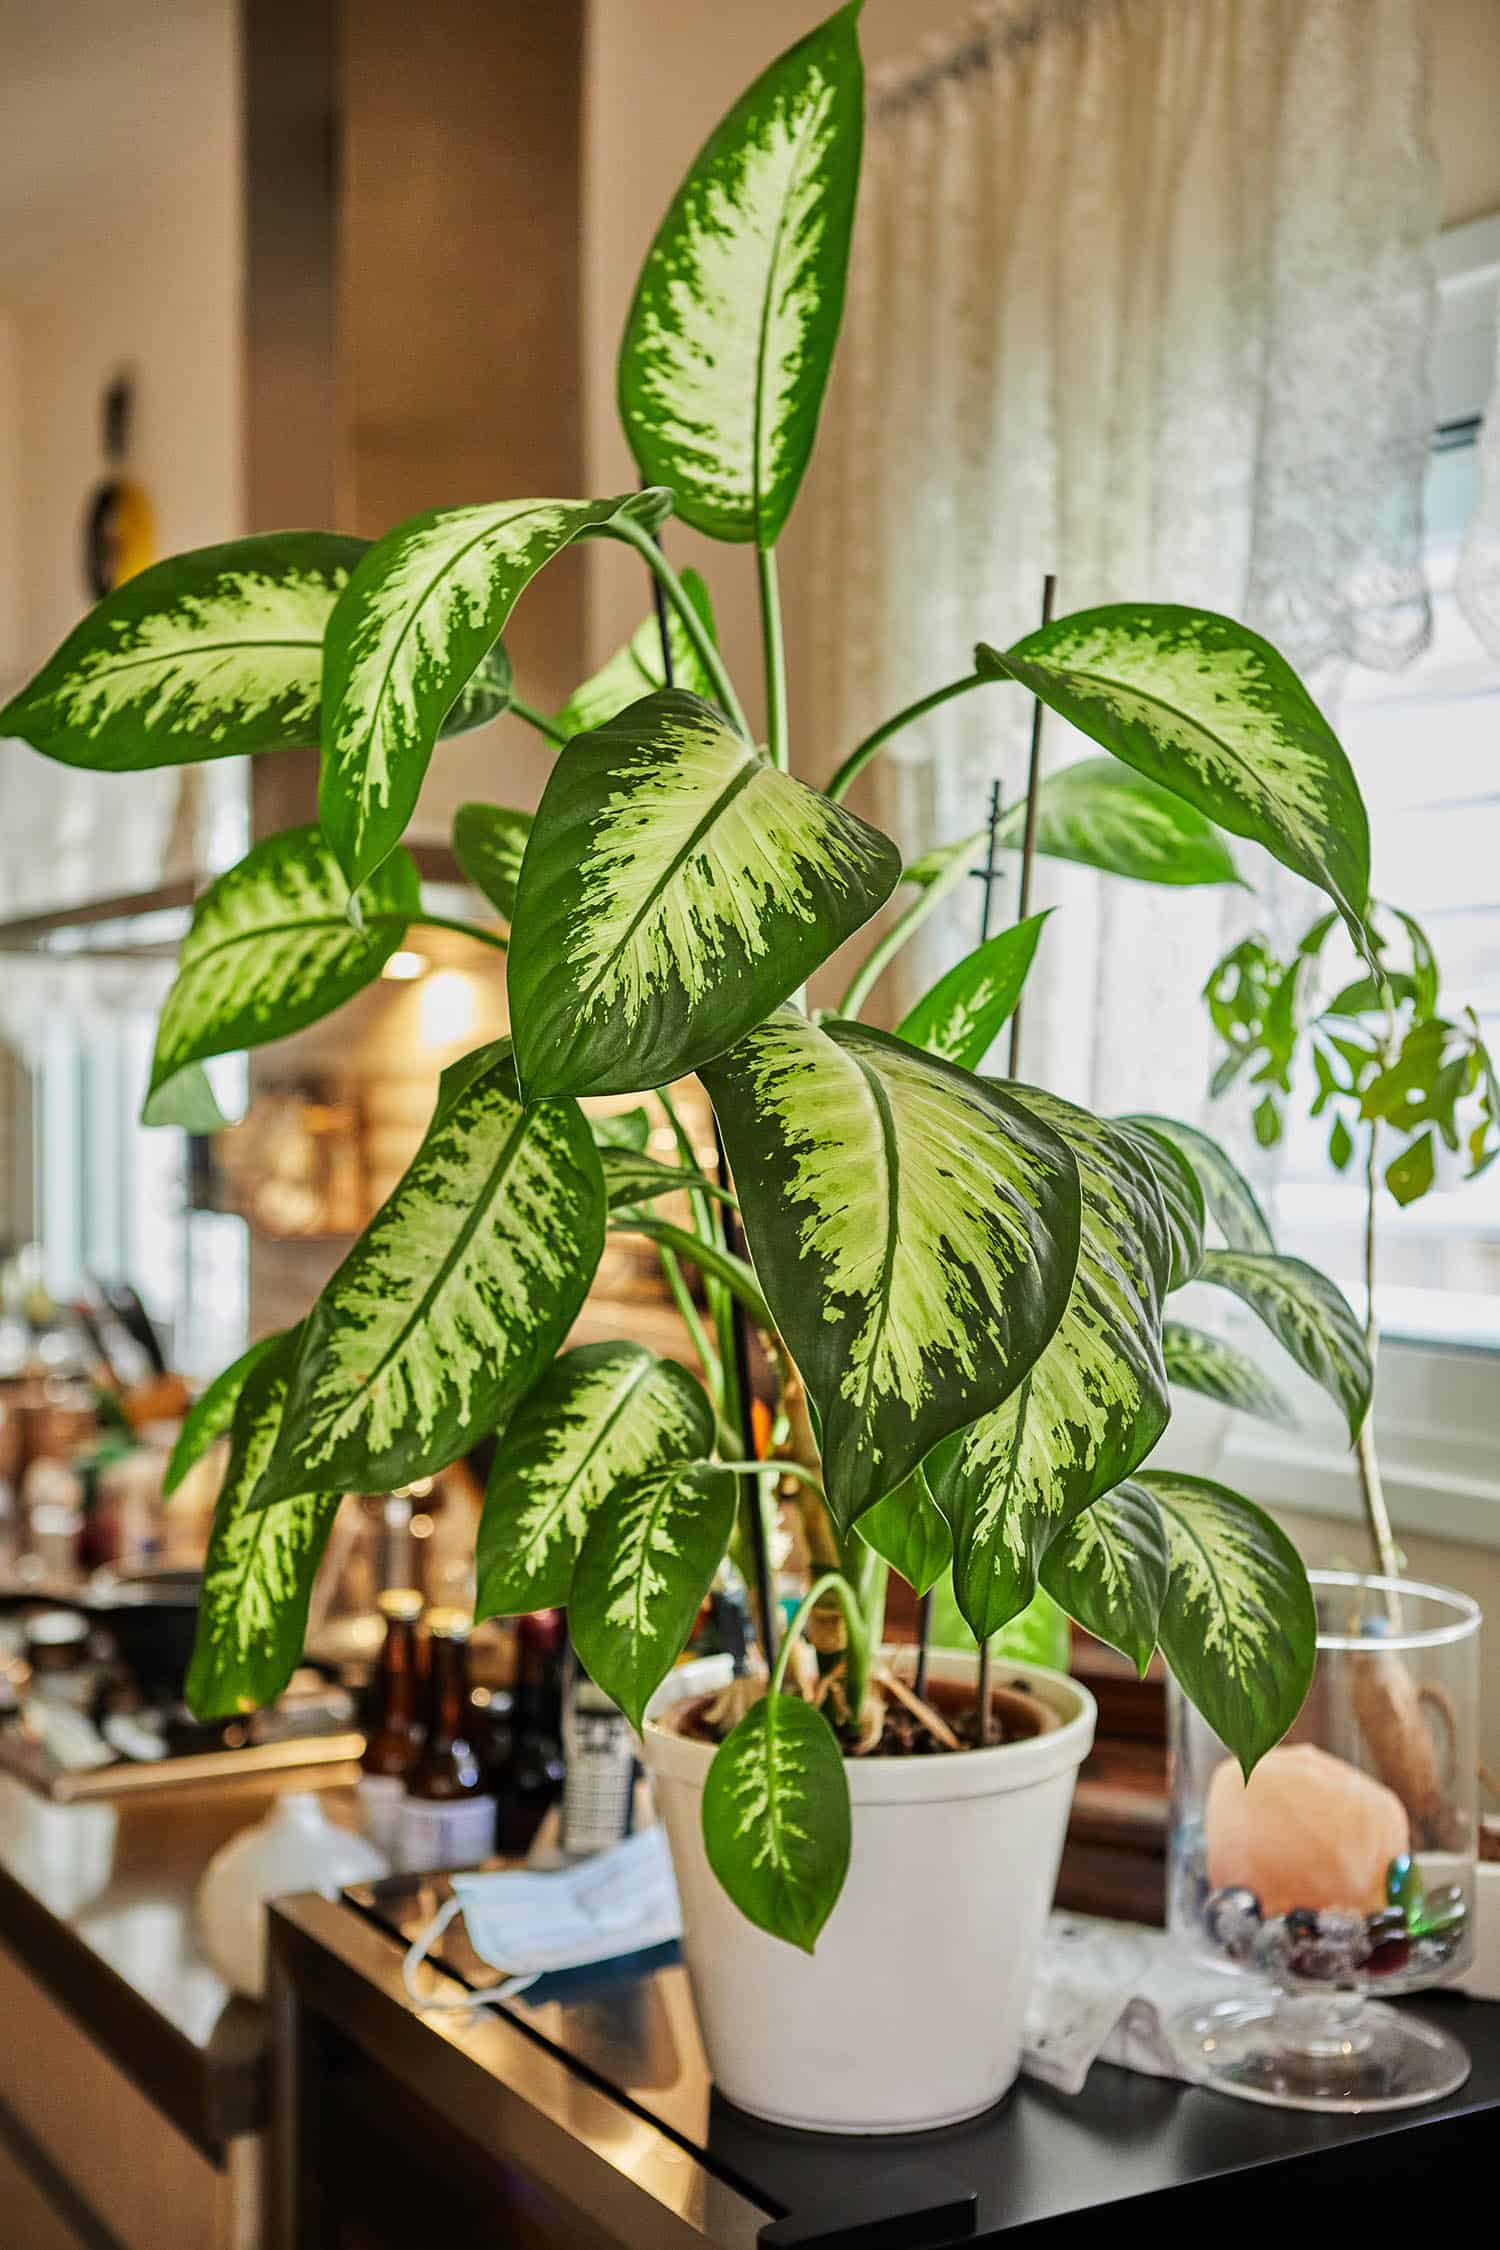
Dieffenbachia plants are a popular choice for indoor spaces due to their attractive foliage and ability to purify the air. However, these plants can become pot-bound and may require propagation to maintain their health. By learning how to propagate a dieffenbachia, you can enjoy the many benefits of plant propagation, including sharing plants with friends and family or creating new plants for your own space. Propagation can also help to preserve the health of the mother plant, as it allows for the removal of dead or damaged leaves and stems. Additionally, propagating a dieffenbachia can be a cost-effective way to acquire new plants, as it eliminates the need to purchase new plants from a nursery or garden center.
Choosing the Right Method for You
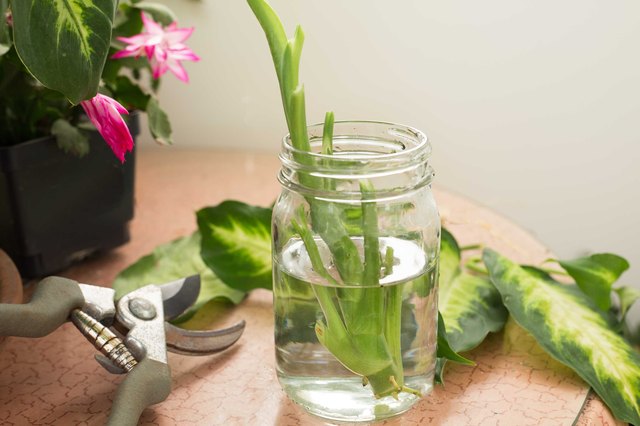
When it comes to propagating a dieffenbachia, there are several methods to choose from, each with its own advantages and challenges. Understanding the different methods of dieffenbachia propagation can help you decide which one is best for your needs. The three most common methods of dieffenbachia propagation are stem cuttings, air-layering, and leaf node propagation. Stem cuttings involve cutting sections of stem from the mother plant and rooting them in a new pot. This method is ideal for beginners, as it is relatively easy and has a high success rate. Air-layering, on the other hand, involves rooting the stem cutting while it is still attached to the mother plant. This method is more advanced and requires more skill and patience. Leaf node propagation involves cutting individual leaves from the mother plant and rooting them in a new pot. This method is ideal for those who want to propagate multiple plants at once.
When deciding which method to use, consider your level of experience, the size and health of the mother plant, and the amount of time you have to dedicate to propagation. By understanding the different methods of dieffenbachia propagation, you can choose the one that best fits your needs and increase your chances of success. Whether you’re a beginner or an experienced grower, learning how to propagate a dieffenbachia can be a rewarding and cost-effective way to acquire new plants.
Preparing Your Dieffenbachia for Propagation
Before attempting to propagate a dieffenbachia, it’s essential to prepare the mother plant to ensure optimal health and increase the chances of successful propagation. A healthy mother plant will provide the best material for propagation, and with a few simple steps, you can ensure your dieffenbachia is ready for propagation.
Pruning is an essential step in preparing your dieffenbachia for propagation. Remove any dead or damaged leaves or stems, as these can harbor diseases and pests that can spread to the new plants. Pruning will also encourage the mother plant to produce new growth, which can be used for propagation. Fertilize your dieffenbachia with a balanced fertilizer to provide it with the necessary nutrients for healthy growth.
Ensure your dieffenbachia is receiving the right amount of light, water, and humidity. Dieffenbachias prefer bright, indirect light, and consistent moisture. Check the soil regularly to ensure it’s not too dry or waterlogged. By providing optimal growing conditions, you’ll be able to take healthy stem cuttings that will root successfully.
By preparing your dieffenbachia for propagation, you’ll be able to take healthy stem cuttings that will root successfully. This will increase the chances of successful propagation and provide you with new plants that will thrive. Remember, learning how to propagate a dieffenbachia requires patience and practice, but with the right techniques and preparation, you can enjoy the many benefits of plant propagation.
The Art of Taking Stem Cuttings
When it comes to propagating a dieffenbachia, taking stem cuttings is one of the most popular and effective methods. By following a few simple steps, you can successfully take stem cuttings from your dieffenbachia and create new plants. Here’s a step-by-step guide on how to take stem cuttings from a dieffenbachia:
Choose the Right Stems: Select healthy stems with at least two nodes, which are the joints where the leaves meet the stem. Avoid taking cuttings from weak or damaged stems, as they may not root successfully. Cut stems with a sharp, clean knife or pruning tool, making a clean cut just above a node.
Cut Correctly: Cut the stem at a 45-degree angle, and remove any lower leaves that will be below the soil line. This will help prevent the cutting from rotting and encourage rooting. Dip the cut end in rooting hormone powder or liquid to promote root growth.
Prepare the Cuttings for Rooting: Place the cuttings in a propagation tray or small pots filled with a well-draining rooting medium, such as a mix of peat moss and perlite. Water the medium gently but thoroughly, and ensure the cuttings are securely anchored in the medium.
By following these steps, you’ll be able to take healthy stem cuttings from your dieffenbachia and increase your chances of successful propagation. Remember, learning how to propagate a dieffenbachia requires patience and practice, but with the right techniques, you can enjoy the many benefits of plant propagation.
Rooting and Caring for Your New Dieffenbachia
Once you’ve taken stem cuttings from your dieffenbachia, the next step is to root them and care for the new plants. This stage is crucial in the propagation process, as it determines the success of your efforts. Here’s a comprehensive guide on how to root and care for your new dieffenbachia:
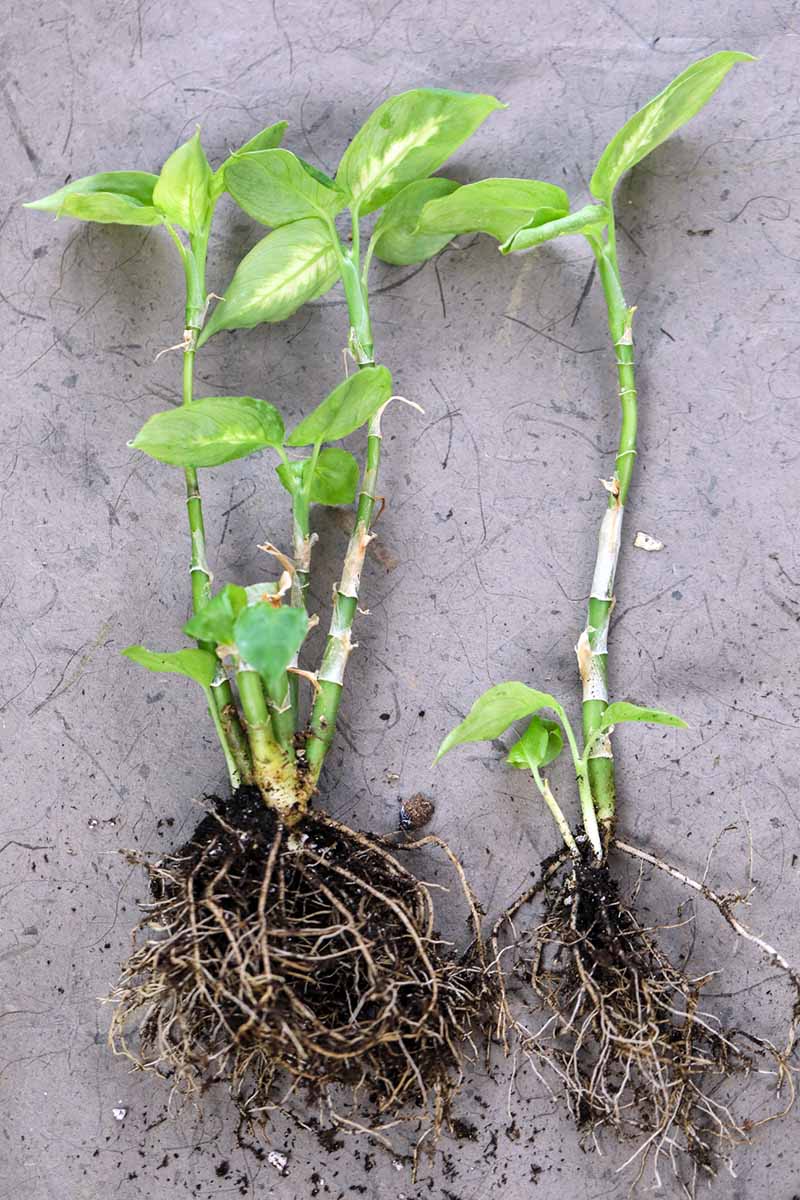
Rooting the Stem Cuttings: Place the stem cuttings in a propagation tray or small pots filled with a well-draining rooting medium, such as a mix of peat moss and perlite. Water the medium gently but thoroughly, and ensure the cuttings are securely anchored in the medium. Provide high humidity, typically above 50%, to promote root growth. You can cover the propagation tray or pots with a clear plastic bag or cloche to maintain humidity.
Temperature and Light: Dieffenbachia stem cuttings prefer temperatures between 65°F to 75°F (18°C to 24°C) and bright, indirect light. Avoid direct sunlight, which can cause the cuttings to dry out. Keep the propagation area away from drafts and extreme temperatures.
Caring for the New Plants: Once the stem cuttings have developed roots, typically within 1-2 weeks, you can start caring for the new plants. Water them gently but thoroughly, and fertilize with a balanced fertilizer. Prune the plants to maintain a bushy shape and encourage new growth. Transplant the new plants into larger pots or directly into the garden once they’re established.
By following these steps, you’ll be able to successfully root and care for your new dieffenbachia plants. Remember, learning how to propagate a dieffenbachia requires patience and practice, but with the right techniques, you can enjoy the many benefits of plant propagation. With proper care, your new dieffenbachia plants will thrive and provide you with years of enjoyment.
Troubleshooting Common Propagation Issues
While propagating a dieffenbachia can be a rewarding experience, it’s not without its challenges. Common issues that may arise during dieffenbachia propagation include root rot, leaf drop, and pest infestations. Here are some solutions to help you overcome these challenges:
Root Rot: This is a common problem that occurs when the stem cuttings are exposed to too much moisture. To prevent root rot, ensure the rooting medium is well-draining, and avoid overwatering. If you notice root rot, remove the affected cuttings, and treat the remaining ones with a fungicide.
Leaf Drop: Dieffenbachia leaves may drop due to stress, overwatering, or underwatering. To prevent leaf drop, ensure the mother plant is healthy and well-watered before taking stem cuttings. Keep the propagation area humid, and avoid sudden changes in temperature or light.
Pest Infestations: Dieffenbachia plants are susceptible to pests like spider mites, mealybugs, and scale. To prevent pest infestations, inspect the mother plant and stem cuttings regularly. Isolate infected plants, and treat them with insecticidal soap or neem oil.
Other common issues that may arise during dieffenbachia propagation include slow growth, yellowing leaves, and fungal infections. To overcome these challenges, ensure the mother plant is healthy, and the propagation area is clean and well-maintained. By following these tips, you can troubleshoot common propagation issues and increase your chances of success when learning how to propagate a dieffenbachia.
Advanced Propagation Techniques for Dieffenbachia Enthusiasts
For experienced growers who want to take their dieffenbachia propagation skills to the next level, advanced techniques like air-layering and leaf node propagation offer exciting opportunities. These methods require a bit more expertise and patience, but the results can be truly rewarding.
Air-Layering: This technique involves wounding the stem of the mother plant and encouraging roots to grow from the wound. To air-layer a dieffenbachia, make a small incision in the stem, and pack the wound with moist sphagnum moss. Keep the moss consistently moist, and roots should develop within 1-2 weeks. Once roots have formed, cut the stem below the roots, and pot the new plant.
Leaf Node Propagation: This method involves using the leaf nodes of the dieffenbachia to produce new plants. To propagate using leaf nodes, cut the leaf from the mother plant, leaving a small piece of stem attached to the node. Remove lower leaves, and plant the node in a well-draining medium. Keep the medium consistently moist, and roots should develop within 1-2 weeks.
Tips for Advanced Propagation: When attempting advanced propagation techniques, it’s essential to maintain high humidity, provide bright indirect light, and keep the propagation area clean and well-ventilated. Monitor the mother plant’s health, and adjust your techniques accordingly. With practice and patience, you can master these advanced techniques and enjoy the many benefits of propagating a dieffenbachia.
By exploring these advanced propagation techniques, you can expand your knowledge of how to propagate a dieffenbachia and unlock new possibilities for sharing and growing these beautiful plants. Whether you’re a seasoned grower or just starting out, the art of dieffenbachia propagation offers endless opportunities for creativity and experimentation.
Conclusion: Sharing Your Propagation Success
Now that you’ve mastered the art of dieffenbachia propagation, it’s time to share your success with others. Whether you’re a seasoned grower or just starting out, sharing your experiences and knowledge with others can be a rewarding experience.
Share Your Plants: One of the best ways to share your propagation success is to give away new plants to friends and family. This not only spreads the joy of dieffenbachia growing but also helps to create a sense of community among plant enthusiasts.
Join a Plant Community: Consider joining online forums or social media groups dedicated to dieffenbachia enthusiasts. These communities provide a platform for sharing experiences, asking questions, and learning from others who share your passion.
Share Your Knowledge: If you’ve developed expertise in how to propagate a dieffenbachia, consider sharing your knowledge with others through blog posts, videos, or tutorials. This not only helps others but also reinforces your own understanding of the process.
By sharing your propagation success, you can inspire others to try their hand at dieffenbachia propagation and create a ripple effect of plant enthusiasts who are passionate about sharing and growing these beautiful plants.


