Unlocking the Secrets of Angel Wing Begonias
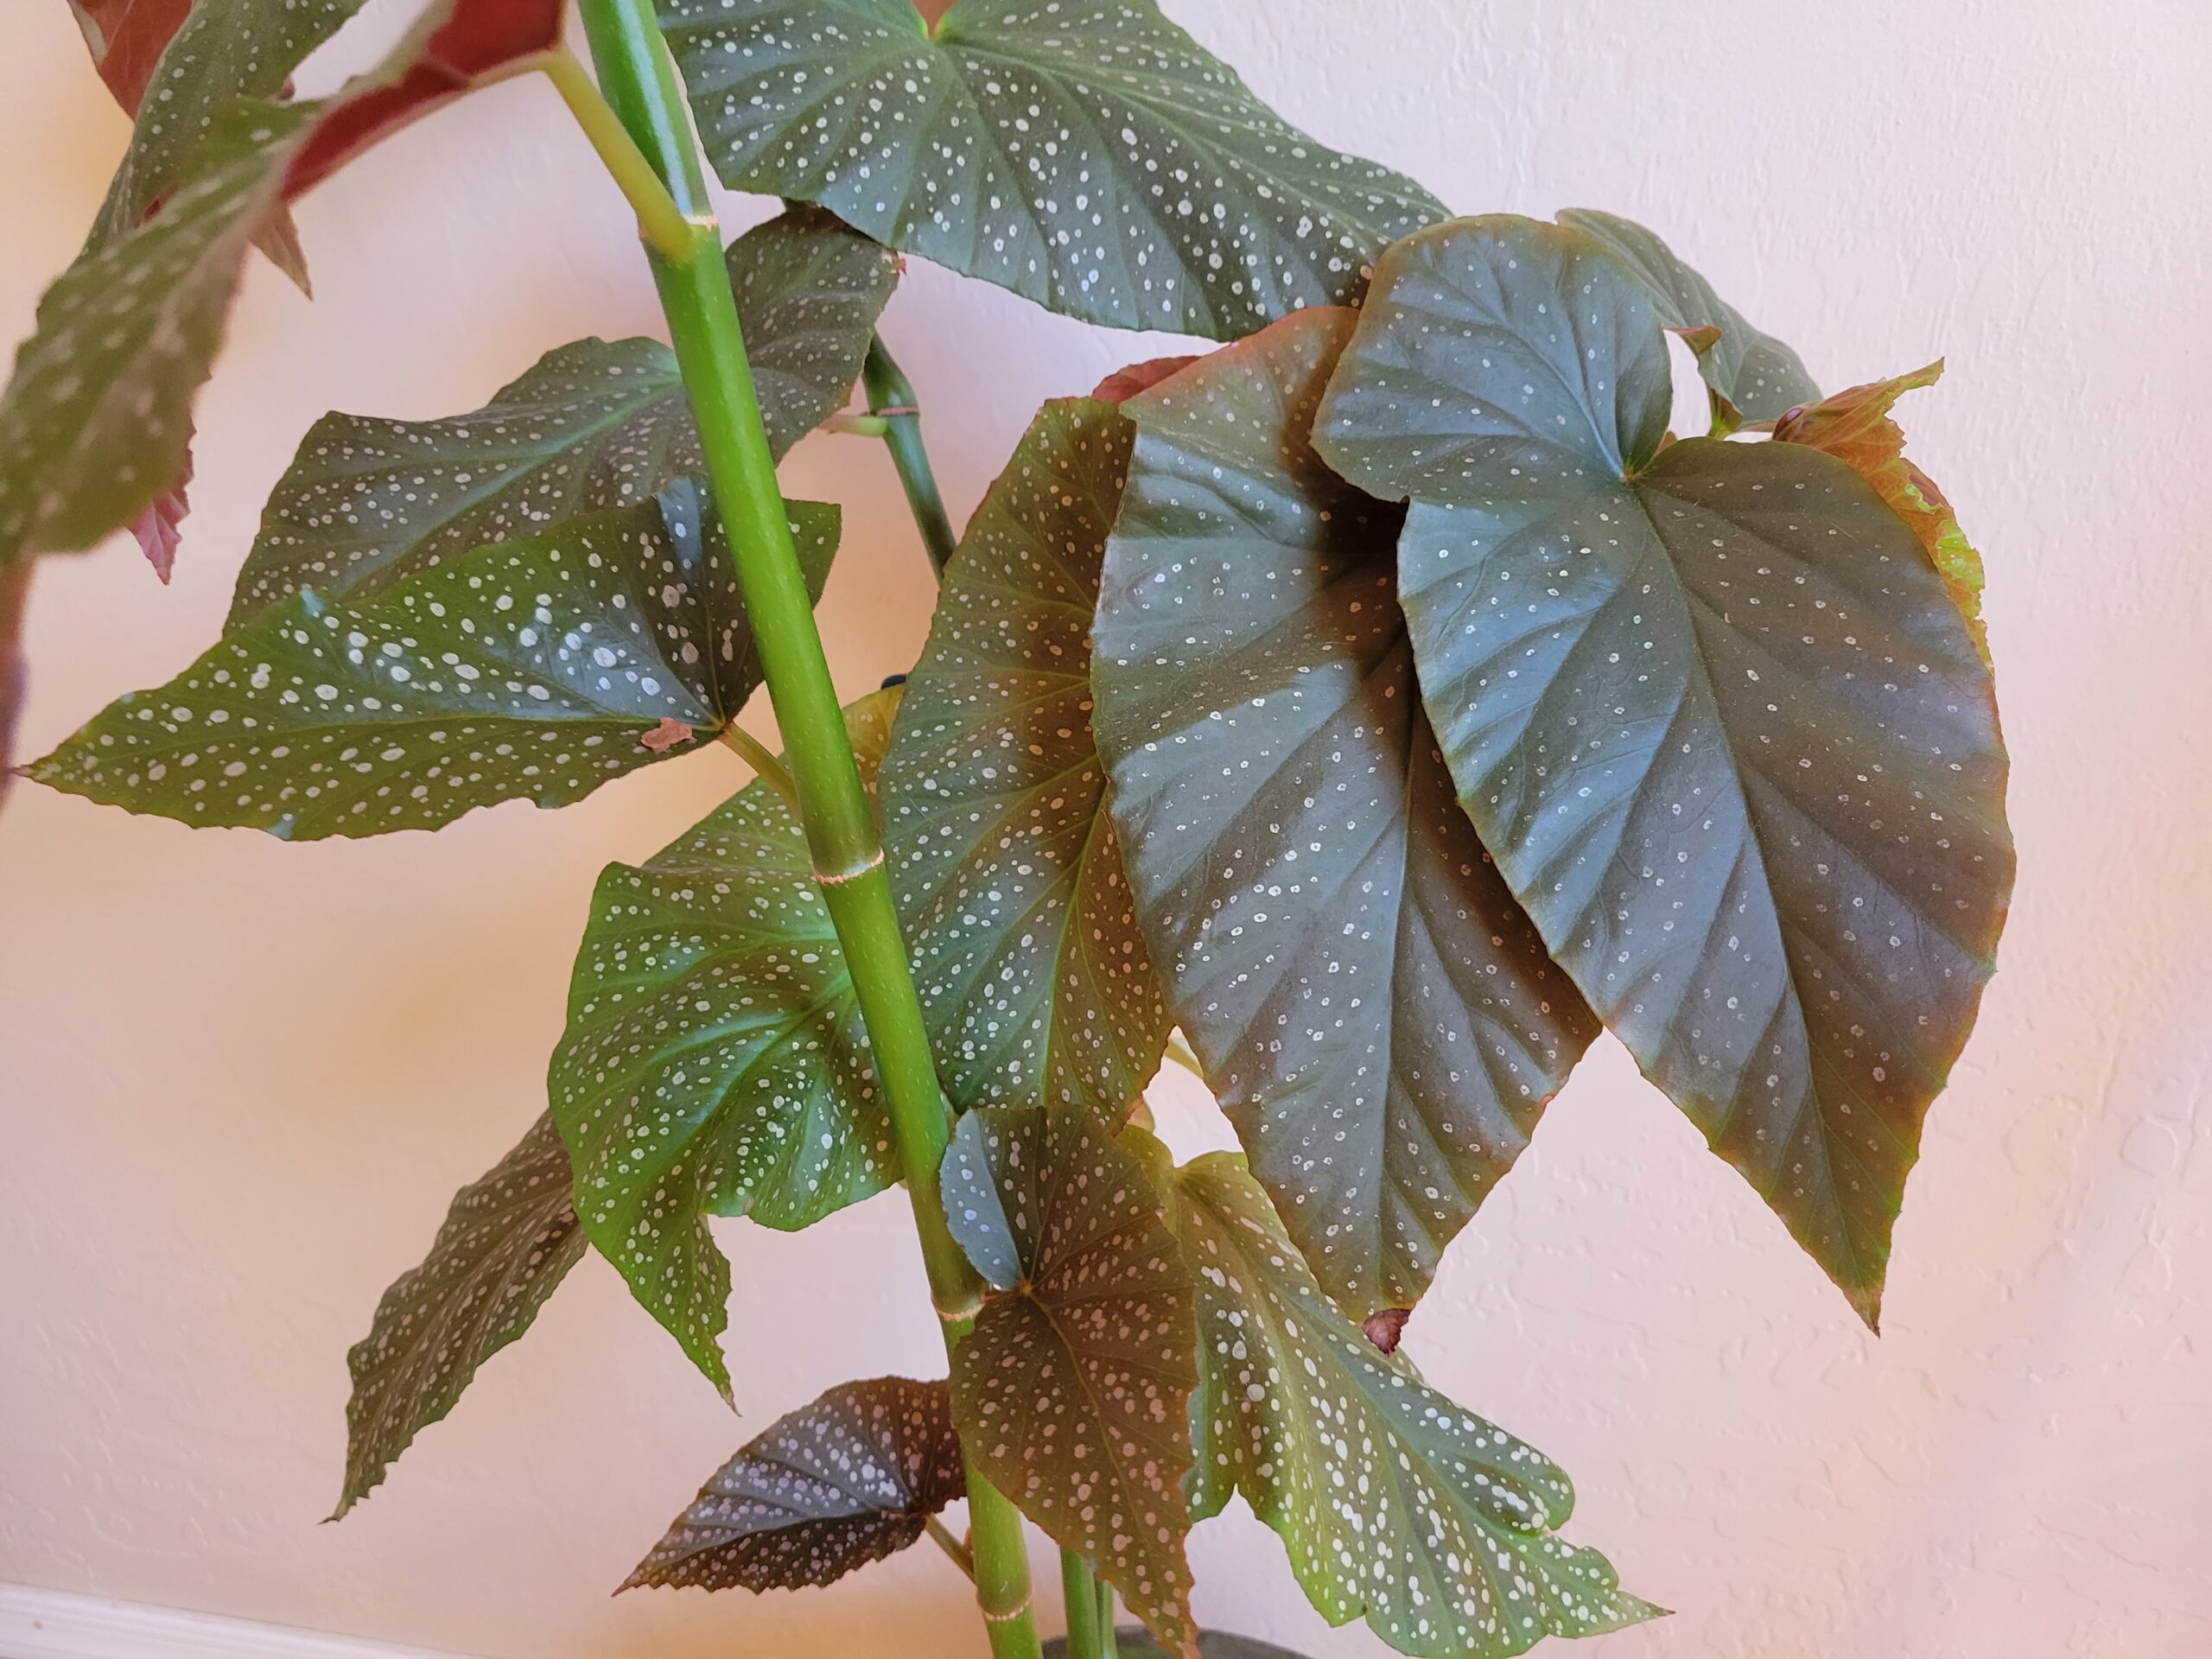
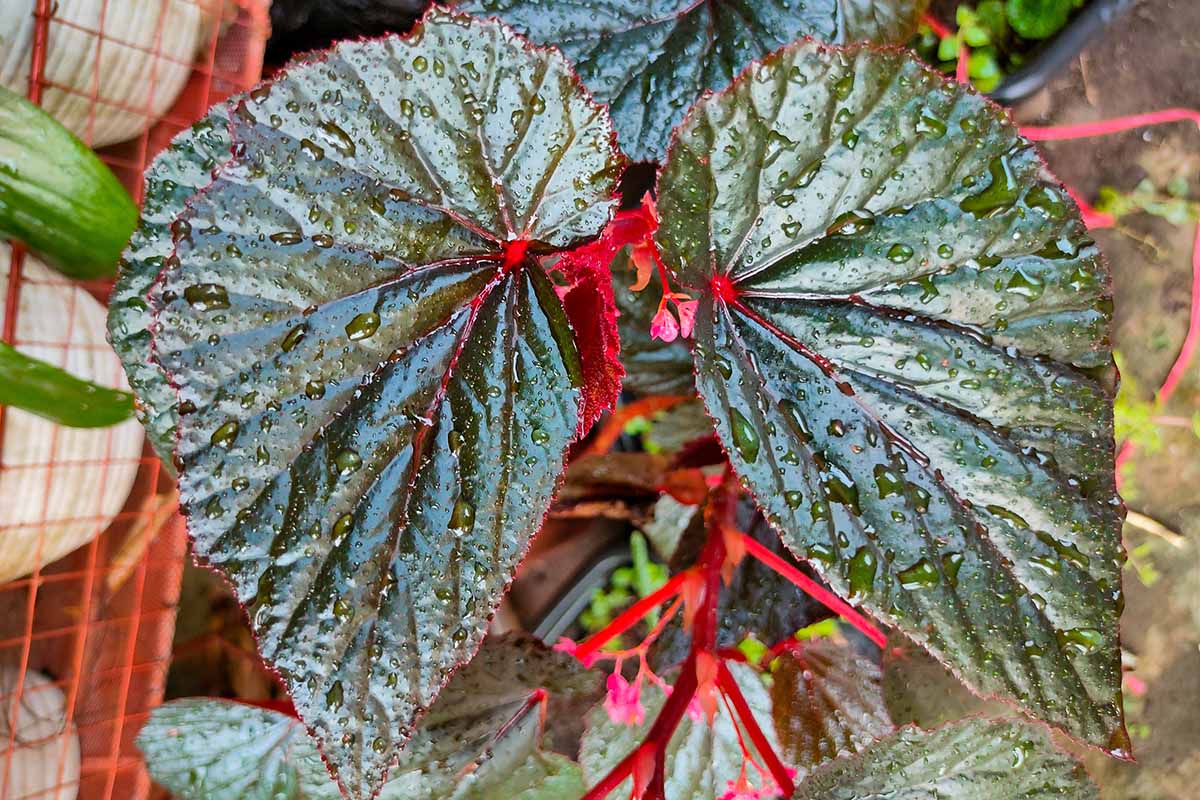
Angel Wing Begonias are one of the most popular and stunning varieties of begonias, known for their unique, wing-shaped leaves and vibrant flowers. These beautiful plants have captured the hearts of many gardeners and plant enthusiasts, and for good reason. Not only are they relatively easy to care for, but they also offer a range of benefits for those who propagate them. By learning how to propagate Angel Wing Begonias, you can share these lovely plants with friends and family, increase their numbers, and even create new, hybrid varieties.
Propagating Angel Wing Begonias is a great way to multiply your favorite plants and share them with others. By doing so, you can help spread the beauty and joy of these stunning plants, and even create a sense of community among fellow plant enthusiasts. Moreover, propagating your own Angel Wing Begonias can be a fun and rewarding experience, allowing you to experiment with different techniques and methods to achieve the best results.
Whether you’re a seasoned gardener or just starting out, learning how to propagate Angel Wing Begonias is a valuable skill that can enhance your plant-growing experience. With the right techniques and materials, you can successfully propagate these beautiful plants and enjoy their beauty for years to come. In this article, we’ll explore the different methods of begonia propagation, including leaf and stem cuttings, division, and seed propagation, and provide a step-by-step guide on how to propagate Angel Wing Begonias.
Understanding the Basics of Begonia Propagation
Begonia propagation is a fascinating process that involves creating new plants from existing ones. When it comes to propagating Angel Wing Begonias, there are several methods to choose from, each with its own advantages and disadvantages. Understanding these methods is crucial for successful propagation and can help you decide which approach is best for your needs.
One of the most common methods of begonia propagation is leaf cutting. This involves cutting off a healthy leaf from the mother plant, removing lower leaves, and planting it in soil. Leaf cutting is a popular method because it allows for rapid propagation and can produce multiple new plants from a single leaf. However, it can be more challenging to achieve success with leaf cutting, as the new plants may not develop the same characteristics as the mother plant.
Stem cutting is another popular method of begonia propagation. This involves cutting a section of stem from the mother plant, removing lower leaves, and planting it in soil. Stem cutting is often preferred over leaf cutting because it produces new plants that are more likely to retain the characteristics of the mother plant. However, stem cutting can be more time-consuming and may require more care and attention.
Division is a less common method of begonia propagation, but it can be effective for plants that have outgrown their containers. This involves carefully separating the roots of the mother plant and replanting the separated sections in new pots. Division can be a more labor-intensive process, but it allows for the creation of multiple new plants from a single mother plant.
Seed propagation is the least common method of begonia propagation, but it can be a fun and rewarding experience for experienced gardeners. This involves collecting seeds from the mother plant and planting them in soil. Seed propagation can produce new plants with unique characteristics, but it can be a more challenging and time-consuming process.
When deciding which method to use for propagating Angel Wing Begonias, it’s essential to consider the advantages and disadvantages of each approach. By understanding the basics of begonia propagation, you can make informed decisions and increase your chances of success. In the next section, we’ll explore the importance of selecting healthy plants and materials for propagation.
Preparing for Propagation: Choosing Healthy Plants and Materials
Before starting the propagation process, it’s essential to select healthy Angel Wing Begonia plants and gather the necessary materials. Healthy plants are more likely to produce successful cuttings, and the right materials can make a significant difference in the outcome. When choosing a plant for propagation, look for one with robust growth, vibrant leaves, and no signs of pests or diseases.
Inspect the plant carefully for any signs of pests, such as mealybugs, spider mites, or scale. Check for diseases like root rot, leaf spot, or powdery mildew. If the plant is infested or diseased, it’s best to choose a different one for propagation.
In addition to selecting a healthy plant, you’ll need to gather the necessary materials for propagation. These include:
- Pots or containers with good drainage
- A well-draining potting mix specifically designed for begonias
- Rooting hormone powder or liquid
- A sharp, sterile knife or pruning tool
- A watering can or spray bottle
When choosing a potting mix, look for one that is specifically designed for begonias and contains ingredients like perlite, vermiculite, or sand. These ingredients will help to improve drainage and prevent waterlogged soil.
Rooting hormone is a crucial component of the propagation process. It helps to stimulate root growth and increase the chances of successful propagation. You can choose between powder or liquid rooting hormone, depending on your preference.
By selecting healthy plants and gathering the necessary materials, you’ll be well-prepared to start the propagation process. In the next section, we’ll explore the step-by-step process of taking leaf cuttings from Angel Wing Begonias.
How to Take Leaf Cuttings from Angel Wing Begonias
Taking leaf cuttings is a popular method for propagating Angel Wing Begonias. This method is relatively easy and can produce multiple new plants from a single leaf. To take a leaf cutting, follow these steps:
Step 1: Choose a Healthy Leaf
Select a healthy leaf from the mother plant, preferably one with a long petiole (stem). Avoid taking leaves that are too old or too young, as they may not produce the best results.
Step 2: Remove Lower Leaves
Remove the lower leaves from the petiole, leaving only the top two or three leaves. This will help prevent the cutting from drying out and reduce the risk of root rot.
Step 3: Dip in Rooting Hormone
Dip the cut end of the petiole into a rooting hormone powder or liquid. This will help stimulate root growth and increase the chances of successful propagation.
Step 4: Plant in Soil
Plant the leaf cutting in a pot filled with a well-draining potting mix. Firm the soil gently around the cutting to secure it in place. Water the soil thoroughly to settle the soil and provide enough moisture to support root growth.
Step 5: Provide the Right Conditions
Place the pot in a warm, bright location with high humidity. Keep the soil consistently moist but not waterlogged. Roots should start to develop within 1-2 weeks, and new leaves will begin to emerge shortly after.
By following these steps, you can successfully propagate Angel Wing Begonias using leaf cuttings. Remember to provide the right conditions for rooting and care for the cuttings to ensure the best results.
How to Take Stem Cuttings from Angel Wing Begonias
Taking stem cuttings is another popular method for propagating Angel Wing Begonias. This method is relatively easy and can produce multiple new plants from a single stem. To take a stem cutting, follow these steps:
Step 1: Choose a Healthy Stem
Select a healthy stem from the mother plant, preferably one with at least two nodes (the joint where a leaf meets the stem). Avoid taking stems that are too old or too young, as they may not produce the best results.
Step 2: Cut Just Above a Node
Cut the stem just above a node, using a sharp, sterile knife or pruning tool. Make the cut at a 45-degree angle, and remove any lower leaves that will be below the soil line.
Step 3: Remove Lower Leaves
Remove any lower leaves that will be below the soil line, leaving only the top two or three leaves. This will help prevent the cutting from drying out and reduce the risk of root rot.
Step 4: Dip in Rooting Hormone
Dip the cut end of the stem into a rooting hormone powder or liquid. This will help stimulate root growth and increase the chances of successful propagation.
Step 5: Plant in Soil
Plant the stem cutting in a pot filled with a well-draining potting mix. Firm the soil gently around the cutting to secure it in place. Water the soil thoroughly to settle the soil and provide enough moisture to support root growth.
Step 6: Provide the Right Conditions
Place the pot in a warm, bright location with high humidity. Keep the soil consistently moist but not waterlogged. Roots should start to develop within 1-2 weeks, and new leaves will begin to emerge shortly after.
By following these steps, you can successfully propagate Angel Wing Begonias using stem cuttings. Remember to provide the right conditions for rooting and care for the cuttings to ensure the best results.
Rooting and Caring for Begonia Cuttings
Once you have taken the cuttings and planted them in soil, it’s essential to provide the right conditions for rooting. Begonias require a warm, humid environment to root successfully. Here are some tips for rooting and caring for your begonia cuttings:
Light: Begonias prefer bright, indirect light. Placing the cuttings in a sunny windowsill or under grow lights can help promote rooting.
Temperature: Begonias prefer temperatures between 65-75°F (18-24°C). Avoid placing the cuttings in areas with drafts or extreme temperatures.
Humidity: Begonias thrive in humid environments. You can increase the humidity around the cuttings by placing the pot on a tray filled with water and pebbles or using a humidifier.
Watering: Water the cuttings gently but thoroughly. Make sure the soil is consistently moist but not waterlogged. Overwatering can lead to root rot and other problems.
Fertilizing: Feed the cuttings with a balanced, water-soluble fertilizer. Dilute the fertilizer to half the recommended strength to avoid burning the roots.
Pruning: Prune the cuttings regularly to promote bushy growth and prevent legginess. Remove any dead or damaged leaves or stems to prevent the spread of disease.
Monitoring: Check the cuttings regularly for signs of rooting, such as new growth or roots visible through the soil. Transplant the cuttings into individual pots once they have developed a robust root system.
By following these tips, you can help your begonia cuttings root successfully and thrive. Remember to be patient, as rooting can take several weeks. With proper care and attention, your new begonias will be ready to transplant and enjoy in no time.
Troubleshooting Common Problems with Begonia Propagation
While begonia propagation can be a rewarding experience, it’s not without its challenges. Here are some common problems that may arise during the propagation process, along with solutions and preventative measures:
Root Rot: This is one of the most common problems encountered during begonia propagation. It’s caused by overwatering, which can lead to the roots rotting away. To prevent root rot, make sure the soil is consistently moist but not waterlogged. If you notice any signs of root rot, such as soft, mushy stems or a sour smell, remove the affected areas immediately and treat the plant with a fungicide.
Leaf Drop: Leaf drop is another common problem that can occur during begonia propagation. It’s usually caused by underwatering or sudden changes in temperature or humidity. To prevent leaf drop, make sure the soil is consistently moist and the plant is receiving the right amount of light and humidity. If you notice any signs of leaf drop, such as yellowing or droopy leaves, adjust the plant’s environment accordingly.
Pests: Pests, such as mealybugs, spider mites, and scale, can be a problem during begonia propagation. To prevent pests, inspect the plant regularly and treat any infestations promptly. Use insecticidal soap or neem oil to control pest populations.
Slow Growth: Slow growth can be a problem during begonia propagation, especially if the plant is not receiving enough light or nutrients. To promote healthy growth, make sure the plant is receiving the right amount of light and nutrients. Fertilize the plant regularly with a balanced fertilizer, and prune it regularly to promote bushy growth.
By being aware of these common problems and taking preventative measures, you can ensure a successful begonia propagation experience. Remember to monitor your plants regularly and take action promptly if you notice any signs of trouble.
Enjoying the Fruits of Your Labor: Transplanting and Displaying Your New Begonias
After successfully propagating your Angel Wing Begonias, it’s time to transplant and display them. This is the final step in the propagation process, and it’s essential to do it correctly to ensure the continued health and growth of your new plants.
Choosing the Right Pots: When transplanting your new begonias, choose pots that are slightly larger than the ones they were originally in. This will give the roots room to grow and the plant room to expand. Make sure the pots have good drainage holes to prevent waterlogged soil.
Selecting the Right Soil: Use a well-draining potting mix specifically designed for begonias. This type of soil will help prevent root rot and ensure the plant receives the right amount of nutrients.
Providing the Right Environment: Place your new begonias in a bright, sunny location with temperatures between 65-75°F (18-24°C). Avoid placing them in areas with drafts or extreme temperatures.
Watering and Fertilizing: Water your new begonias thoroughly after transplanting, and continue to water them regularly. Fertilize them with a balanced fertilizer once a month to promote healthy growth.
Displaying Your New Begonias: Once your new begonias are established, you can display them in a variety of ways. You can place them on a shelf or mantle, or group them together in a decorative planter. You can also hang them from a basket or macramé hanger to add a touch of elegance to any room.
By following these tips, you can enjoy the fruits of your labor and display your beautiful new begonias with pride. Remember to continue to care for them properly, and they will provide you with years of beauty and enjoyment.


