Choosing the Right Hydrangea Variety for Propagation
When it comes to propagating hydrangeas from cuttings, not all varieties are created equal. Some hydrangea varieties are more suitable for propagation than others, and understanding the differences can help you achieve success. Bigleaf hydrangeas (Hydrangea macrophylla) and Panicle hydrangeas (Hydrangea paniculata) are two popular varieties that are known to propagate well from cuttings.
Bigleaf hydrangeas are one of the most common types of hydrangeas and are known for their large, showy flowers. They are relatively easy to propagate from cuttings and can be rooted in as little as 2-3 weeks. Panicle hydrangeas, on the other hand, are known for their long, cone-shaped flowers and are also relatively easy to propagate.
Other types of hydrangeas, such as Oakleaf hydrangeas (Hydrangea quercifolia) and Climbing hydrangeas (Hydrangea anomala), can also be propagated from cuttings, but may require more care and attention. It’s essential to research the specific propagation requirements for the variety of hydrangea you want to propagate to ensure success.
In addition to choosing the right variety, it’s also important to select healthy, disease-free plants for propagation. Look for plants with robust growth, vibrant foliage, and plenty of flowers. Avoid plants that are stressed, diseased, or infested with pests, as these can reduce the chances of successful propagation.
By choosing the right hydrangea variety and selecting healthy plants, you can increase your chances of successful propagation and enjoy the many benefits of growing these beautiful flowers.
Preparing the Perfect Cuttings
When it comes to propagating hydrangeas from cuttings, the quality of the cutting is crucial for successful rooting. Taking the right cutting at the right time can make all the difference in achieving a high success rate. In this section, we will discuss the best time of year to take cuttings, the ideal cutting size, and how to prepare the cutting for rooting.
The best time to take cuttings from hydrangea plants is during the spring and summer months when the plant is actively growing. This is usually around late May or early June, depending on your location and climate. Avoid taking cuttings during the fall and winter months when the plant is dormant, as this can reduce the chances of successful rooting.
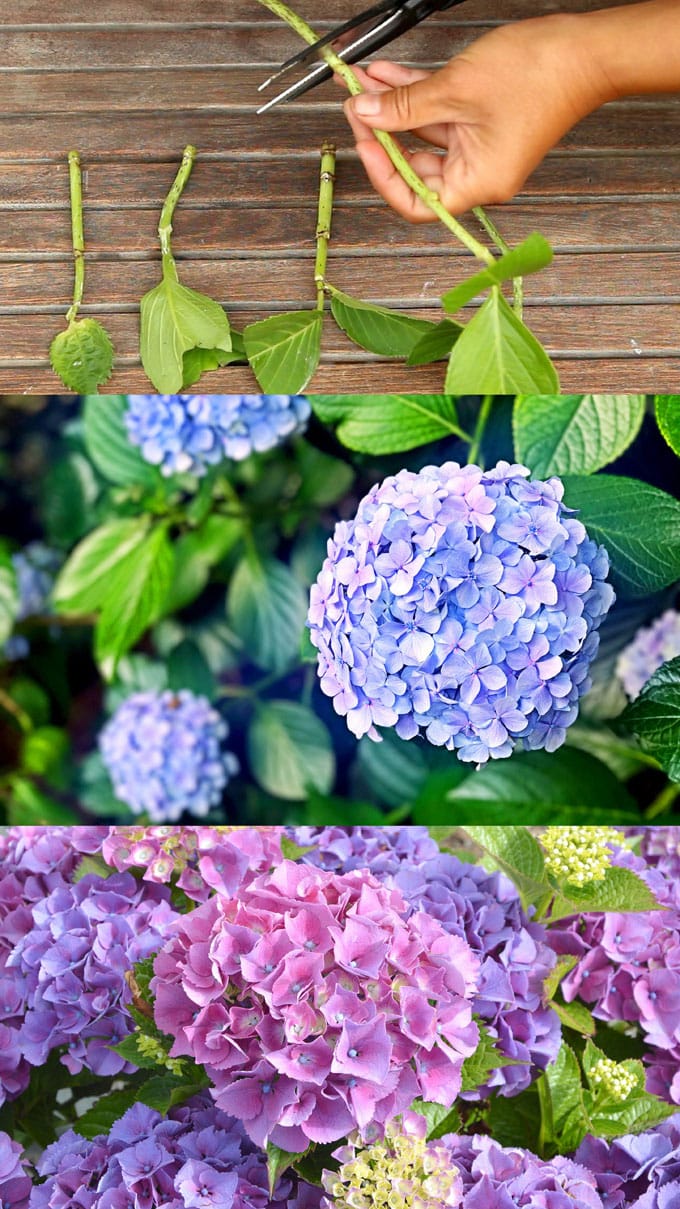
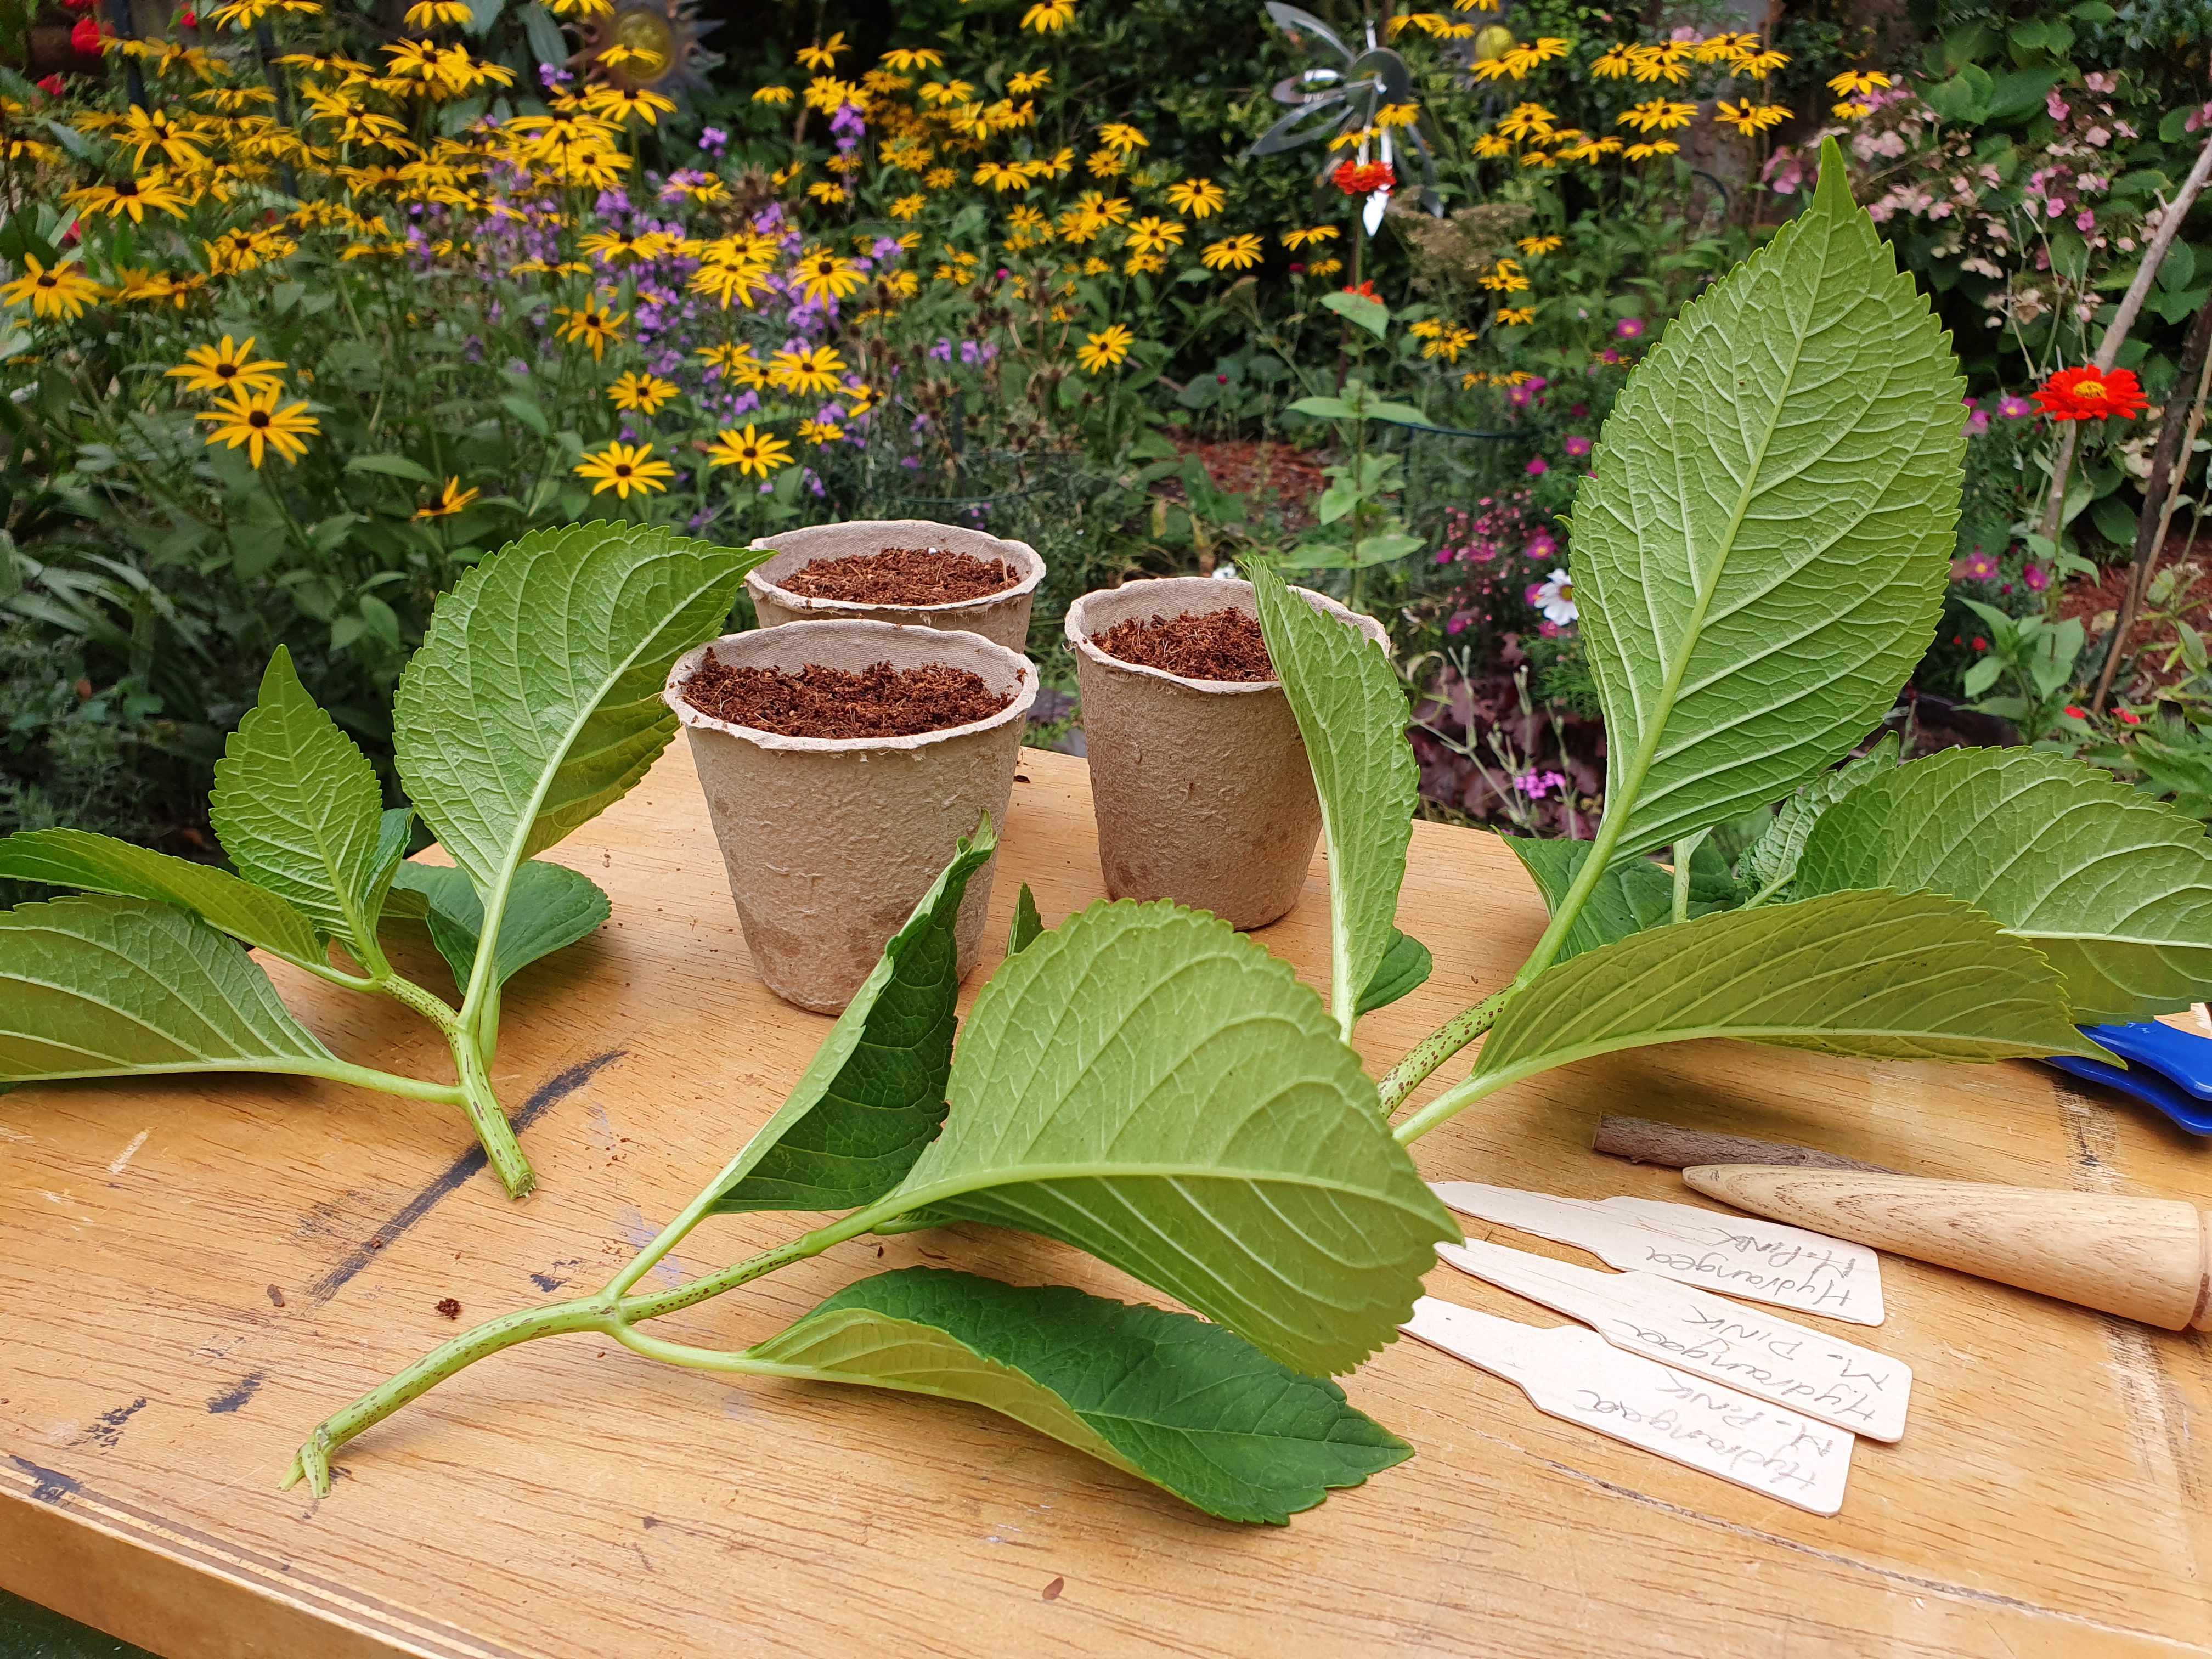
The ideal cutting size for hydrangeas is around 3-5 inches (7-13 cm) long, with at least two nodes (the joint where a leaf meets the stem). Cuttings that are too short may not have enough nodes to produce roots, while cuttings that are too long may be more prone to drying out. Use a sharp, clean knife or pruning tool to make the cut, and make sure to cut just above a node.
Once you have taken the cutting, remove any lower leaves that will be submerged in water or soil. This will help prevent the cutting from rotting and reduce the risk of fungal diseases. You can also trim the leaves to reduce transpiration and prevent the cutting from drying out.
Finally, prepare the cutting for rooting by dipping the cut end into a rooting hormone powder or liquid. This will help stimulate root growth and increase the chances of successful propagation. Make sure to follow the instructions on the rooting hormone product label for the correct application rate and method.
By following these steps, you can prepare the perfect cutting for rooting and increase your chances of successful propagation. Remember to handle the cutting with care, as it is a delicate and sensitive part of the plant.
Rooting Hydrangea Cuttings: A Step-by-Step Process
Rooting hydrangea cuttings is a delicate process that requires attention to detail and a controlled environment. To increase the chances of successful propagation, it’s essential to follow a step-by-step process that includes the use of rooting hormone, humidity and temperature control, and adequate light.
Step 1: Prepare the Rooting Medium
Fill a small pot or container with a well-draining rooting medium, such as a mix of peat moss and perlite. Moisten the medium with water, but make sure it’s not too wet or dry.
Step 2: Apply Rooting Hormone
Dip the cut end of the hydrangea cutting into a rooting hormone powder or liquid, following the instructions on the product label. This will help stimulate root growth and increase the chances of successful propagation.
Step 3: Plant the Cutting
Plant the hydrangea cutting in the prepared rooting medium, making sure the node (where the leaf meets the stem) is buried in the medium. Firm the medium gently around the cutting to secure it in place.
Step 4: Provide Humidity and Temperature Control
Cover the pot or container with a clear plastic bag or a cloche to create a humid microclimate. This will help maintain high humidity and promote root growth. Place the pot or container in a warm location with a consistent temperature between 65-75°F (18-24°C).
Step 5: Provide Adequate Light
Place the pot or container in a bright, indirectly lit location, but avoid direct sunlight, which can cause the cutting to dry out. East- or west-facing windows are ideal for providing gentle, indirect light.
Step 6: Monitor and Maintain
Check the cutting regularly to ensure the medium is moist but not waterlogged. Avoid overwatering, which can lead to root rot and failed propagation. After 2-3 weeks, remove the plastic bag or cloche to allow for air circulation and promote healthy root growth.
By following these steps, you can increase the chances of successful propagation and grow healthy, thriving hydrangea plants from cuttings.
Common Mistakes to Avoid When Propagating Hydrangeas
Propagating hydrangeas from cuttings can be a rewarding experience, but it requires attention to detail and a understanding of the common mistakes that can lead to failed propagation. By avoiding these mistakes, you can increase the chances of successful propagation and grow healthy, thriving hydrangea plants.
Mistake 1: Taking Cuttings at the Wrong Time
Hydrangea cuttings should be taken during the spring and summer months when the plant is actively growing. Taking cuttings during the fall and winter months can lead to poor rooting and failed propagation.
Mistake 2: Using Poor Quality Rooting Hormone
Rooting hormone is a critical component of the propagation process, and using poor quality hormone can lead to poor rooting and failed propagation. Look for a high-quality rooting hormone that contains the active ingredient indole-3-butyric acid (IBA).
Mistake 3: Neglecting to Provide Adequate Care
Hydrangea cuttings require adequate care to root successfully. This includes providing high humidity, warm temperatures, and adequate light. Neglecting to provide these conditions can lead to poor rooting and failed propagation.
Mistake 4: Overwatering
Overwatering is a common mistake that can lead to root rot and failed propagation. Make sure to water the cuttings sparingly, and avoid getting water on the leaves or crown of the plant.
Mistake 5: Not Providing Enough Light
Hydrangea cuttings require adequate light to root successfully. Placing the cuttings in a bright, indirectly lit location can help promote healthy root growth.
By avoiding these common mistakes, you can increase the chances of successful propagation and grow healthy, thriving hydrangea plants from cuttings. Remember to always follow proper propagation techniques and provide adequate care to ensure the best results.
Aftercare for Newly Propagated Hydrangeas
After successfully propagating hydrangeas from cuttings, it’s essential to provide proper aftercare to ensure the new plants thrive. This includes providing adequate water, nutrients, and pruning to promote healthy growth and development.
Watering
Newly propagated hydrangeas require consistent moisture, especially during the first few weeks after propagation. Water the plants when the top inch of soil feels dry to the touch, and avoid getting water on the leaves or crown of the plant.
Nutrients
Hydrangeas are heavy feeders and require regular fertilization to promote healthy growth. Use a balanced, water-soluble fertilizer (20-20-20) and follow the manufacturer’s instructions for application rates.
Pruning
Pruning is an essential part of hydrangea care, and newly propagated plants are no exception. Prune the plants regularly to promote bushy growth, encourage blooming, and remove any dead or damaged branches.
Pest and Disease Control
Regularly inspect the plants for signs of pests or diseases, such as aphids, whiteflies, or powdery mildew. Use organic or chemical controls as needed to prevent infestations and infections.
Repotting
Newly propagated hydrangeas typically need to be repotted within 6-12 months after propagation. Choose a well-draining potting mix and a container that is slightly larger than the original pot.
By providing proper aftercare, you can help your newly propagated hydrangeas thrive and enjoy beautiful blooms for years to come. Remember to monitor the plants regularly and adjust your care routine as needed to ensure optimal growth and development.
Troubleshooting Common Problems with Hydrangea Cuttings
When propagating hydrangeas from cuttings, it’s not uncommon to encounter problems that can affect the success of the propagation process. In this section, we’ll discuss some common problems that may arise and offer solutions to help you overcome them.
Rooting Failure
If your hydrangea cuttings are not rooting, it may be due to a number of factors, including poor quality cuttings, inadequate humidity, or insufficient light. To overcome this problem, try using a rooting hormone powder or liquid, increasing the humidity around the cuttings, or providing more light.
Leaf Drop
Leaf drop is a common problem when propagating hydrangeas from cuttings. This can be caused by overwatering, underwatering, or exposure to extreme temperatures. To prevent leaf drop, make sure to water the cuttings sparingly, avoid getting water on the leaves, and provide a consistent temperature between 65-75°F (18-24°C).
Pest Infestations
Pests such as aphids, whiteflies, and spider mites can infest hydrangea cuttings and affect their ability to root. To prevent pest infestations, use a pest control spray or powder, and make sure to inspect the cuttings regularly for signs of pests.
Slow Rooting
If your hydrangea cuttings are taking longer than expected to root, it may be due to a number of factors, including poor quality cuttings, inadequate humidity, or insufficient light. To overcome this problem, try using a rooting hormone powder or liquid, increasing the humidity around the cuttings, or providing more light.
By troubleshooting common problems with hydrangea cuttings, you can increase the chances of successful propagation and grow healthy, thriving hydrangea plants. Remember to monitor the cuttings regularly and adjust your care routine as needed to ensure optimal growth and development.
Conclusion: Sharing Your Successfully Propagated Hydrangeas
Congratulations You have successfully propagated hydrangeas from cuttings and are now ready to share your new plants with friends and family. Sharing your propagated hydrangeas is a great way to spread the joy of gardening and connect with others who share your passion.
Potting and Caring for Your New Plants
Before sharing your propagated hydrangeas, make sure to pot them in a well-draining potting mix and provide adequate care. Water the plants regularly, but avoid overwatering, which can lead to root rot. Provide bright, indirect light and maintain a consistent temperature between 65-75°F (18-24°C).
Sharing Your Propagated Hydrangeas
There are many ways to share your propagated hydrangeas with others. You can give them as gifts to friends and family, share them with fellow gardeners, or even sell them at a local nursery or online. Whatever you choose, make sure to include care instructions and tips for maintaining the health and beauty of the plants.
Benefits of Sharing Your Propagated Hydrangeas
Sharing your propagated hydrangeas can have many benefits, including:
– Spreading the joy of gardening and connecting with others who share your passion
– Creating a sense of community and sharing knowledge and expertise
– Providing a unique and personalized gift for friends and family
– Generating income through sales or trade
By sharing your successfully propagated hydrangeas, you can spread the joy of gardening and connect with others who share your passion. Remember to include care instructions and tips for maintaining the health and beauty of the plants, and enjoy the benefits of sharing your propagated hydrangeas.
Conclusion: Sharing Your Successfully Propagated Hydrangeas
Congratulations You have successfully propagated hydrangeas from cuttings and are now ready to share your new plants with friends and family. Sharing your propagated hydrangeas is a great way to spread the joy of gardening and connect with others who share your passion.
Sharing Your Propagated Hydrangeas
There are many ways to share your propagated hydrangeas with others. You can give them as gifts to friends and family, share them with fellow gardeners, or even sell them at a local nursery or online. Whatever you choose, make sure to include care instructions and tips for maintaining the health and beauty of the plants.
Tips for Sharing Your Propagated Hydrangeas
– Make sure to pot the plants in a well-draining potting mix and provide adequate care instructions.
– Consider adding a personalized touch, such as a handwritten note or a small decorative pot.
– Share your propagated hydrangeas with fellow gardeners or online communities to connect with others who share your passion.
– Consider selling your propagated hydrangeas at a local nursery or online to generate income.
By sharing your successfully propagated hydrangeas, you can spread the joy of gardening and connect with others who share your passion. Remember to include care instructions and tips for maintaining the health and beauty of the plants, and enjoy the benefits of sharing your propagated hydrangeas.


/hydrangealeaves-5851b4f35f9b586e026102c3.jpg)


