Unlocking the Secrets of Lavender Propagation
Propagating lavender plants is a simple and rewarding process that allows gardeners to share their favorite varieties with friends and family, create new plants for free, and preserve the unique characteristics of their beloved lavender specimens. Lavender is a low-maintenance, fragrant, and attractive addition to any garden, and with the right techniques, anyone can learn how to propagate lavender plants and enjoy their beauty and benefits for years to come.
One of the main advantages of propagating lavender plants is the ability to create new plants that are genetically identical to the parent plant. This means that gardeners can preserve the unique characteristics of their favorite lavender varieties, such as their fragrance, flower color, and growth habit. Additionally, propagating lavender plants allows gardeners to share their plants with others, either by giving them away as gifts or by selling them to other gardeners.
Another benefit of propagating lavender plants is the cost savings. Rather than purchasing new lavender plants from a nursery or garden center, gardeners can create their own plants for free using the propagation techniques outlined in this article. This can be especially useful for gardeners who want to create a large number of lavender plants for a specific project or design.
Finally, propagating lavender plants is a fun and rewarding process that allows gardeners to connect with nature and enjoy the satisfaction of watching their plants grow and thrive. With the right techniques and a little bit of patience, anyone can learn how to propagate lavender plants and enjoy the many benefits that they have to offer.
Choosing the Right Lavender Variety for Propagation
When it comes to propagating lavender plants, selecting the right variety is crucial for success. There are several types of lavender plants, each with its own unique characteristics, growth habits, and propagation requirements. Understanding the differences between these varieties can help gardeners choose the best one for their needs and increase their chances of successful propagation.
English lavender (Lavandula angustifolia) is one of the most popular varieties for propagation. It is known for its compact growth habit, fragrant flowers, and ease of propagation. English lavender is a good choice for gardeners who want to create a low-maintenance, fragrant hedge or border.
French lavender (Lavandula stoechas) is another popular variety for propagation. It is known for its vibrant purple flowers and silvery-gray foliage. French lavender is a good choice for gardeners who want to add a pop of color to their garden or create a fragrant potpourri.
Spanish lavender (Lavandula stoechas subsp. pedunculata) is a lesser-known variety that is gaining popularity among gardeners. It is known for its tall, upright growth habit and vibrant purple flowers. Spanish lavender is a good choice for gardeners who want to create a dramatic, fragrant statement in their garden.
When selecting a lavender variety for propagation, gardeners should consider factors such as climate, soil type, and desired growth habit. It is also important to choose a variety that is disease-resistant and suitable for the local growing conditions. By selecting the right lavender variety, gardeners can increase their chances of successful propagation and enjoy the many benefits of growing lavender plants.
Regardless of the variety chosen, the key to successful propagation is to start with healthy, disease-free plants. Gardeners should inspect their plants carefully before taking cuttings, looking for signs of pests, diseases, or nutrient deficiencies. By starting with healthy plants and following proper propagation techniques, gardeners can increase their chances of success and enjoy the many benefits of growing lavender plants.
Preparing Lavender Cuttings for Propagation
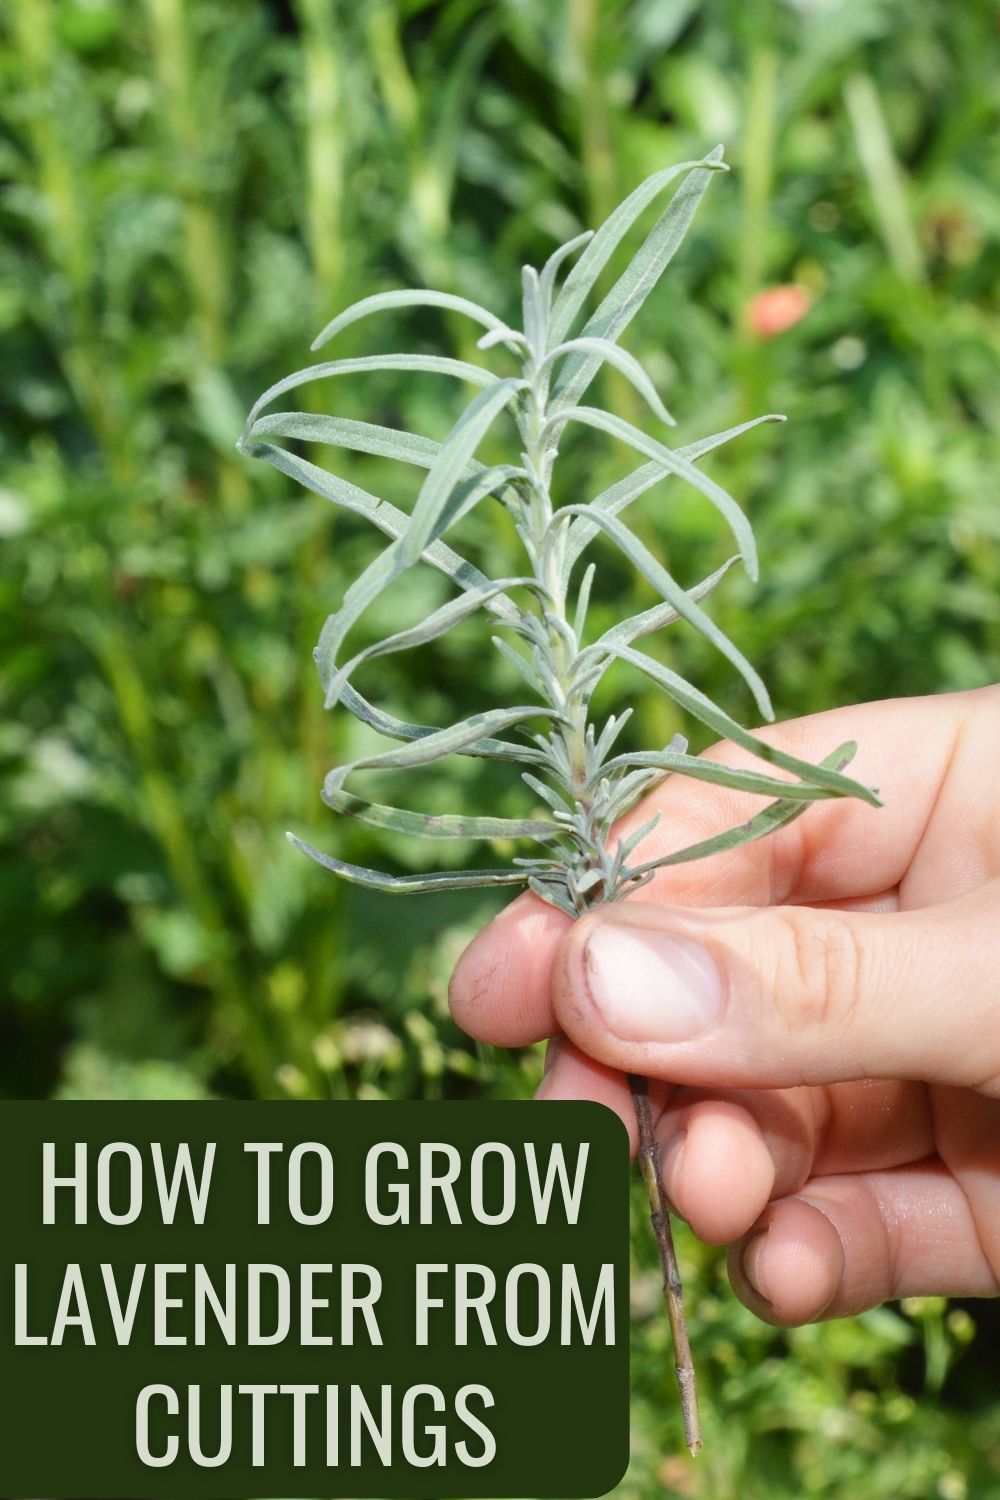
Preparing lavender cuttings is a crucial step in the propagation process. To increase the chances of successful propagation, it’s essential to take cuttings from healthy, disease-free plants. The best time to take cuttings is during the spring or summer months when the plant is actively growing.
To take cuttings, gardeners will need a few simple tools, including a pair of clean, sharp pruning shears or scissors, a pot or container filled with water, and a rooting hormone powder or liquid. It’s also helpful to have a warm, bright location with indirect light to place the cuttings.
When selecting stems for cuttings, look for sections with at least two nodes, which are the joints where the leaves meet the stem. Cut the stem just above a node, using a 45-degree angle cut. Remove any lower leaves that will be submerged in water or soil, leaving only two or three sets of leaves at the top of the cutting.
Next, dip the cut end of the stem into the rooting hormone powder or liquid, following the manufacturer’s instructions. This will help stimulate root growth and increase the chances of successful propagation.
Place the cuttings in the pot or container filled with water, making sure the node is fully submerged. Alternatively, plant the cuttings in a well-draining potting mix, burying the node up to the first set of leaves. Water the soil gently but thoroughly.
Provide the cuttings with bright, indirect light and maintain a consistent temperature between 65-75°F (18-24°C). Keep the soil or water consistently moist but not waterlogged. Roots should begin to develop within 1-2 weeks, and new growth should appear within 2-3 weeks.
By following these simple steps, gardeners can increase their chances of successful propagation and enjoy the many benefits of growing lavender plants. Whether you’re looking to create new plants for your garden or share them with friends and family, propagating lavender plants is a fun and rewarding experience.
Rooting Lavender Cuttings in Soil
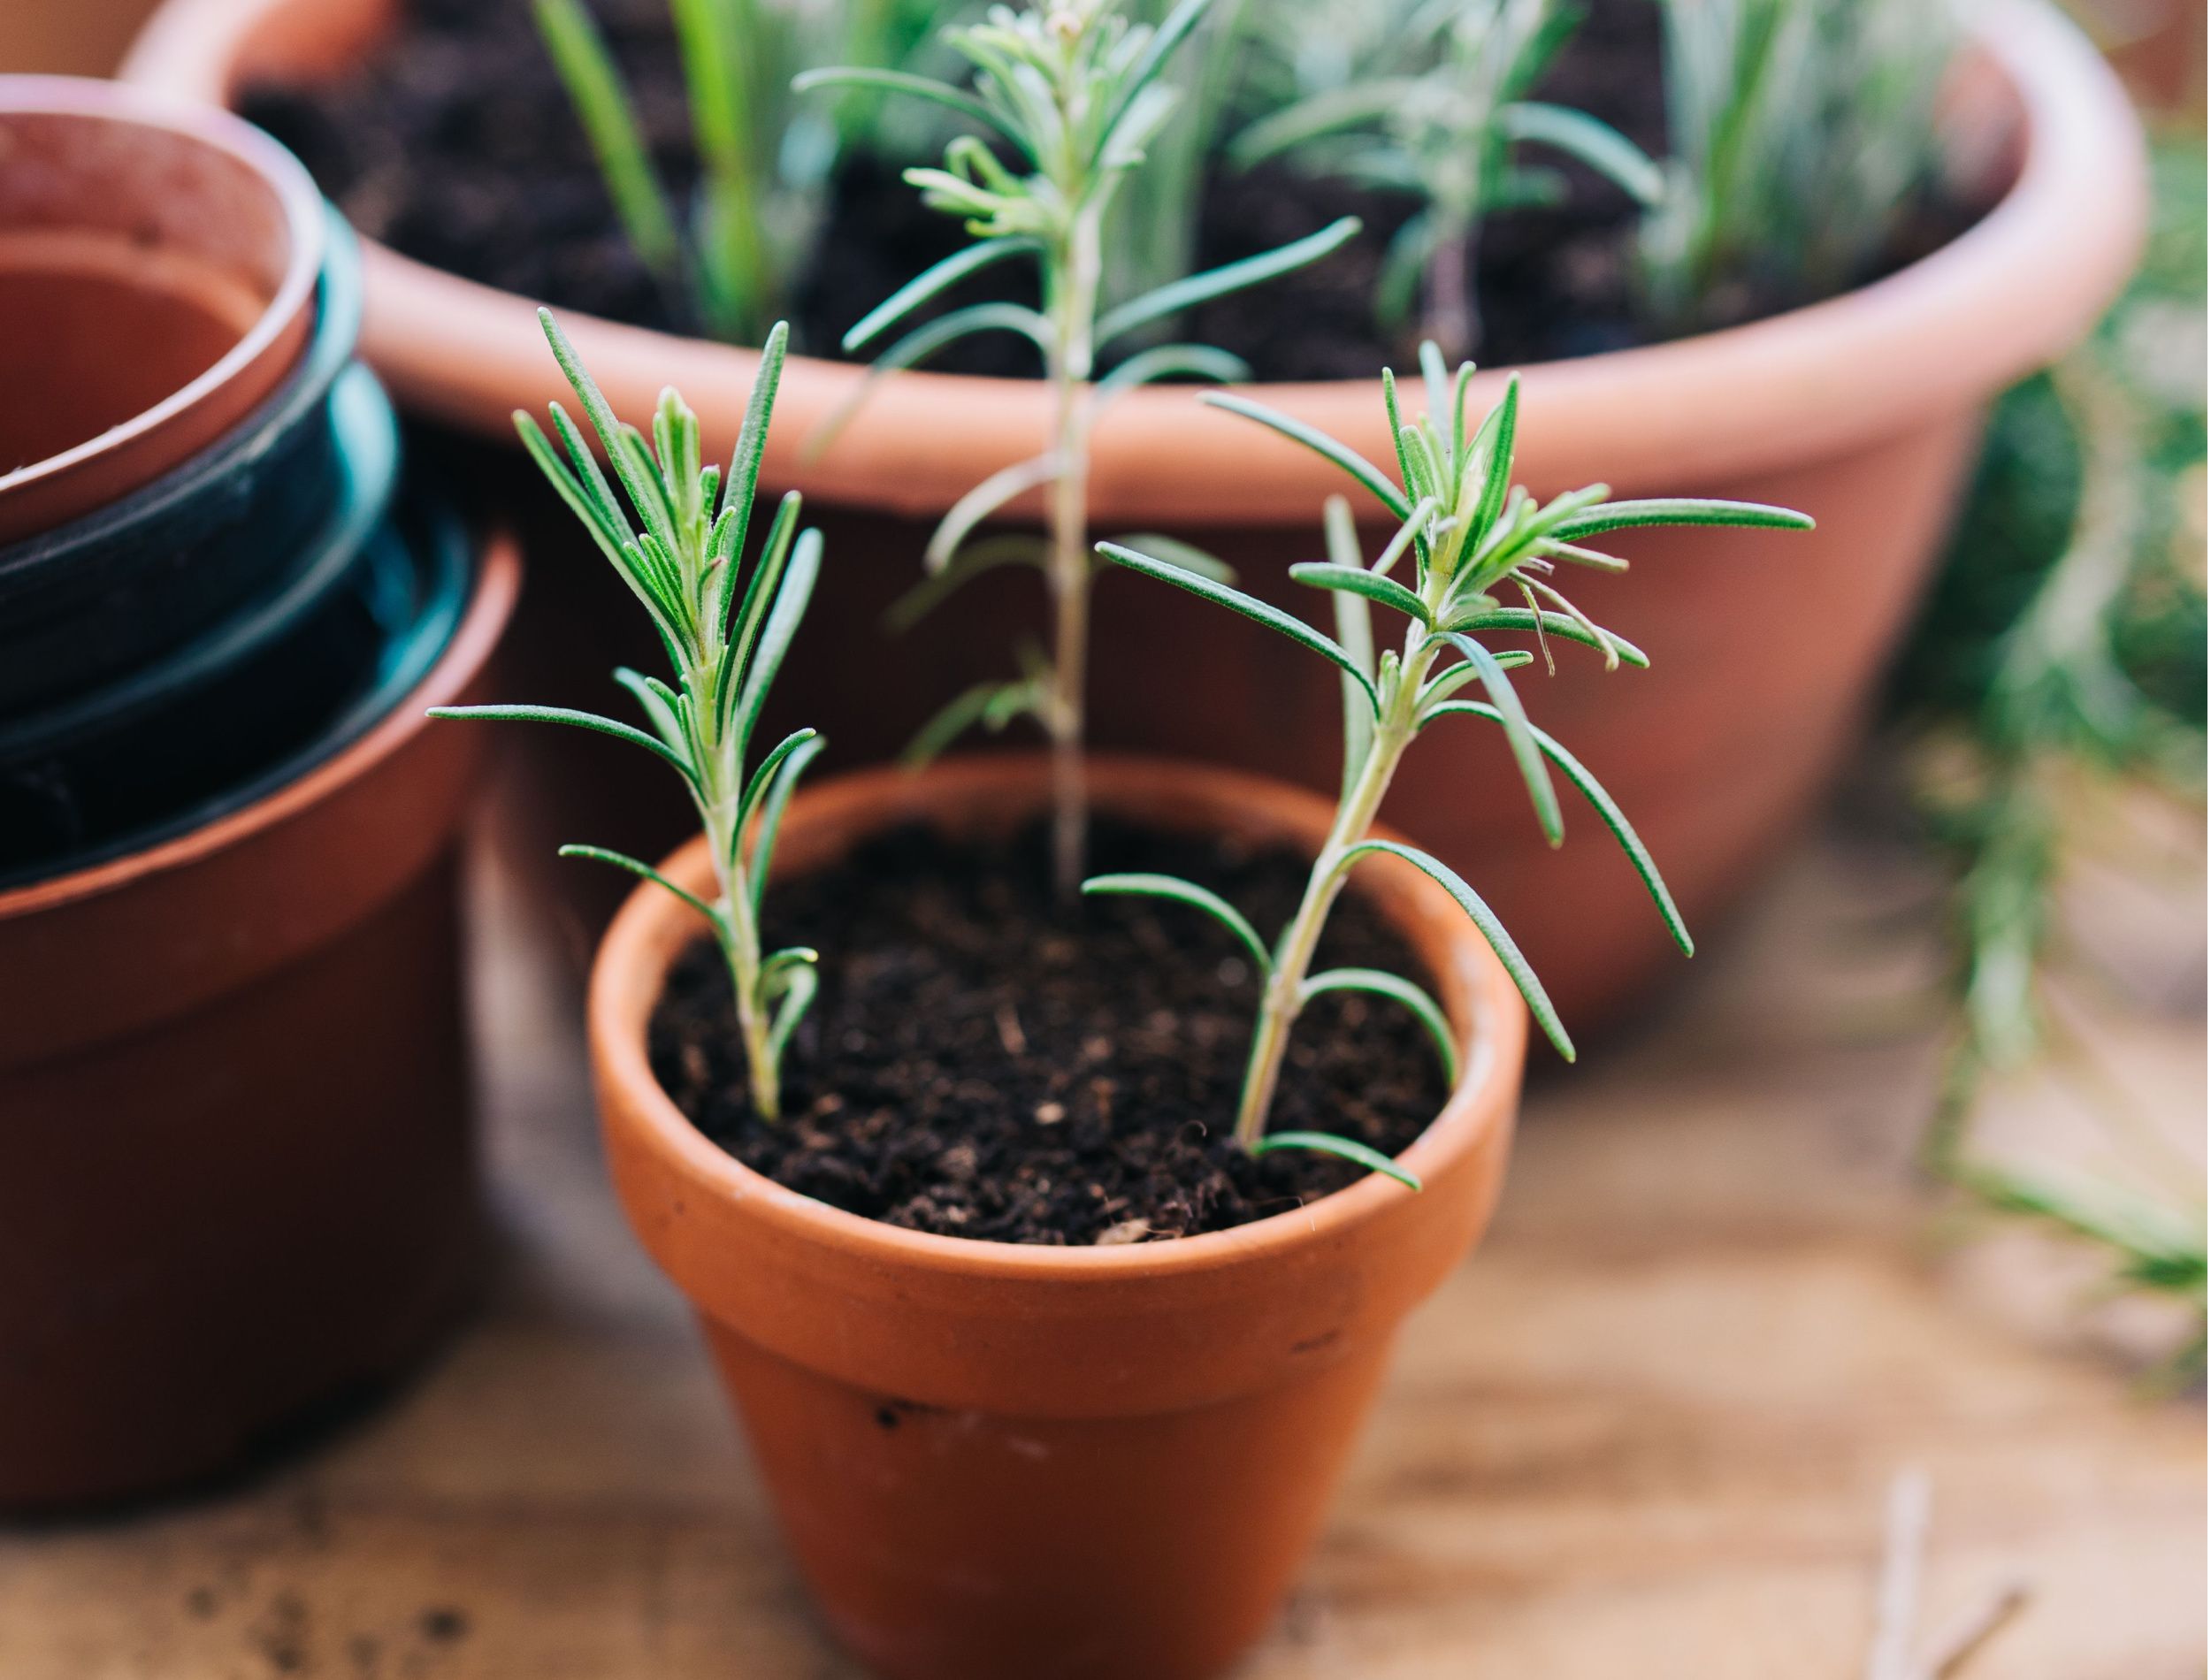
Rooting lavender cuttings in soil is a popular method for propagating lavender plants. This method allows for more control over the rooting process and can result in healthier, more robust plants. To root lavender cuttings in soil, gardeners will need a well-draining potting mix, a container with drainage holes, and a warm, bright location with indirect light.
Fill the container with the potting mix, leaving about 1-2 inches of space at the top. Plant the lavender cutting in the soil, burying the node up to the first set of leaves. Firm the soil gently around the cutting to secure it in place. Water the soil thoroughly, making sure the potting mix is consistently moist but not waterlogged.
Place the container in a warm, bright location with indirect light. The ideal temperature for rooting lavender cuttings is between 65-75°F (18-24°C). Keep the soil consistently moist, but not waterlogged, and avoid getting water on the leaves or crown of the plant.
Roots should begin to develop within 1-2 weeks, and new growth should appear within 2-3 weeks. Once the new growth appears, gardeners can begin to care for the plant as they would a mature lavender plant. This includes watering, pruning, and fertilizing the plant to promote healthy growth and flowering.
Some tips to keep in mind when rooting lavender cuttings in soil include using a well-draining potting mix to prevent root rot, avoiding overwatering, and providing enough light for the plant to photosynthesize. By following these tips and providing the right conditions, gardeners can successfully root lavender cuttings in soil and enjoy the many benefits of growing lavender plants.
Rooting lavender cuttings in soil is a relatively low-maintenance method of propagation, and it can be a fun and rewarding experience for gardeners of all skill levels. Whether you’re looking to create new plants for your garden or share them with friends and family, rooting lavender cuttings in soil is a great way to propagate lavender plants and enjoy their beauty and fragrance.
Rooting Lavender Cuttings in Water
Rooting lavender cuttings in water is a popular method for propagating lavender plants. This method is often referred to as “hydroponic” propagation, and it can be a fun and rewarding way to grow new lavender plants. To root lavender cuttings in water, gardeners will need a clean glass or plastic container, water, and a warm, bright location with indirect light.
Fill the container with water, leaving about 1-2 inches of space at the top. Place the lavender cutting in the water, making sure the node is fully submerged. Change the water every 1-2 weeks to prevent bacterial growth and maintain oxygen levels.
Roots should begin to develop within 1-2 weeks, and new growth should appear within 2-3 weeks. Once the new growth appears, gardeners can transfer the cutting to a pot or container filled with a well-draining potting mix.
One of the benefits of rooting lavender cuttings in water is that it allows gardeners to see the roots develop, which can be a fascinating process. Additionally, this method can be less messy than rooting cuttings in soil, and it can be a good option for gardeners who are new to propagation.
However, rooting lavender cuttings in water can also have some drawbacks. For example, the cuttings may be more susceptible to root rot and other diseases, and the water may need to be changed frequently to prevent bacterial growth. Additionally, the cuttings may not develop as robustly as they would in soil, and they may require more frequent watering once they are transferred to a pot or container.
Despite these potential drawbacks, rooting lavender cuttings in water can be a fun and rewarding way to propagate lavender plants. By following the steps outlined above and providing the right conditions, gardeners can successfully root lavender cuttings in water and enjoy the many benefits of growing lavender plants.
Dividing and Transplanting Established Lavender Plants
Dividing and transplanting established lavender plants is a great way to propagate new plants and maintain the health of your existing lavender plants. This process involves dividing the roots of the plant into smaller sections, each with its own set of leaves and stems, and then transplanting these sections into new pots or into the garden.
The best time to divide and transplant lavender plants is in the spring or fall, when the weather is cooler and the plant is not actively growing. This will help minimize stress on the plant and reduce the risk of disease or pests.
To divide and transplant lavender plants, start by carefully digging up the entire plant, taking care not to damage the roots. Gently wash away any excess soil from the roots, and then use a sharp, sterile knife or pruning tool to divide the roots into smaller sections. Each section should have at least one set of leaves and stems, and a small amount of root system.
Once you have divided the roots, transplant each section into a new pot or into the garden, making sure to provide enough space for the plant to grow. Water the soil well after transplanting, and keep the soil consistently moist but not waterlogged.
After transplanting, it’s essential to provide the right conditions for the new plants to thrive. This includes providing enough light, water, and nutrients, as well as pruning the plants regularly to maintain their shape and promote healthy growth.
Some tips to keep in mind when dividing and transplanting lavender plants include making clean cuts when dividing the roots, handling the roots gently to avoid damaging them, and providing enough space for the new plants to grow. By following these tips and providing the right conditions, gardeners can successfully divide and transplant established lavender plants and enjoy the many benefits of growing lavender.
Troubleshooting Common Issues with Lavender Propagation
While propagating lavender plants can be a rewarding experience, it’s not uncommon to encounter some common issues along the way. In this section, we’ll discuss some of the most common problems that may arise during the propagation process, and provide tips on how to troubleshoot and overcome them.
One of the most common issues with lavender propagation is root rot. This can occur when the cuttings are not properly prepared, or when the soil is too wet or too dry. To prevent root rot, make sure to use a well-draining potting mix, and avoid overwatering the cuttings. If you notice any signs of root rot, such as yellowing leaves or soft stems, remove the affected cutting and start again.
Pests and diseases can also be a problem when propagating lavender plants. Common pests include aphids, whiteflies, and spider mites, while common diseases include powdery mildew and root rot. To prevent pests and diseases, make sure to use clean and sterile equipment, and avoid overwatering the cuttings. If you notice any signs of pests or diseases, treat the affected cutting with insecticidal soap or a fungicide.
Another common issue with lavender propagation is poor rooting. This can occur when the cuttings are not properly prepared, or when the soil is too cold or too hot. To improve rooting, make sure to use a warm and humid environment, and avoid overwatering the cuttings. You can also try using a rooting hormone to stimulate root growth.
Finally, some gardeners may experience difficulty with lavender cuttings that are too old or too young. Cuttings that are too old may not root well, while cuttings that are too young may not have enough energy to support root growth. To overcome this issue, try taking cuttings from the middle of the stem, where the plant is most vigorous.
By following these tips and troubleshooting common issues, gardeners can overcome many of the challenges associated with lavender propagation. With a little patience and practice, you can successfully propagate lavender plants and enjoy the many benefits of growing these beautiful and fragrant flowers.
Enjoying the Fruits of Your Labor: Caring for Your Newly Propagated Lavender Plants
Congratulations on successfully propagating your lavender plants With proper care, your new plants will thrive and provide you with an abundance of fragrant flowers, attractive foliage, and a multitude of uses. To ensure your newly propagated lavender plants continue to flourish, follow these essential care tips.
Watering is crucial for newly propagated lavender plants. Water them sparingly, as lavender is drought-tolerant and susceptible to root rot if the soil is too moist. Allow the soil to dry slightly between waterings, and avoid getting water on the leaves or crown of the plant to prevent fungal diseases.
Pruning is another essential aspect of lavender care. Prune your plants regularly to promote bushy growth, prevent woody stems, and encourage root development. Remove any dead or damaged stems, and cut back the plant to about one-third of its height after flowering.
Fertilizing is not necessary for lavender plants, as they thrive in poor soil. However, if your soil is particularly deficient, a balanced, water-soluble fertilizer can be applied during the growing season. Avoid over-fertilizing, as this can lead to weak and leggy growth.
Now that you have successfully propagated your lavender plants, you can enjoy the many benefits they provide. Use the fragrant flowers in potpourri, wreaths, and crafts, or add them to your favorite recipes for a unique flavor and aroma. Lavender is also a popular ingredient in herbal teas, skincare products, and perfumes.
In addition to their many uses, lavender plants are also a low-maintenance and attractive addition to any garden. They attract pollinators, such as bees and butterflies, and provide a beautiful display of purple flowers in the summer months. With proper care, your newly propagated lavender plants will thrive for years to come, providing you with a bountiful harvest of fragrant flowers and a stunning display of foliage.
By following these care tips and enjoying the many benefits of your newly propagated lavender plants, you’ll be well on your way to becoming a lavender expert. Remember to share your knowledge with friends and family, and don’t hesitate to experiment with new and innovative ways to use your homegrown lavender. With a little practice and patience, you’ll be able to propagate lavender plants like a pro and enjoy the many rewards of growing these beautiful and fragrant flowers.


:max_bytes(150000):strip_icc()/SPR-how-to-propagate-lavender-2334-step-06-dc7ad2fb7ad74068af6def81f607430e.jpg)


