Why Hoses Get Stuck and How to Prevent It
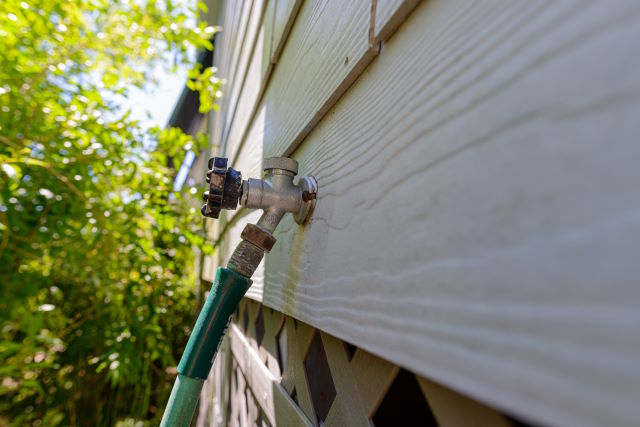
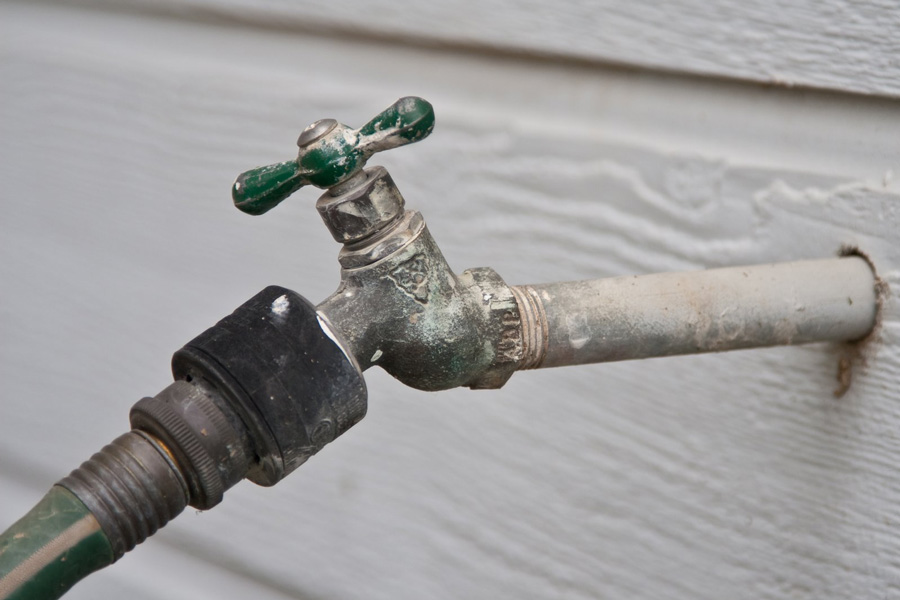
Hoses can become stuck on spigots due to various reasons, including mineral buildup, worn-out washers, and improper installation. Mineral buildup, for instance, can occur when water flows through the hose, leaving behind deposits of calcium and lime. Over time, these deposits can accumulate and cause the hose to become stuck. Worn-out washers can also contribute to a stuck hose, as they can create a tight seal that is difficult to break. Improper installation, such as over-tightening the hose or using the wrong type of washer, can also lead to a stuck hose.

Click Image to Find Garden Products
To prevent hoses from getting stuck, it is essential to maintain them regularly. This can be done by inspecting the hose and spigot for signs of mineral buildup or wear and tear. Replacing worn-out washers and cleaning the hose and spigot with a mixture of water and vinegar can also help to prevent sticking. Additionally, using a hose with a built-in anti-stick coating or a spigot with a smooth, rounded surface can reduce the likelihood of a stuck hose.
When a hose does become stuck, it can be challenging to remove it without damaging the spigot or hose. However, by understanding the reasons why hoses get stuck and taking preventative measures, homeowners can reduce the risk of a stuck hose and make removal easier when it does occur. In the next section, we will discuss the necessary tools and materials needed to remove a stuck hose.

Preparing for the Removal Process
Before attempting to remove a stuck hose, it is essential to gather the necessary tools and materials to ensure a safe and successful process. A hose removal tool, also known as a hose key, is a specialized tool designed specifically for removing stuck hoses. This tool can be purchased at most hardware stores or home improvement centers. Additionally, a pair of pliers and some penetrating oil, such as WD-40 or Liquid Wrench, can also be useful in loosening the stuck hose.
It is crucial to shut off the water supply to the spigot before attempting to remove the hose. This can be done by locating the shut-off valve, usually located near the water meter or where the water line enters the house, and turning it clockwise. Once the water supply is shut off, open the faucet to drain the water from the hose and spigot. This will prevent any water from flowing out of the hose during the removal process and make it safer to work with.
Other materials that may be useful to have on hand include a bucket or container to catch any water that may spill out during the removal process, a towel or rag to clean up any spills, and some Teflon tape or pipe dope to reassemble the hose and spigot after removal. By having all the necessary tools and materials ready, you can ensure a smooth and successful removal process.
With the necessary tools and materials in hand, you can now proceed to the removal process. In the next section, we will discuss the step-by-step process of using a hose removal tool to remove a stuck hose.
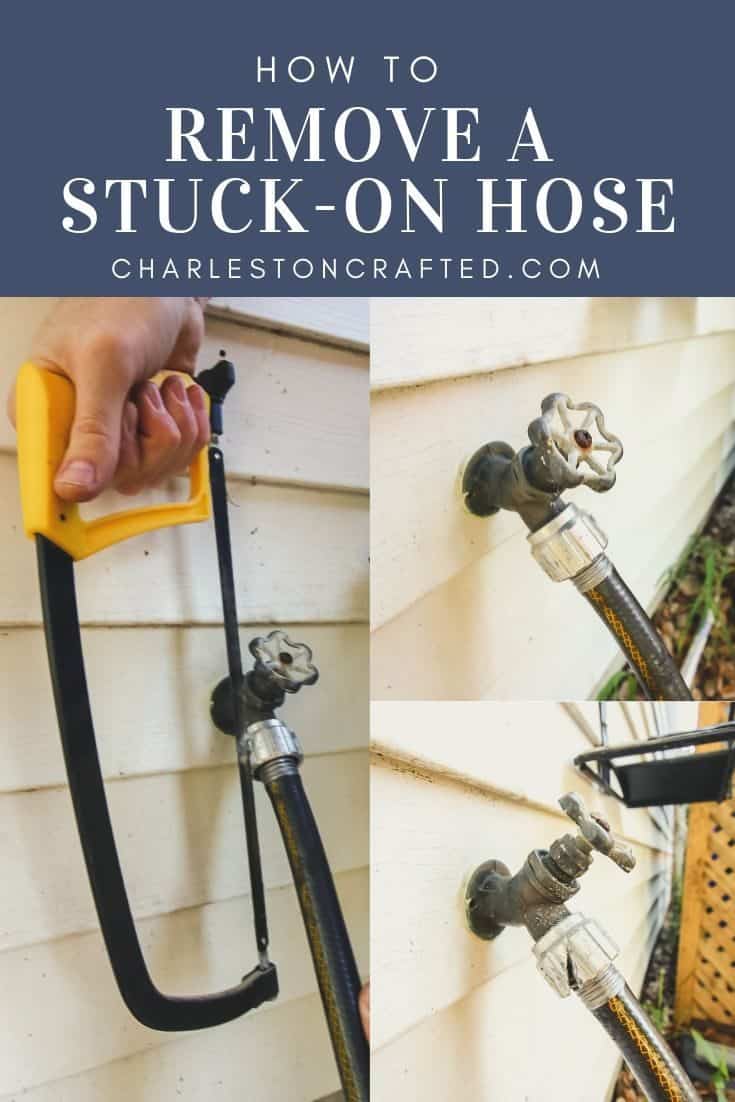
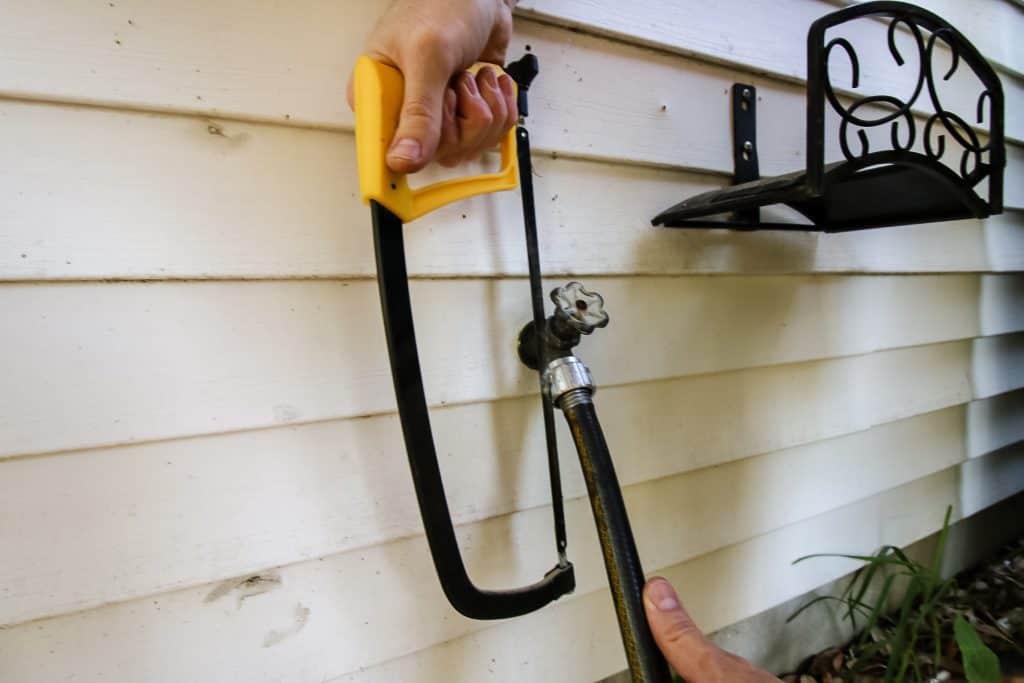
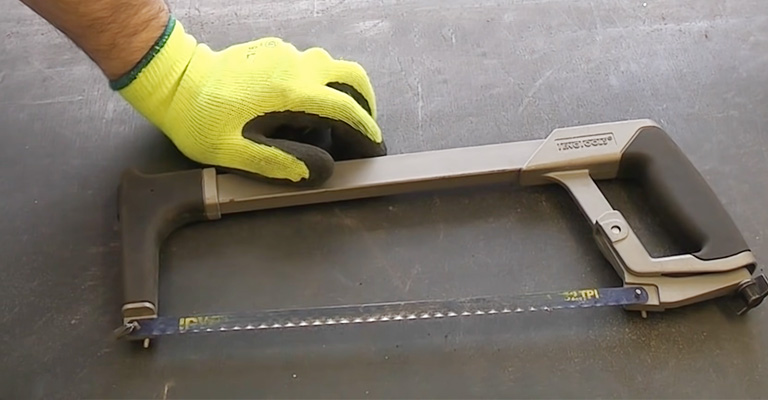
Method 1: Using a Hose Removal Tool
Using a hose removal tool is a safe and effective way to remove a stuck hose from a spigot. This tool is specifically designed to fit onto the hose and spigot, allowing for easy removal without damaging either component. To use a hose removal tool, follow these steps:
1. Position the tool onto the hose and spigot, ensuring that it is securely seated.
2. Gently turn the tool clockwise to loosen the hose from the spigot. Apply gentle pressure, increasing the force as needed, but avoid using excessive force that could damage the spigot or hose.
3. Continue to turn the tool until the hose is completely removed from the spigot.
4. Remove the tool from the hose and spigot, and inspect the area for any signs of damage or mineral buildup.
Using a hose removal tool is a straightforward process that requires minimal effort and expertise. However, it is essential to use the tool correctly to avoid damaging the spigot or hose. If the hose is still stuck after using the tool, it may be necessary to try another method, such as applying penetrating oil or using pliers.
When using a hose removal tool, it is also important to note that some hoses may be more difficult to remove than others, depending on the type of hose and spigot used. In such cases, it may be necessary to use a combination of methods to successfully remove the hose.
Method 2: Applying Penetrating Oil and Waiting
Another effective method for removing a stuck hose is to apply penetrating oil to the affected area and wait for it to loosen. This method is particularly useful when the hose is stuck due to mineral buildup or corrosion. Penetrating oil, such as WD-40 or Liquid Wrench, can help to break down the mineral deposits and loosen the hose.
To use this method, follow these steps:
1. Apply a generous amount of penetrating oil to the stuck hose and spigot, making sure to cover the entire area.
2. Allow the oil to sit for several hours or overnight, giving it time to penetrate and loosen the mineral deposits.
3. After the oil has had time to sit, attempt to remove the hose from the spigot. If it is still stuck, repeat the process and allow the oil to sit for a longer period of time.
This method is a good alternative to using a hose removal tool, as it can be less damaging to the spigot and hose. However, it may take longer to achieve results, and it may require repeated applications of penetrating oil.
It’s also important to note that not all penetrating oils are created equal, and some may be more effective than others at loosening stuck hoses. When choosing a penetrating oil, look for one that is specifically designed for use on stuck parts and is safe for use on the materials of your hose and spigot.
Method 3: Using Pliers and Gentle Twisting
Another method for removing a stuck hose is to use pliers to grip the hose and gently twist it back and forth to loosen it. This method can be effective, but it requires caution to avoid damaging the spigot or hose.
To use this method, follow these steps:
1. Grip the hose with pliers, making sure to position the pliers as close to the spigot as possible.
2. Gently twist the hose back and forth, using a gentle rocking motion to loosen the hose from the spigot.
3. Continue to twist the hose until it is completely removed from the spigot.
It’s essential to be careful when using pliers to avoid damaging the spigot or hose. If the hose is stuck due to mineral buildup or corrosion, using pliers can cause the hose to break or the spigot to become damaged.
Additionally, using pliers can also cause the hose to become misshapen or kinked, which can affect its performance and longevity. Therefore, it’s crucial to use caution and gentle pressure when using pliers to remove a stuck hose.
It’s also important to note that this method may not be effective for all types of hoses or spigots. If the hose is stuck due to a more complex issue, such as a faulty washer or O-ring, using pliers may not be enough to loosen it.
Troubleshooting Common Issues
During the removal process, you may encounter some common issues that can make it difficult to remove the stuck hose. Here are some troubleshooting tips and solutions to help you overcome these challenges:
Stuck Hose That Won’t Budge:
If the hose is stuck and won’t budge, try applying more penetrating oil and letting it sit for a longer period. You can also try using a hose removal tool or pliers to gently twist the hose back and forth. If the hose is still stuck, you may need to use a combination of methods to loosen it.
Spigot That Becomes Damaged:
If the spigot becomes damaged during the removal process, you may need to replace it. Before attempting to remove the hose, make sure to shut off the water supply to prevent any further damage. If the spigot is damaged, you can try using a spigot repair kit or replacing it entirely.
Hose That Breaks or Cracks:
If the hose breaks or cracks during the removal process, you will need to replace it. Before attempting to remove the hose, make sure to inspect it for any signs of damage or wear. If the hose is damaged, it’s best to replace it to prevent any further issues.
Other Issues:
If you encounter any other issues during the removal process, such as a stuck washer or O-ring, you may need to use specialized tools or techniques to remove them. In some cases, it may be necessary to seek the help of a professional plumber to resolve the issue.
By being aware of these common issues and having a plan in place to troubleshoot them, you can ensure a successful removal process and avoid any further complications.
Reassembling and Testing the Hose
After successfully removing the stuck hose, it’s essential to reassemble the hose and spigot properly to ensure a secure and leak-free connection. Here’s a step-by-step guide on how to reassemble and test the hose:
1. Inspect the spigot and hose for any signs of damage or wear. If either component is damaged, consider replacing it to prevent future issues.
2. Apply a small amount of Teflon tape or pipe dope to the threads of the spigot to ensure a secure connection.
3. Reattach the hose to the spigot, making sure it is securely seated and tightened.
4. Turn on the water supply and check for any leaks around the connection.
5. Test the hose by turning on the faucet and checking for proper water flow.
It’s crucial to test the hose thoroughly to ensure it is working correctly and not leaking. A leaky hose can cause water damage, waste water, and increase your water bill.
By following these steps and taking the time to properly reassemble and test the hose, you can ensure a secure and reliable connection that will last for a long time.
Remember to always follow safety precautions when working with water supply lines and hoses to avoid any potential risks or injuries.