Why Repotting is Crucial for Desert Rose Health
Desert roses require regular repotting to maintain their health and vigor. Repotting provides a fresh environment for the plant, allowing it to grow and thrive. By repotting, you can provide your desert rose with fresh soil, a larger pot, and prune its roots to promote healthy growth. This process helps to prevent common problems like root bound, nutrient deficiencies, and pest infestations. Learning how to repot desert roses correctly is essential to give your plant the best chance to succeed. A well-planned repotting process can revitalize a struggling desert rose, promoting healthy growth and preventing common problems. By understanding the importance of repotting, you can ensure your desert rose receives the care it needs to flourish.

Click Image to Find Garden Products

Choosing the Right Pot and Soil for Your Desert Rose
When it comes to repotting desert roses, selecting the right pot and soil is crucial for the plant’s success. A well-draining pot and soil with good aeration can help prevent waterlogged soil and root rot, common problems that can arise when repotting desert roses. The ideal pot should have drainage holes in the bottom to allow excess water to escape, while the soil should be a well-draining mix specifically designed for cacti and succulents. Additionally, consider the pH level of the soil, as desert roses prefer a slightly acidic to neutral soil pH. By choosing the right pot and soil, you can create an optimal environment for your desert rose to thrive. Learning how to repot desert roses correctly, including selecting the right pot and soil, can make all the difference in the plant’s health and longevity.

Preparing Your Desert Rose for Repotting
Before repotting your desert rose, it’s essential to prepare the plant to ensure a successful transition. One crucial step is to prune the roots, which helps to stimulate new growth and prevent the plant from becoming pot-bound. Use a pair of clean, sharp scissors or pruning shears to gently trim away any dead or damaged roots. Additionally, remove any dead or damaged leaves from the plant to prevent the spread of disease and encourage healthy growth. Another critical step is to acclimate your desert rose to outdoor conditions, if it’s been indoors, to prevent shock. Start by moving the plant to a shaded area outdoors for a few hours a day, gradually increasing the duration over the course of 7-10 days. By following these steps, you can ensure your desert rose is ready for repotting and set it up for success. Learning how to repot desert roses correctly, including proper preparation, can make all the difference in the plant’s health and longevity.
The Repotting Process: A Step-by-Step Guide
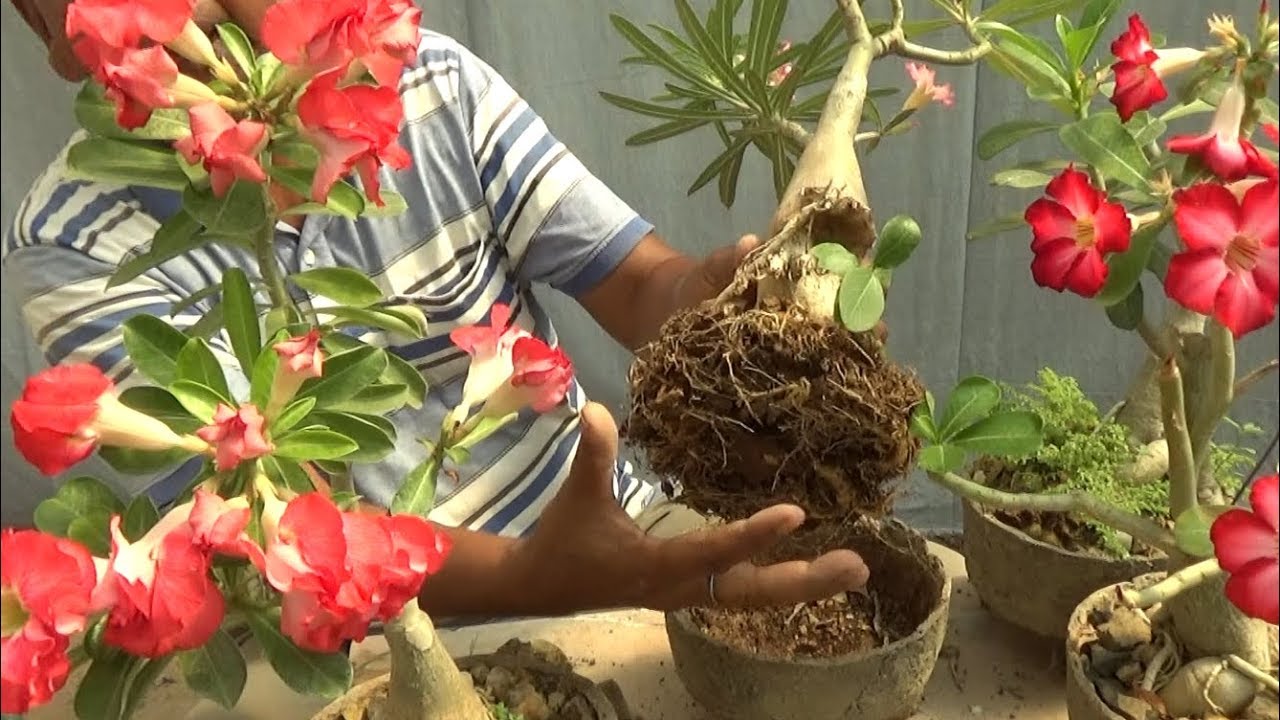
Now that you’ve prepared your desert rose and selected the right pot and soil, it’s time to repot. Start by gently removing the plant from its pot, taking care not to damage the roots or disturb the soil. If the plant is stuck, gently rock it back and forth to loosen it. Once removed, inspect the roots to identify any dead or damaged roots that need to be pruned. Use a pair of clean, sharp scissors or pruning shears to trim away any affected roots. Next, place a layer of fresh soil in the new pot, followed by the desert rose. Add more soil around the roots, gently firming it in place as you go. Make sure the soil level is the same as it was in the original pot, and that the plant is sitting at the same depth. Finally, water the plant thoroughly to settle the soil and provide enough moisture to support establishment. By following these steps, you can successfully repot your desert rose and give it the fresh start it needs. Learning how to repot desert roses correctly can make all the difference in the plant’s health and longevity, and with these steps, you’ll be well on your way to success.

Common Mistakes to Avoid When Repotting Desert Roses
When repotting desert roses, it’s essential to avoid common mistakes that can hinder the plant’s growth and health. One of the most critical mistakes to avoid is over-watering, which can lead to root rot and other problems. Make sure to water your desert rose sparingly, especially after repotting, and avoid getting water on the leaves or crown to prevent fungal diseases. Another mistake to avoid is under-watering, which can cause the plant to become stressed and vulnerable to pests and diseases. Ensure your desert rose is receiving enough water, but not so much that it’s waterlogged. Additionally, failing to provide enough light can also hinder the plant’s growth and health. Desert roses require bright, indirect light to thrive, so make sure to place your plant in a spot that receives plenty of natural light. By avoiding these common mistakes, you can ensure a successful transition and give your desert rose the best chance to thrive. Remember, learning how to repot desert roses correctly is crucial to the plant’s health and longevity, and avoiding these mistakes is a critical part of that process.
Post-Repotting Care: Tips for a Smooth Transition
After repotting your desert rose, it’s essential to provide the right care to ensure a smooth transition. One of the most critical aspects of post-repotting care is watering. Water your desert rose sparingly, as the plant is still adjusting to its new environment. Check the soil daily, and only water when the top inch of soil feels dry to the touch. Fertilizing is also crucial during this period. Use a balanced, water-soluble fertilizer at half the recommended strength to provide your desert rose with the necessary nutrients for growth. Additionally, monitor your plant for pests and diseases, such as mealybugs, spider mites, and root rot. Regularly inspect your plant, and take action immediately if you notice any signs of infestation or infection. By following these tips, you can ensure your desert rose receives the care it needs to thrive in its new pot. Remember, learning how to repot desert roses correctly is only half the battle – providing the right post-repotting care is essential for a successful transition.
Troubleshooting Common Issues After Repotting
After repotting your desert rose, it’s not uncommon to encounter some common issues. One of the most common problems is root rot, which can occur if the soil is too wet or if the roots are damaged during the repotting process. To address root rot, remove any affected roots, and treat the plant with a fungicide. Another issue that may arise is leaf drop, which can be caused by shock, over-watering, or under-watering. To prevent leaf drop, ensure your desert rose is receiving the right amount of water and light. If leaf drop does occur, prune the affected leaves to prevent the spread of disease. Pest infestations, such as mealybugs or spider mites, can also occur after repotting. Inspect your plant regularly, and treat any infestations promptly with insecticidal soap or neem oil. By being aware of these common issues and knowing how to address them, you can ensure your desert rose thrives in its new pot. Remember, learning how to repot desert roses correctly is crucial to preventing these issues and ensuring a successful transition.

Conclusion: Giving Your Desert Rose a Fresh Start
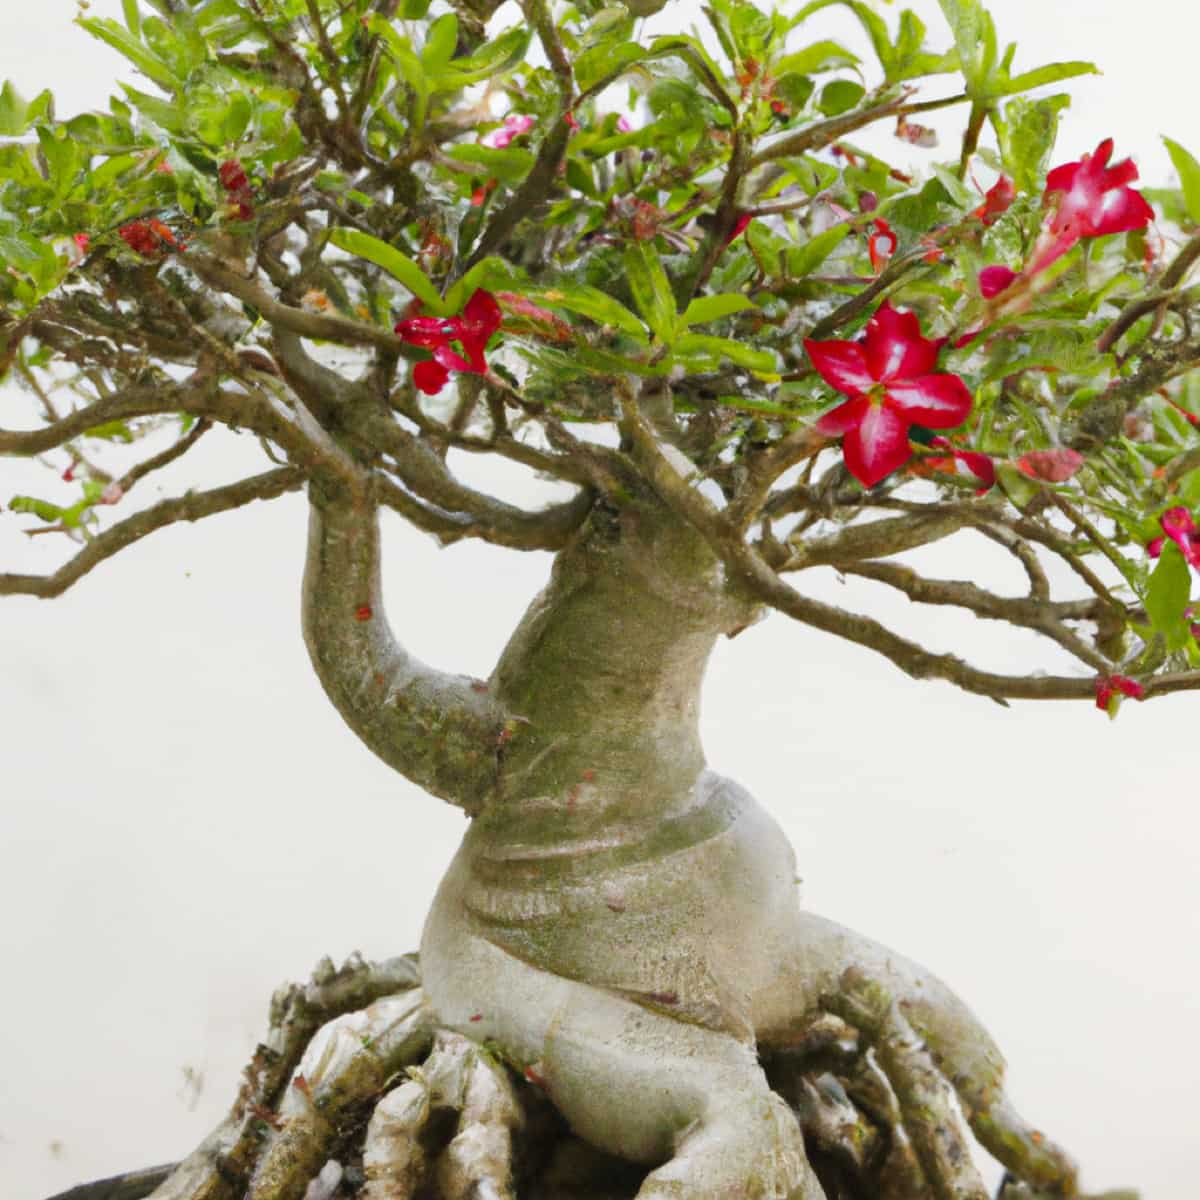
By following this step-by-step guide on how to repot desert roses, you can give your plant the fresh start it needs to thrive. Remember, repotting is a crucial step in maintaining the health and vitality of your desert rose. By providing fresh soil, a larger pot, and pruning roots, you can promote healthy growth and prevent common problems. By avoiding common mistakes and providing proper post-repotting care, you can ensure a smooth transition for your desert rose. If you do encounter any issues after repotting, don’t panic – with the right troubleshooting techniques, you can address common problems and get your plant back on track. With the right knowledge and care, your desert rose can flourish and bring beauty and joy to your home or garden. So, take the first step today and learn how to repot desert roses like a pro!
