Understanding the Causes of Clematis Decline
Clematis plants are known for their stunning flowers and versatility in garden design, but they can be finicky and prone to decline if not properly cared for. To revive a struggling clematis, it’s essential to understand the underlying causes of its decline. Poor soil quality is a common culprit, as clematis plants require well-draining, fertile soil to thrive. Inadequate watering is another frequent mistake, as clematis plants need consistent moisture, especially during periods of active growth.

Click Image to Find Garden Products
Pest or disease infestations can also cause significant damage to clematis plants. Pests like aphids, whiteflies, and spider mites can weaken the plant and make it more susceptible to disease, while fungal diseases like powdery mildew and leaf spot can cause unsightly damage and reduce flowering. Environmental factors, such as extreme temperatures, wind, and exposure to full sun, can also contribute to clematis decline.
By understanding the potential causes of clematis decline, gardeners can take proactive steps to prevent these issues and create a more favorable growing environment for their plants. This knowledge is crucial for reviving a struggling clematis and promoting healthy growth and flowering. Whether you’re a seasoned gardener or a beginner, learning how to revive a clematis can be a rewarding experience that brings new life to your garden.
Assessing the Damage: Evaluating Your Clematis’s Condition
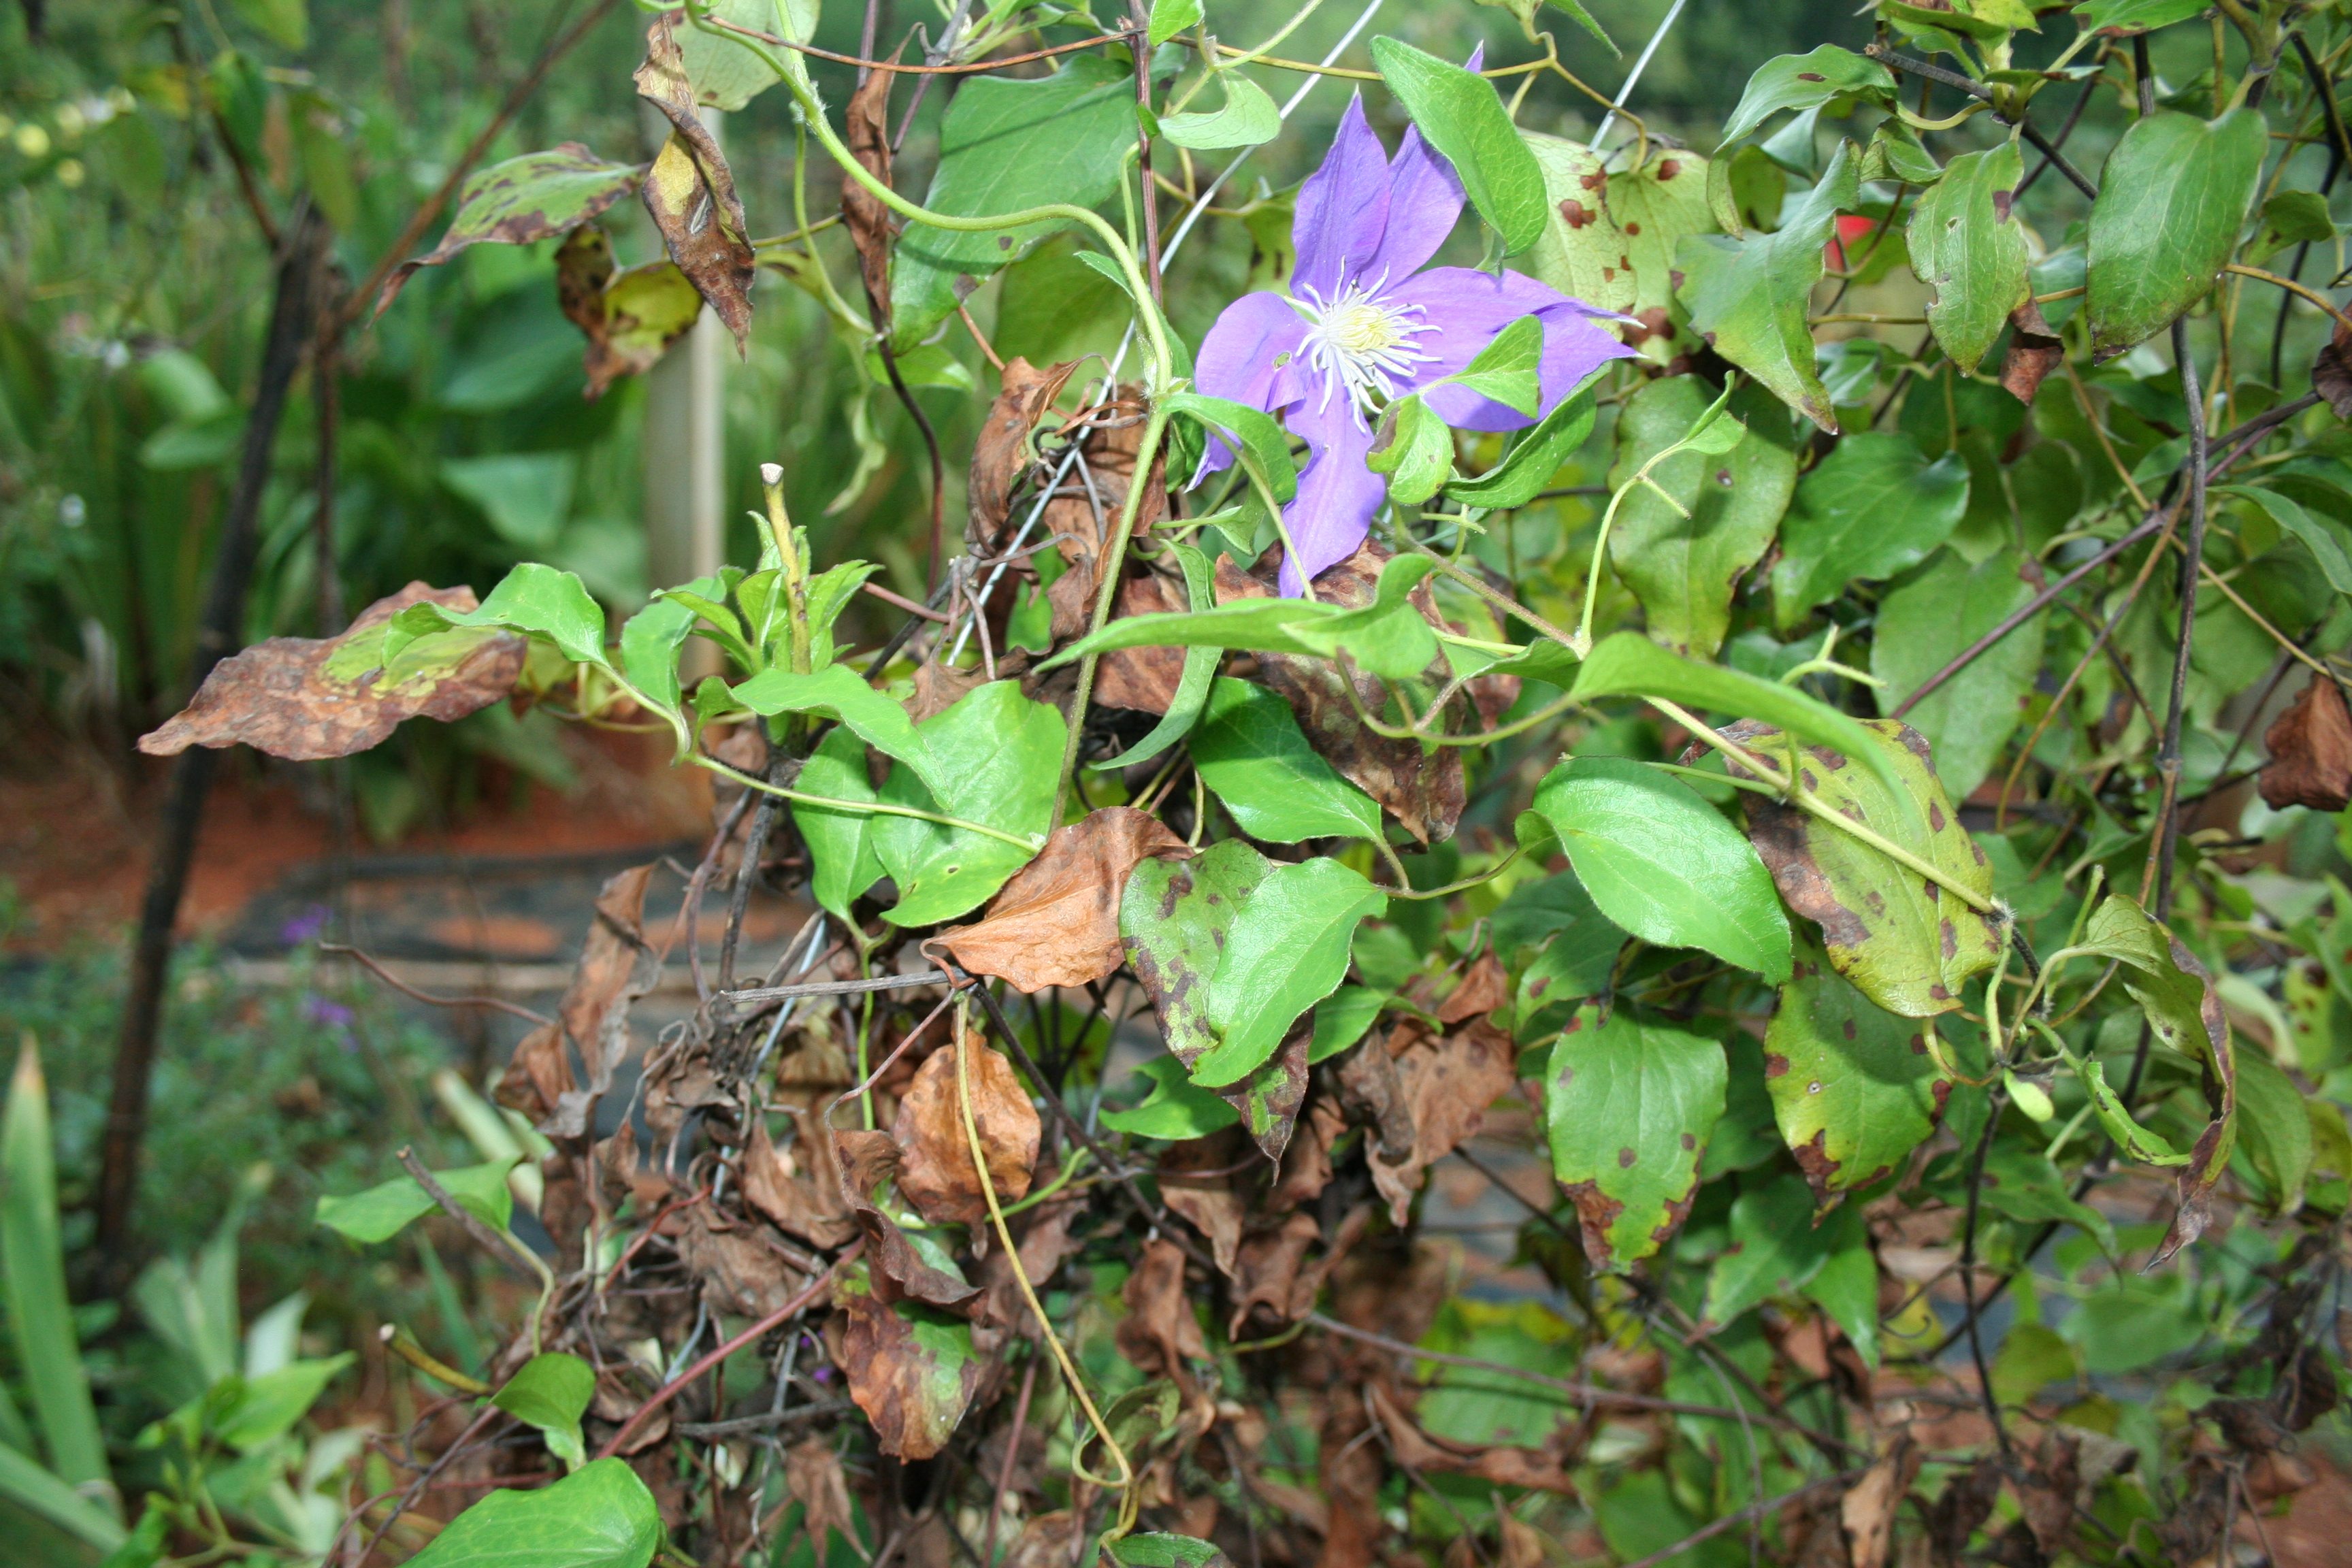
Before attempting to revive a struggling clematis, it’s essential to assess the extent of the damage. This involves inspecting the plant carefully to identify any signs of disease, pests, or nutrient deficiencies. Start by examining the leaves, stems, and flowers for any visible damage or discoloration. Check for signs of pests, such as aphids, whiteflies, or spider mites, which can weaken the plant and make it more susceptible to disease.
Next, inspect the roots of the plant to determine if they are healthy and functioning properly. Check for any signs of root rot or damage, which can be caused by overwatering or poor soil quality. If the roots are damaged, it may be necessary to prune them back to encourage new growth.
It’s also important to evaluate the plant’s overall structure and growth habit. Check for any signs of nutrient deficiencies, such as yellowing leaves or stunted growth. If the plant is not receiving enough nutrients, it may be necessary to fertilize it to promote healthy growth and flowering.
By carefully evaluating the condition of your clematis plant, you can determine the best course of action for reviving it. This may involve pruning, fertilizing, or treating for pests or diseases. By taking a proactive approach, you can help your clematis plant recover and thrive once again.

Pruning for Revival: Techniques for Cutting Back Your Clematis
Pruning is a crucial step in reviving a struggling clematis plant. By cutting back the plant, you can promote new growth, encourage recovery, and help the plant regain its natural shape. When pruning a clematis, it’s essential to use the right tools and techniques to avoid damaging the plant.
Start by removing any dead or damaged stems, cutting them back to the base of the plant. This will help prevent the spread of disease and encourage new growth. Next, prune back any weak or spindly stems, cutting them back to about one-third of their length. This will help promote bushy growth and encourage the plant to produce more flowers.
When pruning a clematis, it’s also essential to consider the type of clematis you have. Some clematis varieties, such as the early-blooming types, should be pruned immediately after flowering. Others, such as the late-blooming types, should be pruned in the late winter or early spring.
In addition to pruning, it’s also essential to provide your clematis plant with the right support. Clematis plants are climbers, and they need something to climb on to grow and thrive. Provide your plant with a trellis or other support, and make sure it’s securely attached to the ground.
By pruning and providing support for your clematis plant, you can help it recover from decline and promote healthy growth and flowering. Remember to prune your plant regularly to keep it healthy and thriving. With the right care and attention, your clematis plant can be revived and continue to provide beautiful flowers for years to come.

Soil Revitalization: Improving the Growing Conditions for Your Clematis
Soil quality is a critical factor in the health and well-being of clematis plants. Poor soil quality can lead to a range of problems, including nutrient deficiencies, waterlogging, and root rot. To revive a struggling clematis, it’s essential to improve the soil structure, fertility, and drainage.
Start by testing the pH level of your soil to determine if it’s too acidic or alkaline for your clematis plant. Clematis plants prefer a slightly acidic to neutral soil pH, ranging from 6.0 to 7.0. If your soil is too acidic or alkaline, you can add amendments to adjust the pH level.
In addition to adjusting the pH level, it’s also essential to improve the soil structure and fertility. Add organic matter such as compost or well-rotted manure to the soil to improve its structure and fertility. This will help to improve the soil’s water-holding capacity, aeration, and nutrient availability.
Drainage is also critical for clematis plants. If the soil is too waterlogged, it can lead to root rot and other problems. Add organic matter or perlite to the soil to improve its drainage and prevent waterlogging.
By improving the soil quality, you can create a more favorable growing environment for your clematis plant. This will help to promote healthy growth and flowering, and reduce the risk of disease and pests. Remember to monitor the soil quality regularly and make adjustments as needed to ensure the long-term health and well-being of your clematis plant.
Watering Wisely: Avoiding Over- and Under-Watering Your Clematis
Watering is a critical aspect of clematis care, and getting it right can make all the difference in reviving a struggling plant. Clematis plants need consistent moisture, especially during periods of active growth, but overwatering can be just as detrimental as underwatering.
To avoid overwatering, check the soil moisture by inserting your finger into the soil up to the first knuckle. If the soil feels dry, it’s time to water. Water your clematis plant thoroughly, making sure the soil is moist but not waterlogged. Avoid getting water on the leaves or crown of the plant, as this can lead to rot and other problems.
Underwatering can also be a problem, especially during hot and dry weather. If the soil is too dry for too long, the plant may become stressed, leading to decline and disease. To avoid underwatering, make sure to water your clematis plant regularly, especially during periods of drought.
It’s also important to consider the time of day when watering your clematis plant. Avoid watering in the middle of the day, as this can cause the water to evaporate quickly, leaving the plant thirsty. Instead, water your clematis plant in the morning or evening, when the sun is not as intense.
By watering your clematis plant wisely, you can help it recover from decline and promote healthy growth and flowering. Remember to monitor the soil moisture regularly and adjust your watering schedule as needed to ensure the long-term health and well-being of your clematis plant.

Fertilizing for Recovery: Choosing the Right Nutrients for Your Clematis
Fertilizing is an essential step in reviving a struggling clematis plant. Clematis plants require a balanced diet of nutrients to promote healthy growth and flowering. When choosing a fertilizer for your clematis plant, it’s essential to select a product that is high in phosphorus, as this nutrient promotes root development and flower production.
A balanced fertilizer with a ratio of 10-10-10 (nitrogen-phosphorus-potassium) is a good starting point for most clematis plants. However, if your plant is showing signs of nutrient deficiencies, such as yellowing leaves or stunted growth, you may need to adjust the fertilizer ratio accordingly.
It’s also important to consider the type of fertilizer you use. Organic fertilizers, such as compost or well-rotted manure, are a good choice for clematis plants, as they release nutrients slowly and promote healthy soil biota. Chemical fertilizers, on the other hand, can provide a quick boost of nutrients, but may not promote long-term soil health.
When applying fertilizer to your clematis plant, be sure to follow the instructions on the label carefully. Overfertilizing can be just as detrimental as underfertilizing, so it’s essential to get the application rate right. A general rule of thumb is to apply fertilizer at a rate of 1-2 pounds per 100 square feet of soil.
By fertilizing your clematis plant correctly, you can provide it with the nutrients it needs to recover from decline and promote healthy growth and flowering. Remember to monitor your plant’s response to fertilization and adjust your application rate accordingly to ensure the best results.
Pest and Disease Management: Protecting Your Clematis from Harm
Clematis plants are susceptible to a range of pests and diseases that can cause significant damage and decline. To revive a struggling clematis, it’s essential to identify and manage any pest or disease issues promptly.
Common pests that can affect clematis plants include aphids, whiteflies, and spider mites. These pests can be controlled using organic methods such as neem oil or insecticidal soap, or chemical methods such as pyrethrin sprays.
Diseases that can affect clematis plants include powdery mildew, leaf spot, and root rot. These diseases can be controlled using fungicides or by removing infected leaves or stems.
Prevention is key when it comes to managing pests and diseases on clematis plants. Regularly inspect your plant for signs of pests or diseases, and take action promptly if you notice any issues.
Some other tips for managing pests and diseases on clematis plants include:
- Providing good air circulation around the plant to prevent fungal diseases
- Watering the plant carefully to avoid splashing water on the leaves or crown
- Removing any weeds or debris that can harbor pests or diseases
- Using physical barriers such as fine mesh or fine netting to prevent pests from reaching the plant
By taking a proactive approach to pest and disease management, you can help protect your clematis plant from harm and promote healthy growth and flowering.
Monitoring Progress: Keeping a Close Eye on Your Clematis’s Recovery
Once you’ve implemented the steps outlined in this guide, it’s essential to monitor your clematis plant’s progress regularly. This will help you identify any ongoing issues and make adjustments as needed to ensure the plant continues to thrive.
Regular monitoring involves checking the plant’s condition, including its leaves, stems, and flowers. Look for signs of disease, pests, or nutrient deficiencies, and take action promptly if you notice any issues.
Some key things to monitor include:
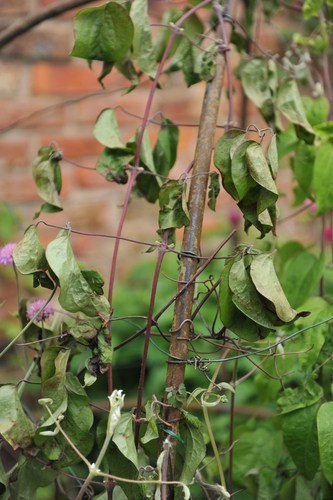
- Leaf color and texture: Healthy clematis leaves should be a deep green color and have a smooth texture. If the leaves are yellowing or becoming brittle, it may be a sign of nutrient deficiency or disease.
- Stem growth: Clematis stems should be strong and vigorous, with a smooth, woody texture. If the stems are weak or brittle, it may be a sign of disease or pest infestation.
- Flower production: Clematis plants should produce an abundance of flowers, especially during the blooming season. If the plant is not producing flowers, it may be a sign of nutrient deficiency or disease.
By monitoring your clematis plant’s progress regularly, you can identify any ongoing issues and make adjustments as needed to ensure the plant continues to thrive. Remember to keep a record of your monitoring activities, including any observations, actions taken, and results. This will help you track the plant’s progress over time and make informed decisions about its care.
