Unlocking the Potential of Asparagus Seeds
For gardeners and food enthusiasts, growing asparagus from seed can be a rewarding and delicious experience. Not only is it a cost-effective alternative to buying crowns or seedlings, but it also offers the flexibility to choose from a wide range of varieties and cultivars. By starting from seed, growers can nurture their asparagus plants from the earliest stages, allowing for a deeper understanding of the plant’s life cycle and a greater sense of accomplishment.
One of the primary benefits of growing asparagus from seed is the ability to select from a diverse array of varieties, each with its unique characteristics, flavors, and textures. From the popular ‘Jersey Giant’ to the heirloom ‘Purple Flare’, the options are vast, and growers can experiment with different types to find their favorite. Additionally, starting from seed allows growers to avoid the potential risks associated with buying crowns or seedlings, such as disease transmission or pest infestations.
Another advantage of growing asparagus from seed is the satisfaction of watching the plants develop from tiny seeds into mature, productive spears. This process requires patience, as asparagus seeds can take several weeks to germinate and several months to mature. However, the end result is well worth the wait, as homegrown asparagus is renowned for its tender, succulent flavor and crunchy texture.
For those new to growing asparagus from seed, it’s essential to understand the basics of seed selection, sowing, and care. By choosing high-quality seeds, providing optimal growing conditions, and following proper care techniques, growers can increase their chances of success and enjoy a bountiful harvest. In the following sections, we’ll delve into the specifics of how to start asparagus from seed, covering topics from preparation and sowing to nurturing and harvesting.
Preparing the Ideal Environment for Asparagus Seed Germination
Asparagus seeds require specific conditions to germinate and grow. Providing the optimal environment is crucial for successful germination and healthy seedling development. Temperature, light, and moisture are the key factors to consider when creating a suitable environment for asparagus seed germination.
Temperature is a critical factor in asparagus seed germination. The ideal temperature for germination is between 70°F (21°C) and 80°F (27°C). It’s essential to maintain a consistent temperature, as fluctuations can slow down or prevent germination. Using a seed starting mix that is specifically designed to retain moisture and regulate temperature can help create an optimal environment.
Light is also an essential factor in asparagus seed germination. Asparagus seeds require indirect light to germinate. Placing the seeds in a sunny windowsill or under grow lights can provide the necessary light. However, direct sunlight can be too intense and may inhibit germination.
Moisture is another critical factor in asparagus seed germination. The soil should be kept consistently moist but not waterlogged. Overwatering can lead to rot and poor germination rates. Using a seed starting mix that is designed to retain moisture can help maintain the optimal moisture levels.
To create a suitable environment for asparagus seed germination, gardeners can use a variety of techniques. One approach is to use a seed starting tray with a clear plastic lid. This will help maintain humidity and regulate temperature. Another approach is to use a heating mat or a warm location to maintain a consistent temperature.
By providing the optimal environment for asparagus seed germination, gardeners can increase their chances of success and enjoy a healthy and productive crop. In the next section, we will discuss the steps involved in sowing asparagus seeds for success.
How to Sow Asparagus Seeds for Success
Sowing asparagus seeds requires attention to detail and a gentle touch. To ensure successful germination and healthy seedling development, it’s essential to follow a step-by-step guide on how to sow asparagus seeds.
Step 1: Prepare the Soil
Before sowing asparagus seeds, prepare the soil by filling a seed starting tray or small pots with a good quality seed starting mix. Moisten the soil with water, but make sure it’s not waterlogged.
Step 2: Sow the Seeds
Place one or two asparagus seeds per cell or pot, depending on the size of the container. Cover the seeds with a thin layer of soil, about 1/8 inch deep. Firm the soil gently to ensure good contact with the seeds.
Step 3: Water the Seeds
Water the seeds gently but thoroughly. Make sure the soil is consistently moist but not waterlogged. Overwatering can lead to poor germination rates and weak seedlings.
Step 4: Provide Optimal Conditions
Place the seed starting tray or pots in a location with optimal temperature, light, and humidity conditions. Maintain a consistent temperature of around 70°F to 80°F (21°C to 27°C) and provide indirect light.
Step 5: Maintain Soil Moisture
Keep the soil consistently moist but not waterlogged. Check the soil daily and water as needed. Avoid getting water on the leaves or crown of the seedlings to prevent fungal diseases.
By following these steps and handling the seeds gently, gardeners can increase their chances of success when growing asparagus from seed. Remember to provide optimal conditions and maintain soil moisture to promote healthy seedling development.
In the next section, we will discuss the critical care requirements for asparagus seedlings during the first few weeks after germination, including fertilization, pruning, and pest management.
Nurturing Asparagus Seedlings: The First Few Weeks
The first few weeks after germination are critical for asparagus seedlings. During this period, the seedlings are vulnerable to disease, pests, and environmental stress. Providing optimal care and attention can help ensure healthy growth and development.
Fertilization
Asparagus seedlings require a balanced fertilizer to promote healthy growth. A water-soluble fertilizer with a balanced N-P-K ratio (e.g., 20-20-20) can be applied at half the recommended strength. Avoid over-fertilizing, as this can damage the seedlings.
Pruning
Pruning is essential for promoting healthy growth and preventing disease. Remove any weak or spindly growth, and trim back the seedlings to encourage bushy growth.
Pest Management
Asparagus seedlings are susceptible to pests such as aphids, whiteflies, and spider mites. Monitor the seedlings regularly and take action promptly if you notice any pests. Use organic pest control methods whenever possible, such as neem oil or insecticidal soap.
Common Issues
Asparagus seedlings can be prone to common issues such as damping off or fungal infections. Damping off is a fungal disease that can cause the seedlings to rot and die. Fungal infections can cause yellowing or browning of the leaves. To prevent these issues, ensure good air circulation, avoid overwatering, and provide optimal growing conditions.
Addressing Common Issues
If you notice any common issues, take action promptly to prevent the problem from spreading. Remove any affected seedlings, and treat the remaining seedlings with a fungicide or insecticide as needed.
By providing optimal care and attention during the first few weeks after germination, you can help ensure healthy growth and development of your asparagus seedlings. In the next section, we will discuss the best practices for transplanting asparagus seedlings, including the optimal time, soil preparation, and handling techniques.
Transplanting Asparagus Seedlings: Timing and Techniques
Transplanting asparagus seedlings is a critical step in their development. Timing and technique are essential to ensure a successful transition from indoor to outdoor growth. In this section, we will discuss the best practices for transplanting asparagus seedlings, including the optimal time, soil preparation, and handling techniques.
Optimal Time for Transplanting
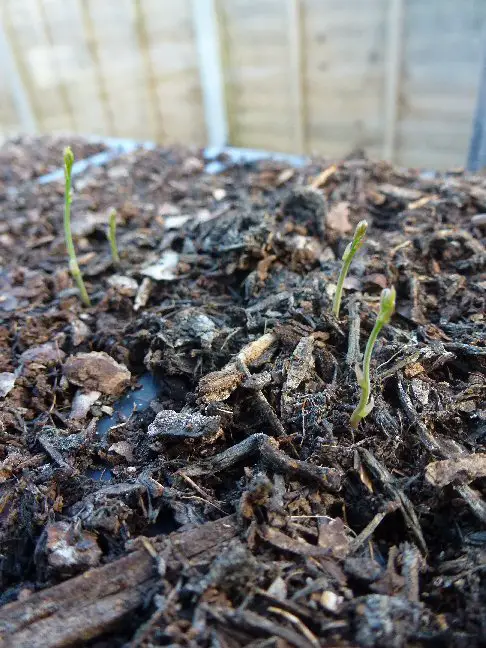
The optimal time for transplanting asparagus seedlings is when they have 2-3 sets of leaves and are about 6-8 inches tall. This is usually 4-6 weeks after germination. Make sure the weather is mild and there is no risk of frost.
Soil Preparation
Before transplanting, prepare the soil by loosening it to a depth of 12-18 inches. Add a 2-inch layer of compost or well-rotted manure to improve soil fertility and drainage.
Handling Techniques
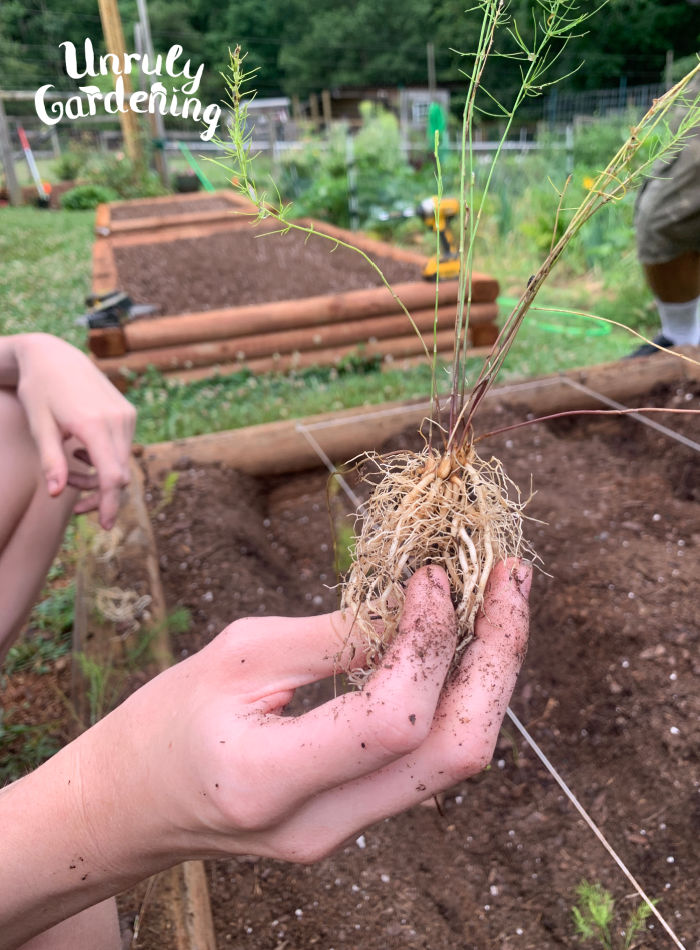
Handle the seedlings gently to avoid damaging their roots or stems. Dig a hole that is about 6-8 inches deep and 12-18 inches wide. Place the seedling in the hole, making sure the crown (where the stem meets the roots) is level with the soil surface. Fill the hole with soil, gently firming it around the roots.
Hardening Off
Before transplanting, harden off the seedlings by gradually exposing them to outdoor conditions over the course of 7-10 days. Start by moving them to a shaded area outdoors for 1-2 hours a day, then gradually increase the duration and intensity of sunlight.
Post-Transplant Care
After transplanting, keep the soil consistently moist but not waterlogged. Provide support for the seedlings using stakes or a trellis, and mulch around the plants to retain moisture and suppress weeds.
By following these best practices for transplanting asparagus seedlings, you can ensure a successful transition from indoor to outdoor growth and set your plants up for a healthy and productive season. In the next section, we will discuss how to support the growth of asparagus plants, including the use of stakes, mulch, and other techniques.
Supporting Asparagus Growth: Stakes, Mulch, and More
As asparagus plants grow, they require support to maintain their upright posture and promote healthy development. Providing the right support can also help prevent damage from wind, rain, and pests. In this section, we will discuss the best ways to support asparagus growth, including the use of stakes, mulch, and other techniques.
Using Stakes
Stakes are a simple and effective way to support asparagus plants. Drive a stake into the ground near the base of the plant, and tie the stem to the stake using twine or a clip. This will help keep the plant upright and prevent it from toppling over in the wind.
Mulching
Mulch is a great way to retain moisture, suppress weeds, and regulate soil temperature. Apply a 2-3 inch layer of organic mulch, such as straw or wood chips, around the base of the plants. This will help keep the soil cool and moist, and prevent weeds from competing with the asparagus for water and nutrients.
Other Support Techniques
In addition to stakes and mulch, there are several other techniques you can use to support asparagus growth. These include:
Using a trellis: A trellis can provide additional support for asparagus plants, especially if they are top-heavy with foliage. Simply tie the stems to the trellis using twine or a clip.
Providing wind protection: Asparagus plants can be susceptible to wind damage, especially if they are exposed to strong gusts. Providing wind protection, such as a windbreak or a row cover, can help prevent damage and promote healthy growth.
Monitoring for pests: Asparagus plants can be susceptible to pests, such as aphids and spider mites. Monitoring for pests regularly and taking action promptly can help prevent infestations and promote healthy growth.
By providing the right support, you can help promote healthy growth and development in your asparagus plants. In the next section, we will discuss common challenges and solutions for growing asparagus from seed, including poor germination rates, weak seedlings, and pest infestations.
Common Challenges and Solutions for Growing Asparagus from Seed
While growing asparagus from seed can be a rewarding experience, it’s not without its challenges. In this section, we’ll address some common issues that may arise and provide troubleshooting tips and solutions to help you overcome them.
Poor Germination Rates
If you’re experiencing poor germination rates, it may be due to a variety of factors, including old or low-quality seeds, inadequate moisture, or incorrect temperature. To improve germination rates, try using fresh seeds, maintaining consistent moisture levels, and providing optimal temperature conditions.
Weak Seedlings
Weak seedlings can be a result of inadequate light, poor soil quality, or insufficient fertilization. To strengthen your seedlings, try providing supplemental lighting, using a high-quality potting mix, and fertilizing regularly.
Pest Infestations
Pest infestations can be a major problem when growing asparagus from seed. Common pests include aphids, spider mites, and slugs. To prevent pest infestations, try using organic pest control methods, such as neem oil or insecticidal soap, and maintaining good garden hygiene.
Fungal Infections
Fungal infections can be a major problem when growing asparagus from seed. Common fungal infections include damping off and powdery mildew. To prevent fungal infections, try maintaining good air circulation, avoiding overwatering, and using a fungicide if necessary.
Other Common Issues
Other common issues that may arise when growing asparagus from seed include bolting, which is when the plant goes to seed too quickly, and crown rot, which is a fungal infection that can cause the crown to rot. To prevent bolting, try providing optimal temperature conditions and avoiding excessive moisture. To prevent crown rot, try maintaining good air circulation and avoiding overwatering.
By being aware of these common challenges and taking steps to prevent them, you can increase your chances of success when growing asparagus from seed. In the next section, we’ll discuss the best practices for harvesting asparagus, including the optimal timing, cutting techniques, and post-harvest care.
Harvesting Your Homegrown Asparagus: Tips and Timing
Harvesting asparagus is one of the most rewarding experiences for gardeners. After months of nurturing and caring for your asparagus plants, it’s time to enjoy the fruits of your labor. In this section, we’ll discuss the best practices for harvesting asparagus, including the optimal timing, cutting techniques, and post-harvest care.
Optimal Timing
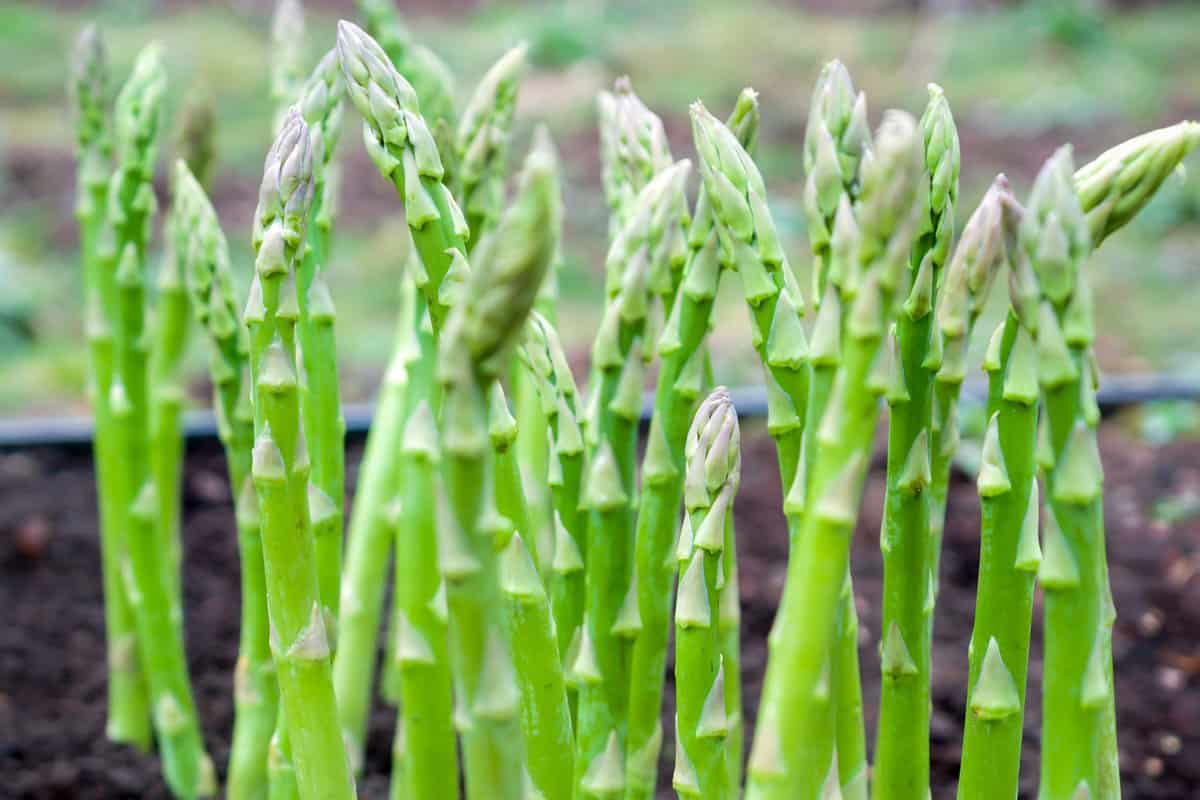
The optimal time to harvest asparagus depends on the variety and growing conditions. Generally, asparagus is ready to harvest when the spears are 6-8 inches tall and about 1/2 inch thick. For most varieties, this is around 60-90 days after planting.
Cutting Techniques
When harvesting asparagus, it’s essential to use the right cutting techniques to avoid damaging the plant. Use a sharp knife or asparagus cutter to cut the spears at the base, just above the soil line. Cut the spears at a 45-degree angle to prevent water from collecting on the cut ends.
Post-Harvest Care
After harvesting asparagus, it’s crucial to provide proper post-harvest care to ensure the plants continue to thrive. Remove any weak or damaged spears to promote healthy growth and prevent disease. Water the plants regularly, but avoid overwatering, which can lead to root rot.
Allowing the Plants to Mature
It’s essential to allow the asparagus plants to mature and recharge for future seasons. After harvesting, allow the plants to grow and produce foliage for at least 6-8 weeks. This will help the plants store energy and nutrients for next year’s crop.
By following these best practices for harvesting asparagus, you can enjoy a bountiful and delicious crop while also ensuring the long-term health and productivity of your plants. With proper care and attention, your asparagus plants will continue to thrive for years to come.


