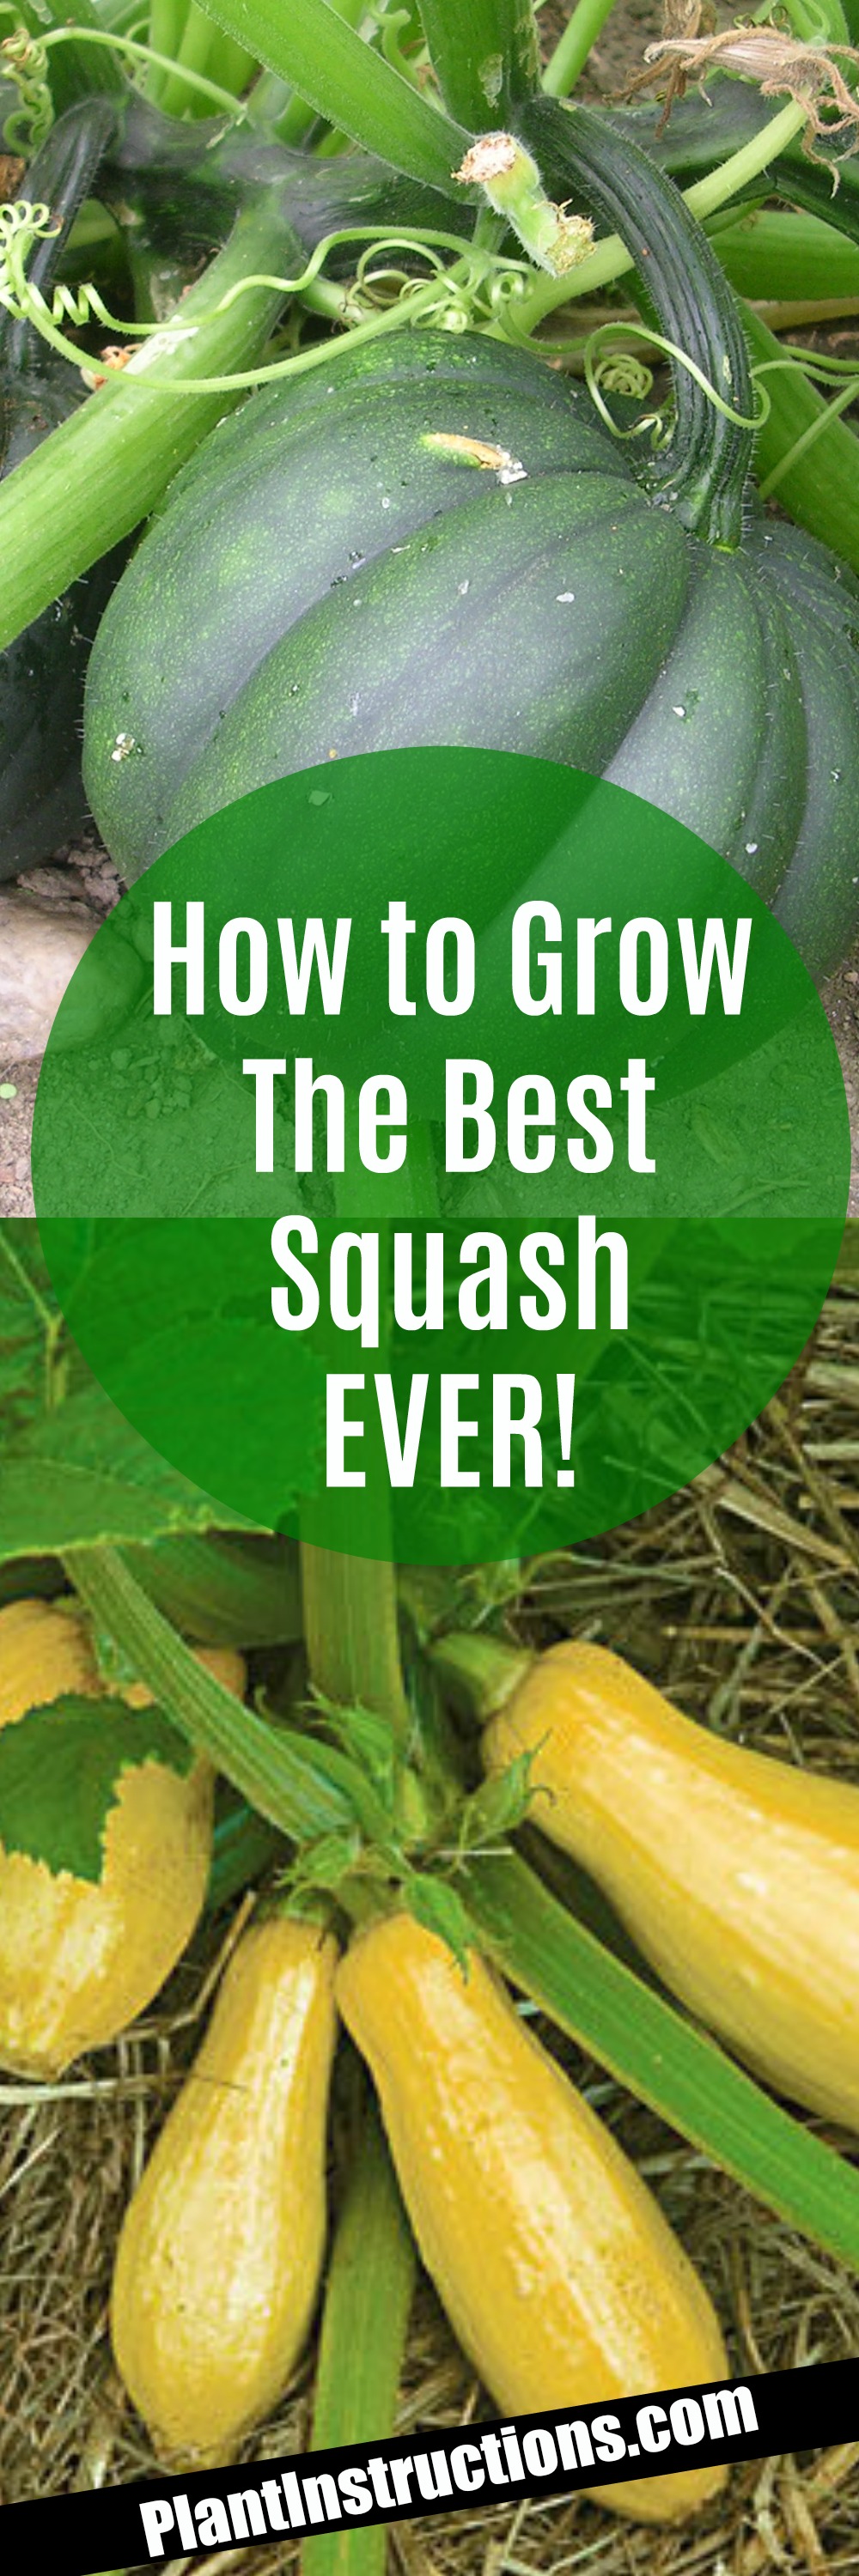
Preparing for Success: Choosing the Right Squash Variety
When it comes to starting squash seeds indoors, selecting the right variety is crucial for success. With so many types of squash to choose from, it’s essential to consider factors such as days to maturity, growth habits, and disease resistance. By choosing a variety that is well-suited to indoor starting, you can ensure a healthy and productive crop.

Click Image to Find Garden Products
One of the most critical factors to consider is days to maturity. This refers to the number of days it takes for the squash to mature from sowing the seeds. For indoor starting, it’s best to choose varieties with a shorter days to maturity, typically between 35 to 55 days. This allows for a faster turnaround and reduces the risk of disease and pests.
Growth habits are also an essential consideration. Some squash varieties are bush-type, while others are vining. Bush-type varieties are more compact and produce fewer vines, making them ideal for indoor containers. Vining varieties, on the other hand, require more space and can be more challenging to manage indoors.
Disease resistance is another critical factor to consider. Many squash varieties are susceptible to diseases such as powdery mildew and fusarium wilt. By choosing a variety with built-in disease resistance, you can reduce the risk of disease and ensure a healthy crop.
Some popular squash varieties for indoor starting include ‘Black Beauty’, ‘Acorn’, and ‘Crookneck’. These varieties are known for their compact growth habits, disease resistance, and fast days to maturity. By choosing one of these varieties, you can set yourself up for success and enjoy a bountiful harvest.
Creating a Favorable Environment: Soil, Temperature, and Lighting
When it comes to starting squash seeds indoors, creating a favorable environment is crucial for successful germination and growth. The right combination of soil, temperature, and lighting can make all the difference in how well your seeds germinate and thrive.
Soil composition is a critical factor in starting squash seeds indoors. A well-draining seed starting mix is essential to prevent waterlogged soil and root rot. Look for a mix that contains a blend of peat moss, vermiculite, and perlite. Avoid using garden soil from your outdoor garden, as it can compact and prevent proper drainage.
Temperature is also a critical factor in starting squash seeds indoors. Most squash varieties prefer a warm temperature between 70-85°F (21-29°C) to germinate. Make sure to place your seed starting tray in a location that maintains a consistent temperature, such as a sunny windowsill or under grow lights.
Lighting is also essential for starting squash seeds indoors. Squash seeds require adequate light to germinate and grow. If you’re starting seeds on a windowsill, make sure to provide supplemental lighting, such as grow lights, to ensure they receive at least 12-14 hours of light per day.
In addition to these factors, it’s also important to maintain high humidity and provide adequate air circulation. You can cover your seed starting tray with a clear plastic bag or cloche to maintain humidity and promote germination.
By creating a favorable environment with the right soil, temperature, and lighting, you can increase the chances of successful germination and growth when starting squash seeds indoors. Remember to monitor your seeds closely and adjust the environment as needed to ensure optimal growth.
Sowing Squash Seeds: Depth, Spacing, and Watering
Now that you have prepared the soil and environment for starting squash seeds indoors, it’s time to sow the seeds. Sowing squash seeds requires attention to detail to ensure successful germination and growth.
The first step in sowing squash seeds is to determine the correct depth. Squash seeds should be sown about 1-2 inches deep in the soil. This depth allows the seeds to receive adequate moisture and warmth, while also preventing them from being too close to the surface.
Next, you need to determine the correct spacing for your squash seeds. The spacing will depend on the variety of squash you are growing, but a general rule of thumb is to sow seeds 2-3 inches apart. This spacing allows for adequate air circulation and prevents the seeds from becoming too crowded.
After sowing the seeds, it’s essential to water them properly. Water the soil gently but thoroughly, making sure the soil is moist but not waterlogged. You can use a watering can or a spray bottle to water the seeds.
It’s also important to maintain consistent moisture levels during the germination period. Check the soil daily and water as needed to keep the soil moist but not waterlogged. This will help to promote healthy germination and growth.
When sowing squash seeds, it’s also essential to handle the seeds carefully to avoid damaging them. Make sure to handle the seeds by the edges, rather than touching the surface, to prevent transferring oils from your skin to the seeds.
By following these steps and tips, you can successfully sow squash seeds indoors and set yourself up for a healthy and productive harvest. Remember to monitor your seeds closely and adjust the environment as needed to ensure optimal growth.

Providing Adequate Care: Humidity, Fertilization, and Pruning
Once your squash seeds have germinated, it’s essential to provide them with the right care to promote healthy growth and prevent common problems. Maintaining high humidity, fertilizing, and pruning are crucial steps in ensuring your seedlings thrive.
Humidity is a critical factor in squash seedling care. Squash seedlings prefer a humid environment, typically between 50-70% relative humidity. You can increase the humidity around your seedlings by covering the pot or tray with a clear plastic bag or cloche. This will help to maintain a consistent level of moisture and promote healthy growth.
Fertilization is also essential for squash seedlings. A balanced fertilizer with a ratio of 10-10-10 (nitrogen-phosphorus-potassium) is ideal for squash seedlings. You can start fertilizing your seedlings once they have two sets of leaves, and continue to fertilize them every 1-2 weeks. Make sure to follow the instructions on the fertilizer package and avoid over-fertilizing, as this can damage your seedlings.
Pruning is another critical step in squash seedling care. Pruning helps to promote healthy growth, prevent disease, and encourage fruiting. You can start pruning your squash seedlings once they have 2-3 sets of leaves. Remove any weak or spindly growth, and trim back the tips of the stems to encourage branching.
By providing your squash seedlings with the right care, you can promote healthy growth and prevent common problems. Remember to monitor your seedlings closely and adjust their care as needed to ensure optimal growth.
In addition to these care steps, it’s also essential to keep an eye out for common problems such as pests, diseases, and nutrient deficiencies. Regularly inspect your seedlings for signs of stress or disease, and take action promptly if you notice any issues.

Transplanting Squash Seedlings: Timing and Techniques
Once your squash seedlings have 2-3 sets of leaves, it’s time to transplant them outdoors. Transplanting can be a challenging process, but with the right timing and techniques, you can minimize shock and ensure a healthy transition.
The optimal time to transplant squash seedlings outdoors is when the weather is warm and settled. Wait until the soil has warmed up to at least 60°F (15°C) and the air temperature is consistently above 65°F (18°C). Avoid transplanting during extreme weather conditions, such as heavy rain or intense heat.
Before transplanting, make sure to harden off your seedlings. Hardening off is the process of gradually exposing your seedlings to outdoor conditions over the course of 7-10 days. Start by moving your seedlings to a shaded area outdoors for 1-2 hours a day, then gradually increase the duration and exposure to direct sunlight.
When transplanting, handle the seedlings carefully to avoid damaging the roots. Dig a hole that is slightly larger than the pot, and gently remove the seedling from its container. Place the seedling in the hole, making sure the soil level is the same as it was in the pot. Water thoroughly and provide support if necessary.
It’s also essential to consider the spacing of your squash seedlings when transplanting. Squash plants require a lot of space to spread out, so make sure to plant them at least 3-5 feet apart. You can also use a trellis or other support system to help keep the plants upright and promote better air circulation.
By following these tips and techniques, you can successfully transplant your squash seedlings outdoors and set yourself up for a healthy and productive harvest.
![]()
Common Challenges and Solutions: Troubleshooting Squash Seed Starting
Starting squash seeds indoors can be a rewarding experience, but it’s not without its challenges. Common issues such as poor germination, fungal diseases, and pests can arise, but with the right knowledge and techniques, you can troubleshoot and overcome these problems.
Poor germination is one of the most common issues when starting squash seeds indoors. This can be caused by a variety of factors, including old or low-quality seeds, inadequate moisture, and insufficient light. To overcome poor germination, make sure to use fresh and high-quality seeds, maintain consistent moisture levels, and provide adequate light.
Fungal diseases are another common issue when starting squash seeds indoors. These diseases can be caused by overwatering, poor air circulation, and high humidity. To prevent fungal diseases, make sure to water your seeds carefully, provide good air circulation, and maintain a moderate level of humidity.
Pests are also a common problem when starting squash seeds indoors. Common pests include aphids, whiteflies, and spider mites. To prevent pests, make sure to inspect your seeds regularly, use neem oil or insecticidal soap to control infestations, and maintain good hygiene practices.
Other common issues when starting squash seeds indoors include nutrient deficiencies, temperature fluctuations, and inadequate light. To overcome these issues, make sure to provide your seeds with a balanced fertilizer, maintain consistent temperatures, and provide adequate light.
By being aware of these common challenges and taking steps to prevent and troubleshoot them, you can increase your chances of success when starting squash seeds indoors. Remember to stay vigilant, monitor your seeds closely, and take action promptly if you notice any issues.
Optimizing Squash Seed Starting with Indoor Growing Systems
Indoor growing systems can be a game-changer for starting squash seeds indoors. These systems provide a controlled environment that can optimize seed germination, seedling growth, and overall health. In this section, we’ll explore the benefits and considerations of using indoor growing systems for squash seed starting.
Grow lights are a popular choice for indoor growing systems. They provide a concentrated source of light that can promote healthy seedling growth. When choosing grow lights, consider the type of light, intensity, and spectrum. LED grow lights are a popular choice for squash seed starting, as they provide a balanced spectrum and are energy-efficient.
Heating mats are another essential component of indoor growing systems. They provide a consistent source of heat that can promote seed germination and seedling growth. When choosing heating mats, consider the temperature range and thermostat control. A temperature range of 70-80°F (21-27°C) is ideal for squash seed starting.
Propagation trays are a great way to optimize squash seed starting. They provide a compact and efficient way to start multiple seeds at once. When choosing propagation trays, consider the size, material, and drainage. A tray with individual cells and good drainage is ideal for squash seed starting.
Other indoor growing systems, such as hydroponic systems and aeroponic systems, can also be used for squash seed starting. These systems provide a controlled environment that can optimize seed germination and seedling growth. However, they may require more expertise and investment.
When using indoor growing systems, it’s essential to monitor and adjust the environment as needed. This includes temperature, humidity, light, and nutrient levels. By providing the optimal environment, you can optimize squash seed starting and promote healthy seedling growth.

Timing is Everything: Starting Squash Seeds at the Right Time
Starting squash seeds at the right time is crucial for successful germination and growth. The timing of seed starting depends on various factors, including climate, weather, and the specific squash variety‘s requirements.
In general, it’s best to start squash seeds indoors 4-6 weeks before the last frost date in your area. This allows the seedlings to get a head start on the growing season and gives them enough time to mature before the weather gets too hot.
However, the exact timing of seed starting may vary depending on the specific squash variety and your location. Some squash varieties, such as zucchini and yellow crookneck, can be started as early as 6-8 weeks before the last frost date, while others, such as acorn and butternut, may require a shorter or longer period of time.
It’s also important to consider the weather conditions in your area when starting squash seeds. If you live in an area with a short growing season, you may need to start your seeds earlier to ensure they have enough time to mature. On the other hand, if you live in an area with a long growing season, you may be able to start your seeds later.
By starting your squash seeds at the right time, you can ensure successful germination and growth, and enjoy a bountiful harvest of delicious squash.
Remember to check the specific instructions on the seed package or consult with a gardening expert to determine the best time to start your squash seeds in your area.