Why Soil Testing is Crucial for a Thriving Garden
Soil testing is a vital step in creating a thriving garden. By understanding the composition, pH levels, and nutrient content of your soil, you can unlock its full potential and enjoy a bountiful harvest. Soil testing helps gardeners identify potential problems before they become major issues, allowing for proactive measures to be taken to prevent common gardening problems such as poor drainage, nutrient deficiencies, and pest infestations.
One of the primary benefits of soil testing is that it provides a clear picture of the soil’s nutrient content. This information can be used to adjust fertilizer applications, ensuring that plants receive the necessary nutrients for optimal growth. Additionally, soil testing can help gardeners identify pH imbalances, which can be detrimental to plant health. By adjusting the soil’s pH levels, gardeners can create an environment that is conducive to healthy plant growth.
Soil testing can also help gardeners determine the presence of contaminants, such as heavy metals or pesticides, which can be detrimental to plant health and human consumption. By identifying these contaminants, gardeners can take steps to remediate the soil and create a safe and healthy growing environment.
Furthermore, soil testing can provide valuable insights into the soil’s structure and composition. This information can be used to adjust irrigation schedules, ensuring that plants receive the right amount of water for optimal growth. By understanding the soil’s composition, gardeners can also make informed decisions about which plants to grow, selecting varieties that are well-suited to the soil’s conditions.
By incorporating soil testing into their gardening practice, gardeners can enjoy a range of benefits, including improved crop yields, reduced soil erosion, and increased soil fertility. Whether you’re a seasoned gardener or just starting out, soil testing is an essential step in creating a thriving and productive garden. By following the steps outlined in this article, you’ll be well on your way to unlocking the secrets of your garden’s soil and enjoying a bountiful harvest.
Understanding the Different Types of Soil Tests
When it comes to testing soil for a garden, there are several options available. Each type of test has its own advantages and disadvantages, and choosing the right one depends on the specific needs of your garden. In this section, we’ll explore the different types of soil tests, including DIY kits, laboratory tests, and in-field assessments.
DIY soil testing kits are a popular choice for gardeners who want to test their soil quickly and easily. These kits usually include a set of test strips or a small device that measures pH levels and nutrient content. While DIY kits are convenient, they may not provide as accurate or comprehensive results as laboratory tests. However, they can still be a useful tool for gardeners who want to get a general idea of their soil’s condition.
Laboratory tests, on the other hand, provide more detailed and accurate results. These tests involve sending a soil sample to a laboratory for analysis, where it is tested for a range of parameters, including pH levels, nutrient content, and contaminant presence. Laboratory tests are more expensive than DIY kits, but they provide a more comprehensive understanding of the soil’s condition.
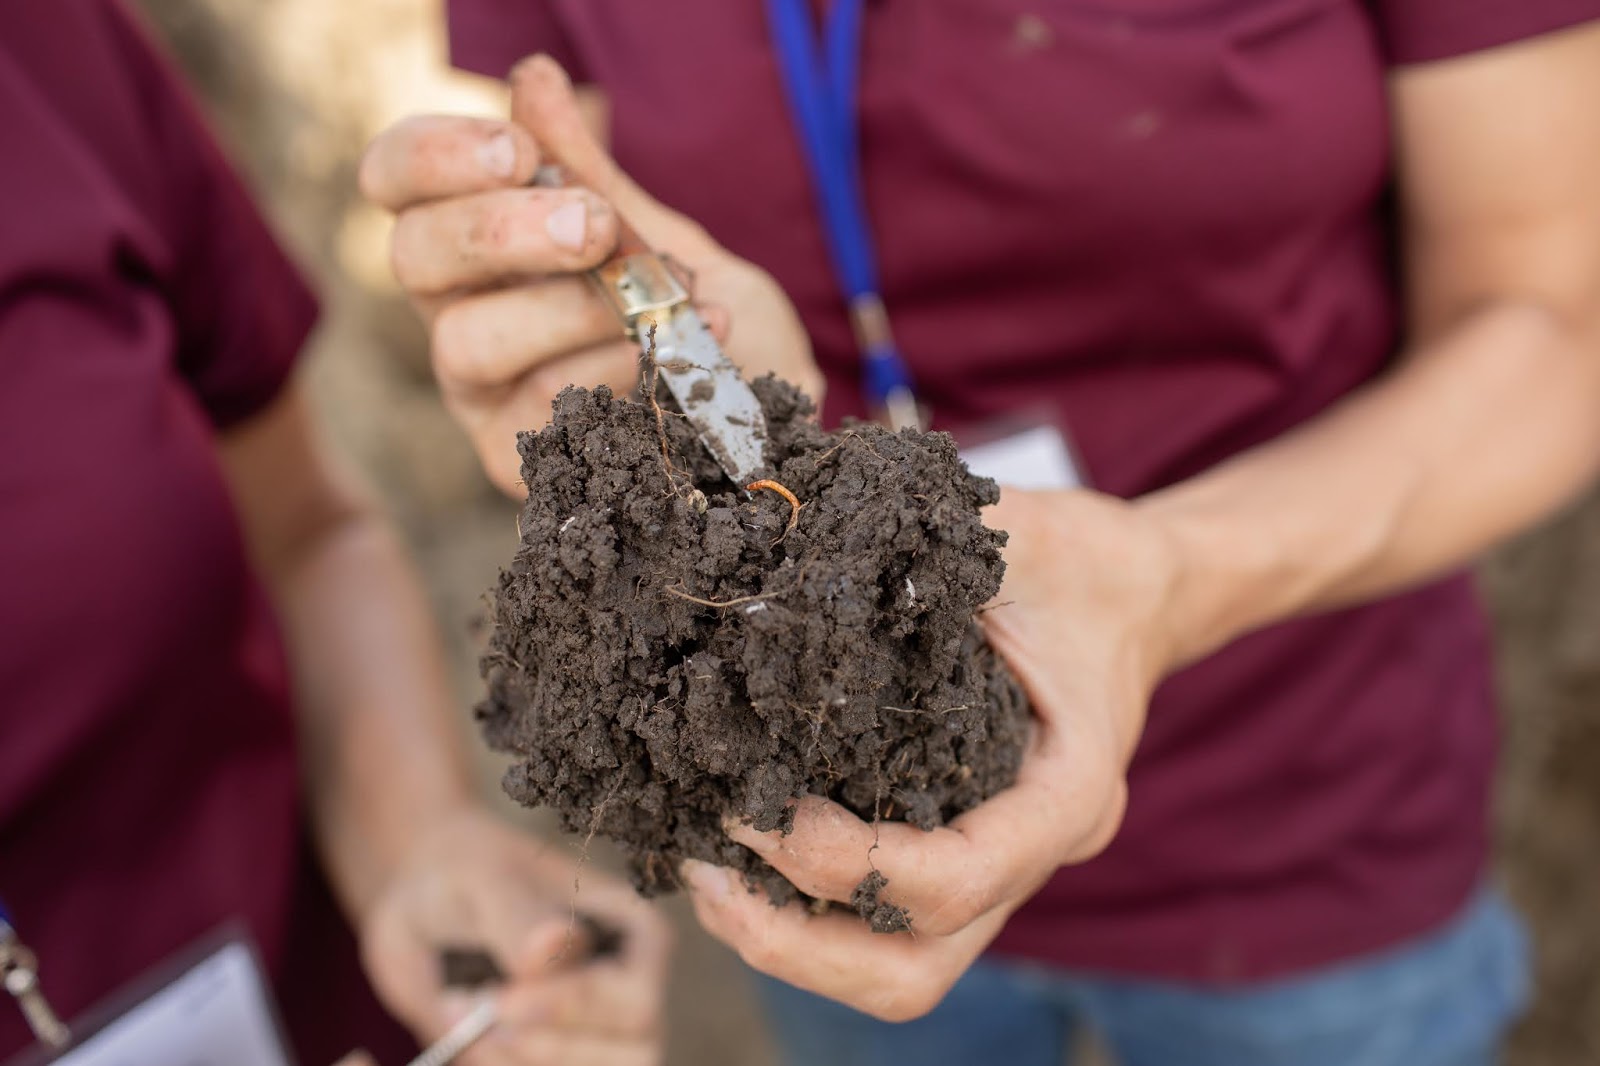
In-field assessments involve evaluating the soil’s condition in the garden itself. This can include observing the soil’s texture, structure, and color, as well as testing its pH levels and nutrient content using a portable device. In-field assessments are useful for gardeners who want to get a sense of their soil’s condition without sending a sample to a laboratory.
When choosing a soil testing method, consider the following factors: cost, accuracy, and convenience. DIY kits are often the most affordable option, but they may not provide as accurate results as laboratory tests. Laboratory tests are more expensive, but they provide a more comprehensive understanding of the soil’s condition. In-field assessments are convenient, but they may not provide as detailed results as laboratory tests.
Ultimately, the best soil testing method for your garden will depend on your specific needs and goals. By understanding the different types of soil tests available, you can make an informed decision about which method is right for you. Whether you choose a DIY kit, laboratory test, or in-field assessment, the key is to use the results to inform your gardening decisions and improve the health and productivity of your soil.
How to Collect and Prepare Soil Samples for Testing
Collecting and preparing soil samples for testing is a crucial step in the soil testing process. Accurate sampling is essential to obtain reliable test results, which can help gardeners make informed decisions about their soil management practices. In this section, we will provide step-by-step instructions on how to collect and prepare soil samples for testing.
Before collecting soil samples, it’s essential to choose the right location. Select an area that is representative of the garden or field, avoiding areas with debris, rocks, or other obstacles. If you’re testing a specific crop or plant, collect samples from the root zone of the plant.
Next, determine the sampling depth. The recommended sampling depth varies depending on the type of test and the soil type. For most garden soils, a sampling depth of 6-8 inches is sufficient. However, if you’re testing for nutrient deficiencies or contaminant presence, you may need to collect samples from deeper depths.
Use a clean and sterile sampling tool, such as a soil auger or a shovel, to collect the soil sample. Avoid using tools that may contaminate the sample, such as tools with metal or plastic parts. If you’re collecting multiple samples, use a separate tool for each sample to prevent cross-contamination.
Once you’ve collected the soil sample, it’s essential to handle it properly to prevent contamination or degradation. Store the sample in a clean, dry container, such as a plastic bag or a glass jar. Label the container with the sample location, date, and time of collection.
Before sending the sample to the laboratory, make sure to follow the laboratory’s instructions for sample preparation. This may include drying the sample, grinding it to a specific texture, or mixing it with a specific solution.
Accurate sampling and proper sample handling are critical to obtaining reliable test results. By following these steps, gardeners can ensure that their soil samples are collected and prepared correctly, providing a solid foundation for informed soil management decisions.
Interpreting Your Soil Test Results: What Do the Numbers Mean?
Once you’ve received your soil test results, it’s essential to understand what the numbers mean. Soil test results can be overwhelming, especially for gardeners who are new to soil testing. In this section, we’ll break down the key components of soil test results and provide guidance on how to interpret them.
Soil pH is one of the most critical components of soil test results. pH levels range from 0 to 14, with 7 being neutral. Most plants prefer a slightly acidic to neutral soil pH, between 6.0 and 7.0. If your soil pH is too high or too low, it can affect nutrient availability and plant growth.
Nutrient content is another essential component of soil test results. Soil tests typically measure the levels of nitrogen (N), phosphorus (P), and potassium (K). These macronutrients are essential for plant growth, and deficiencies can impact crop yields. Understanding your soil’s nutrient content can help you adjust your fertilizer applications and optimize plant growth.
Contaminant presence is also an important aspect of soil test results. Soil tests can detect the presence of heavy metals, pesticides, and other contaminants that can impact plant growth and human health. If your soil test results indicate the presence of contaminants, it’s essential to take steps to remediate the soil and prevent further contamination.
When interpreting your soil test results, it’s essential to consider the specific needs of your plants. Different plants have different nutrient requirements, and understanding these requirements can help you adjust your soil management practices. For example, if you’re growing a crop that requires high levels of nitrogen, you may need to adjust your fertilizer applications accordingly.
Soil test results can also provide insights into soil structure and composition. Soil tests can measure the levels of organic matter, sand, silt, and clay, which can impact soil fertility and plant growth. Understanding your soil’s structure and composition can help you adjust your irrigation schedules and optimize soil health.
By understanding your soil test results, you can make informed decisions about your soil management practices. Whether you’re adjusting your fertilizer applications, optimizing your irrigation schedules, or addressing contaminant presence, soil test results can provide valuable insights into your soil’s health and fertility.
Common Soil Problems and How to Address Them
Soil problems can be a major obstacle for gardeners, affecting plant growth, crop yields, and overall soil health. In this section, we’ll discuss common soil problems, such as nutrient deficiencies, contamination, and poor structure, and provide advice on how to address these issues through amendments, fertilizers, and other soil management techniques.
Nutrient deficiencies are a common soil problem, particularly in gardens with poor soil fertility. Nitrogen, phosphorus, and potassium are essential macronutrients for plant growth, and deficiencies can impact crop yields and plant health. To address nutrient deficiencies, gardeners can use fertilizers, such as synthetic or organic options, to provide the necessary nutrients for plant growth.
Contamination is another common soil problem, particularly in gardens with a history of pesticide or heavy metal use. Contaminants can impact plant growth, human health, and the environment, and it’s essential to address these issues through remediation techniques, such as phytoremediation or bioremediation.
Poor soil structure is also a common problem, particularly in gardens with heavy clay or sandy soils. Poor soil structure can impact water infiltration, aeration, and root growth, and it’s essential to address these issues through amendments, such as organic matter or perlite, to improve soil structure and fertility.
To address these common soil problems, gardeners can use a range of soil management techniques, including crop rotation, cover cropping, and conservation tillage. These techniques can help improve soil fertility, structure, and overall health, and reduce the risk of soil problems.
In addition to these techniques, gardeners can also use soil amendments, such as compost or manure, to improve soil fertility and structure. These amendments can provide essential nutrients for plant growth, improve soil structure, and support beneficial microorganisms.
By addressing common soil problems and using soil management techniques, gardeners can improve soil health, fertility, and overall productivity. Whether you’re dealing with nutrient deficiencies, contamination, or poor structure, there are a range of solutions available to help you overcome these challenges and create a thriving garden.
Using Soil Test Results to Inform Your Gardening Decisions
Soil test results can provide valuable insights into the health and fertility of your garden’s soil. By understanding the pH levels, nutrient content, and contaminant presence in your soil, you can make informed decisions about your gardening practices. In this section, we’ll discuss how to use soil test results to inform your gardening decisions, including choosing the right plants, adjusting fertilizer applications, and optimizing irrigation schedules.
One of the most important ways to use soil test results is to choose the right plants for your garden. Different plants have different nutrient requirements, and understanding the nutrient content of your soil can help you select plants that are well-suited to your garden’s conditions. For example, if your soil test results indicate that your soil is low in nitrogen, you may want to choose plants that are nitrogen-fixing, such as legumes.
Soil test results can also inform your fertilizer applications. By understanding the nutrient content of your soil, you can adjust your fertilizer applications to provide the necessary nutrients for plant growth. For example, if your soil test results indicate that your soil is low in phosphorus, you may want to apply a phosphorus-rich fertilizer to promote healthy plant growth.
In addition to choosing the right plants and adjusting fertilizer applications, soil test results can also inform your irrigation schedules. By understanding the water-holding capacity of your soil, you can optimize your irrigation schedules to provide the right amount of water for plant growth. For example, if your soil test results indicate that your soil has a low water-holding capacity, you may want to irrigate more frequently to prevent drought stress.
By using soil test results to inform your gardening decisions, you can create a more sustainable and productive garden. Whether you’re choosing the right plants, adjusting fertilizer applications, or optimizing irrigation schedules, soil test results can provide valuable insights into the health and fertility of your garden’s soil.
Integrating soil testing into your overall gardening strategy can also help you to identify potential problems before they become major issues. By regularly testing your soil, you can monitor changes in soil health and fertility over time, and make adjustments to your gardening practices as needed.
By following these tips, you can use soil test results to inform your gardening decisions and create a more sustainable and productive garden. Remember to always consider the specific needs of your plants, and to use soil test results in conjunction with other gardening practices, such as crop rotation and conservation tillage, to create a comprehensive gardening strategy.
Advanced Soil Testing Techniques for the Serious Gardener
For serious gardeners, advanced soil testing techniques can provide deeper insights into soil health and fertility. These techniques can help gardeners identify potential problems before they become major issues, and make informed decisions about their gardening practices. In this section, we’ll discuss advanced soil testing techniques, such as microbial analysis and spectroscopy.
Microbial analysis is a technique that involves analyzing the microbial community in the soil. This can provide insights into the soil’s ability to support plant growth, and identify potential problems such as nutrient deficiencies or contamination. Microbial analysis can be performed using a variety of methods, including DNA sequencing and culturing.
Spectroscopy is another advanced soil testing technique that involves analyzing the light reflected by the soil. This can provide insights into the soil’s chemical composition, including the presence of nutrients and contaminants. Spectroscopy can be performed using a variety of methods, including infrared and ultraviolet spectroscopy.
Other advanced soil testing techniques include X-ray fluorescence (XRF) and inductively coupled plasma mass spectrometry (ICP-MS). These techniques can provide insights into the soil’s elemental composition, including the presence of nutrients and contaminants.
Advanced soil testing techniques can provide valuable insights into soil health and fertility, but they can also be more expensive and time-consuming than traditional soil testing methods. However, for serious gardeners who want to optimize their gardening practices and achieve the best possible results, these techniques can be well worth the investment.
When using advanced soil testing techniques, it’s essential to work with a qualified laboratory or testing service. These professionals can help you interpret the results of your soil tests, and provide guidance on how to use the information to improve your gardening practices.
By using advanced soil testing techniques, serious gardeners can gain a deeper understanding of their soil’s health and fertility, and make informed decisions about their gardening practices. Whether you’re looking to optimize your fertilizer applications, improve your soil’s structure, or identify potential problems before they become major issues, advanced soil testing techniques can provide valuable insights and help you achieve your gardening goals.
Putting it All Together: Creating a Soil Testing Plan for Your Garden
Creating a comprehensive soil testing plan is essential for any gardener who wants to optimize their gardening practices and achieve the best possible results. By understanding the importance of soil testing, choosing the right testing method, and interpreting the results, gardeners can make informed decisions about their soil management practices.
A soil testing plan should include regular testing, ideally every 1-2 years, to monitor changes in soil health and fertility over time. This can help gardeners identify potential problems before they become major issues, and make adjustments to their gardening practices as needed.
When creating a soil testing plan, it’s essential to consider the specific needs of your garden. This includes the type of plants you’re growing, the climate and soil type, and any specific soil management practices you’re using. By taking these factors into account, you can create a testing plan that is tailored to your garden’s unique needs.
In addition to regular testing, a comprehensive soil testing plan should also include a plan for interpreting and using the test results. This includes understanding the different types of soil tests, how to interpret the results, and how to use the information to adjust your gardening practices.
By following these tips, gardeners can create a comprehensive soil testing plan that helps them optimize their gardening practices and achieve the best possible results. Whether you’re a seasoned gardener or just starting out, a soil testing plan is an essential tool for any gardener who wants to succeed.
Remember, soil testing is an ongoing process that requires regular monitoring and adjustments. By committing to regular testing and using the results to inform your gardening decisions, you can create a thriving and productive garden that will provide you with years of enjoyment and satisfaction.
By putting it all together, you can create a comprehensive soil testing plan that will help you unlock the secrets of your garden’s soil and achieve the best possible results. Happy gardening!


