Why Transplanting is Necessary
When it comes to caring for a prickly pear cactus, there may come a time when transplanting is necessary. This can be due to a range of reasons, including outgrowing its container, changing environmental conditions, or propagation. For instance, if your cactus has outgrown its pot and needs more room to expand, transplanting it into a larger container can provide the necessary space for continued growth. Similarly, if you’re looking to propagate your cactus and create new plants, transplanting is an essential step in the process. Understanding the reasons behind transplanting is crucial to successfully relocating your prickly pear cactus. By knowing when to transplant, you can ensure a smooth transition and provide your cactus with the best possible conditions to thrive.

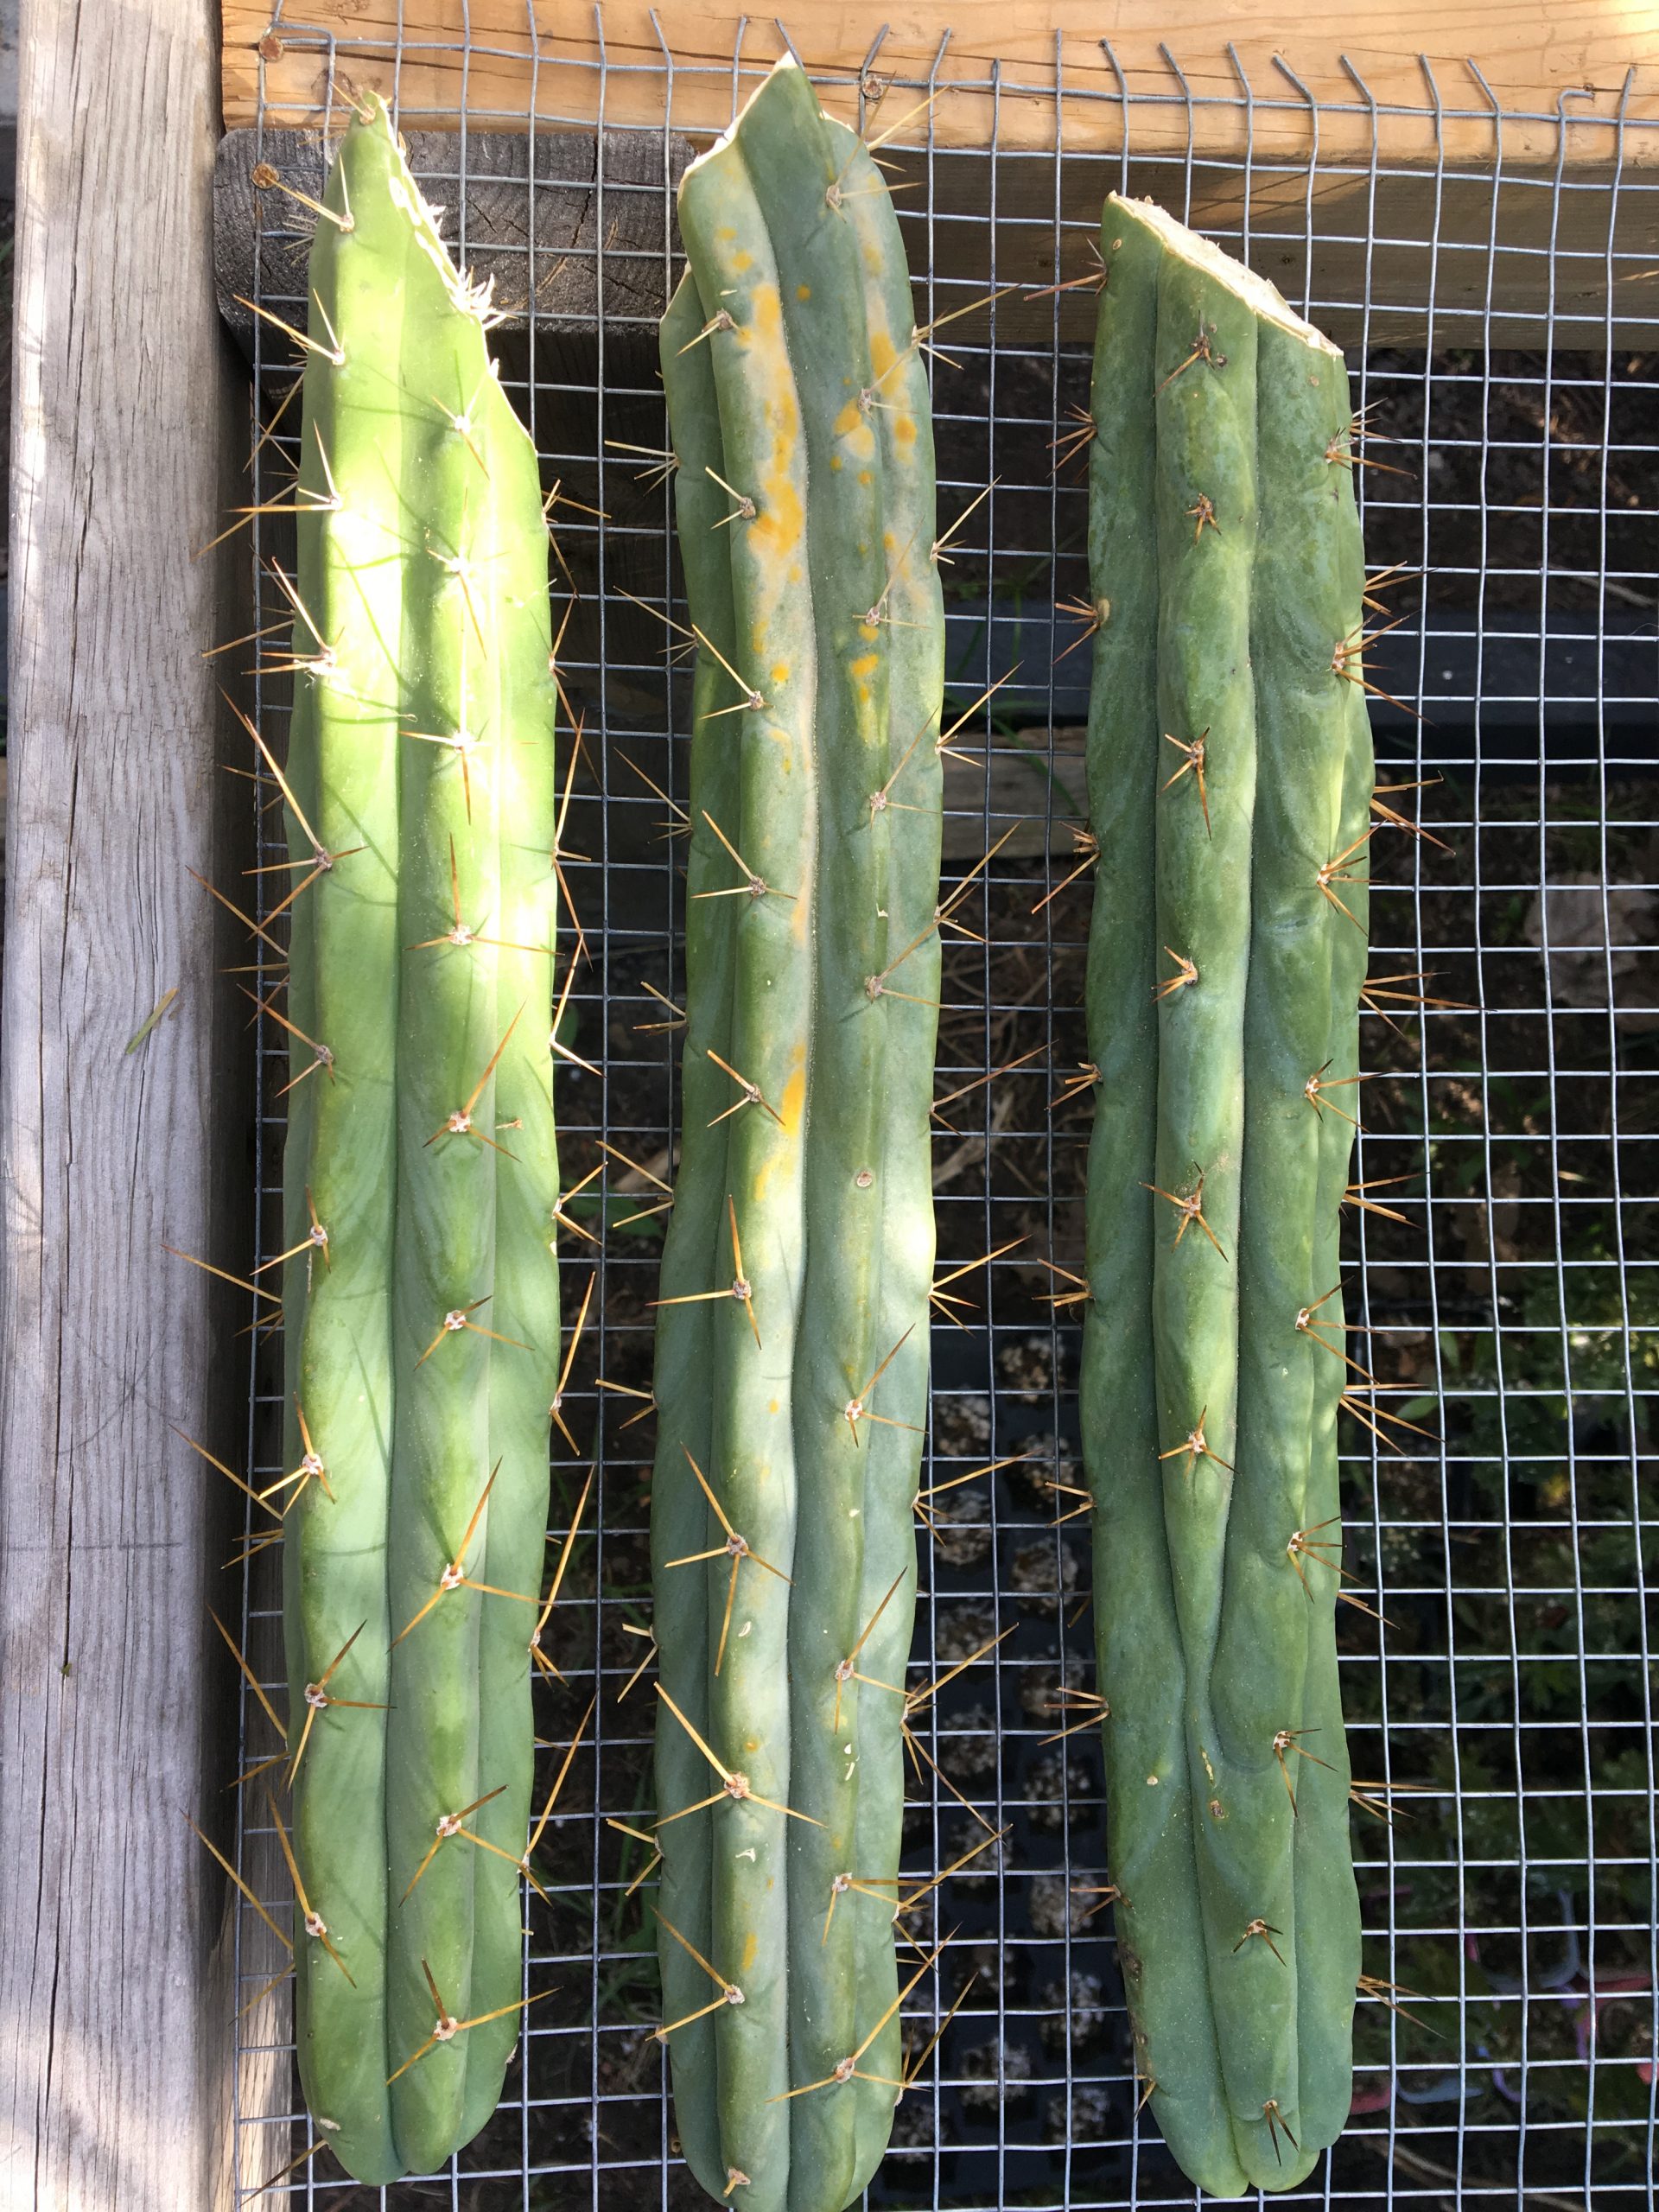
Click Image to Find Garden Products
:max_bytes(150000):strip_icc()/growing-prickly-pear-1402857-06-2ab45c6454a44fb7823bf13dc1924734.jpg)
Choosing the Right Time to Transplant
Timing is crucial when it comes to transplanting a prickly pear cactus. Transplanting at the right time can make all the difference in the success of the relocation. The best time to transplant a prickly pear cactus is during the spring or fall, when the weather is mild and there is ample moisture in the soil. This allows the cactus to establish itself in its new environment before the heat of summer or the cold of winter. Avoid transplanting during extreme weather conditions, such as intense heat or cold, as this can cause stress to the cactus. Additionally, transplanting during the active growing season can help the cactus recover quickly from any transplant shock. By choosing the right time to transplant, you can ensure a successful relocation and give your prickly pear cactus the best possible start in its new home. When learning how to transplant a prickly pear cactus, understanding the importance of timing is essential for a successful transition.
Preparing the Cactus for Transplanting
Before transplanting a prickly pear cactus, it’s essential to prepare the plant to ensure a successful relocation. This involves a series of steps that will help minimize stress and promote healthy growth in the new environment. First, prune the cactus to encourage new growth and prevent damage during the transplanting process. Remove any weak or damaged segments, and trim back the roots to promote new root growth. Next, water the cactus thoroughly a few days before transplanting to make the soil easier to handle. When learning how to transplant a prickly pear cactus, it’s crucial to handle the roots with care to avoid damaging them. Gently remove the cactus from its container, taking care not to disturb the roots. If the roots are tangled or circling, gently tease them apart with a fork to encourage them to grow outward. Finally, inspect the roots for any signs of disease or pests, and treat the cactus accordingly. By following these steps, you can ensure that your prickly pear cactus is well-prepared for its new home.
:strip_icc()/static.onecms.io__wp-content__uploads__sites__37__2020__11__30__spineless-prickly-pear-47685be1-012bd323ed634be5a649f7743589cb2f.jpg)
Selecting the Ideal Soil and Container
When it comes to transplanting a prickly pear cactus, selecting the right soil and container is crucial for the plant’s success. The soil should be well-draining, as prickly pear cacti are prone to root rot if the soil is too moist. A mix specifically designed for cacti and succulents is ideal, as it will provide the necessary drainage and aeration for healthy root growth. The container should also be well-draining, with holes in the bottom to prevent waterlogged soil. A shallow container is recommended, as prickly pear cacti have shallow roots. The size of the container will depend on the size of the cactus, but a general rule of thumb is to choose a container that is only slightly larger than the previous one. This will prevent the soil from becoming too wet and will encourage the roots to grow outward. When learning how to transplant a prickly pear cactus, it’s essential to choose a container that will provide the necessary support and drainage for the plant’s growth. By selecting the right soil and container, you can ensure a successful transition and promote healthy growth in your prickly pear cactus.

The Transplanting Process: A Step-by-Step Guide
Now that the prickly pear cactus is prepared and the ideal soil and container are selected, it’s time to begin the transplanting process. When learning how to transplant a prickly pear cactus, it’s essential to follow a step-by-step guide to ensure a successful relocation. Start by gently removing the cactus from its old container, taking care not to damage the roots or disturb the soil. Next, inspect the roots and remove any dead or damaged roots to promote healthy growth. Place the cactus in its new container, adding a layer of fresh soil at the bottom. Gently spread the roots outwards, making sure they are not tangled or circling. Add more soil around the roots, gently firming it in place as you go. Water the cactus thoroughly to settle the soil and provide enough moisture to support establishment. Finally, place the cactus in a bright, sunny location and monitor its progress, making adjustments as necessary. By following these steps, you can ensure a successful transplant and give your prickly pear cactus the best chance to thrive in its new environment.
Post-Transplanting Care: Tips for Success
After successfully transplanting a prickly pear cactus, it’s essential to provide proper care to ensure a smooth transition and promote healthy growth. When learning how to transplant a prickly pear cactus, it’s crucial to understand the importance of post-transplanting care. Watering is a critical aspect of care, as the cactus needs adequate moisture to establish itself in its new environment. Water sparingly, as over-watering can lead to root rot and other problems. Fertilizing can also be beneficial, but it’s essential to use a balanced, water-soluble fertilizer to avoid burning the roots. Pruning is another vital aspect of care, as it helps maintain the cactus’s shape and promotes healthy growth. Remove any dead or damaged segments, and trim back the cactus to encourage new growth. By following these tips, you can ensure a successful transition and give your prickly pear cactus the best chance to thrive in its new environment. With proper care and attention, your cactus will quickly recover from the transplanting process and continue to grow and flourish.

Common Mistakes to Avoid When Transplanting
When learning how to transplant a prickly pear cactus, it’s essential to be aware of common mistakes that can hinder the success of the relocation process. One of the most critical mistakes to avoid is over-watering, which can lead to root rot and other problems. Under-watering can also be detrimental, as the cactus needs adequate moisture to establish itself in its new environment. Inadequate root care is another common mistake, as the roots of the cactus are delicate and require gentle handling. Failing to prune the cactus before transplanting can also lead to problems, as this can cause the cactus to become leggy and weak. Additionally, using a container that is too small or has poor drainage can cause waterlogged soil and root rot. By being aware of these common mistakes, you can take steps to avoid them and ensure a successful transplant. By following the guidelines outlined in this article, you can learn how to transplant a prickly pear cactus with confidence and give your cactus the best chance to thrive in its new environment.

Conclusion: Enjoy Your Thriving Prickly Pear Cactus
By following the guidelines outlined in this article, you can successfully transplant your prickly pear cactus and give it the best chance to thrive in its new environment. Remember, learning how to transplant a prickly pear cactus requires attention to detail, patience, and a willingness to provide proper care. By avoiding common mistakes and providing the right conditions, you can enjoy a healthy and thriving cactus for years to come. Whether you’re a seasoned gardener or a beginner, transplanting a prickly pear cactus can be a rewarding experience. With the right techniques and care, you can enjoy the unique beauty and benefits of these amazing plants. So, take the first step today and learn how to transplant a prickly pear cactus with confidence.
:max_bytes(150000):strip_icc()/growing-prickly-pear-1402857-12-79ffa1ef2d0f415a98c5af84968d03e8.jpg)