Unlocking the Secrets of this Ancient Root Vegetable
The Jerusalem artichoke, a perennial sunflower native to North America, has been a staple crop for centuries. This ancient root vegetable, also known as Helianthus tuberosus, boasts an impressive nutritional profile, rich in fiber, vitamins, and minerals. With its low-maintenance requirements and high-yielding potential, the Jerusalem artichoke is an attractive option for gardeners and farmers alike. By understanding the history and benefits of this versatile crop, growers can unlock its full potential and enjoy a bountiful harvest. Whether you’re looking to grow Jerusalem artichokes in your backyard or on a larger scale, this comprehensive guide will walk you through the process, from preparation to harvest, and provide valuable insights on how to cultivate this sun-kissed treasure. To successfully grow Jerusalem artichokes, it’s essential to understand the basics of this crop, including its history, nutritional benefits, and growing requirements. By doing so, you’ll be well on your way to enjoying a thriving Jerusalem artichoke crop, and reaping the rewards of this ancient root vegetable.
Choosing the Right Variety for Your Climate and Soil
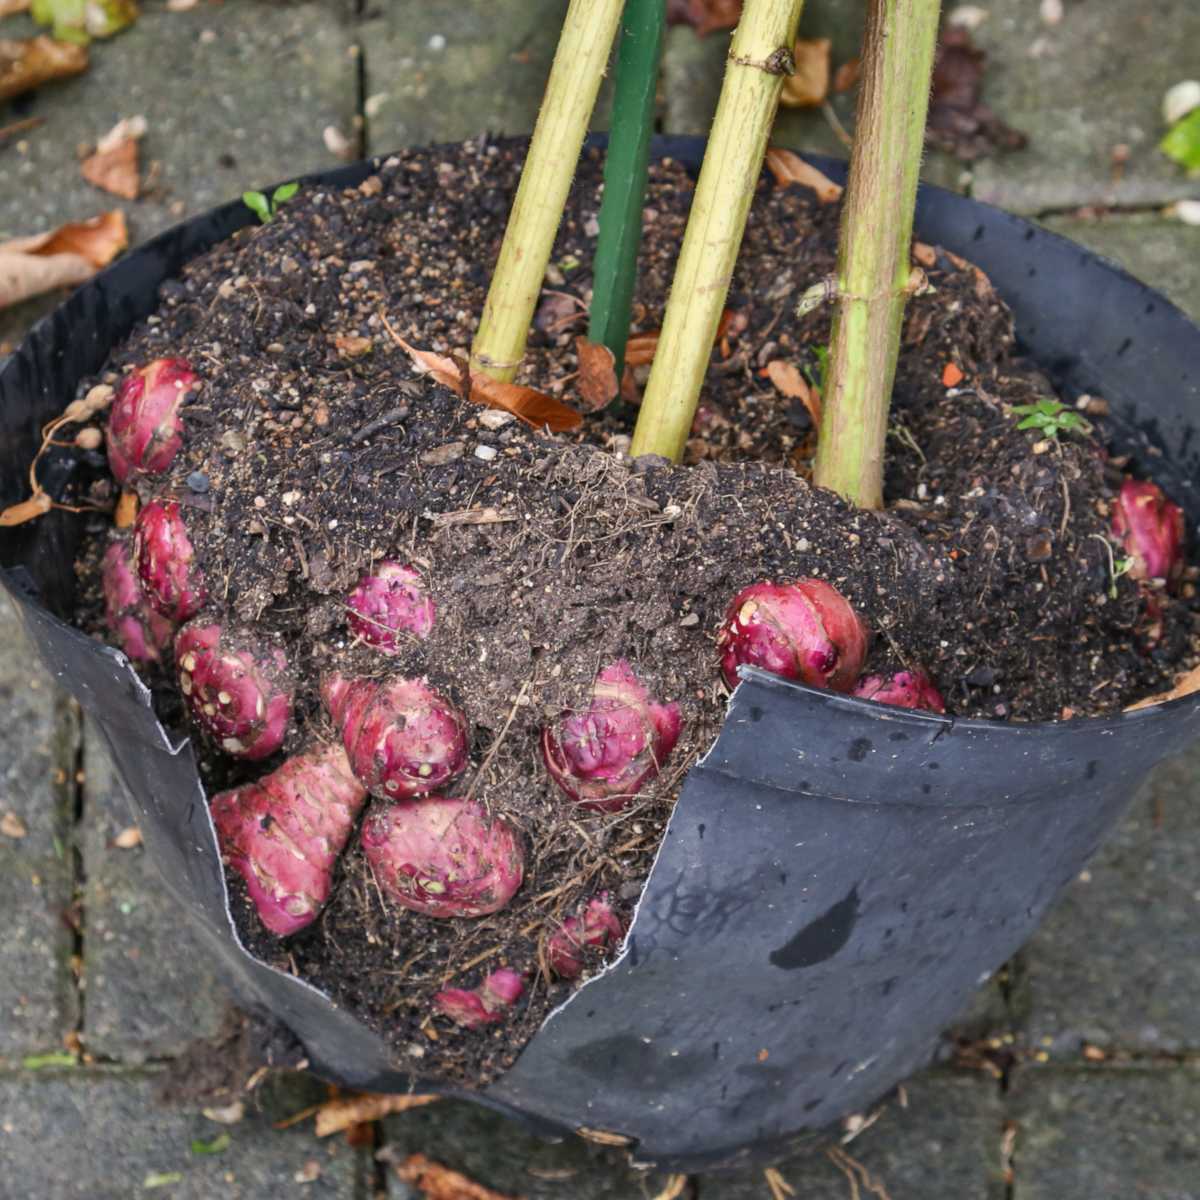
With over 70 known varieties of Jerusalem artichokes, selecting the right one for your specific climate and soil type is crucial for a successful harvest. From the popular ‘Mammoth White’ to the ‘Red Fuseau‘ and ‘Violet de Rennes’, each variety boasts unique characteristics, growth habits, and flavor profiles. When choosing a variety, consider factors such as maturity days, tuber size, and disease resistance. For example, ‘Sunroot’ is a popular choice for its high yields and tolerance to drought, while ‘Wild Burgundy’ is prized for its rich, nutty flavor. By understanding the specific growing requirements of each variety, growers can optimize their Jerusalem artichoke crop for maximum yield and flavor. When learning how to grow Jerusalem artichokes, it’s essential to select a variety that thrives in your local climate and soil conditions. By doing so, you’ll be well on your way to enjoying a bountiful harvest of these delicious and nutritious tubers.
Preparing the Soil for a Bountiful Harvest
Before planting Jerusalem artichokes, it’s essential to prepare the soil to create an optimal growing environment. This ancient root vegetable thrives in well-draining, fertile soil with a pH between 6.0 and 7.0. To determine your soil’s pH, conduct a soil test, and amend it if necessary. Add organic matter such as compost or manure to improve soil structure and fertility. Jerusalem artichokes are heavy feeders and will benefit from a balanced fertilizer application. When learning how to grow Jerusalem artichokes, it’s crucial to understand the importance of soil preparation. By creating a nutrient-rich soil environment, you’ll be rewarded with a bountiful harvest of these delicious and nutritious tubers. For a successful Jerusalem artichoke crop, ensure your soil is free of debris, rocks, and weeds, which can compete with your plants for water and nutrients. By following these simple steps, you’ll be well on your way to growing a thriving Jerusalem artichoke crop.
How to Plant Jerusalem Artichokes for Maximum Yield
When learning how to grow Jerusalem artichokes, proper planting is crucial for a successful harvest. Begin by selecting a location that receives full sun to partial shade, with well-draining soil that is rich in organic matter. Plant Jerusalem artichoke tubers in the early spring or fall, when the soil is cool and moist. Space the tubers 12-18 inches apart, with the “eyes” facing upwards, and plant them 2-4 inches deep. Water the soil gently but thoroughly after planting, and keep the soil consistently moist during the first few weeks. As the plants grow, provide support using stakes or a trellis to keep them upright and promote healthy growth. Mulch around the plants to retain moisture, suppress weeds, and regulate soil temperature. By following these simple steps, you’ll be well on your way to growing a thriving Jerusalem artichoke crop. Remember, Jerusalem artichoke how to grow requires careful attention to planting details, but the rewards are well worth the effort.
Nurturing Your Jerusalem Artichokes: Watering, Fertilizing, and Pest Control
To ensure a bountiful harvest, Jerusalem artichokes require consistent care and attention. Watering is crucial, especially during the first few weeks after planting. Aim to provide about 1 inch of water per week, either through rainfall or irrigation. As the plants grow, reduce watering to about 0.5 inches per week to encourage tuber formation. Fertilization is also essential, with a balanced fertilizer (10-10-10 NPK) applied at planting time and again 4-6 weeks later. Additionally, consider side-dressing with a high-phosphorus fertilizer (10-20-10 NPK) to promote tuber growth. When learning how to grow Jerusalem artichokes, it’s important to be mindful of pests and diseases. Keep an eye out for signs of infestation, such as holes in leaves or stems, and use organic pest control methods like neem oil or pyrethrin to address any issues. Regularly inspect your plants for signs of disease, like yellowing leaves or black spots, and remove any infected plants to prevent the spread of disease. By following these simple care guidelines, you’ll be well on your way to growing a thriving Jerusalem artichoke crop. Remember, Jerusalem artichoke how to grow requires attention to ongoing care, but the rewards are well worth the effort.
Pruning and Training for a Healthy and Productive Crop
Pruning and training are essential components of Jerusalem artichoke cultivation, as they promote healthy growth, increase yields, and prevent disease. When learning how to grow Jerusalem artichokes, it’s important to understand the importance of pruning. Remove any weak or damaged stems to encourage the plant to focus its energy on producing tubers. Additionally, prune the plant to a height of around 3-4 feet to promote bushy growth and prevent the plant from becoming leggy. Training the plant is also crucial, as it helps to maximize space and promote healthy growth. Use stakes or a trellis to support the plant, and gently tie the stems to the support using twine or a soft material. This will help to keep the plant upright and promote even growth. By pruning and training your Jerusalem artichokes, you’ll be able to enjoy a bountiful harvest and maximize your yields. Remember, Jerusalem artichoke how to grow requires attention to pruning and training, but the rewards are well worth the effort.
Harvesting and Storing Your Jerusalem Artichoke Bounty
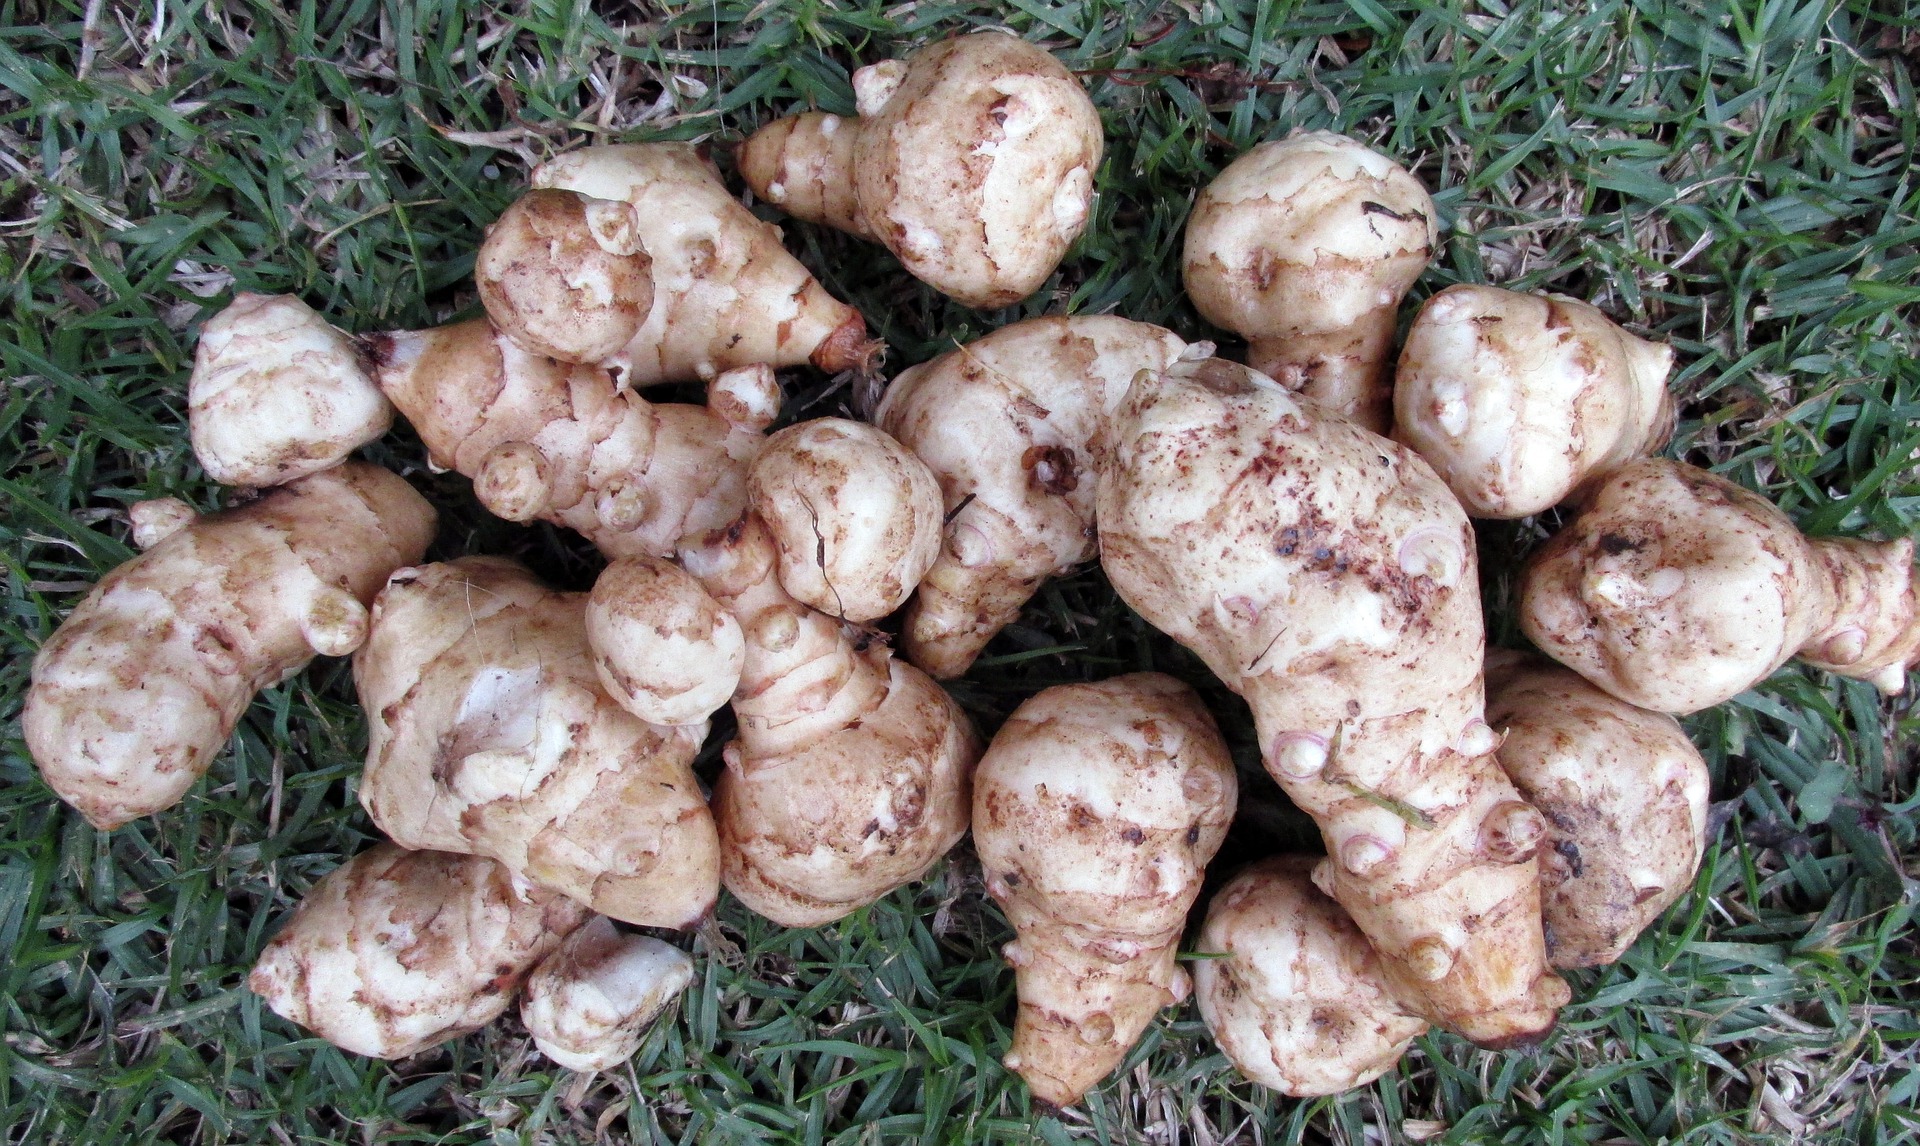
After months of nurturing, the moment of truth arrives – harvesting your Jerusalem artichoke crop. Timing is crucial, as tubers are typically ready to harvest in the fall, about 3-4 months after planting. Look for signs of maturity, such as yellowing leaves and a decrease in stem height. Carefully dig around the plants, being mindful not to damage the tubers. Gently lift the tubers out of the soil, and brush off any excess dirt. When learning how to grow Jerusalem artichokes, it’s essential to understand the importance of proper storage. Store the tubers in a cool, dark place, such as a root cellar or a paper bag in the refrigerator. Keep the tubers moist, but not waterlogged, to maintain their flavor and texture. For longer-term storage, consider freezing or canning the tubers. By following these simple harvesting and storage tips, you’ll be able to enjoy your Jerusalem artichoke bounty throughout the year. Remember, Jerusalem artichoke how to grow requires attention to harvesting and storage, but the rewards are well worth the effort.
Troubleshooting Common Problems and Pests
Despite their hardiness, Jerusalem artichokes can be susceptible to certain pests and diseases. When learning how to grow Jerusalem artichokes, it’s essential to be aware of these potential issues and take preventative measures. One common problem is the Jerusalem artichoke tuber moth, which can cause significant damage to the tubers. To prevent this, ensure the soil is well-draining and remove any debris or weeds that may attract the moths. Slugs and snails can also be a problem, but can be deterred by using copper tape or crushed eggshells around the plants. Diseases such as powdery mildew and leaf spot can be prevented by providing good air circulation and removing any infected leaves. Environmental stressors like drought and extreme temperatures can also impact the health of the plants. By being aware of these potential issues and taking proactive steps, growers can minimize the risk of problems and enjoy a bountiful harvest of Jerusalem artichokes. Remember, Jerusalem artichoke how to grow requires attention to potential problems and pests, but with the right strategies, growers can overcome these challenges and enjoy a successful crop.


