Understanding the Early Stages of Dill Growth
Recognizing dill seedlings is crucial to ensure proper care and growth. With a rich history dating back to ancient civilizations, dill has become a popular herb in cooking and gardening. Its versatility and flavor have made it a staple in many cuisines around the world. To successfully grow dill, it’s essential to understand what dill seedlings look like and how to care for them. By recognizing the early stages of dill growth, gardeners can provide the optimal conditions for healthy development and maximize their harvest. In this article, we will explore the characteristics, growth stages, and care requirements of dill seedlings, providing gardeners with the knowledge to successfully identify and nurture these young plants.
Characteristics of Dill Seedlings: What to Look For
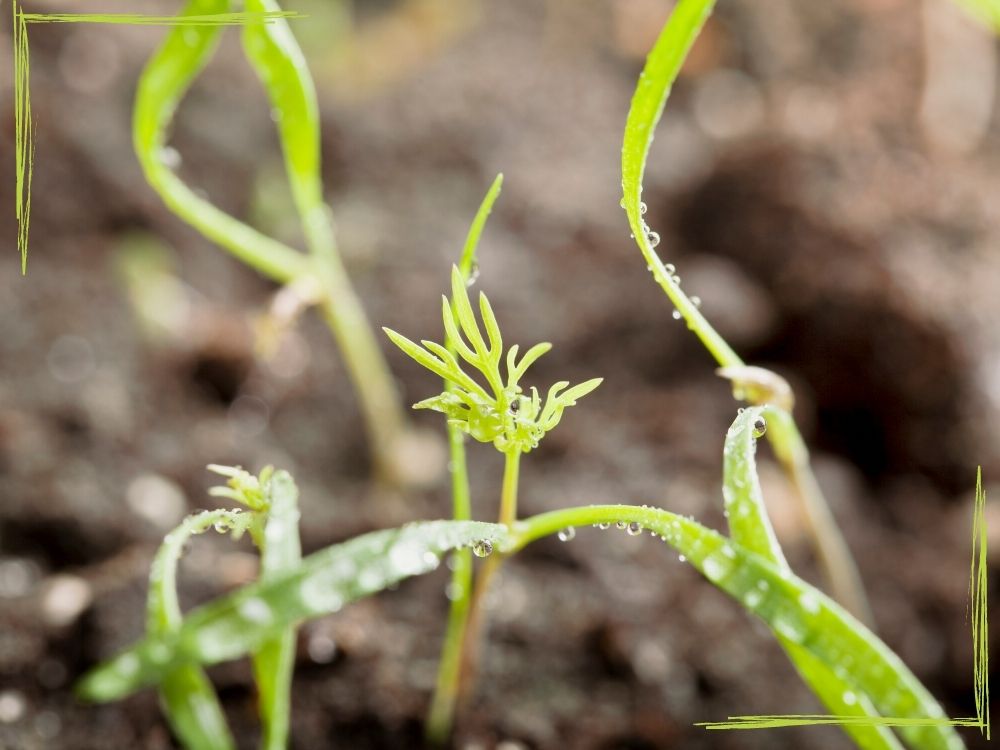
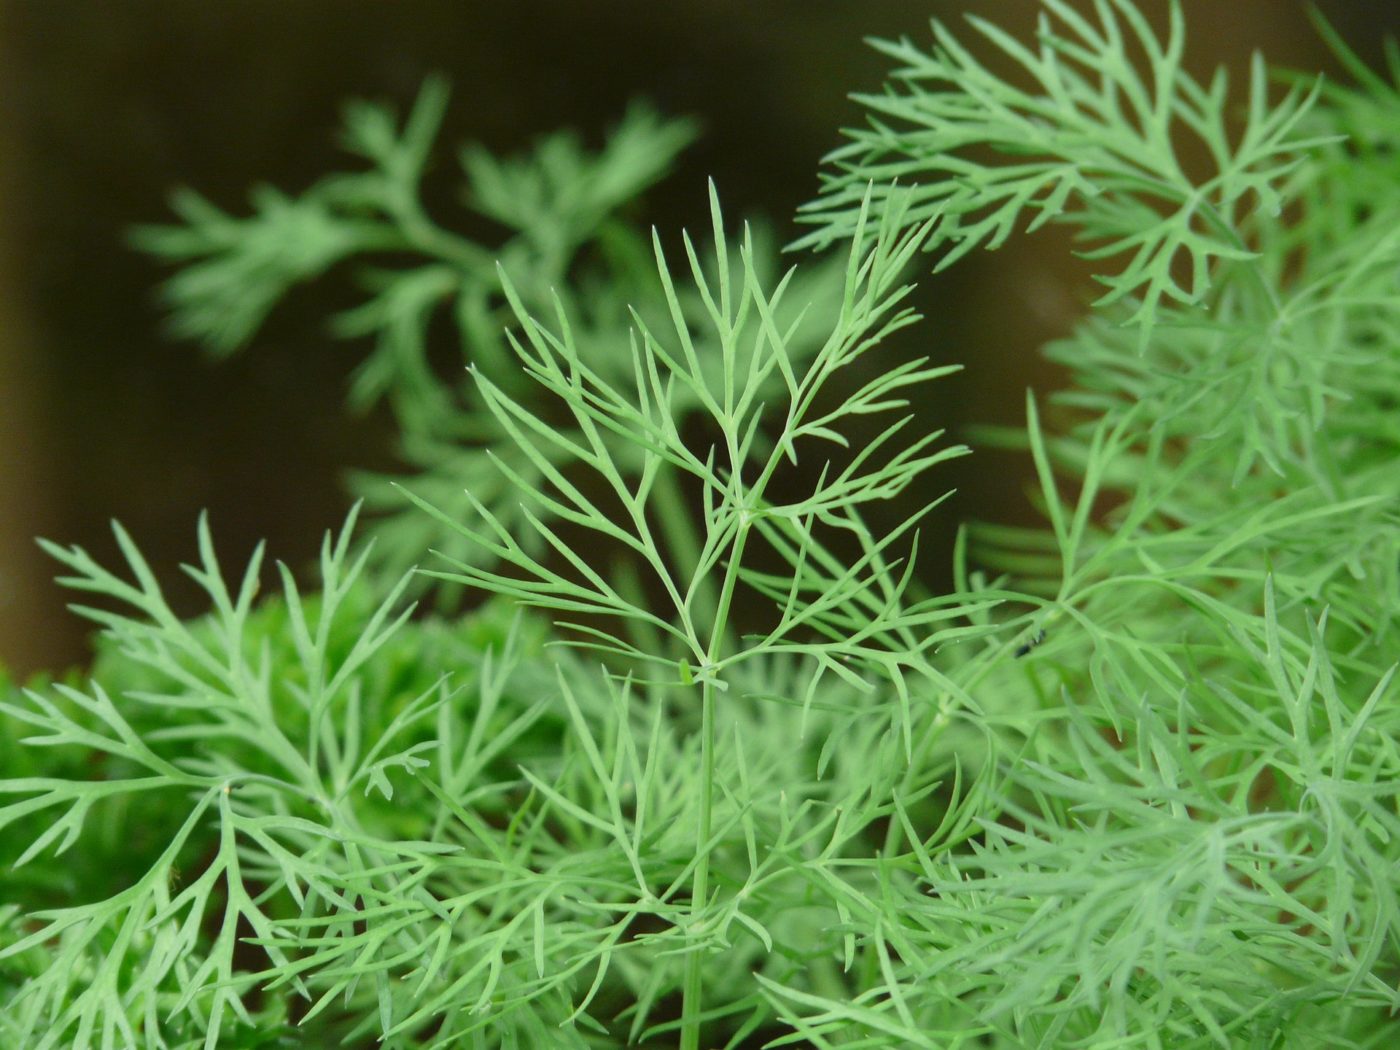
When it comes to identifying dill seedlings, understanding their physical characteristics is crucial. So, what do dill seedlings look like? Dill seedlings typically have thin, delicate stems with a greenish-blue color. The leaves are feathery and fern-like, with a soft, tender texture. They are usually a bright green color with a slightly yellowish tint. In terms of size, dill seedlings can range from 1-3 inches in height, depending on the stage of growth. To distinguish dill seedlings from other plants, look for the unique feathery leaf structure and the characteristic aroma of dill. By recognizing these characteristics, gardeners can ensure they are providing the right care and attention to their young dill plants.
How to Inspect Your Seedlings for Healthy Growth
Inspecting dill seedlings regularly is crucial to ensure they are receiving the right care and attention. When inspecting your seedlings, look for signs of healthy growth, such as strong, sturdy stems and vibrant, green leaves. Check for adequate root development by gently removing the seedling from its container and examining the roots. Healthy roots should be white or light-colored and have a robust, fibrous structure. Additionally, inspect the leaves for any signs of pests, diseases, or nutrient deficiencies. By regularly inspecting your dill seedlings, you can identify any potential issues early on and take corrective action to ensure optimal growth. Remember, understanding what do dill seedlings look like is key to providing the right care and attention. By recognizing the characteristics of healthy dill seedlings, you can take the necessary steps to promote strong, vigorous growth.
Dill Seedling Development: What to Expect in the First Few Weeks
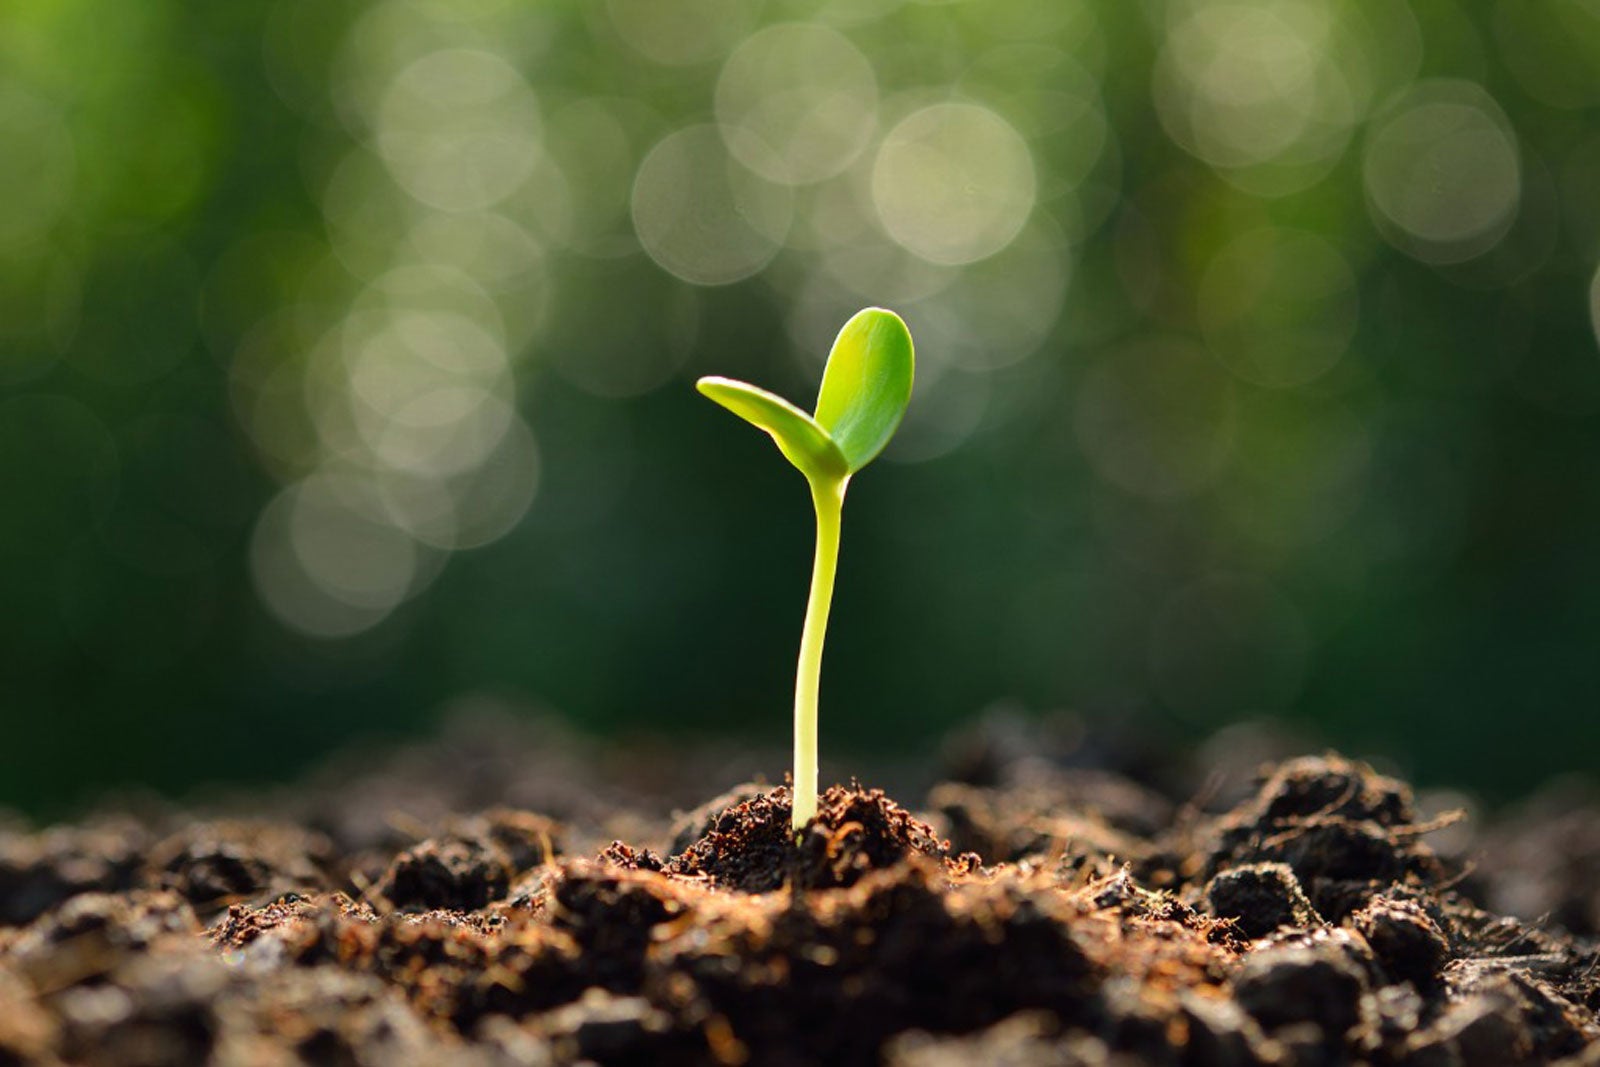
The first few weeks of dill seedling development are crucial in setting the stage for healthy growth. Understanding what to expect during this period can help gardeners provide the right care and attention. After germination, dill seedlings typically emerge within 7-10 days, with the first set of leaves, called cotyledons, appearing above the soil surface. These initial leaves are usually rounded and lack the characteristic feathery shape of mature dill leaves. As the seedling grows, the true leaves will begin to emerge, displaying the familiar fern-like shape and bright green color. During this period, it’s essential to maintain optimal growing conditions, including adequate light, temperature, and watering. By recognizing the typical growth stages of dill seedlings, gardeners can identify any potential issues early on and take corrective action to ensure healthy growth. Remember, knowing what do dill seedlings look like is key to providing the right care and attention during this critical period.
Common Mistakes to Avoid When Caring for Dill Seedlings
When it comes to caring for dill seedlings, there are several common mistakes that can hinder their growth and development. One of the most critical mistakes is overwatering, which can lead to root rot and other problems. On the other hand, underwatering can cause the seedlings to become stressed and vulnerable to disease. Another common mistake is inadequate light exposure, which can prevent the seedlings from receiving the necessary energy for growth. Additionally, failing to provide adequate air circulation can lead to fungal diseases and pest infestations. By understanding what do dill seedlings look like and recognizing the signs of healthy growth, gardeners can avoid these common mistakes and provide their seedlings with the optimal conditions for success. Other mistakes to avoid include overcrowding, which can lead to competition for resources, and neglecting to fertilize, which can deprive the seedlings of essential nutrients. By being aware of these potential pitfalls, gardeners can take steps to ensure their dill seedlings receive the care they need to thrive.
Optimal Conditions for Dill Seedling Growth
To ensure healthy growth and development, dill seedlings require specific conditions. Temperature plays a crucial role, with ideal temperatures ranging from 65°F to 75°F (18°C to 24°C) during the day and no lower than 55°F (13°C) at night. In terms of light, dill seedlings need bright, indirect light, but direct sunlight can be too intense and may cause scorching. When it comes to watering, consistency is key. Dill seedlings need moist soil, but overwatering can be detrimental. A good rule of thumb is to water when the top inch of soil feels dry to the touch. Humidity is also important, with ideal levels ranging from 40% to 60%. By understanding what do dill seedlings look like and providing them with the optimal conditions, gardeners can set their seedlings up for success. Additionally, using a well-draining potting mix and fertilizing with a balanced fertilizer can provide the necessary nutrients for healthy growth. By creating an ideal environment, gardeners can encourage their dill seedlings to thrive and reach their full potential.
Dill Seedling Care: Tips for Successful Transplanting
When it’s time to transplant dill seedlings, it’s essential to do so carefully to avoid shocking the roots and stems. One of the most critical steps is hardening off, which involves gradually acclimating the seedlings to outdoor conditions over the course of 7-10 days. This can be done by moving the seedlings to a shaded outdoor location for a few hours a day, gradually increasing the duration and intensity of the sunlight. Before transplanting, prepare the soil by loosening it to a depth of 12-18 inches and mixing in a balanced fertilizer. When transplanting, space the seedlings 12-18 inches apart, and water thoroughly to settle the soil. To minimize transplant shock, handle the roots gently and avoid disturbing the root ball. By following these tips, gardeners can ensure a successful transition for their dill seedlings and set them up for healthy growth and development. Remember, understanding what do dill seedlings look like is crucial in providing the necessary care, and with proper transplanting, gardeners can enjoy a bountiful harvest of fresh dill.
Conclusion: Mastering the Art of Dill Seedling Identification
In conclusion, identifying young dill plants requires attention to detail and a understanding of their physical characteristics, growth stages, and optimal growing conditions. By recognizing what do dill seedlings look like and providing them with the necessary care, gardeners can set themselves up for success and enjoy a bountiful harvest of fresh dill. Remember, dill seedlings require bright, indirect light, consistent moisture, and well-draining soil to thrive. By avoiding common mistakes and following the tips outlined in this guide, gardeners can ensure healthy growth and development. With practice and patience, anyone can master the art of dill seedling identification and become a skilled gardener. By applying the knowledge gained from this article, readers can confidently grow dill seedlings and enjoy the many benefits this versatile herb has to offer.


