Why Start Seeds Indoors?
When deciding what you need to start seeds indoors, it’s essential to understand the benefits of this approach. By starting seeds indoors, you can enjoy earlier harvests, better control over growing conditions, and increased success rates. Indoor seed starting allows you to create a controlled environment, shielding your seeds from unpredictable outdoor weather and pests. This approach also enables you to get a jumpstart on the growing season, giving your plants a stronger foundation for healthy growth. With the right materials and a little know-how, you can successfully start seeds indoors and set yourself up for a bountiful harvest.
Essential Materials for Indoor Seed Starting
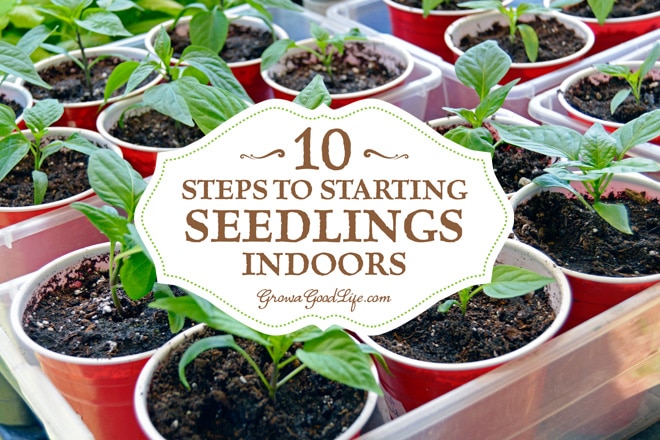
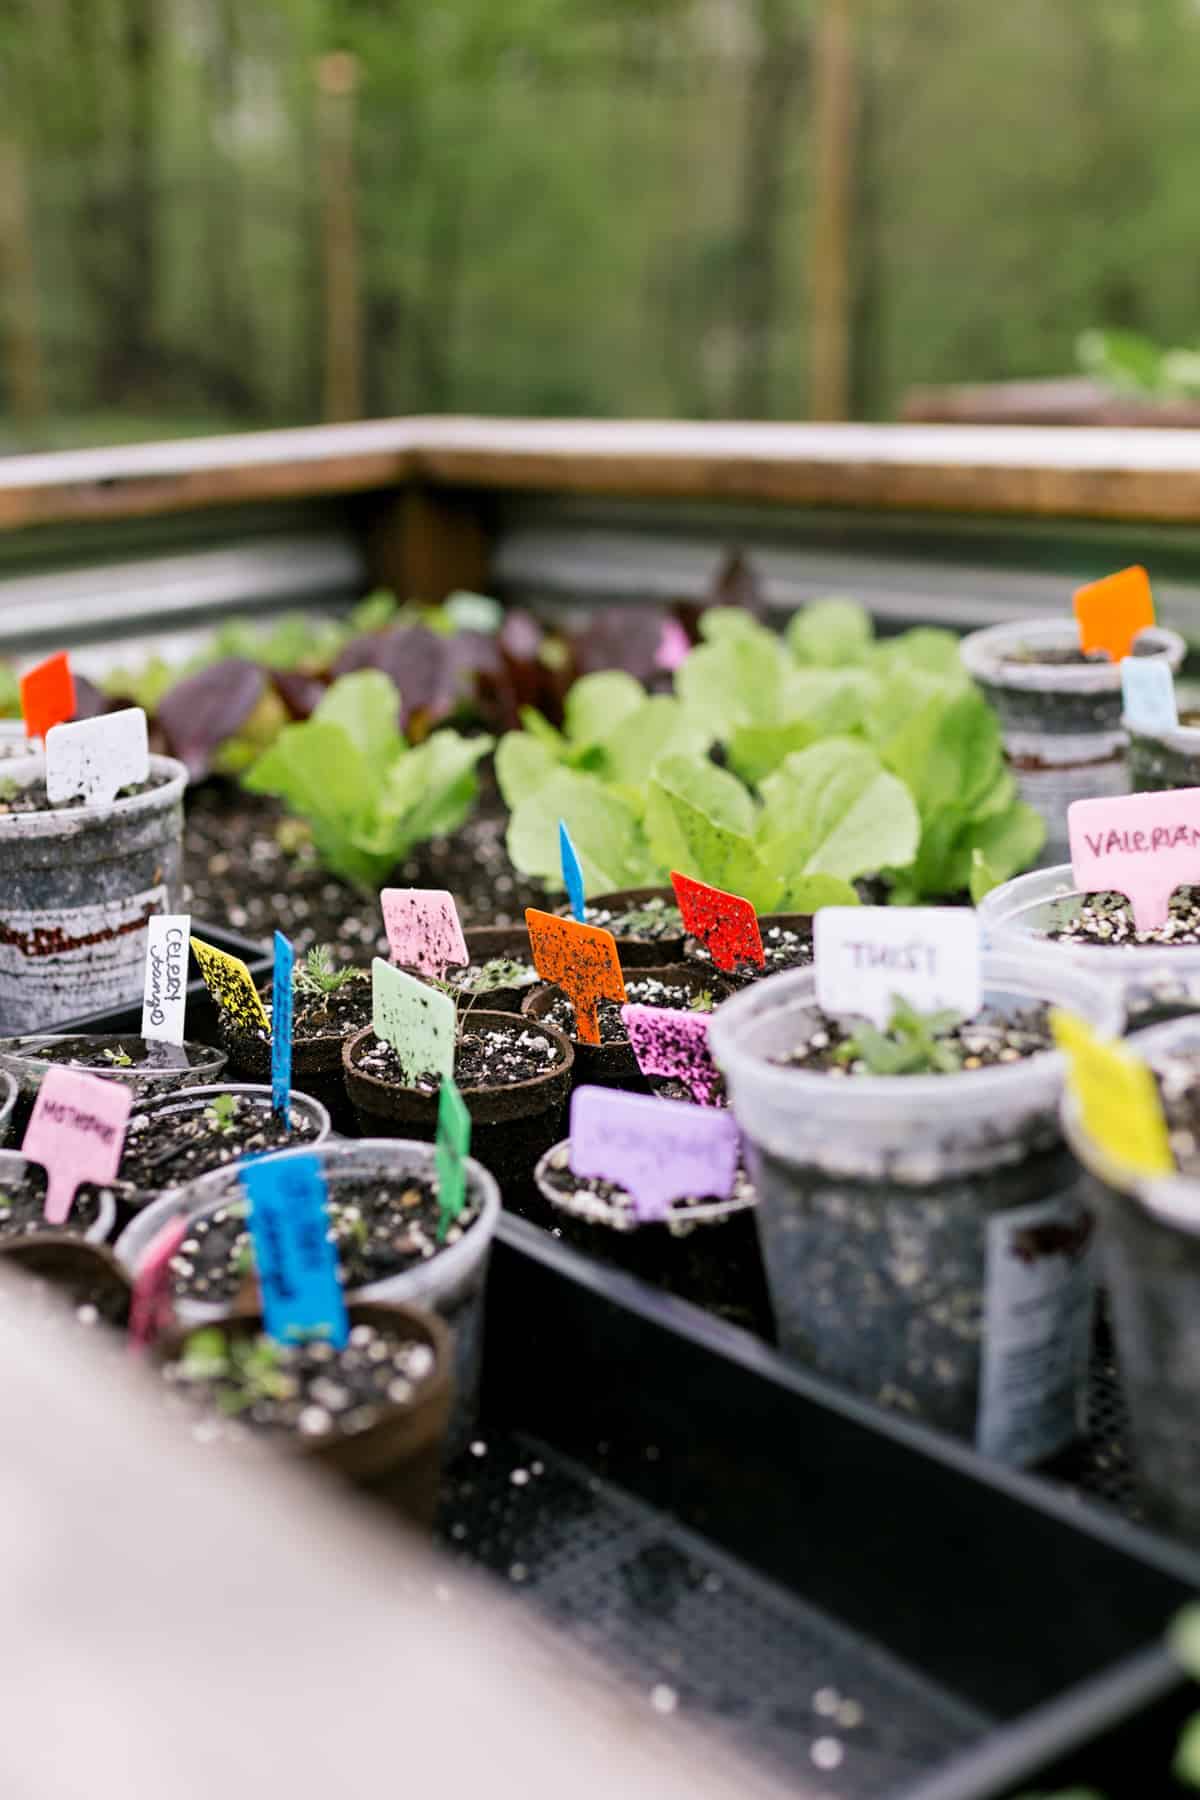
When wondering what you need to start seeds indoors, it’s crucial to gather the necessary materials. To get started, you’ll need a few essential items, including a high-quality seed starting mix, containers with drainage holes, water, and a warm location with adequate light. The seed starting mix should be specifically designed for indoor seed starting, as it will retain moisture but drain excess water. Containers can be small pots, cell packs, or even recycled materials like egg cartons or toilet paper rolls. A warm location with a consistent temperature between 65-75°F (18-24°C) is ideal for seed germination. Having these materials ready will set you up for success and ensure your seeds get the best possible start.
How to Choose the Right Seeds for Indoor Starting
When deciding what you need to start seeds indoors, selecting the right seeds is crucial. Not all seeds are suitable for indoor starting, so it’s essential to choose varieties that thrive in controlled environments. Consider the seed size, growth rate, and light requirements when making your selection. Larger seeds like beans and peas are ideal for indoor starting, while smaller seeds like lettuce and herbs may require more precise care. Fast-growing seeds like radishes and cucumbers can be harvested in as little as 20-30 days, making them perfect for indoor starting. Additionally, consider the light requirements of the seeds, as some may need direct sunlight while others prefer indirect light. By choosing the right seeds, you’ll set yourself up for success and ensure a bountiful harvest.
Preparing Your Containers for Seed Starting
Before filling your containers with seed starting mix, it’s essential to prepare them properly. Sterilization is a crucial step in preventing the spread of diseases and pests. Wash your containers with soap and warm water, then rinse thoroughly. For added protection, soak the containers in a solution of one part bleach to nine parts water for 10-15 minutes. After sterilization, fill your containers with a high-quality seed starting mix, leaving about 1-2 inches of space at the top. Water the mix gently but thoroughly, making sure the soil is moist but not waterlogged. This will provide the ideal environment for your seeds to germinate and grow. By taking the time to properly prepare your containers, you’ll give your seeds the best possible start and increase your chances of success.
The Ideal Environment for Indoor Seed Starting
Creating the ideal environment for indoor seed starting is crucial for successful germination and growth. Temperature plays a significant role, with most seeds requiring a consistent temperature between 65-75°F (18-24°C) to germinate. Some seeds, like tomatoes and peppers, may require warmer temperatures, while others, like lettuce and spinach, prefer cooler temperatures. Humidity is also essential, as it helps to maintain moisture and prevent drying out. You can increase humidity by covering the containers with plastic wrap or a cloche. Light is another critical factor, with some seeds requiring direct sunlight while others prefer indirect light. When deciding what you need to start seeds indoors, consider the specific requirements of the seeds you’re working with and create an environment that meets their needs. By providing the right environment, you’ll give your seeds the best possible start and increase your chances of success.
Watering and Caring for Your Indoor Seeds
Proper watering and care are crucial for the success of your indoor seed starting. Overwatering is a common mistake that can lead to root rot and poor germination. To avoid this, water your seeds gently but thoroughly, making sure the soil is moist but not waterlogged. Check the soil daily, and water only when the top inch of soil feels dry to the touch. Maintaining humidity is also essential, as it helps to prevent drying out and promotes healthy growth. You can cover your containers with plastic wrap or a cloche to increase humidity. Additionally, ensure good air circulation around your containers to prevent fungal diseases. By understanding what you need to start seeds indoors and following these simple care tips, you’ll be well on your way to growing strong, healthy seedlings.
Troubleshooting Common Issues with Indoor Seed Starting
Despite careful planning and attention, issues can still arise when starting seeds indoors. One common problem is mold or fungus growth, which can be caused by overwatering or poor air circulation. To prevent this, ensure good air circulation around your containers and avoid waterlogging the soil. Another issue is slow growth, which can be due to inadequate light or temperature fluctuations. Check that your seeds are receiving sufficient light and maintain a consistent temperature. If you notice any signs of pests, such as whiteflies or spider mites, take action promptly to prevent infestation. By understanding what you need to start seeds indoors and being aware of these potential issues, you can take proactive steps to prevent them and ensure a successful indoor seed starting experience. Additionally, keep an eye out for signs of nutrient deficiency, such as yellowing leaves or stunted growth, and adjust your fertilization schedule accordingly. With a little troubleshooting and problem-solving, you’ll be well on your way to growing strong, healthy seedlings.
Transplanting Your Seedlings Outdoors
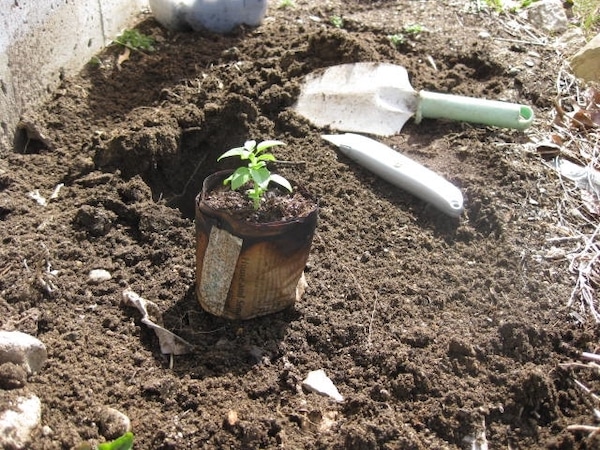
Once your seedlings have 2-3 sets of leaves, it’s time to transplant them outdoors. This process, known as “hardening off,” helps your seedlings adjust to outdoor conditions and reduces the risk of shock. Start by moving your seedlings to a shaded outdoor location for 1-2 hours a day, gradually increasing their exposure to direct sunlight and wind over the course of 7-10 days. When transplanting, choose a location with well-draining soil and full sun to partial shade, depending on the specific needs of your plants. Dig a hole that is twice as wide and just as deep as the container, and gently remove the seedling from its pot. Place the seedling in the hole, firming the soil around the roots to prevent air pockets. Water thoroughly and keep the soil consistently moist during the first few weeks after transplanting. By following these steps and understanding what you need to start seeds indoors, you’ll be able to successfully transition your seedlings from indoor to outdoor growth, setting them up for a healthy and thriving life in your garden.


