Understanding the Tulip Life Cycle
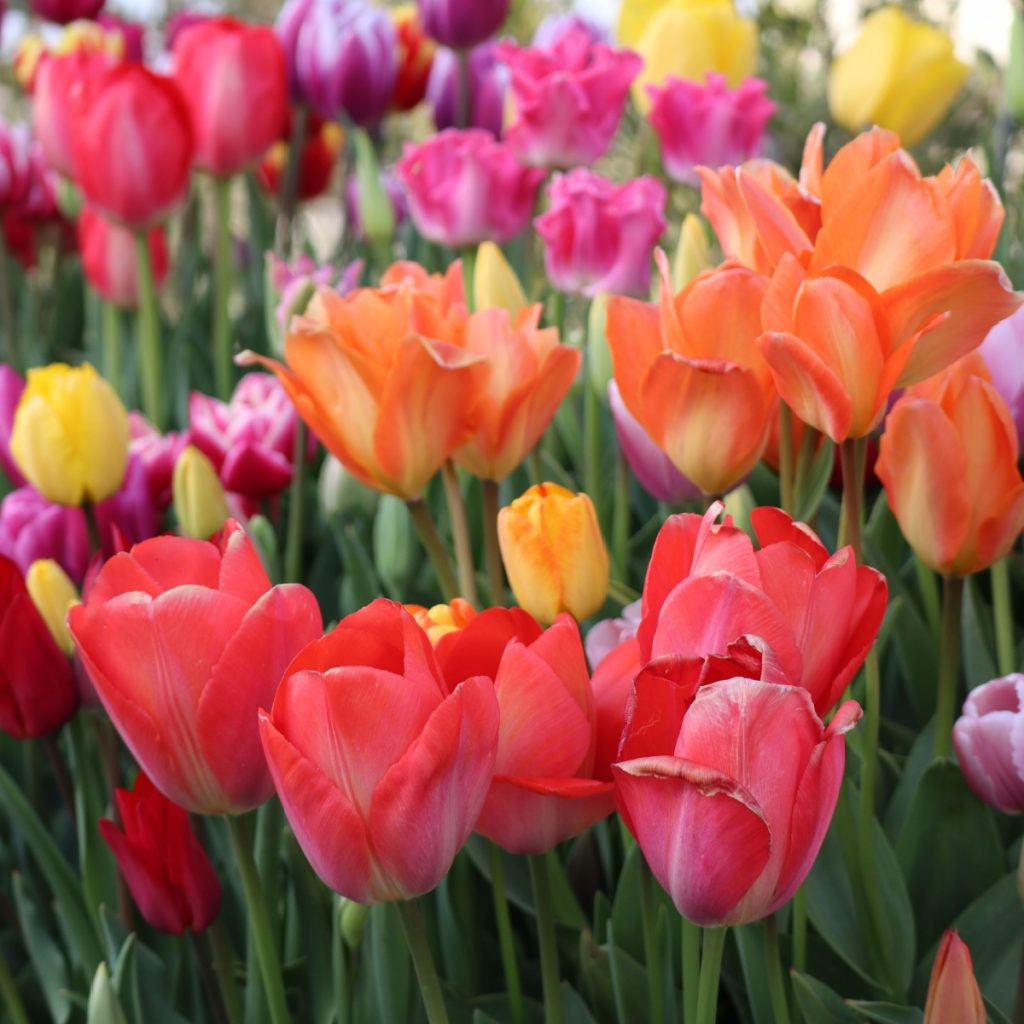
Tulips are one of the most popular spring-flowering bulbs, and their life cycle is a fascinating process. To understand what to do with tulips after they bloom, it’s essential to know the different stages of their life cycle. Tulips typically bloom for 1-3 weeks in the spring, depending on the variety and weather conditions. During this time, they produce beautiful flowers that can be enjoyed in the garden or as cut flowers.

Click Image to Find Garden Products
After the blooming period, tulips enter a critical stage of their life cycle. The flowers will begin to fade, and the petals will drop off. This is a natural process, and it’s essential to allow the tulip foliage to remain intact during this time. The foliage will continue to grow and mature, producing energy for the bulb through photosynthesis.
As the foliage grows, it’s storing energy in the form of carbohydrates, which will be used to fuel next year’s bloom. This process is crucial for the tulip’s survival and future blooming. By understanding the tulip life cycle, gardeners can take the necessary steps to ensure their tulips receive the care they need after blooming.
So, what to do with tulips after they bloom? The first step is to allow the foliage to die back naturally, which can take several weeks to a few months. During this time, the bulb is recharging its energy reserves, and the foliage is providing the necessary nutrients. By not cutting or removing the foliage too early, gardeners can help promote healthy bulb growth and future blooming.
Deadheading: The First Step in Post-Bloom Care
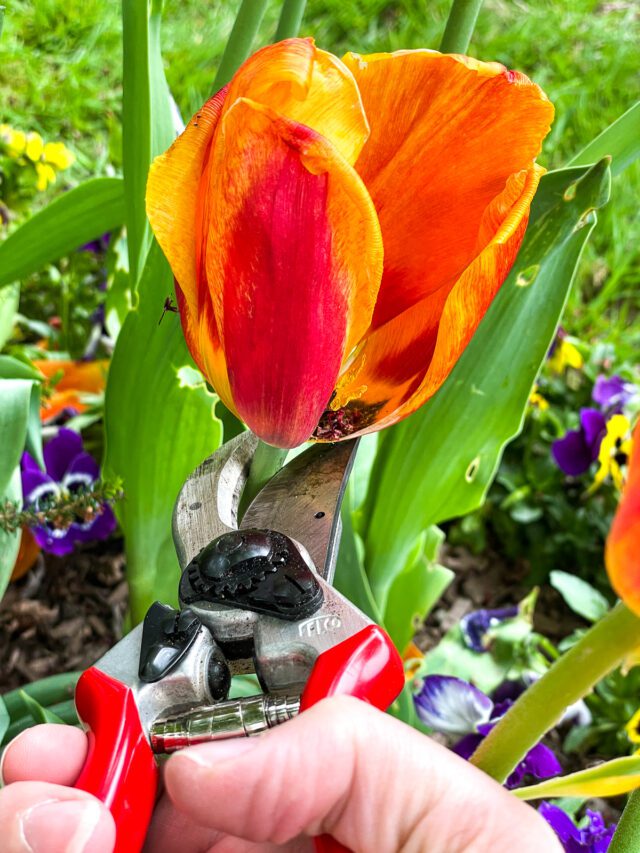
Deadheading is the process of removing the flower heads from tulips after they have finished blooming. This is an essential step in post-bloom care, as it helps to promote healthy bulb growth and future blooming. By removing the flower heads, you are directing the tulip’s energy towards recharging its bulb, rather than seed production.
Deadheading is a simple process that can be done with a pair of scissors or pruning shears. Cut the flower stem at the base of the plant, just above the first leaf. Make sure to remove the entire flower head, including the stem and any seed pods that may have formed. This will help to prevent the tulip from putting its energy into seed production, and instead direct it towards recharging its bulb.
It’s essential to deadhead tulips at the right time. If you wait too long, the seed pods may have already formed, and the tulip may have directed its energy towards seed production. On the other hand, if you deadhead too early, you may remove the flower head before it has finished blooming. The best time to deadhead tulips is when the flowers have finished blooming, and the petals have dropped off.
Deadheading is just the first step in post-bloom care for tulips. After deadheading, it’s essential to allow the tulip foliage to die back naturally. This process can take several weeks to a few months, depending on the variety of tulip and weather conditions. During this time, the bulb is recharging its energy reserves, and the foliage is providing the necessary nutrients.
By deadheading tulips and allowing the foliage to die back naturally, you can help to promote healthy bulb growth and future blooming. This is especially important if you want to enjoy your tulips for years to come. In the next section, we’ll discuss the importance of fertilizing tulips after they finish blooming, and how to do it correctly.
How to Fertilize Tulips After Blooming
Fertilizing tulips after they finish blooming is an essential step in promoting healthy bulb growth and future blooming. Tulips require a balanced diet of nutrients to recharge their energy reserves and produce new growth. By fertilizing tulips at the right time, you can help to promote healthy bulb growth and increase the chances of a successful bloom next year.
When to fertilize tulips? The best time to fertilize tulips is after they have finished blooming, and the foliage is still green. This is usually around late spring to early summer, depending on the variety of tulip and weather conditions. Avoid fertilizing tulips during the blooming period, as this can cause the bulb to put its energy into seed production rather than recharging its energy reserves.
What type of fertilizer to use? A balanced, slow-release fertilizer is the best type of fertilizer to use for tulips. Look for a fertilizer that contains a balanced mix of nitrogen, phosphorus, and potassium (NPK). A fertilizer with a ratio of 10-10-10 or 5-10-5 is suitable for tulips. Avoid using high-nitrogen fertilizers, as these can cause the bulb to produce too much foliage and not enough flowers.
How to apply fertilizer? Apply the fertilizer according to the manufacturer’s instructions. Typically, you will need to sprinkle the fertilizer around the base of the tulip plants, making sure to avoid getting any on the leaves or flowers. Water the fertilizer in well to ensure it reaches the roots of the plants.
Some examples of good fertilizers for tulips include compost, well-rotted manure, and slow-release granular fertilizers. Avoid using fresh manure or high-nitrogen fertilizers, as these can cause more harm than good. By fertilizing tulips at the right time and using the right type of fertilizer, you can help to promote healthy bulb growth and increase the chances of a successful bloom next year.
Allowing Tulip Foliage to Die Back Naturally
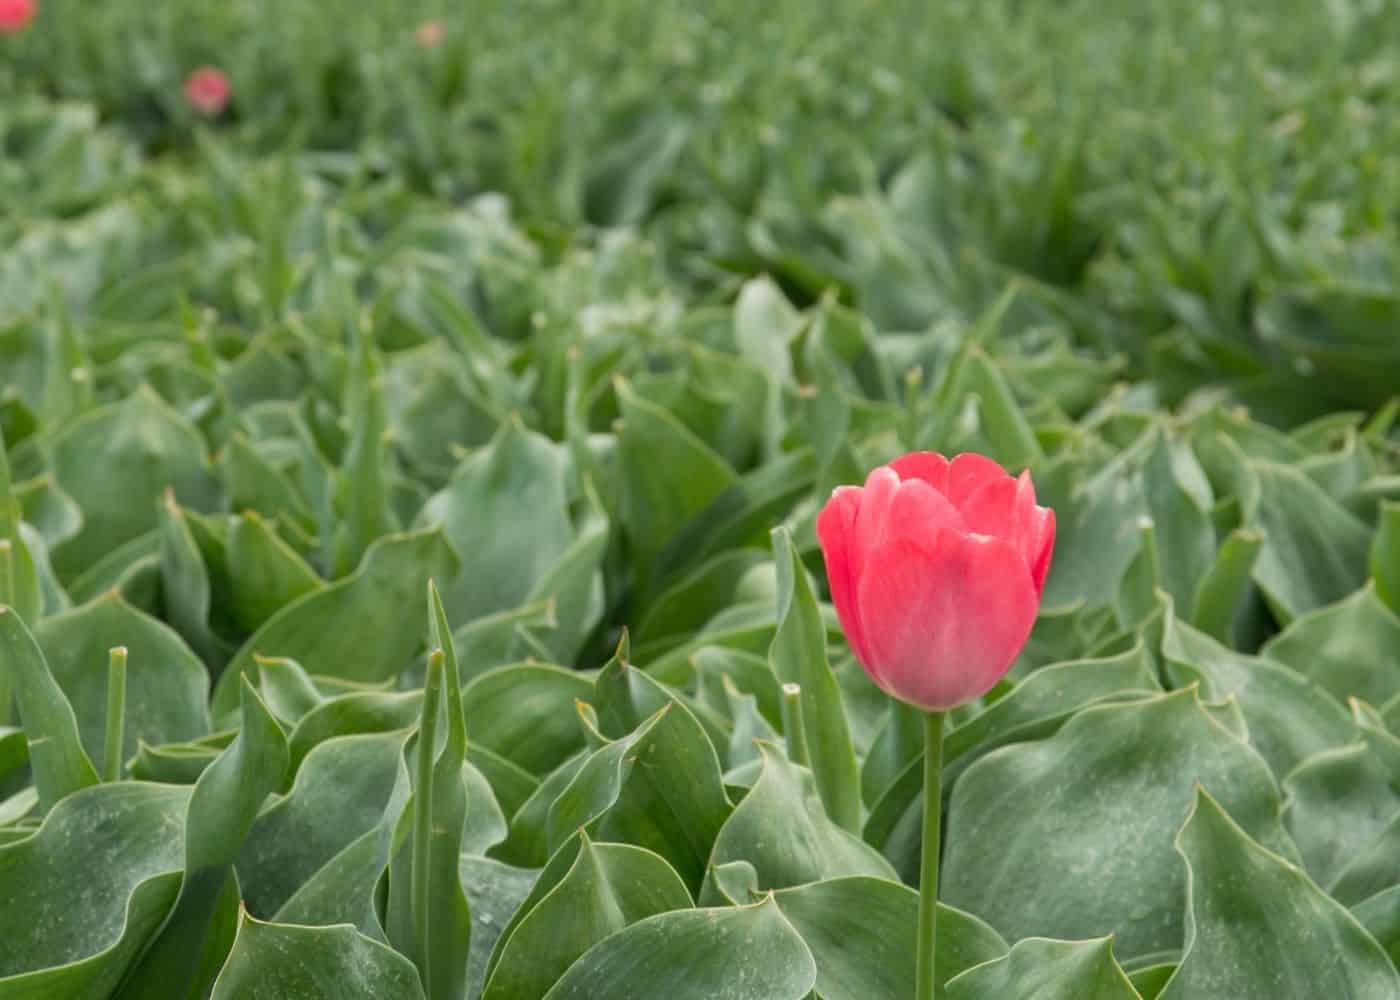
After deadheading and fertilizing tulips, the next step in post-bloom care is to allow the foliage to die back naturally. This process is crucial for the bulb’s survival and future blooming. The foliage is responsible for producing energy for the bulb through photosynthesis, and cutting or removing it too early can weaken the bulb and reduce its chances of blooming next year.
Why is it essential to allow tulip foliage to die back naturally? The foliage is still producing energy for the bulb, even after the blooming period has ended. By allowing it to die back naturally, you are giving the bulb the opportunity to store as much energy as possible for next year’s bloom. Cutting or removing the foliage too early can reduce the bulb’s energy reserves and impact its ability to bloom next year.
How long does it take for tulip foliage to die back naturally? The time it takes for tulip foliage to die back naturally can vary depending on the variety of tulip and weather conditions. Typically, it can take several weeks to a few months for the foliage to die back completely. During this time, the foliage will turn yellow and wilt, and the bulb will begin to prepare for dormancy.
What are the benefits of allowing tulip foliage to die back naturally? Allowing tulip foliage to die back naturally has several benefits, including increased energy storage for the bulb, improved bulb health, and reduced risk of disease. By giving the bulb the opportunity to store as much energy as possible, you are increasing its chances of blooming next year and reducing the risk of disease.
How to care for tulip foliage during the die-back process? During the die-back process, it’s essential to keep the soil moist and provide the foliage with enough nutrients to continue producing energy for the bulb. Avoid cutting or removing the foliage too early, and instead, allow it to die back naturally. This will give the bulb the best chance of survival and future blooming.
Storing Tulip Bulbs for Replanting
After the tulip foliage has died back, it’s essential to store the bulbs properly to ensure healthy growth and blooming next year. Storing tulip bulbs requires careful attention to detail, as improper storage can lead to rot, mold, and reduced blooming.
How to dry tulip bulbs? Before storing tulip bulbs, it’s crucial to dry them thoroughly to prevent moisture from accumulating and causing rot. Gently remove any excess soil from the bulbs, and lay them out in a warm, dry place with good air circulation. Allow the bulbs to dry for 2-4 weeks, or until the skin is dry and papery.
How to clean tulip bulbs? Once the bulbs are dry, gently brush off any remaining soil or debris. Use a soft-bristled brush or a clean cloth to remove any dirt or dust. Avoid using water or any cleaning solutions, as these can damage the bulbs.
How to store tulip bulbs? Store the cleaned and dried tulip bulbs in a cool, dark place with good air circulation. A paper bag or a breathable container is ideal for storing tulip bulbs. Avoid storing bulbs in airtight containers or plastic bags, as these can trap moisture and cause rot.
What is the ideal storage temperature for tulip bulbs? The ideal storage temperature for tulip bulbs is between 40-50°F (4-10°C). Avoid storing bulbs in areas with high temperatures, as this can cause the bulbs to sprout prematurely.
How long can tulip bulbs be stored? Tulip bulbs can be stored for several months, but it’s essential to check on them regularly to ensure they are not rotting or developing mold. Typically, tulip bulbs can be stored for 3-6 months before replanting.
By following these steps and storing tulip bulbs properly, you can ensure healthy growth and blooming next year. In the next section, we’ll discuss the process of dividing and replanting tulip bulbs, including when to do it and how to do it correctly.
Dividing and Replanting Tulip Bulbs
Dividing and replanting tulip bulbs is an essential step in maintaining healthy bulb growth and promoting future blooming. Over time, tulip bulbs can become congested and produce smaller, less vibrant flowers. By dividing and replanting the bulbs, you can increase the chances of healthy growth and blooming.
When to divide and replant tulip bulbs? The best time to divide and replant tulip bulbs is in the fall, about 6-8 weeks after the foliage has died back. This allows the bulbs to establish themselves in the soil before the winter months.
How to divide tulip bulbs? To divide tulip bulbs, gently dig up the entire clump of bulbs, taking care not to damage the roots or the bulbs themselves. Separate the bulbs, making sure each one has a small amount of roots and a growing point. Replant the bulbs immediately, spacing them about 3-6 inches apart.
Benefits of dividing tulip bulbs? Dividing tulip bulbs has several benefits, including increased blooming, reduced disease risk, and improved bulb health. By dividing the bulbs, you can also increase the number of tulips in your garden, making it a great way to share with friends and family.
Tips for replanting tulip bulbs? When replanting tulip bulbs, make sure to plant them at the correct depth, about 2-3 times the height of the bulb. Also, make sure to plant the bulbs in well-draining soil and in a location that receives full sun to partial shade.
By dividing and replanting tulip bulbs, you can keep your tulip garden healthy and thriving for years to come. In the next section, we’ll discuss the benefits of companion planting with tulips, including which plants complement their growth and blooming.

Companion Planting: What to Plant with Tulips
Companion planting is the practice of planting different plants together to improve their growth, health, and blooming. When it comes to tulips, there are several plants that complement their growth and blooming. By planting these companion plants with tulips, you can create a beautiful and thriving garden.
What are some good companion plants for tulips? Some good companion plants for tulips include daffodils, grape hyacinths, and crocuses. These plants have similar growing conditions and bloom times, making them ideal companions for tulips. They also help to repel pests and attract beneficial insects, which can improve the overall health of your tulip garden.
Why plant daffodils with tulips? Daffodils are a classic companion plant for tulips. They have similar growing conditions and bloom times, and their bright yellow and white flowers complement the vibrant colors of tulips. Daffodils also help to repel pests, such as deer and rodents, which can damage tulip bulbs.
Why plant grape hyacinths with tulips? Grape hyacinths are another popular companion plant for tulips. They have a similar bloom time and their small, bell-shaped flowers complement the larger, cup-shaped flowers of tulips. Grape hyacinths also help to attract beneficial insects, such as bees and butterflies, which can improve the overall health of your tulip garden.
Why plant crocuses with tulips? Crocuses are a low-growing, early-blooming plant that complements the growth and blooming of tulips. They have a similar bloom time and their small, cup-shaped flowers come in a range of colors, including purple, yellow, and white. Crocuses also help to repel pests and attract beneficial insects, making them a great companion plant for tulips.
By planting these companion plants with tulips, you can create a beautiful and thriving garden. In the next section, we’ll discuss how to plan for next year’s bloom, including how to choose new tulip varieties and prepare the soil for optimal growth.

Planning for Next Year’s Bloom
Now that you’ve learned the importance of post-bloom care for tulips, it’s time to start planning for next year’s bloom. With a little planning and preparation, you can enjoy a beautiful and thriving tulip garden for years to come.
How to choose new tulip varieties? When choosing new tulip varieties, consider factors such as bloom time, flower color, and plant height. You can also consider planting a mix of early, mid-season, and late-blooming tulips to extend the blooming period.
How to prepare the soil for optimal growth? To prepare the soil for optimal growth, make sure it is well-draining and rich in organic matter. You can add compost or well-rotted manure to the soil to improve its fertility and structure.
What are some tips for planting tulips? When planting tulips, make sure to plant them at the correct depth and spacing. Plant the bulbs 3-4 times deeper than the height of the bulb, and space them 3-6 inches apart. Also, make sure to plant the bulbs in a location that receives full sun to partial shade.
By following these tips and planning ahead, you can enjoy a beautiful and thriving tulip garden for years to come. Remember to take care of your tulips after they bloom, and to plan for next year’s bloom by choosing new varieties and preparing the soil for optimal growth.