Why Take Cuttings from Hydrangeas?
Taking cuttings from hydrangeas is a great way to propagate new plants, share with friends, and preserve favorite varieties. By learning how to take a cutting from a hydrangea, gardeners can create multiple plants with the same characteristics as the parent plant. This method of propagation is especially useful for hydrangea enthusiasts who want to reproduce their favorite varieties or create a hydrangea collection. Additionally, taking cuttings allows gardeners to share plants with friends and family, making it a great way to spread the joy of hydrangea gardening. Furthermore, taking cuttings provides a sense of security, as it ensures that favorite plants are preserved for years to come, even if the original plant is damaged or dies.
Choosing the Right Hydrangea Variety for Cuttings
When it comes to taking cuttings from hydrangeas, selecting the right variety is crucial for success. With so many different types of hydrangeas available, it’s essential to choose a variety that is well-suited for propagation. Factors such as growth habits, flower colors, and hardiness zones should be considered when selecting a hydrangea variety for cuttings. For example, bigleaf hydrangeas (Hydrangea macrophylla) are popular for their large, showy flowers, but they can be more challenging to propagate than panicle hydrangeas (Hydrangea paniculata). Additionally, some hydrangea varieties are more sensitive to temperature and humidity, making them more difficult to root. By choosing a variety that is easy to propagate and suitable for your climate, you can increase your chances of success when taking cuttings. This will ultimately lead to healthy, thriving plants that will provide beautiful blooms for years to come.
How to Prepare Your Hydrangea for Cutting
Before taking a cutting from a hydrangea, it’s essential to prepare the plant to ensure optimal health and increase the chances of successful propagation. One of the most critical steps in preparing your hydrangea is pruning. Pruning helps to promote healthy growth, encourages bushy habits, and increases the number of stems suitable for cutting. When pruning, focus on removing any dead, diseased, or damaged branches, as well as shaping the plant to maintain its natural form. Fertilizing is another crucial step in preparing your hydrangea for cutting. A balanced fertilizer applied during the growing season will help to promote healthy growth and increase the plant’s energy reserves. Additionally, make sure your hydrangea is receiving adequate water and sunlight, as a healthy plant is more likely to produce successful cuttings. By following these simple steps, you can ensure your hydrangea is in top condition, making it easier to take a cutting and increasing the chances of successful propagation. When you know how to take a cutting from a hydrangea, you can enjoy an abundance of beautiful blooms in your garden.
The Best Time to Take Cuttings from Hydrangeas
Timing is everything when it comes to taking cuttings from hydrangeas. The ideal time to take cuttings depends on the type of hydrangea, as well as the climate and region you’re in. For bigleaf hydrangeas, the best time to take cuttings is in late summer to early fall, when the stems are still soft and pliable. For panicle and smooth hydrangeas, spring is a better time, as the stems are more vigorous and produce roots more easily. It’s also essential to consider the weather when taking cuttings. Avoid taking cuttings during extreme weather conditions, such as intense heat, cold, or drought, as this can stress the plant and reduce the chances of successful propagation. Additionally, consider the plant’s growth cycle, taking cuttings when the plant is actively growing and producing new stems. By timing your cuttings correctly, you can increase the chances of successful propagation and enjoy an abundance of beautiful hydrangea blooms. When you know how to take a cutting from a hydrangea, you can enjoy the benefits of propagation, including sharing plants with friends and preserving favorite varieties.
Step-by-Step Guide to Taking a Hydrangea Cutting
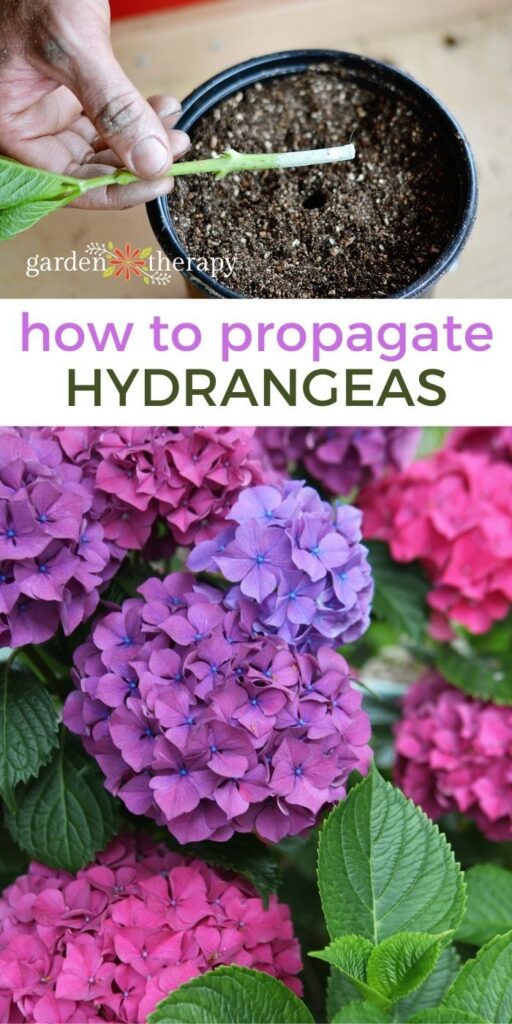
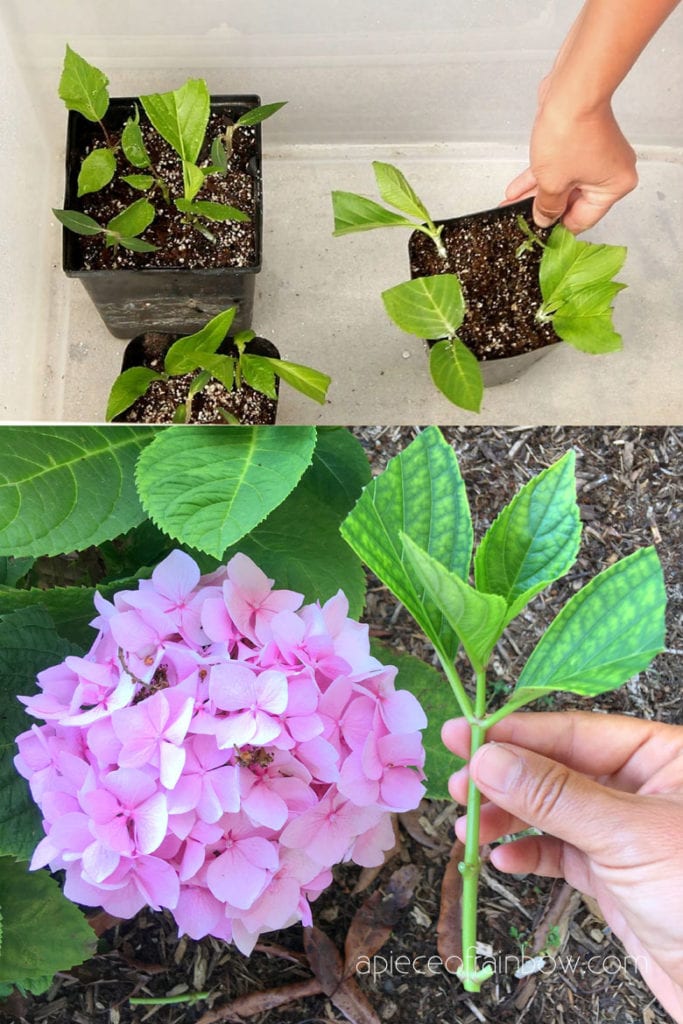
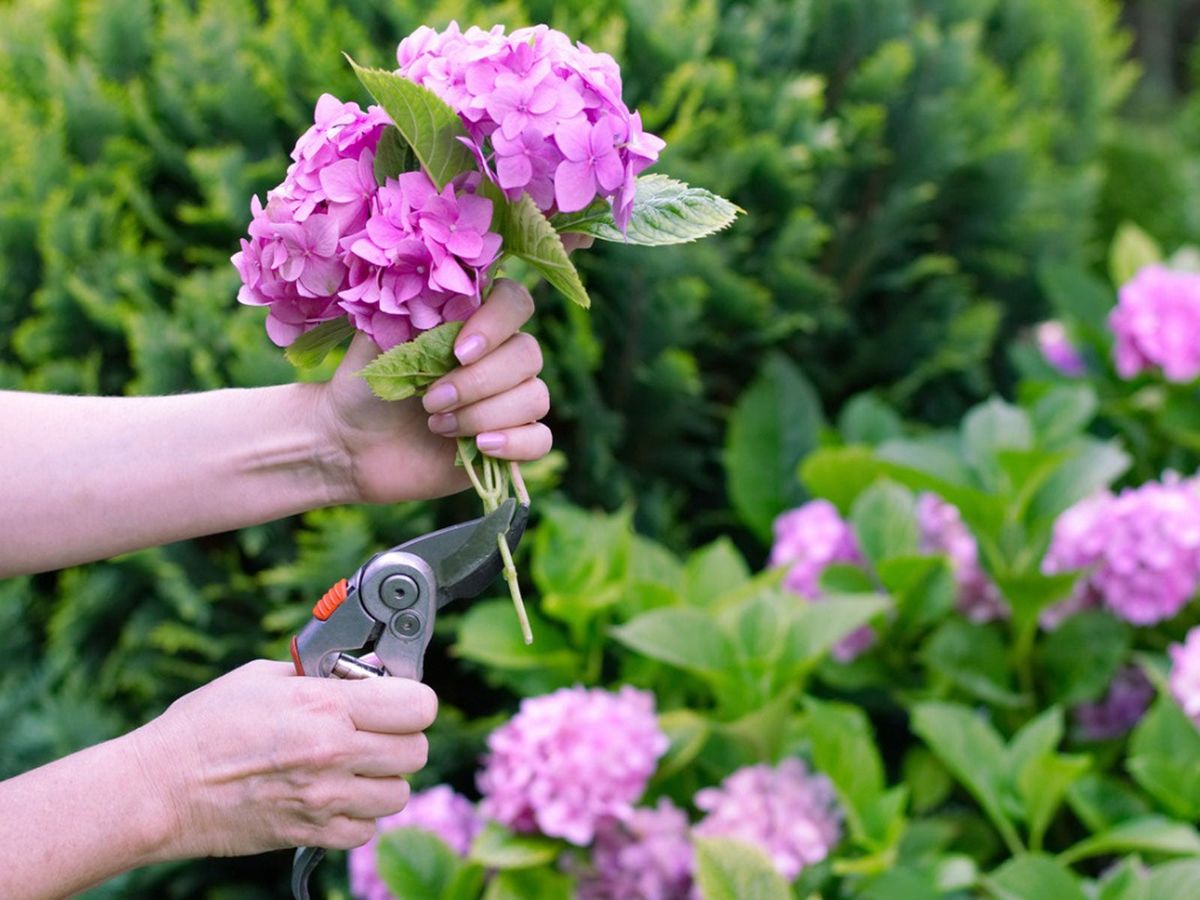
Taking a cutting from a hydrangea can seem intimidating, but with the right tools and techniques, it’s a relatively simple process. To get started, you’ll need a few basic tools, including a sharp, clean knife or pruning shears, a pot or container filled with a well-draining rooting medium, and a rooting hormone powder or liquid. When selecting a stem for cutting, look for one that is around 3-5 inches long, with at least two nodes (the joint where a leaf meets the stem). Cut the stem just below a node, using a 45-degree angle cut. Remove any lower leaves that will be below the soil line, and dip the cut end into the rooting hormone. Gently place the cutting into the rooting medium, firming the soil around the stem to secure it in place. Water the soil gently but thoroughly, and place the pot in a bright, indirectly lit location. By following these simple steps, you can successfully take a cutting from a hydrangea and enjoy the benefits of propagation. Remember, knowing how to take a cutting from a hydrangea is key to sharing plants with friends and preserving favorite varieties.
Rooting Your Hydrangea Cutting: Tips and Tricks
Once you’ve taken a cutting from your hydrangea, the next step is to root it. This process can be a bit tricky, but with the right techniques and materials, you can increase your chances of success. One of the most important factors in rooting a hydrangea cutting is the use of rooting hormones. These hormones stimulate root growth and can be applied to the cut end of the stem in powder or liquid form. When selecting a rooting hormone, look for one that is specifically formulated for woody plants like hydrangeas. In addition to rooting hormones, the type of soil you use can also impact the success of your cutting. A well-draining potting mix is essential, as it will help prevent waterlogged soil and root rot. Water your cutting gently but thoroughly, and make sure the soil is consistently moist but not waterlogged. Finally, provide your cutting with bright, indirect light and maintain a consistent temperature between 65-75°F (18-24°C). By following these tips and tricks, you can successfully root your hydrangea cutting and enjoy a new, thriving plant. Remember, knowing how to take a cutting from a hydrangea is just the first step – rooting it is where the magic really happens.
Common Mistakes to Avoid When Taking Hydrangea Cuttings
When taking cuttings from hydrangeas, it’s easy to make mistakes that can reduce the chances of success. One of the most common mistakes is over-watering, which can lead to root rot and poor root development. On the other hand, under-watering can cause the cutting to dry out and fail to root. Another mistake to avoid is using poor cutting techniques, such as cutting the stem at the wrong angle or not removing enough leaves. This can lead to a weak and unstable cutting that is more prone to disease and pests. Additionally, failing to prepare the hydrangea plant for cutting by not pruning or fertilizing it properly can also reduce the chances of success. Furthermore, not providing the right environment for the cutting, such as inadequate light or temperature, can also hinder root development. By being aware of these common mistakes, you can take steps to avoid them and increase your chances of successfully propagating new hydrangea plants. Remember, knowing how to take a cutting from a hydrangea is crucial, but it’s equally important to avoid common mistakes that can hinder success.
Caring for Your New Hydrangea Plant
Once your hydrangea cutting has successfully rooted and is growing new leaves, it’s time to transplant it into a larger pot or directly into the garden. When transplanting, choose a location with well-draining soil and full sun to partial shade, depending on the variety. Water your new hydrangea plant regularly, but avoid over-watering, which can lead to root rot. Fertilize your plant with a balanced fertilizer in the spring and summer months to promote healthy growth and blooming. Prune your hydrangea regularly to maintain its shape and encourage new growth. Remove any dead or damaged branches, and cut back the stems to the desired length. By following these care tips, you can ensure your new hydrangea plant grows strong and healthy, and produces beautiful blooms for years to come. Remember, knowing how to take a cutting from a hydrangea is just the first step – proper care and maintenance are crucial for long-term success. With the right care, your new hydrangea plant will thrive and provide you with years of enjoyment.


:max_bytes(150000):strip_icc()/hydrangeacuttinginpot-5851ae153df78ce2c366c3f5.jpg)


